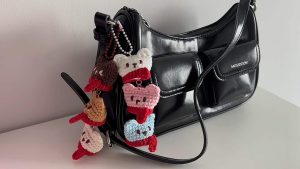
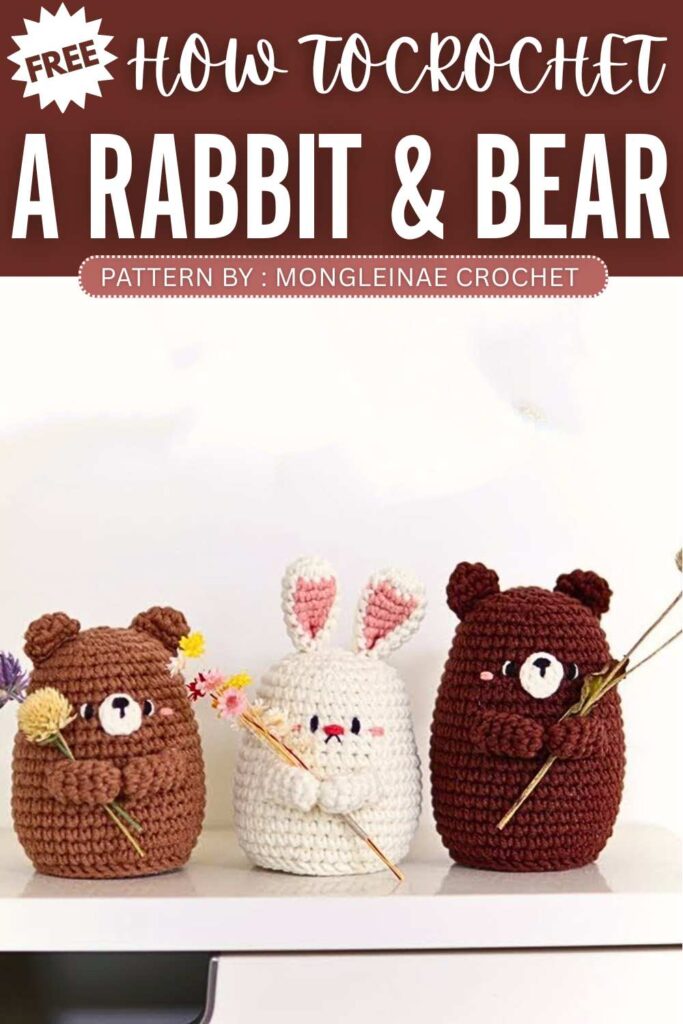
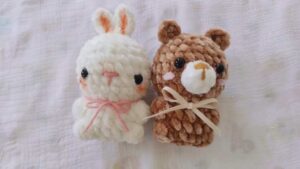
Crochet Rabbit And Bear Amigurumi Pattern

The designer of this pattern is @mongleinae. She makes themed crochet pouches and little decorations that are always elegant and gift-ready. In one word, she is among the most CREATIVE crochet designers whose work I have covered so far. Just take a look at her octopus pouch!
Be sure to subscribe to her channel for more of creative crochet patterns and to support her
Step by Step Pattern:
Materials List
Yarn: Basic color (White/Gray/Brown), Accent color for inner ears (Pink/White), and embroidery thread (Black/Pink).
Crochet Hook: 2.5mm or 3.0mm.
Stuffing: Polyester fiberfill.
Other: Plastic circular base for support (optional), safety eyes or embroidery thread, tapestry needle, and scissors.
Abbreviations
MR: Magic Ring
Sc: Single crochet
Inc: Increase (2 sc in one stitch)
Dec: Decrease (sc 2 together)
Sl st: Slip stitch
Ch: Chain
Bpsc: Back post single crochet (crocheting around the post from behind)
BLO: Back loops only
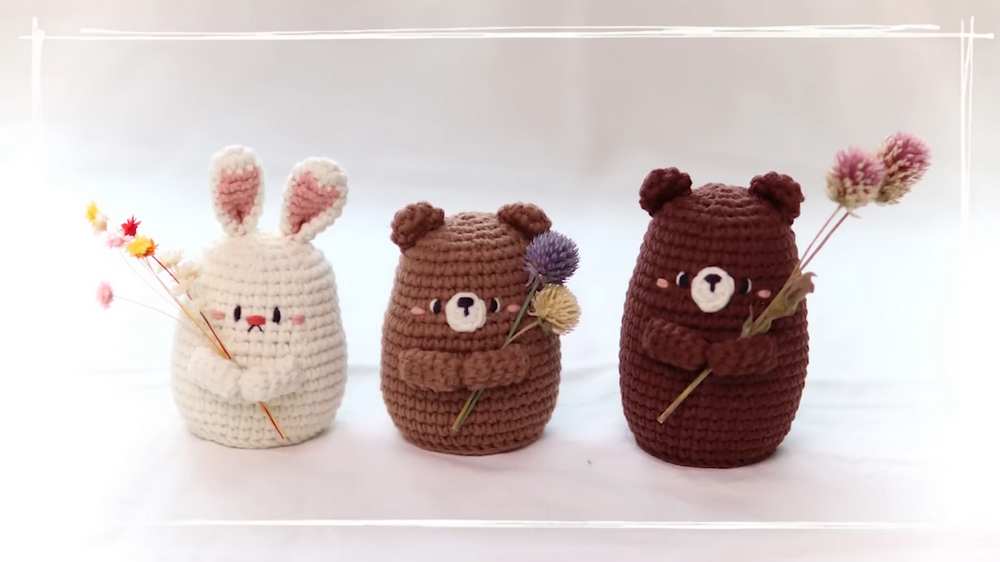
Step-by-Step Pattern
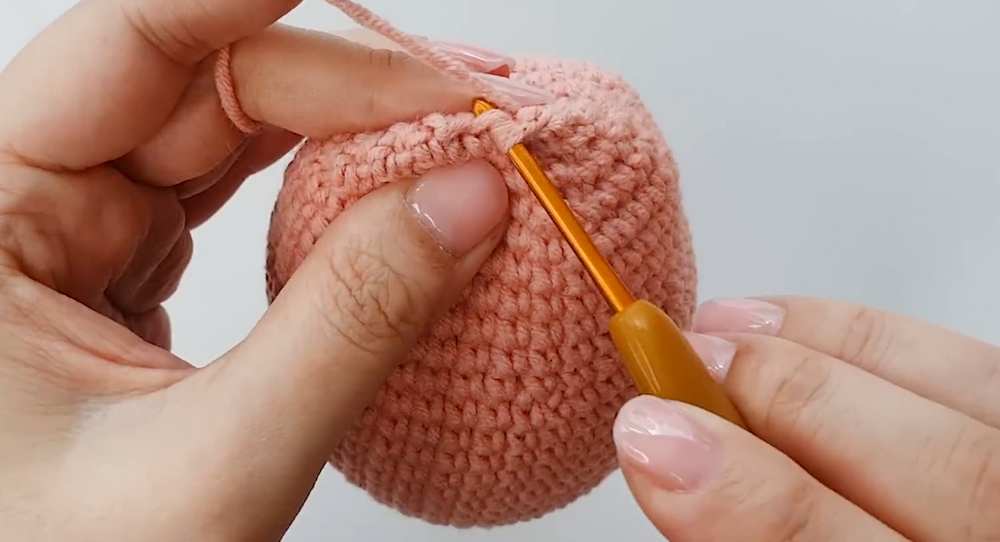
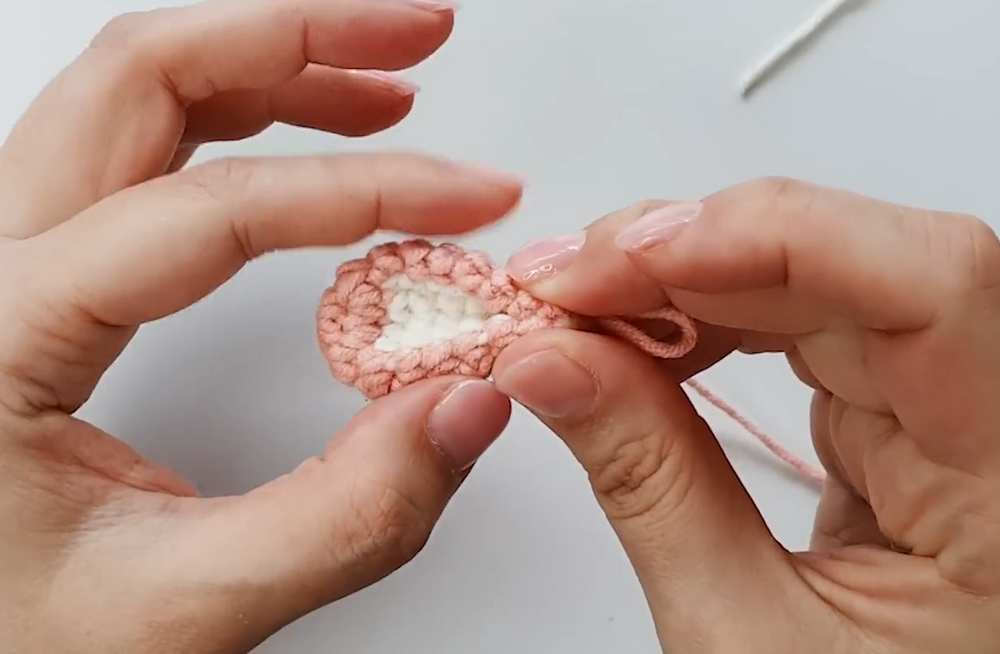
1. Body (Common for Rabbit & Bear)
The base is flat to allow the doll to stand.
Rnd 1: 7 sc in MR [7]
Rnd 2: (Inc) x7 [14]
Rnd 3: (1 sc, inc) x7 [21]
Rnd 4: (2 sc, inc) x7 [28]
Rnd 5: (3 sc, inc) x7 [35]
Rnd 6: Bpsc in each stitch around [35] (This creates the “stand” ridge).
Rnd 7: (4 sc, inc) x7 [42]
Rnd 8-16: Sc in each stitch around [42] (Adjust height here: add/remove rounds for taller/shorter dolls).
Insert support disc inside the bottom now.
Rnd 17 (Decrease): (4 sc, dec) x7 [35]
Rnd 18-22: Sc in each stitch around [35]
Rnd 23: (3 sc, dec) x7 [28]
Rnd 24: (2 sc, dec) x7 [21]
Rnd 25: (1 sc, dec) x7 [14]
Stuff firmly.
Rnd 26: (Dec) x7 [7]
Fasten off and sew closed.
2. Rabbit Ears (Make 2)
Rnd 1: 6 sc in MR [6]
Rnd 2: (Inc) x6 [12]
Rnd 3-8: Sc around using color changes. Work 4 sc in main color, 4 sc in accent color (inner ear), then 4 sc in main color.
Fasten off, leave a long tail. Fold in half before sewing to the head.
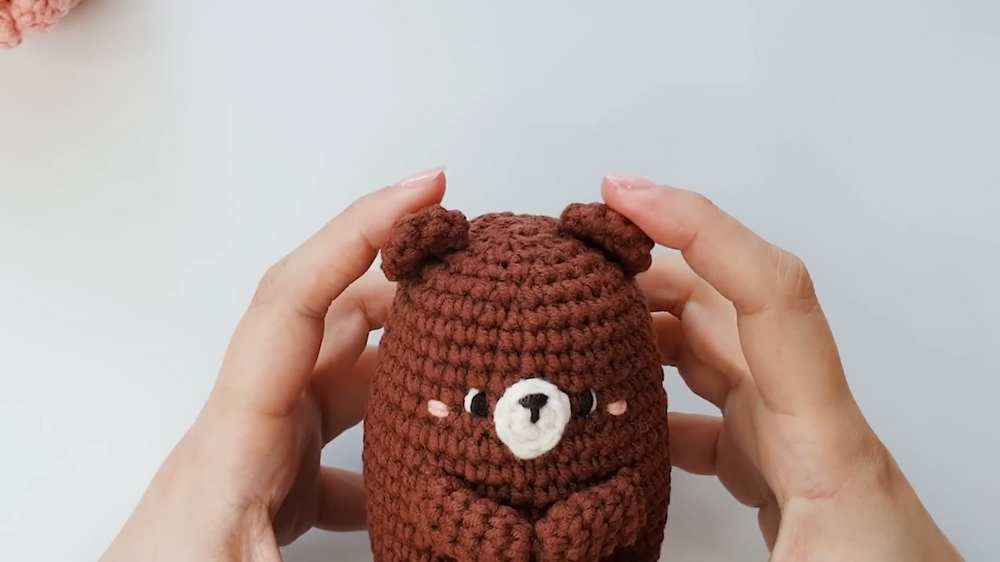
3. Bear Ears (Make 2)
Rnd 1: 5 sc in MR [5]
Rnd 2: (Inc) x5 [10]
Rnd 3: Sc around [10]
Fasten off and leave a long tail.
4. Bear Muzzle (White/Cream)
Rnd 1: 7 sc in MR [7]
Fasten off and leave a long tail.
5. Arms (Make 2 – Common)
Rnd 1: 6 sc in MR [6]
Rnd 2-5: Sc around [6]
Fasten off and leave a long tail.
6. Tail (Make 1 – Common)
Rnd 1: 5 sc in MR [5]
Rnd 2: Sc around [5]
Fasten off and leave a long tail.
Assembly & Face
Ears: Sew Rabbit ears between Rnds 3-5; sew Bear ears between Rnds 2-4.
Arms: Sew them to the sides of the body (Rnds 12-14), angling them forward so they can “hold” an object.
Face:
Eyes: Embroider between Rnds 8-9 for Bear, or slightly higher for Rabbit.
Nose/Mouth: Embroider onto the muzzle for the bear, or directly on the face for the rabbit.
Cheeks: Add small pink horizontal stitches below the eyes.
Tail: Sew to the back center near the base (approx. Rnd 4 from the bottom).
Video Tutorial:
You may also like
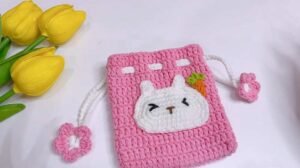
Free Crochet Rabbit Pouch Bag Pattern for Kids
6 Free Crochet Rabbit Tutorials for Kids
How to Crochet Cute Rabbit Backpack Keychain for Kids
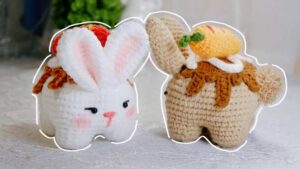
6 Free Crochet Bunny and Bear Amigurumi Patterns

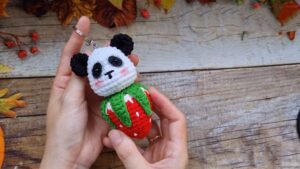
Crochet Mini PANDA Bear in Overalls Doll for Beginners
Free Crochet Strawberry Bear Keychain Pattern for Spring
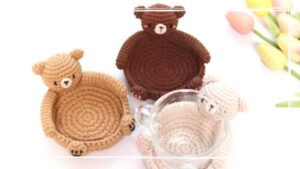
Crochet Bear Amigurumi Tea Coaster Pattern
How to Crochet Dressed Animal Dolls With Caps (Bunny, Bear & Duck)