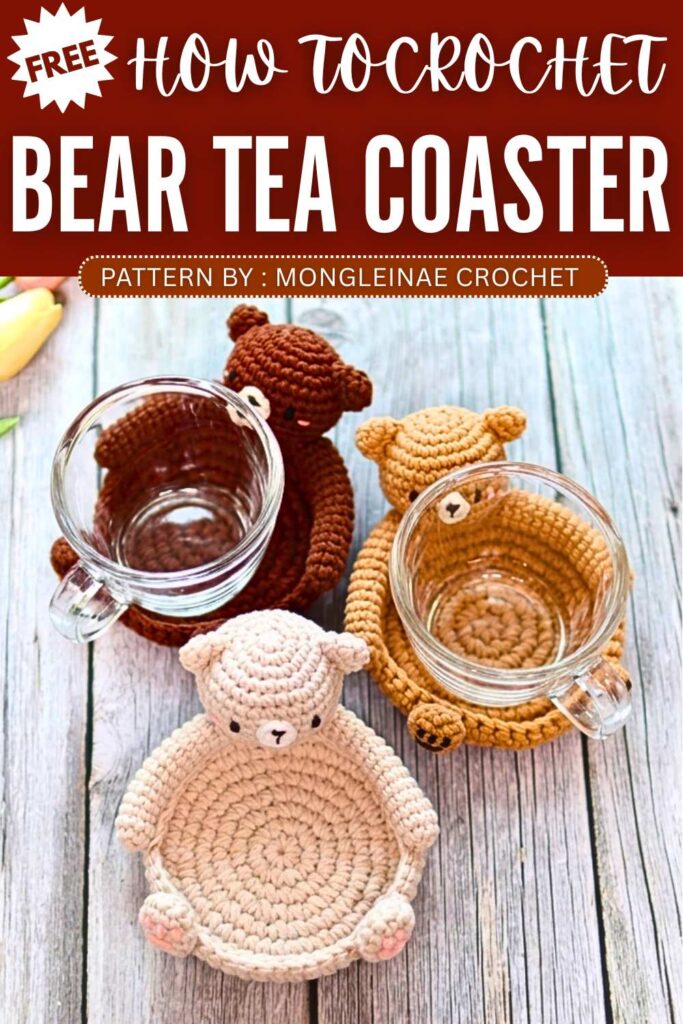
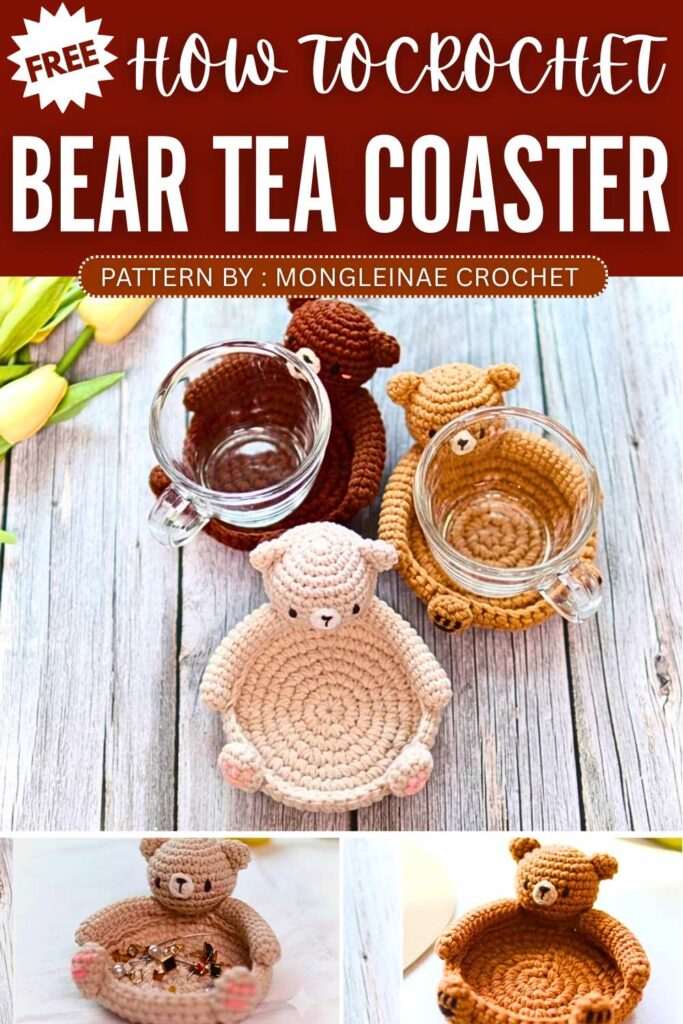
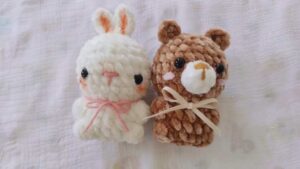
Crochet Bear Amigurumi Tea Coaster Pattern
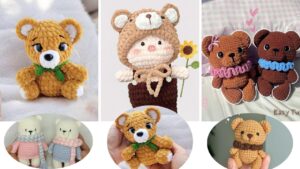
Make a cute bear crochet coaster and mini tray with this simple and fun project. The design has an adorable bear face with small ears, nose, and paw details on a round base. It can be used to hold a cup or small items like jewelry and trinkets. Soft colors like beige and brown give it a cozy look, making it both useful and a pretty decoration for your home.
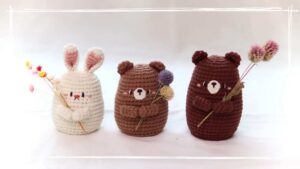
The designer of this pattern is @mongleinae. She makes themed crochet pouches and little decorations that are always elegant and gift-ready. In one word, she is among the most CREATIVE crochet designers whose work I have covered so far. Just take a look at her octopus pouch!
Be sure to subscribe to her channel for more of creative crochet patterns and to support her
Step by Step Pattern:
Materials List
Yarn: Beige/Light Brown (Main color), White (Muzzle), and Black (Embroidery).
Hooks:
7.0mm (10.5/0): For the tray (using two strands of yarn held together).
3.0mm (5/0): For the head, ears, and limbs (using one strand).
Other: Fiberfill stuffing for the head, tapestry needle, scissors, and stitch markers.
Abbreviation List
MR: Magic Ring
ch: Chain
sc: Single crochet
inc: Increase (2 sc in one stitch)
dec: Decrease (Invisible decrease)
st(s): Stitch(es)
sl st: Slip stitch
Step-by-Step Pattern
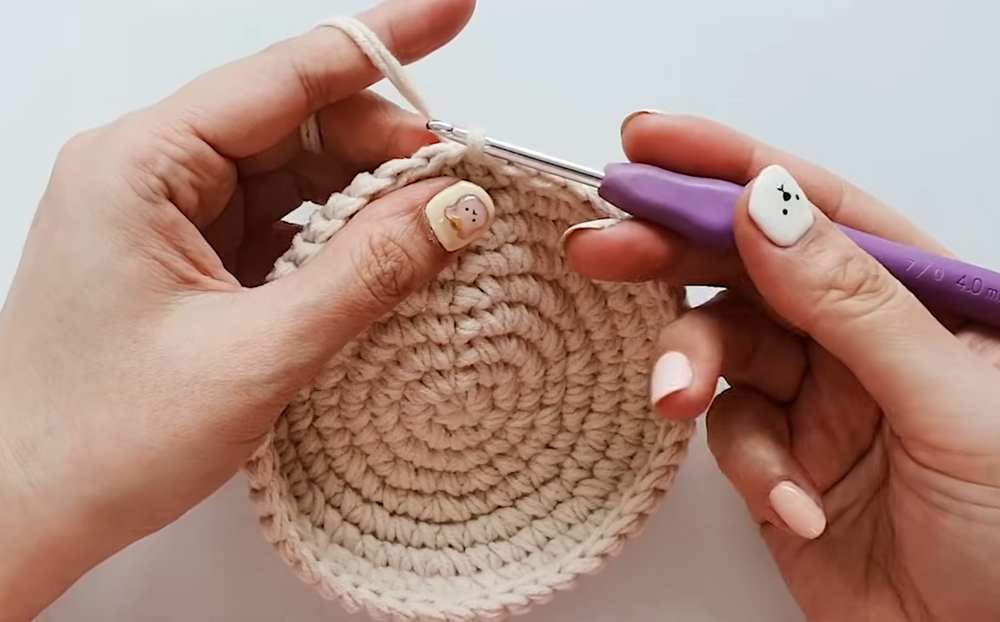
Part 1: The Tray (Use 7.0mm Hook & 2 Strands)
R1: MR, 7 sc (7)
R2: 7 inc (14)
R3: (1 sc, inc) x7 (21)
R4: (2 sc, inc) x7 (28)
R5: (1 sc, inc, 2 sc) x7 (35) — Note: Increases are staggered to keep the shape round.
R6: (4 sc, inc) x7 (42)
R7: (2 sc, inc, 3 sc) x7 (49)
R8–9: 49 sc around (49). Fasten off and weave in ends invisibly.
Part 2: The Head (Use 3.0mm Hook & 1 Strand)
R1: MR, 6 sc (6)
R2: 6 inc (12)
R3: (1 sc, inc) x6 (18)
R4: (2 sc, inc) x6 (24)
R5: (3 sc, inc) x6 (30)
R6–10: 30 sc around (30)
R11: (3 sc, dec) x6 (24)
R12: (2 sc, dec) x6 (18). Add stuffing here.
R13: (1 sc, dec) x6 (12). Finish stuffing.
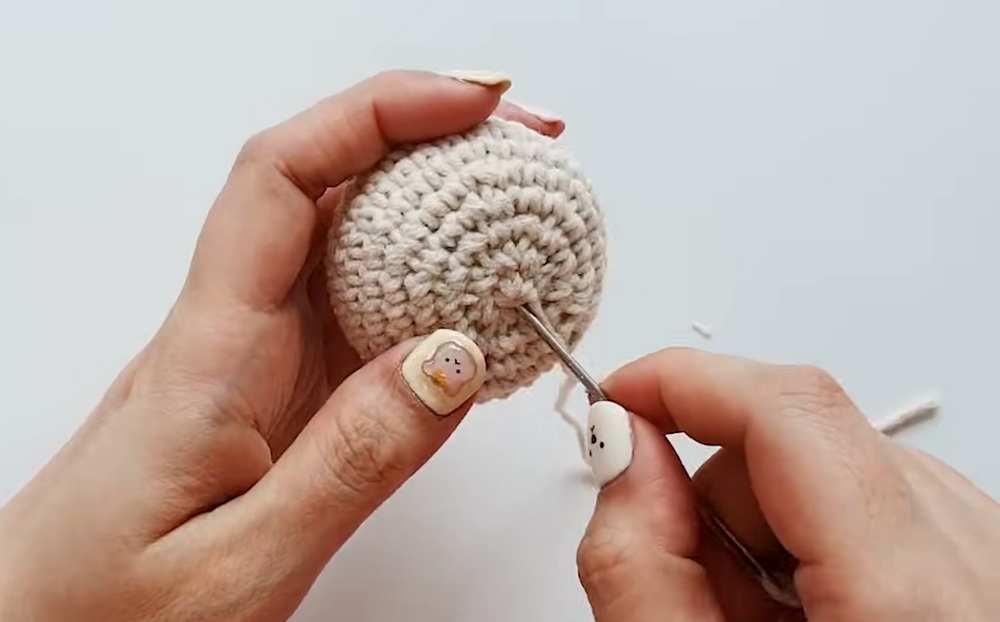
R14: 6 dec (6). Fasten off leaving a 30cm tail for sewing.
Part 3: Ears (Make 2), Arms (Make 2), and Feet (Make 2)
Ears: R1: MR, 4 sc. R2: 4 inc (8). R3: 8 sc around. Fasten off.
Arms: R1: MR, 4 sc. R2: 4 inc (8). R3–14: 8 sc around. R15: 4 dec. No stuffing needed.
Feet: R1: MR, 5 sc. R2: 5 inc (10). R3–5: 10 sc around. R6: 5 dec. Fasten off.
Muzzle (White): R1: MR, 7 sc. Fasten off leaving a tail.

Part 4: Embroidery & Face Assembly
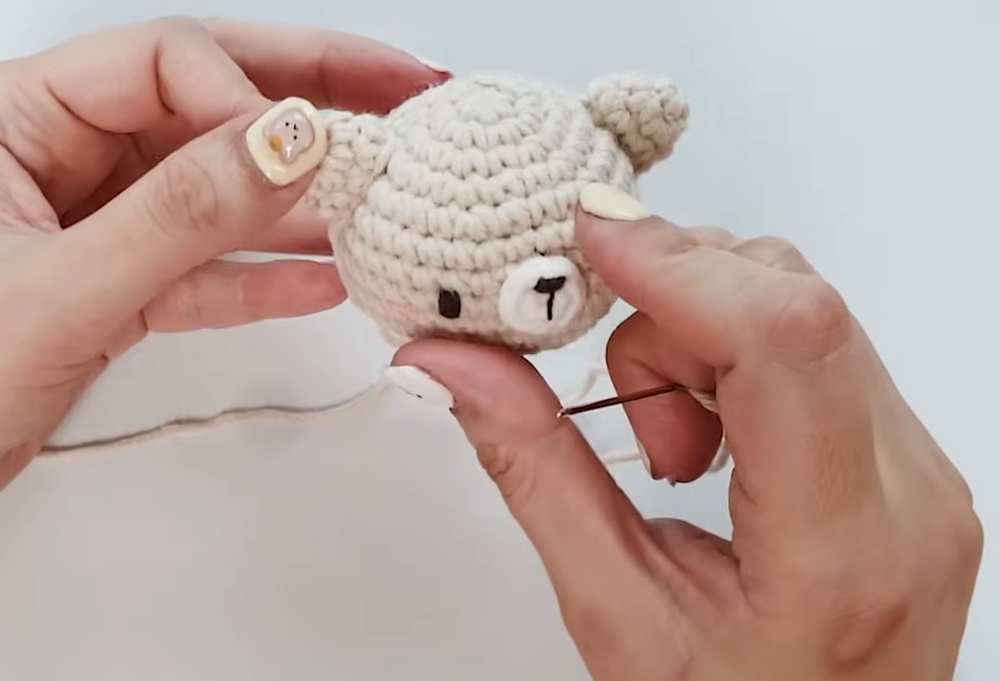
Muzzle: Sew the white circle onto the head between rounds 7 and 9. Embroider a small inverted “V” or “Y” for the nose/mouth.
Eyes: Embroider small black eyes on Round 8, approximately 1.5 to 2 stitches apart.
Ears: Sew ears between rounds 4 and 7 of the head.
Footpads: Using brown/black yarn, embroider 3 small dots and 1 large pad on each foot before sewing them shut.
Part 5: Final Assembly
Arms: Position the arms on the tray, leaving a 3-4 stitch gap at the top. Sew them along the edge of the tray.
Head: Center the head between the arms at the top of the tray. Angle it slightly forward so the bear looks like it’s peeking over the edge. Sew securely.
Feet: Sew the feet onto the bottom edge of the tray, angled slightly outward.
Tip: Use a tapestry needle to hide all yarn tails inside the head or limbs for a clean finish.
Video Tutorial:
You may also like
How to Crochet Dressed Animal Dolls With Caps (Bunny, Bear & Duck)
How to Crochet Zombie Bear Head Keychains for Halloween
6 Free Crochet Bunny and Bear Amigurumi Patterns
Crochet Rabbit And Bear Amigurumi Pattern

Crochet Christmas Tree Animal Ornaments (Pig, Capybara & Bear)