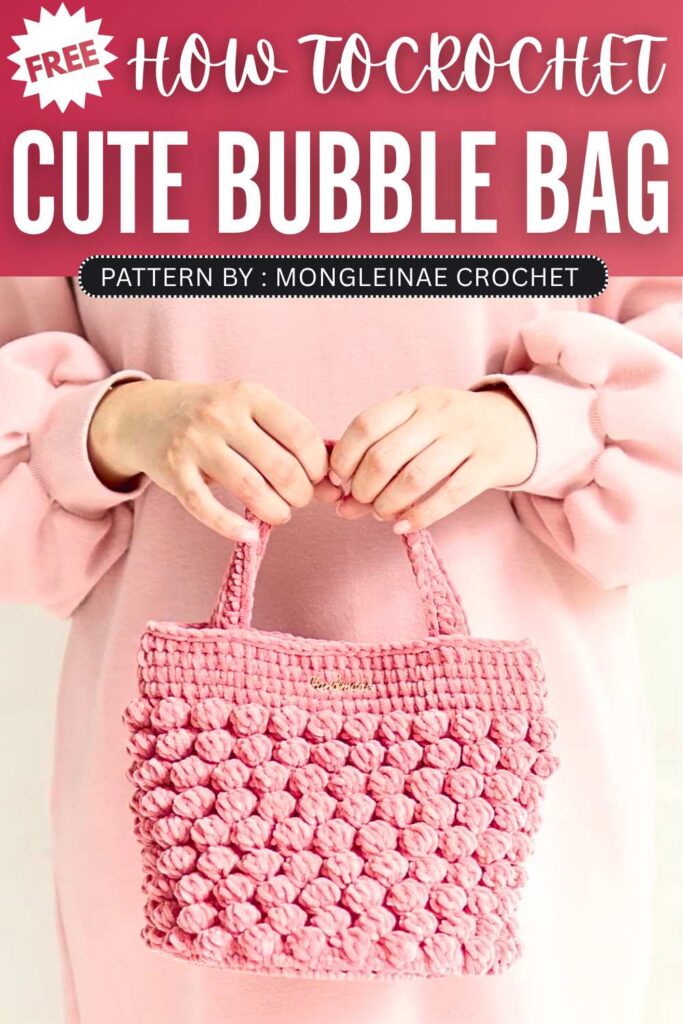
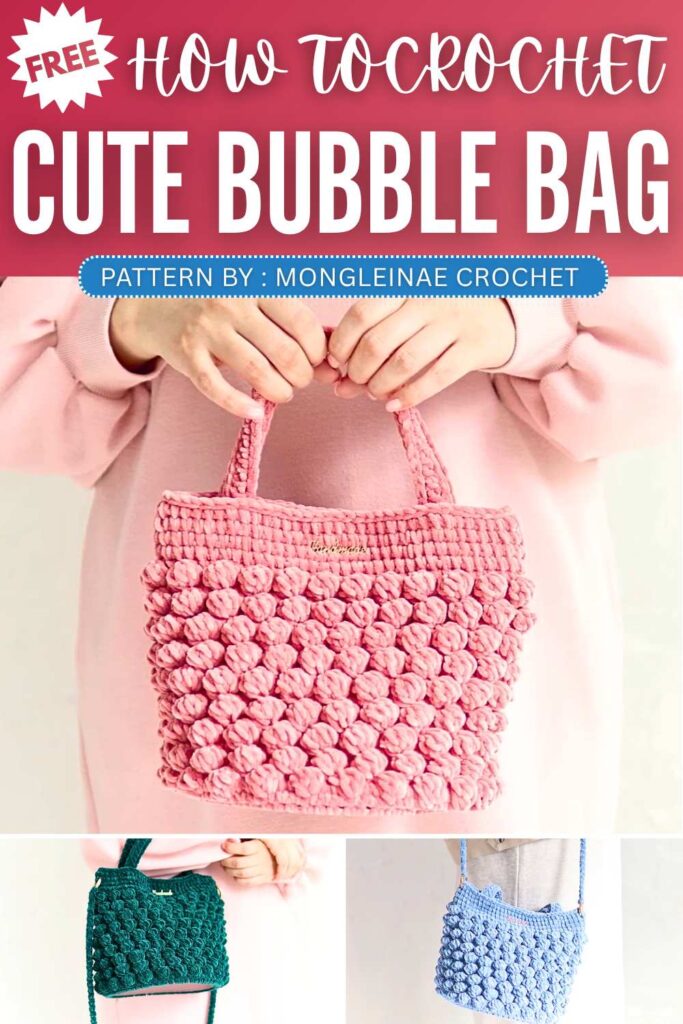
Crochet Bubble Hand Bag Pattern For Beginners
Make your own soft and cozy bubble bag with this fun crochet project using fluffy chenille yarn. The bag starts with a strong leather base to keep its shape firm. You build up the body with simple stitch increases and a neat round shape. The special bubble texture is made by mixing puffy stitches and simple stitches, giving it a soft and stylish look. It is perfect for carrying small items in a warm handmade style.
Crochet Bubble Hand Bag Pattern
The designer of this pattern is @mongleinae. She makes themed crochet pouches and little decorations that are always elegant and gift-ready. In one word, she is among the most CREATIVE crochet designers whose work I have covered so far. Just take a look at her octopus pouch!
Be sure to subscribe to her channel for more of creative crochet patterns and to support her
Step by Step Pattern:
Materials List
Yarn: 2 balls of Chenille Velvet yarn.
Hook: 3.0mm (Size 5/0) for the base, 4.0mm (Size 7/0) for the body.
Accessories: 1 Circular leather bag base (46 holes), Tapestry needle, Scissors, Stitch markers.
Optional: 2 Metal O-rings (28mm), magnetic clasp, and a metal label.
Abbreviation List
sc: Single crochet
inc: Increase (2 sc in one stitch)
sl st: Slip stitch
ch: Chain
st(s): Stitch(es)
Bubble: 5-dc popcorn/bubble stitch (worked into one stitch)
Step-by-Step Pattern
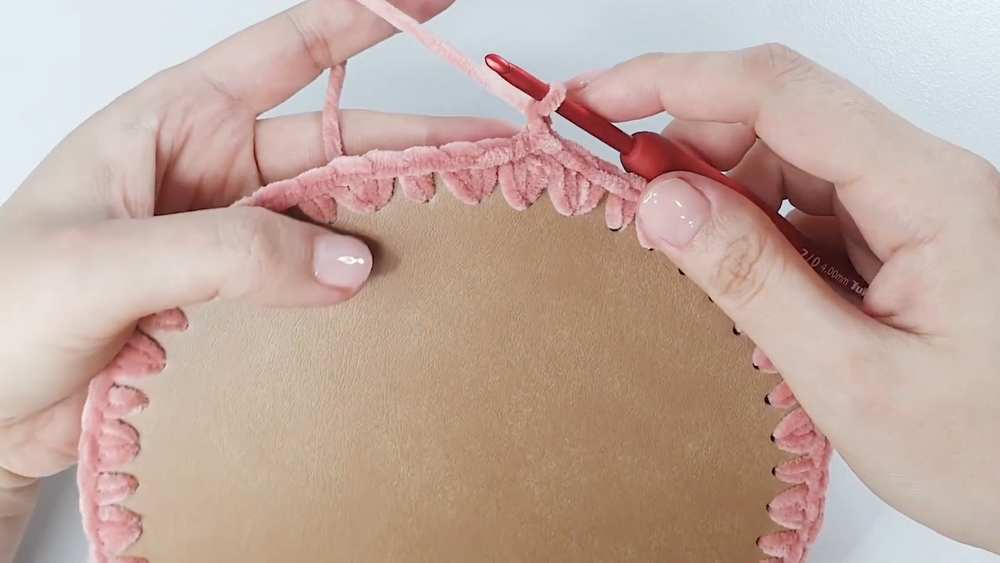
1. Preparing the Base (Use 3.0mm Hook)
Work into the 46 holes of the leather base.
Base Round: Join yarn to any hole. Work a pattern of (1 sc, 1 inc) repeatedly around the 46 holes.
Note: You should end with 69 stitches total.
Sl st to the first sc to join.
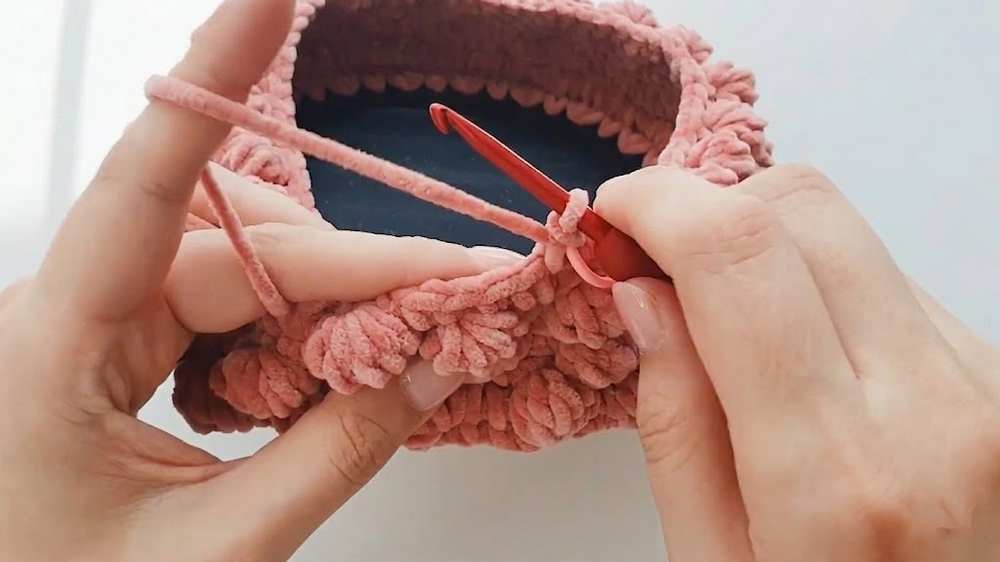
2. The Bag Body (Switch to 4.0mm Hook)
Round 1: Ch 1 (does not count as a st). Sc in each st around (69 sts). Sl st to join.
Round 2 (Base Reinforcement): Sl st in each st around (69 sl sts). This creates a firm edge.
Round 3 (First Bubble Row): Ch 1. (2 sc, 1 Bubble) repeated 23 times.
To make the Bubble: Work 5 partial double crochets into the same stitch (leaving 6 loops on hook), then pull through all loops.
Placement: Work these into the “V” of the sc from Round 1 (below the sl st layer).
Round 4 (Gap Row): Ch 1. Sc in each st around (69 sts).
Round 5 (Offset Bubble Row): Ch 1. 1 sc, 1 Bubble, (2 sc, 1 Bubble) until 1 st remains, 1 sc.
This offsets the bubbles so they sit between the bubbles of Round 3.
Rounds 6–20: Repeat the logic of Rounds 3–5 (alternating sc rows and bubble rows) until you have 9 rows of bubbles in height. Always work a sc row after a bubble row.
3. Top Border (Stockinette-Style Crochet)
Rounds 21–28: Work 4 repeats of the following 2-row sequence:
Row A: Work “Knit-look” sc (insert hook into the center of the ‘V’ of the stitch below).
Row B: Sl st in each st around to add thickness and structure.
Fasten off and weave in ends.

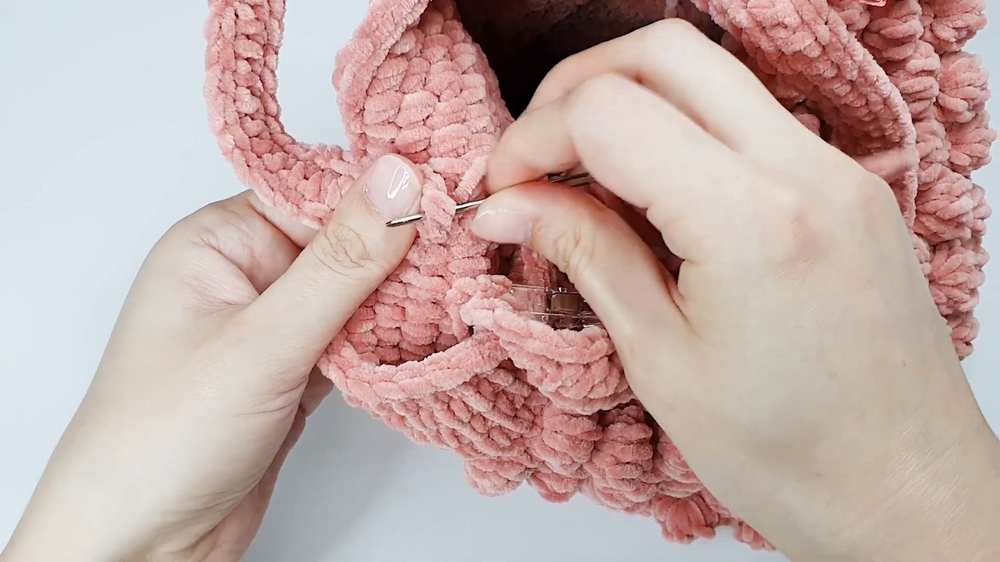
4. Handles and Straps
Short Handles (Make 2):
Leave a long tail. Work a Romanian Point Lace (Cording) or “Shrimp Stitch” for 38cm.
Work sl sts along both sides of the cord to widen it.
Sew the handles to the inside of the bag, approximately 11cm apart.
Long Crossbody Strap (Optional):
Work the same cord style until it reaches 120cm.
Sew the ends to metal O-rings and clip them to the sides of the bag.
5. Finishing Touches
Attach the metal label to the front center.
Sew a magnetic clasp to the inside top border for closure.
Tip: When working with velvet yarn, do not pull too tight, as the fibers can “worm” or break if handled roughly. Ensure your bubble stitches are pushed to the right side of the fabric.
Video Tutorial:
You may also like
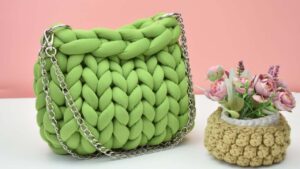
How to Crochet Tube Yarn Handbag by Hand-Knitting
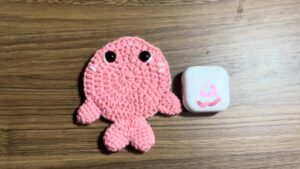
Crochet Whale Pouch & Bag Charm Pattern
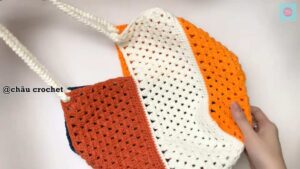
Chau Crochet: How to Crochet Candy Corn Fall Tote Bag for Halloween

Love-Knitting: Crochet Low-Sew Kawaii Squirrel Plushie with Acorn Bag for Fall
Crochet Bat Trick-or-Treating Pouch for Halloween Pattern (Crossbody Bag )
Crochet Cat Pouch & Bag Charm Pattern Free