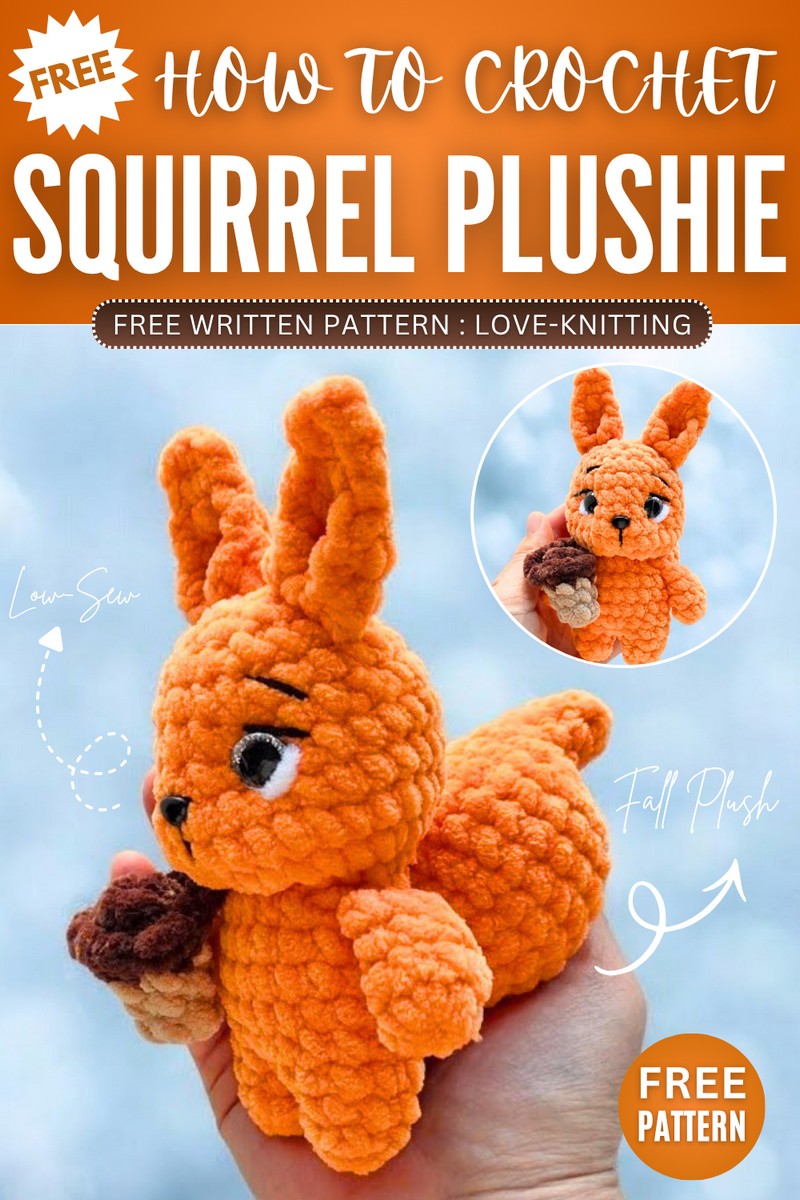
Love-Knitting: Crochet Low-Sew Kawaii Squirrel Plushie with Acorn Bag for Fall
Learn how to crochet the CUTEST low-sew squirrel plushie + a small acorn shoulder bag as an accessory for it with this FREE written pattern. This is crochet CUSTOM kawaii squirrel character plushie with the MOST ELEGANT eyes thanks to the eyebrow, eyelashes and eye-white embroidery along with glitter eyes. We shall crochet a squirrel doll for fall with the bulky stuffed tail that looks simply adorable.
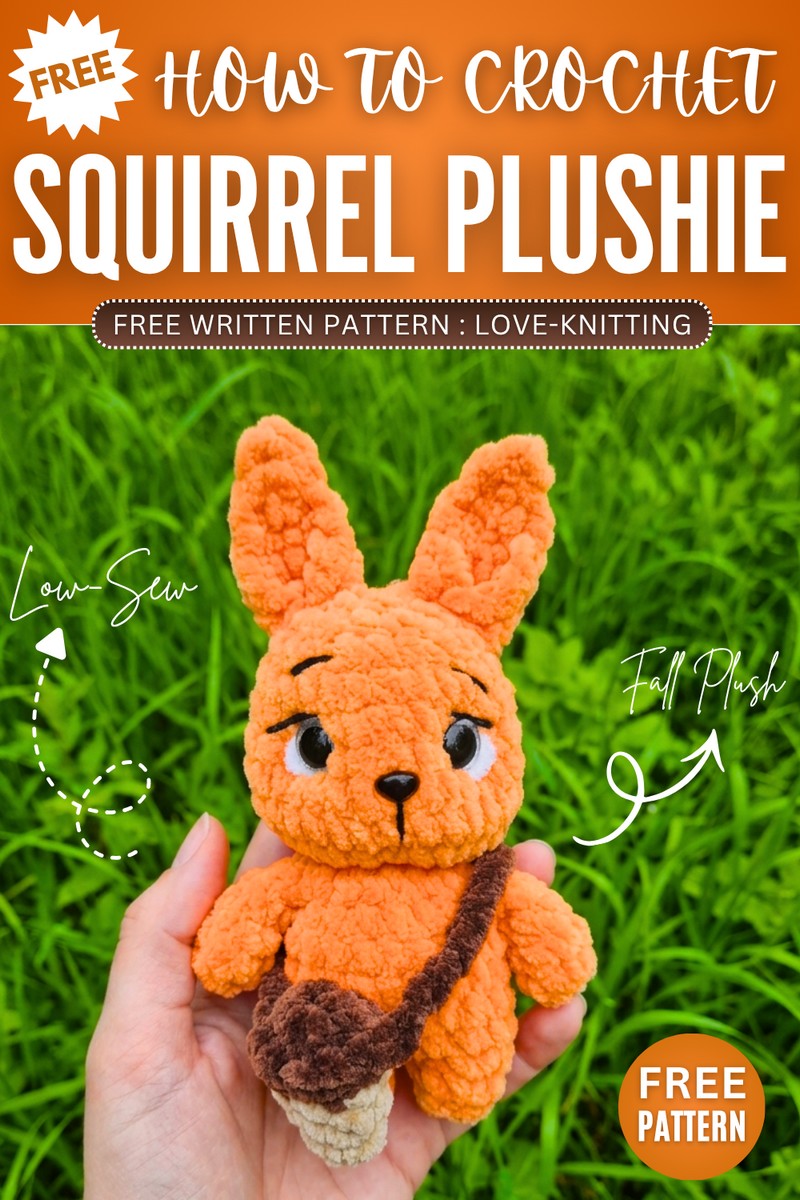
This squirrel plush also have a little plastic nose and long ears all making it the BEST squirrel amigurumi model. And, you can crochet it within 60 minutes by using the quick pattern and the super bulky yarn. You will also learn crocheting the acorn pouch following this same pattern. So, let’s move to the written pattern.
About the Designer: The designer behind this crochet squirrel holding an acorn plush is @love-knitting –with her 1k plush and accessory tutorials, she is a master in crochet whose super bulky yarn series is my favorite.
How to Crochet Kawaii Squirrel Character Doll Plushie
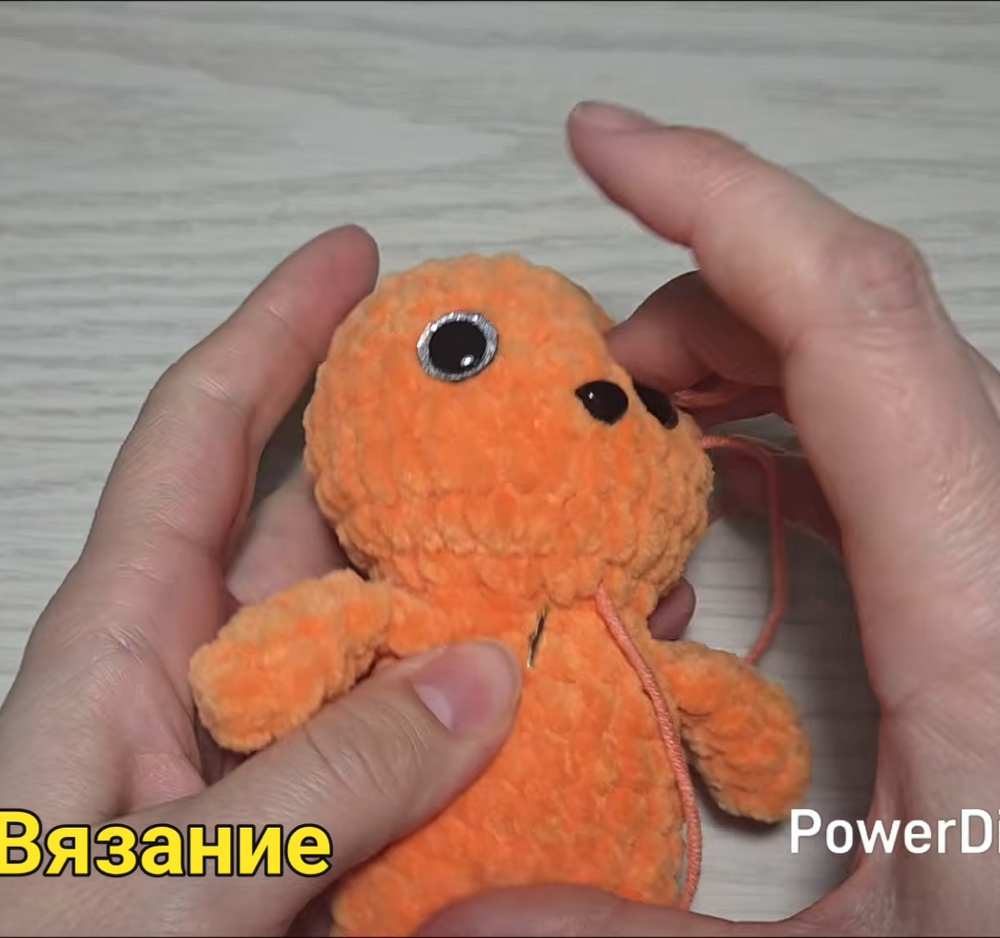
This adorable amigurumi (the Japanese art of crocheting small stuffed yarn creatures) project guides you through making a tiny, lovable plush squirrel carrying its very own removable acorn bag accessory. Standing around 11 centimeters tall without its ears and 15 centimeters with them, the toy features a seamless legs-to-body setup with arms crocheted directly into the rounds to reduce sewing.
With its big safety eyes, sweet embroidered face details, unique flat ears, and a large fluffy tail attached to its back, this cuddly woodland friend makes a marvelous little pocket companion or handmade gift.
Materials Needed:
Plush/chenille yarn (100 g / 120 m) in Main Color (such as Orange or Ginger), Dark Brown (for the acorn cap), and Light Brown/Beige (for the acorn body).
4.0 mm crochet hook.
12 mm safety eyes and an 8×6 mm safety nose.
Semi-cotton scrap yarn (black and white) for face sculpting and embroidered details.
Toy stuffing (Fiberfill).
Scissors, stitch markers, and a long yarn needle.
Abbreviations
MR: Magic Ring
sc: Single crochet stitch
inc: Increase
dec: Decrease (
ch: Chain stitch
sl st: Slip stitch
BLO: Back loops only
FLO: Front loops only

Arms (Make 2, using Main Color):
Round 1: 6 sc in a MR (6 stitches)
Rounds 2–4: 6 sc around (6 stitches)
Do not stuff. Fold the top opening flat and crochet 3 sc across both layers to close the arm. Cut the yarn, leaving a small tail since these will be joined directly into the body later.
Legs & Body (using Main Color):
Leg 1: Round 1: 6 sc in a MR (6 stitches). Round 2: 6 sc around (6 stitches). Round 3: (1 sc, inc) repeat 3 times (9 stitches). Fasten off and cut the yarn.
Leg 2: Repeat Rounds 1–3 exactly, but do not cut the yarn.
Joining Legs & Body: Round 4: From Leg 2, carry over and crochet 9 sc around Leg 1, then transition to Leg 2 and crochet 9 sc around it (18 stitches total). (Tip: If you notice a tiny gap at the center junction, pull up a hidden loop between the legs to join them cleanly).
Round 5: (inc, 8 sc) repeat 2 times (20 stitches)
Rounds 6–7: 20 sc around (20 stitches)
Round 8 (Side Shaping): 4 sc, dec, 8 sc, dec, 4 sc (18 stitches)
Round 9 (Arm Attachment): 4 sc, crochet 3 sc together through both the first arm and the body layers, 6 sc, crochet 3 sc together through the second arm and the body layers, 2 sc (18 stitches). (Feel free to adjust the starting placement by a stitch if your personal tension shifts the arm alignment away from the exact sides).
Round 10: (1 sc, dec) repeat 6 times (12 stitches). Lightly stuff the body with fiberfill.
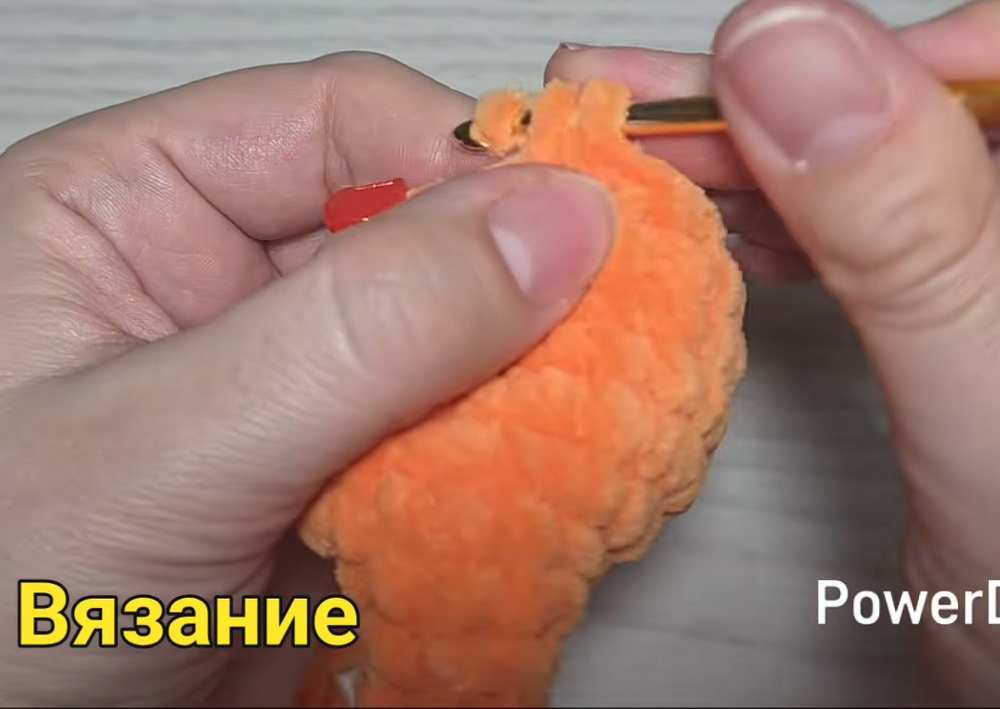
Head (Continued from Body using Main Color):
Round 11: 12 inc around (24 stitches)
Round 12: (3 sc, inc) repeat 6 times (30 stitches)
Rounds 13–15: 30 sc around (30 stitches)
Round 16: (3 sc, dec) repeat 6 times (24 stitches)
Round 17: 24 sc around (24 stitches)
Face Setup: Insert 12 mm safety eyes between Rounds 15 and 16, leaving 7 stitches of space between them. Insert the 8×6 mm safety nose between Rounds 14 and 15, centered right below the eyes.
Round 18: (2 sc, dec) repeat 6 times (18 stitches). Stuff the head firmly.
Round 19: (1 sc, dec) repeat 6 times (12 stitches)
Round 20: 6 dec around consecutively (6 stitches). Fasten off, weave the yarn tail through the FLO of the remaining 6 stitches, pull tight to seal the top, and hide the yarn tail inside.
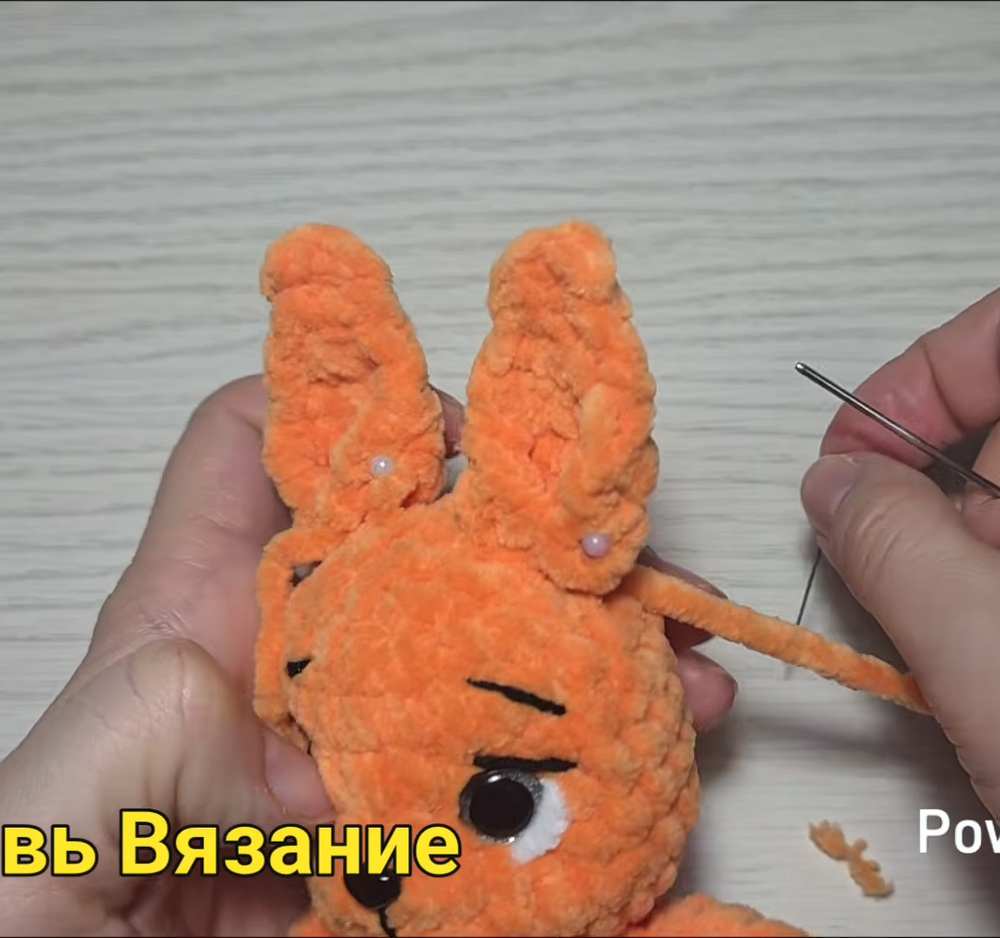
Sculpting: Use a strand of strong semi-cotton yarn to pull back the corners of the safety eyes down to the base of the neck. Tie securely to indent the eyes slightly, giving the muzzle a sweet, expressive look. Embroider small eyelashes, brows, a tiny vertical muzzle line under the nose, and add a white plush yarn highlight under each eye.
Ears (Make 2, using Main Color – Worked in Turned Rows):
Row 1: 2 sc into a MR, ch 1, turn (2 stitches)
Row 2: 2 sc, ch 1, turn (2 stitches)
Row 3: 2 inc, ch 1, turn (4 stitches)
Row 4: 4 sc, ch 1, turn (4 stitches)
Row 5: inc, 2 sc, inc, ch 1, turn (6 stitches)
Row 6: 6 sc. Fold the flat ear piece in half slightly at the base and work 1 sl st across the corner edges to give it a beautifully cupped shape. Fasten off, leaving a long thread. Pin the ears symmetrically onto the top sides of the head and sew them down securely.
Fluffy Tail (using Main Color):
Round 1: 6 sc in a MR (6 stitches)
Round 2: 6 sc around (6 stitches)
Round 3: 2 sc, 3 inc in a row, 1 sc (9 stitches)
Round 4: 9 sc around (9 stitches)
Round 5: 2 sc, 5 inc in a row, 2 sc (14 stitches)
Round 6: 2 sc, 10 inc in a row, 2 sc (24 stitches)
Rounds 7–8: 24 sc around (24 stitches)
Round 9: dec, 20 sc, dec (22 stitches)
Round 10: 22 sc around (22 stitches)
Round 11: (3 sc, dec) repeat 4 times, 2 sc (18 stitches)
Round 12: 18 sc around (18 stitches)
Round 13: (1 sc, dec) repeat 6 times (12 stitches). Fill the wide, curved upper section of the tail with stuffing, leaving the bottom base empty.
Round 14: 6 dec around (6 stitches)
Round 15: Flatten the base opening and crochet 3 sc through both sides to seal it closed. Leave a long tail for assembly. Position the tail on the back of the squirrel; sew the base down first, then make a few hidden stitches higher up along the back to prevent the heavy tail from tipping backward.
Removable Acorn Bag Accessory:
Acorn Cap (with Dark Brown yarn): Round 1: 6 sc in a MR (6 stitches). Round 2: (1 sc, inc) repeat 3 times (9 stitches). Make a sl st to finish the round, but do not cut the dark brown yarn. Pull it out of the way for a moment.
Acorn Body (with Light Brown/Beige yarn): Join the light yarn to the BLO of the previous round. Round 3: (1 sc, dec) repeat 3 times (6 stitches). Rounds 4–5: 6 sc around (6 stitches). Add a tiny pinch of fiberfill stuffing. Fasten off the light yarn, weave through the remaining front loops to close the bottom point, and hide the thread inside.
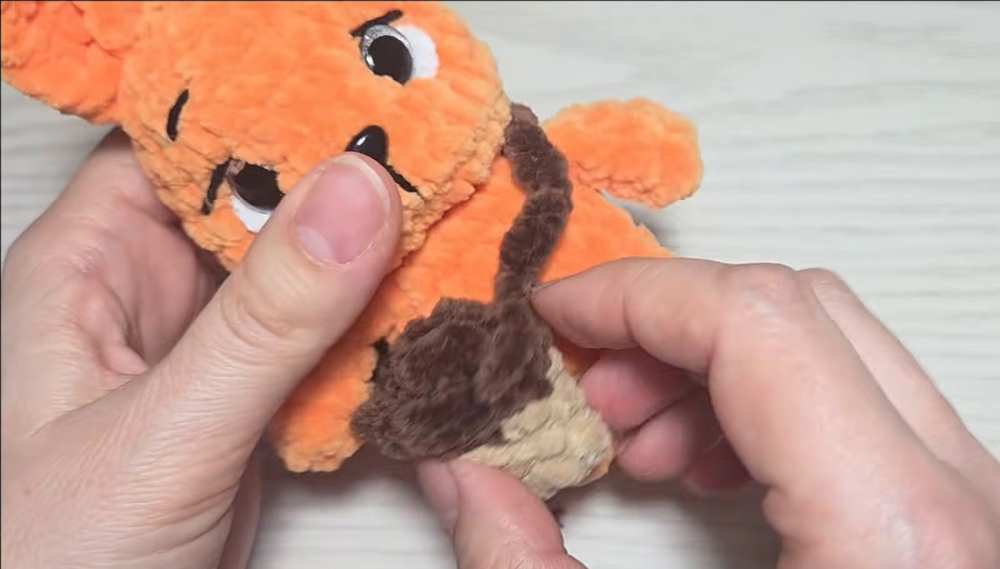
Finishing the Bag: Go back to your dark brown yarn left at the cap edge. Insert your hook into the unworked front loops from Round 2 and make a round of surface slip stitches to form a defined, prominent cap rim. Once the rim is complete, chain a long, flexible cord of chain stitches (long enough to drape diagonally over the squirrel’s shoulder like a crossbody strap). Slip stitch the end of the chain to the opposite side of the cap, cut the thread, and knot it securely. Slip the acorn bag onto your finished squirrel!
Video Tutorial to Learn Even Better
Save for Later!