
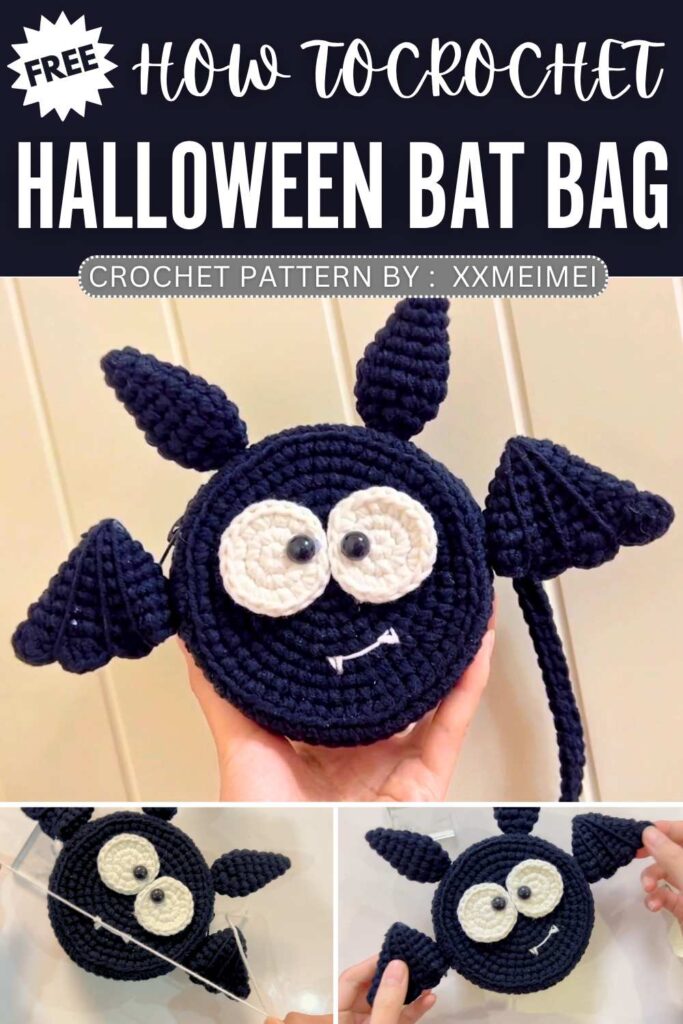
Crochet Bat Trick-or-Treating Pouch for Halloween Pattern (Crossbody Bag )
Learn how to crochet a CUTE googly-eyed bat crossbody bag this Halloween with a FREE written pattern. This crochet round crossbody pouch that can double as a trick-or-treating bag for kids at Halloween can be finished within 2 hours. This bat bag also has a zipper closure, spooky embroidery smile, cute wings and the ears, too. All these features make it a must-have crochet bag for Halloween.
Trick-or-Treating Pouch for Halloween Pattern
Luckily, it requires the crochet basic round base and the the patterns for crochet bat features are also not difficult. This bat crossbody bag looks so kawaii and you can also use a black leather strap instead of the crochet double crochet handle. Now, continue reading for the full crochet pattern to make this bag.
How to Crochet Crossbody Halloween Bat Bag Pattern
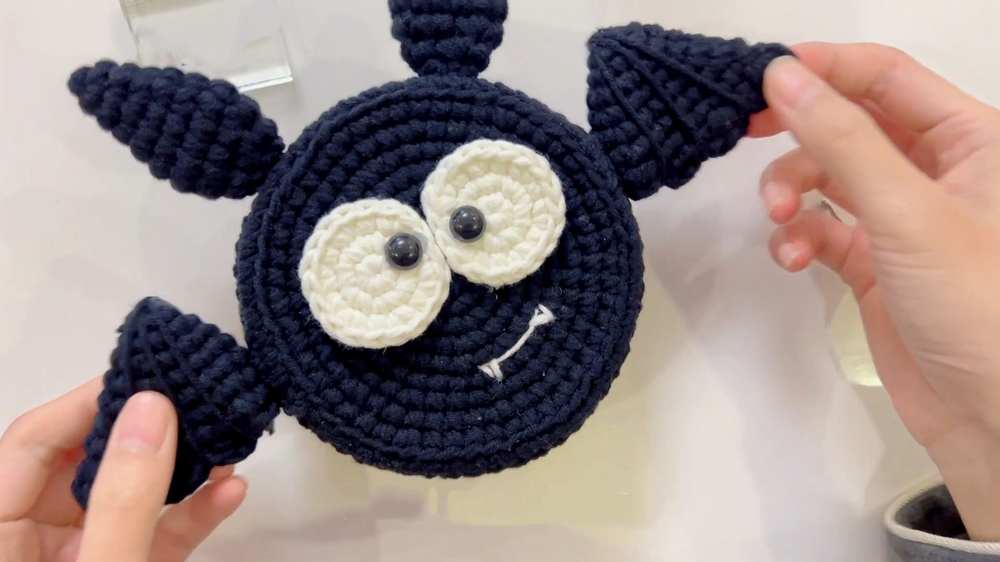
This project is a fun, festive Halloween bat crossbody bag! Perfect for holding small items or trick-or-treat goodies, this bag is crocheted using two strands of yarn for sturdiness. It features a round, black base with an opening for a zipper, adorable white eyes with a stitched-on fanged smile, two pointed ears, and detailed scalloped wings.
It’s an intermediate project that utilizes basic stitches and increases, finishing with some simple sewing and zipper installation to create a super cute accessory!
Materials Needed
Yarn: 5-ply milk cotton yarn in Black (main color), White (for the eyes and teeth), and Red (for the mouth). (Note: The yarn is held double—using two strands at the same time—throughout the project for extra thickness).
Crochet Hook: 3.5 mm hook.
Extras: A zipper (for the opening), a crossbody bag strap, and fabric or mesh for an inner lining (optional but recommended).
Tools: Tapestry needle, scissors, stitch markers, and fabric glue/hot glue (optional for attaching parts).
Abbreviations (US Terms)
MR = Magic Ring
ch = Chain
sc = Single crochet
hdc = Half double crochet
dc = Double crochet
inc = Increase (2 single crochets in the same stitch)
sl st = Slip stitch
BLO = Back Loops Only
FLO = Front Loops Only
st(s) = Stitch(es)
FO = Fasten off
(Note: Unless otherwise stated, rounds are joined with a slip stitch to the first stitch of the round, followed by a ch 1 to begin the next round).
Full Crochet Pattern
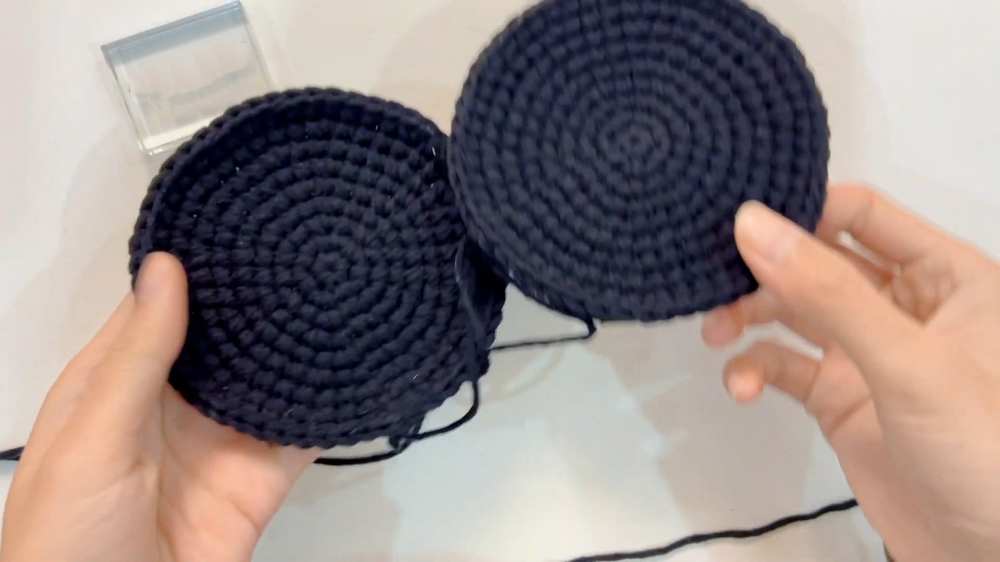
1. Main Body Panels (Make 2 – Use Black Yarn held double)
- Round 1: Make a MR, 6 sc into the ring. Join, ch 1. (6 sts)
- Round 2: 6 inc. Join, ch 1. (12 sts)
- Round 3: [1 sc, 1 inc] repeat 6 times. Join, ch 1. (18 sts)
- Round 4: [2 sc, 1 inc] repeat 6 times. Join, ch 1. (24 sts)
- Round 5: [3 sc, 1 inc] repeat 6 times. Join, ch 1. (30 sts)
- Round 6: [4 sc, 1 inc] repeat 6 times. Join, ch 1. (36 sts)
- Round 7: [5 sc, 1 inc] repeat 6 times. Join, ch 1. (42 sts)
- Round 8: [6 sc, 1 inc] repeat 6 times. Join, ch 1. (48 sts)
- Round 9: [7 sc, 1 inc] repeat 6 times. Join, ch 1. (54 sts) FO the first panel. Do not FO the second panel if you are continuing immediately to the side gusset. (Optional: Glue your fabric lining to the wrong sides of both panels now).
2. Side Gusset and Zipper Opening (Continuing from one Body Panel)
- Round 1: Working in the Front Loops Only (FLO) of the 54 sts, work 1 sc in each st around. Join, ch 1. (54 sts)
- Rounds 2 – 3 (2 rounds): Working in both loops normally, 1 sc in each st around. Join, ch 1. (54 sts)
- Round 4 (Creating the zipper opening): Place a stitch marker on the 24th stitch from your hook to mark the zipper opening. 1 sc in each st until you reach the stitch marker. Drop your loop and leave a long tail of yarn.
- Round 5: Re-attach your yarn at the beginning of Round 4. 1 sc in each st along the gusset (working over the previous row’s tail) until you reach the other side of the opening. Drop the loop.
- Round 6: Re-attach your yarn again at the beginning. 1 sc in each st across. When you reach the end of the gusset section, ch 24 (keep the chains loose) to bridge the gap for the zipper opening. Join with a sl st to the first stitch of the round. Ch 1.
- Round 7: 1 sc in each st along the gusset. When you reach the chain section, work 24 sc into the front loops of the chains. Join, ch 1. (54 sts total)
- Rounds 8 – 9 (2 rounds): 1 sc in each st around. Join, ch 1. (54 sts) FO, leaving a very long tail for sewing.
Assembly of the Main Bag:
Sew the zipper into the 24-stitch opening.
Place the back panel against the open side of the gusset. Whipstitch them together by sewing through the inner loop of the back panel and both loops of the gusset edge.
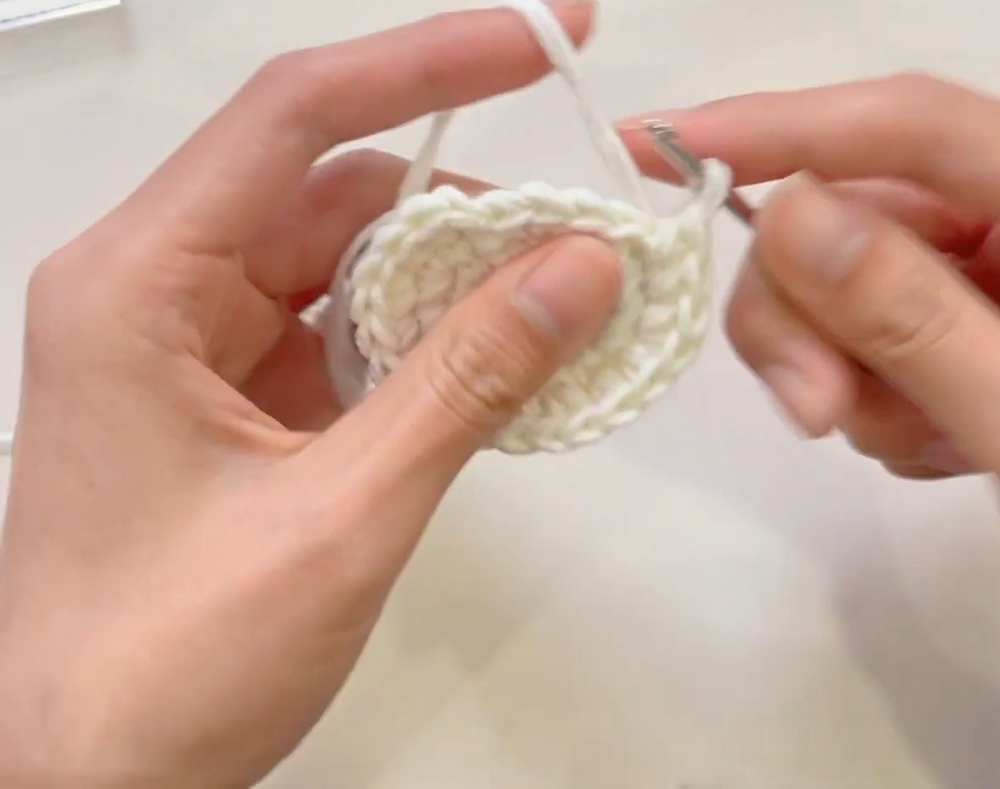
3. Eyes (Make 2 – Use White Yarn held double)
Rounds 1 – 3: Follow the exact same pattern as Rounds 1 – 3 of the Main Body Panels. (Ending with 18 sts). FO, leaving a long tail for sewing.
4. Bat Wings (Make 2 – Use Black Yarn held double)
- Round 1: Make a MR, 3 sc into the ring. Join, ch 1. (3 sts)
- Round 2: 3 inc. Join, ch 1. (6 sts) Round 3: [1 sc, 1 inc] repeat 3 times. Join, ch 1. (9 sts) Round 4: [2 sc, 1 inc] repeat 3 times. Join, ch 1. (12 sts)
- Round 5: [3 sc, 1 inc] repeat 3 times. Join, ch 1. (15 sts)
- Round 6: [4 sc, 1 inc] repeat 3 times. Join, ch 1. (18 sts)
- Round 7: [5 sc, 1 inc] repeat 3 times. Join, ch 1. (21 sts) Round 8: [6 sc, 1 inc] repeat 3 times. Join, ch 1. (24 sts) Scalloped Edge: Flatten the cone shape so the seam is at the edge. Working through both layers to close the wing:
Ch 2. In the 2nd st, work 3 dc in the same stitch. Skip 1 st, sl st in the next.
Ch 1. In the next st, work 3 hdc in the same stitch. Skip 1 st, sl st in the next.
Ch 3. Skip 1 st, sl st in the next.
FO, leaving a long tail. Pinch the open end of the wing together when sewing it to the bag. (Note: You can use single strands of yarn to wrap around the “bones” of the wing for extra detail).
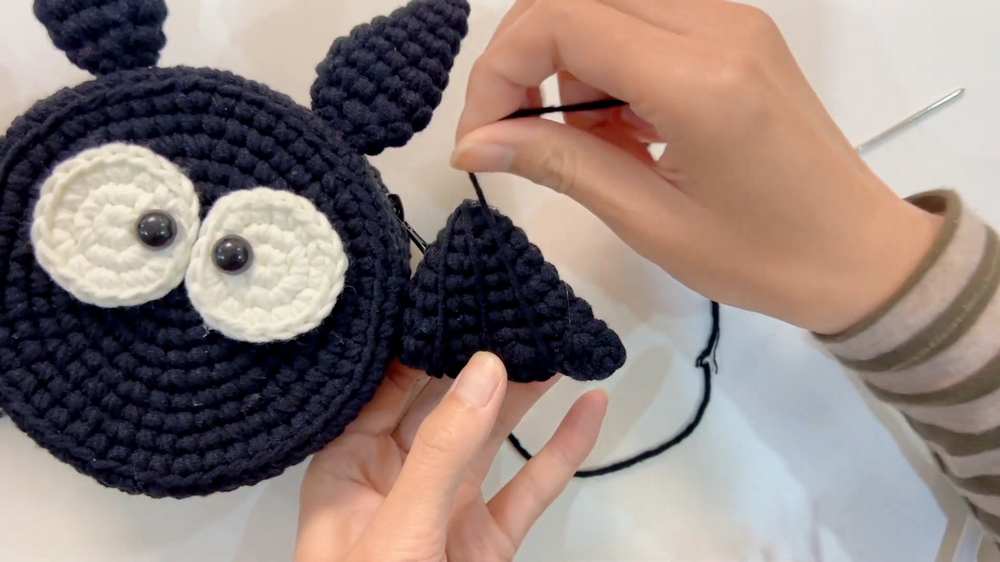
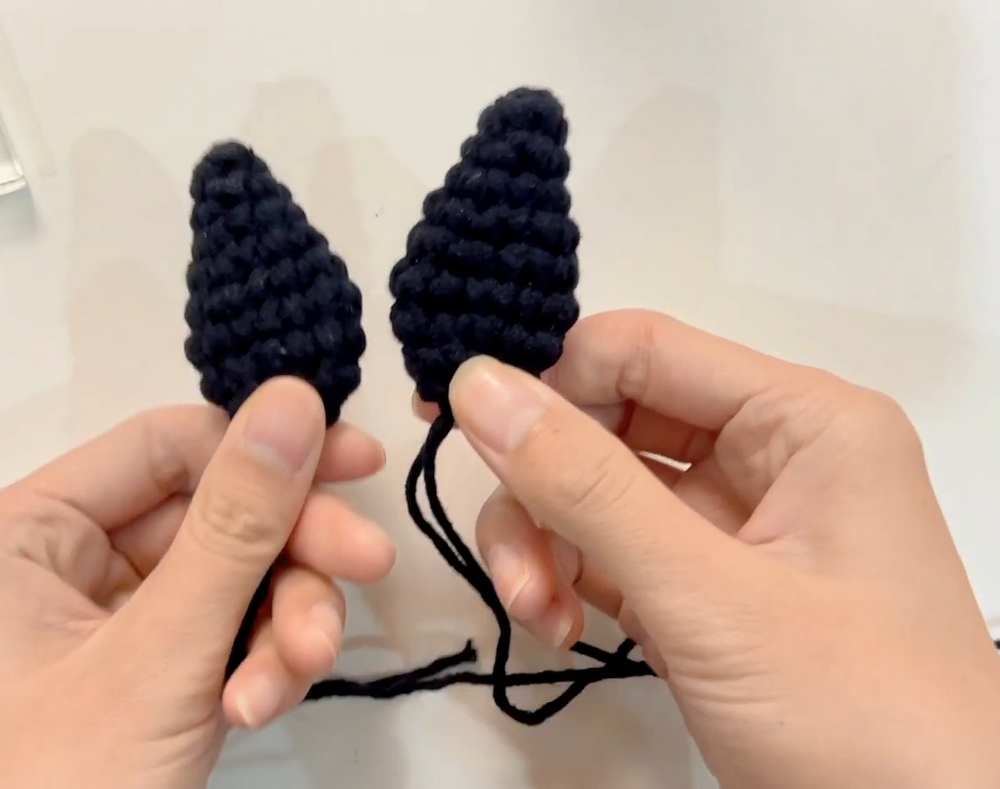
5. Bat Ears (Make 2 – Use Black Yarn held double)
Round 1: MR, 3 sc (3)
Round 2: 3 inc (6)
Round 3: 6 sc (6)
Round 4: [1 sc, 1 inc] repeat 3 times (9)
Round 5: 9 sc (9)
Round 6: [2 sc, 1 inc] repeat 3 times (12)
Round 7: 12 sc (12)
Round 8: [2 sc, 1 dec] repeat 3 times (9)
Round 9: [1 sc, 1 dec] repeat 3 times (6)
Strap:
Make a long row of double crochet!
6. Final Assembly
Attach the Eyes: Sew or glue the white eyes to the front of the bag.
Attach the Wings & Ears: Sew the wings to the sides of the bag (centered on the gusset). Sew the ears to the top front of the bag, just behind the eyes.
Embroider the Face: Using a single strand of red yarn, embroider a wide smiling mouth below the eyes. Use a single strand of white yarn to stitch two little fangs pointing downwards from the red mouth. Tie off and hide all ends inside the bag.
Attach the Strap: Clip your crossbody strap to the sides of the bag gusset.