
Crochet Oli: Crochet Spiderweb Pin Cushion & Decoration with Spider Pattern
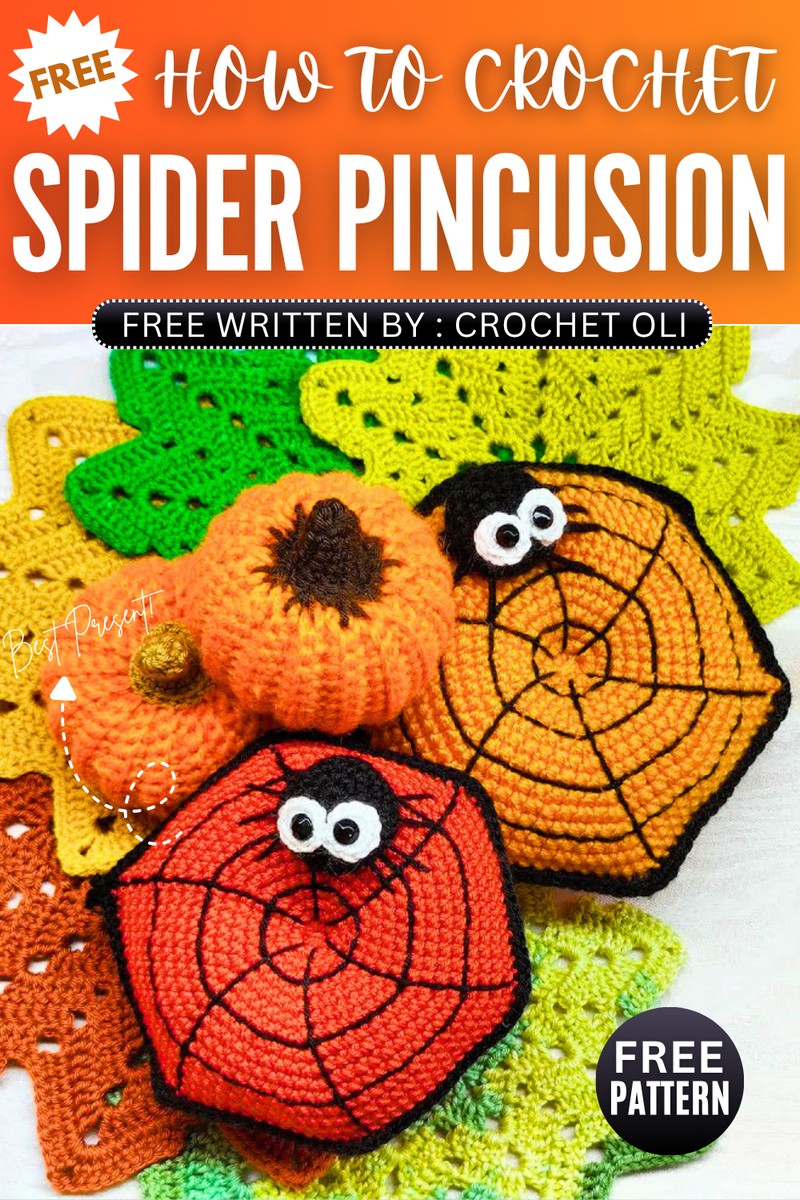
Let’s crochet the CUTEST Halloween decoration! Introducing, the crochet stuffed Spiderweb pin cushion that is a pillow, a LOVELY Halloween candy dish and Halloween decoration, at the same time. We shall crochet a stuffed hexagonal pumpkin with ELEGANT spiderweb embroidery and a little googly-eyed spider charm crawling over. You will learn sewing the Spiderweb pattern and the spider charm as well, in the same pattern.
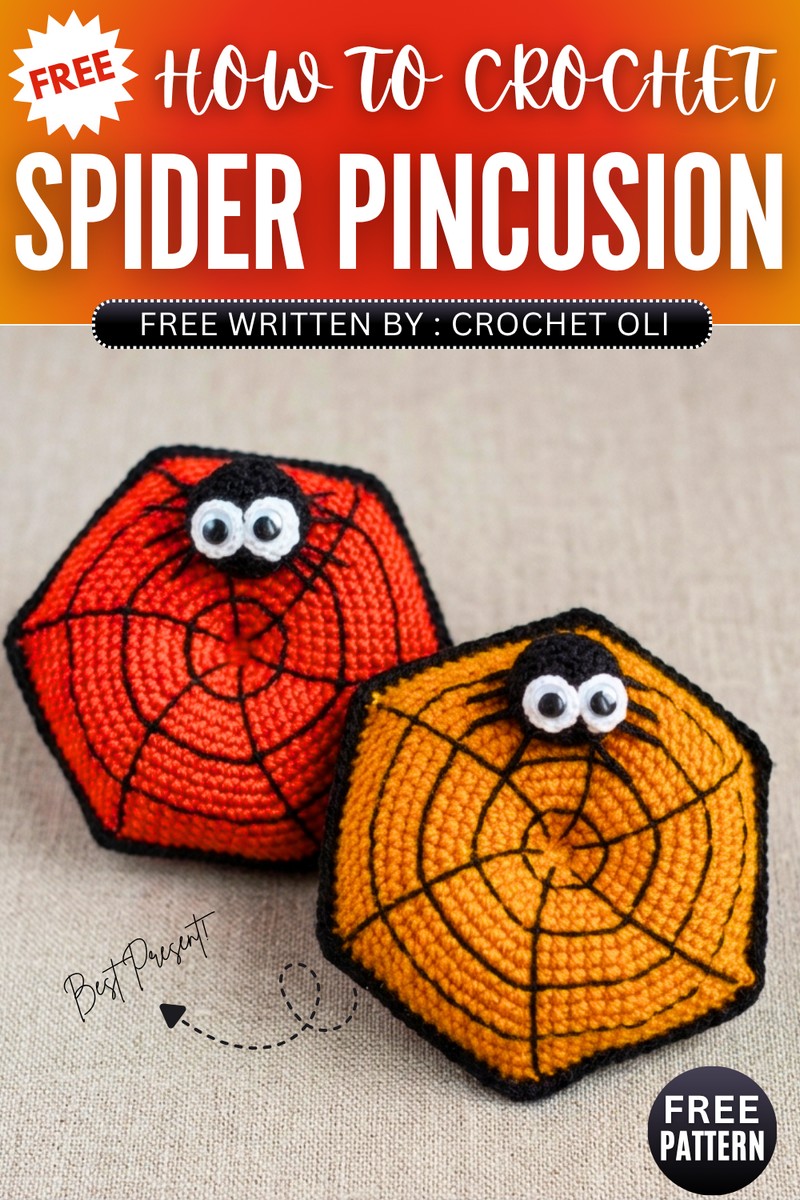
You can crochet this amigurumi pin cushion for fall & Halloween in any shade of orange. I especially like the crochet spider that LOOKS simply the CUTEST and much like the soot sprite. So, with all that said, let me bring you to the complete crochet pattern to make this LOVELY Halloween décor!
About the Designer: The designer behind this crochet stuffed spiderweb amigurumi is @CrochetOli – Her tutorials are very easy to follow and she teaches the basics very well, even if you are just starting out. She asked me to “never forget her,” so here was her short intro.
How to Crochet Spiderweb Pin Cushion
Make a Halloween pumpkin pincushion in this project, which can also be adapted as a bag keychain or small decorative cushion.
The item features a flat round base and a top round piece embroidered with a black spiderweb design. The two halves are then crocheted together with a black border, stuffed firmly, and shaped into sections.
To complete the spooky theme, a cute little stuffed spider with dimensional embroidered legs and big eyes is sewn onto the pumpkin.
This is a pumpkin. You make the pumpkin with yarn. You use a hook. You make two flat parts. You put a line on one part. The line looks like a web.
You put the two parts together. You put stuffing inside the pumpkin. You make a small bug with yarn. The bug is a spider. You sew the spider on the pumpkin. You put eyes on the spider. The project is done.
Quick Making Guide: Pumpkin Pincushion with Spider
Materials
Orange yarn (medium/worsted weight)
Black yarn (same weight as orange, plus a thinner black thread for embroidery)
White yarn (small amount for eyes)
2.5 mm crochet hook
Polyfill stuffing
2 small black half-beads for eyes
Tapestry needle & scissors
Hot glue
Abbreviations (US Terms)
MR: Magic Ring
ch: chain
sc: single crochet
inc: increase (2 sc in the same stitch)
sl st: slip stitch
st / sts: stitch / stitches
Instructions
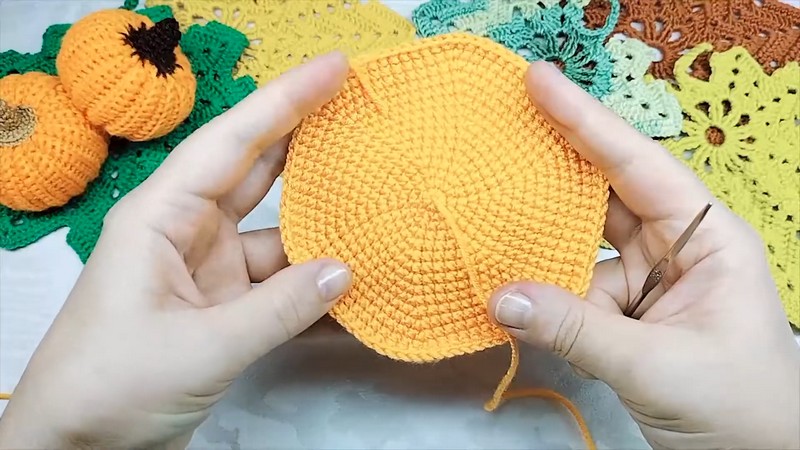
1. Bottom Half (Orange Yarn)
Worked in continuous rounds.
Round 1: 6 sc in MR. (6 sts)
Round 2: inc in each st around. (12 sts)
Round 3: 1 sc, inc. Repeat from * around. (18 sts)
Round 4: 2 sc, inc. Repeat from * around. (24 sts)
Round 5: 3 sc, inc. Repeat from * around. (30 sts)
Round 6: 4 sc, inc. Repeat from * around. (36 sts)
Round 7: 5 sc, inc. Repeat from * around. (42 sts)
Round 8: 6 sc, inc. Repeat from * around. (48 sts)
Round 9: 7 sc, inc. Repeat from * around. (54 sts)
Round 10: 8 sc, inc. Repeat from * around. (60 sts)
Round 11: 9 sc, inc. Repeat from * around. (66 sts)
Round 12: 10 sc, inc. Repeat from * around. (72 sts)
Round 13: 11 sc, inc. Repeat from * around. (78 sts)
Round 14: 12 sc, inc. Repeat from * around. (84 sts)
Round 15: 13 sc, inc. Repeat from * around. (90 sts)
Fasten off, leaving a tail. Bring the initial center tail out to the right side.
2. Top Half (Orange Yarn)
Worked in joined rounds.
Round 1: 6 sc in MR. Join with sl st, ch 1. (6 sts)
Round 2: ch 1, inc in each st around (start in same st as join). Join with sl st, ch 1. (12 sts)
Rounds 3–15: Repeat the same expansion increase pattern as the Bottom Half (adding 6 stitches per round), but join each round with a sl st and ch 1 to lift. Round 15 will end with 90 sts. Fasten off.
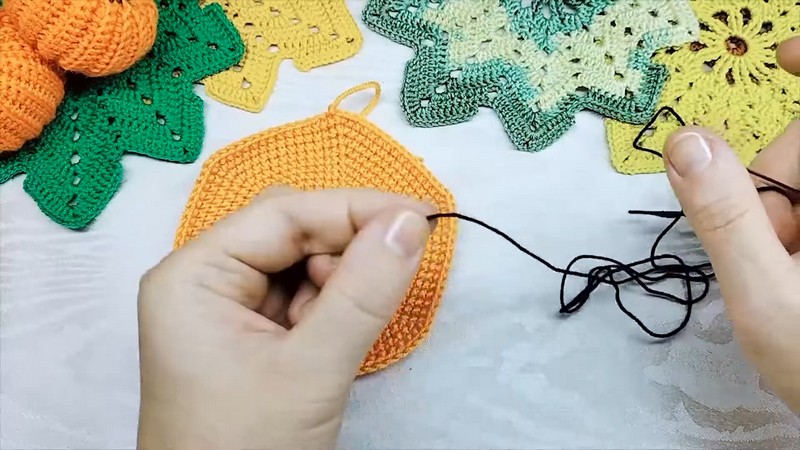
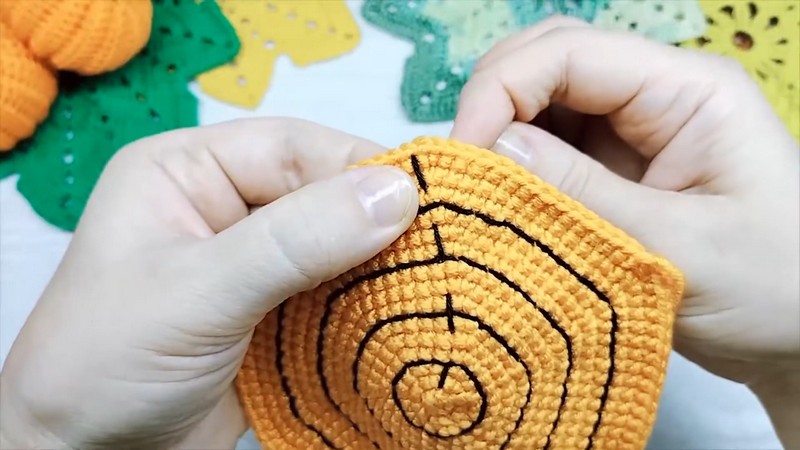
3. Spiderweb Embroidery
Using thin black thread, embroider circular lines between rounds 3-4, 6-7, 9-10, and 12-13 on the Top Half. Then embroider 6 straight lines extending outward from the center across the increase points to complete the web look.
4. Joining the Halves (Black Yarn)
Place the top and bottom halves together. Attach thick black yarn.
Round 16: Crochet through both layers simultaneously. Work 14 sc, inc. Repeat from * around. (96 sts)
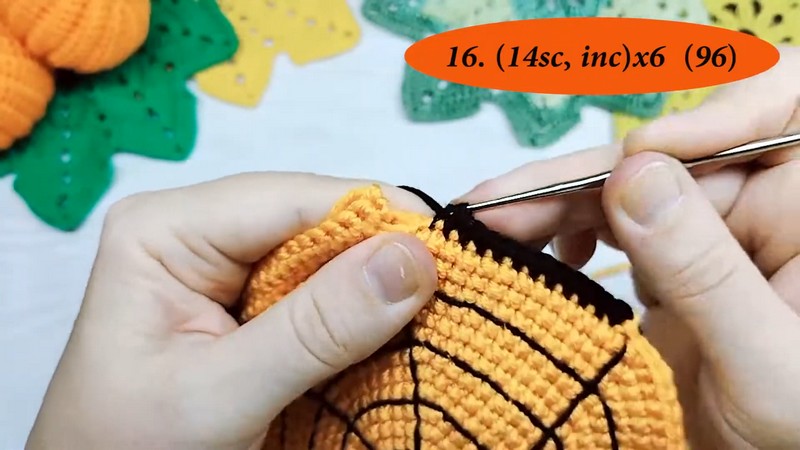
Fill the pumpkin firmly with polyfill stuffing before closing completely. Join with sl st, fasten off.
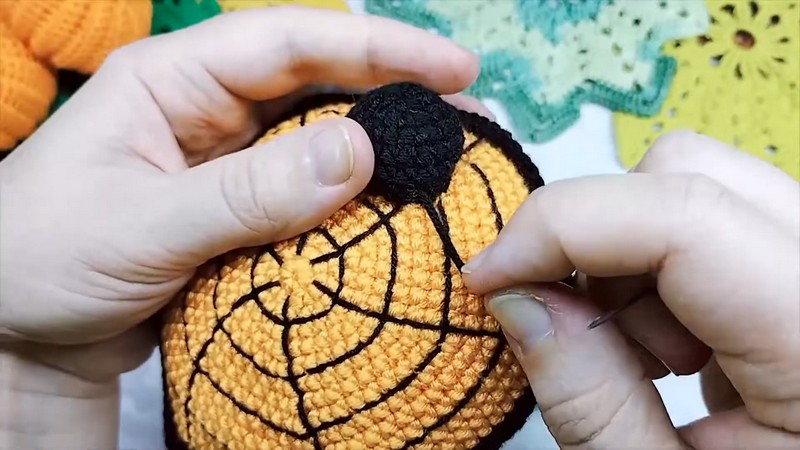
5. Small Spider (Black Yarn)
Round 1: 6 sc in MR. (6 sts)
Round 2: inc in each st around. (12 sts)
Round 3: 1 sc, inc. Repeat from * around. (18 sts)
Rounds 4–5: 1 sc in each st around. (18 sts)
Round 6: 4 sc, decrease. Repeat 3 times. Join with sl st. (15 sts)
Fasten off, leaving a long thread. Lightly stuff and sew the spider body onto the pumpkin. Embellish by stitching 4 raised legs on each side with black yarn.
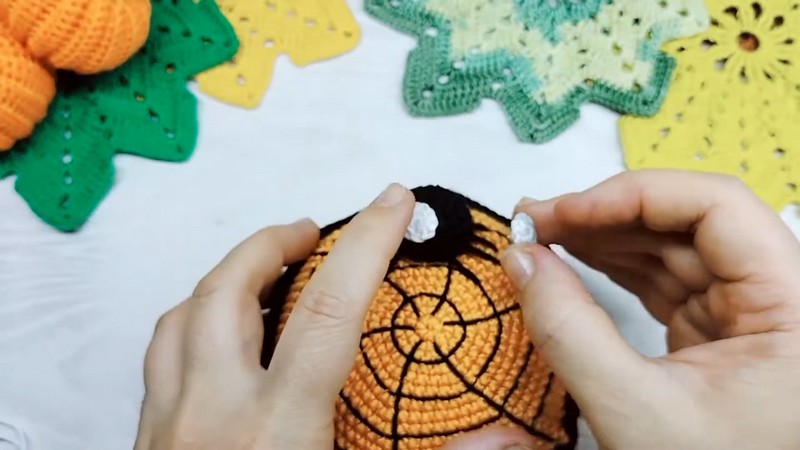
6. Spider Eyes (Make 2)
Round 1: With white yarn, 8 sc in MR. Pull tight.
Round 2: Work 8 sl st around using the back loops only. Fasten off.
Glue the white backings to the spider, then glue a black half-bead onto each center.
7. Final Shaping
Take a long strand of orange yarn on a needle, insert it through the dead center from bottom to top, wrap it around the outside edge along the web lines, and pull tight. Repeat for all 6 sections to give the pumpkin its ribbed shape. Fasten off securely.
Learn with the Tutorial Even Better