
Crochet Oli: Free Crochet Oak Leaf Pattern for Fall (Quick & SIMPLE)
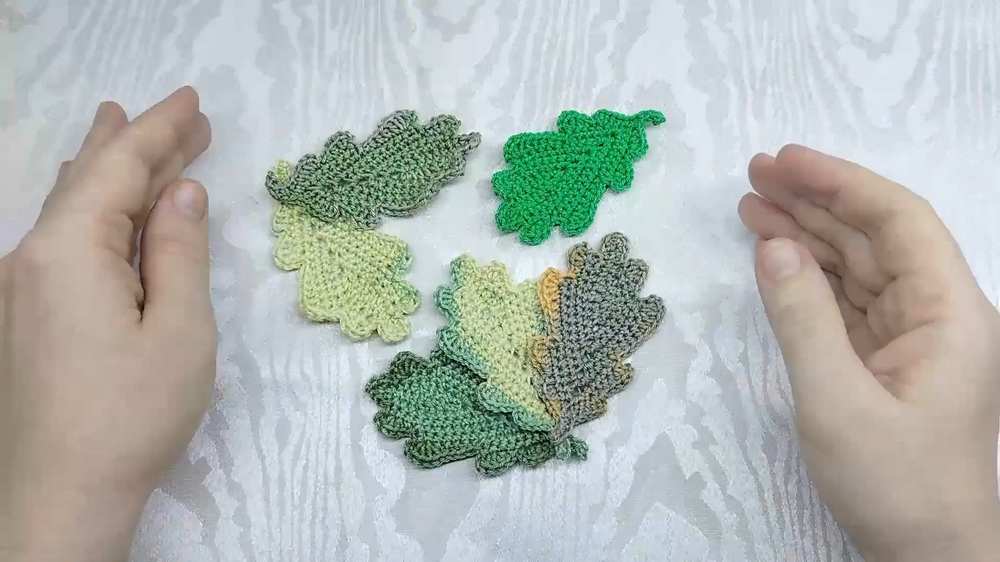
Learn how to crochet an easy, little oak leaf in under 2 minutes for your fall decorations such the crochet acorn and pumpkin, with this FREE pattern. You can crochet this leaf in green or different shades of fall such as the orange, light green and grey, combined. You can also crochet this oak leaf onto hairclips and the viral baby acorn plushie.
Crochet Oak Leaf Pattern for Fall
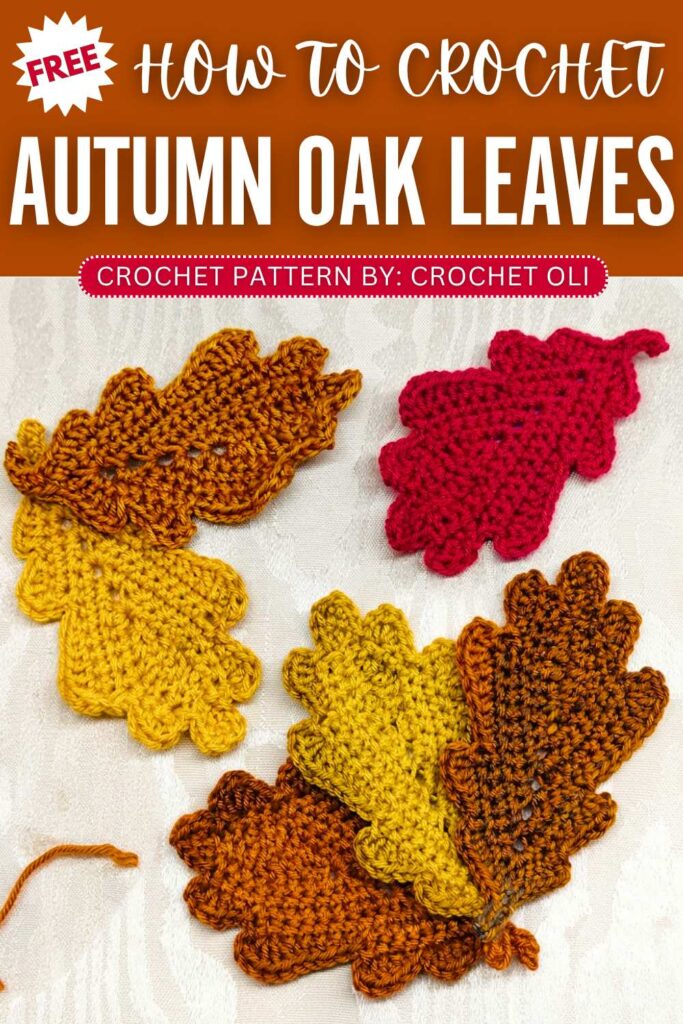
This crochet oak leaf is worked in the rows around the foundation chains using stitches of different heights. You can also crochet it using the self-striping or Ombre yarn for more natural crochet oak leaf. Plus, you can also use it as a keychain. Anyway, fall is about to come, so prepare yourself with this quick oak leaf pattern.
About the Designer: The designer behind this crochet fall leaf is @CrochetOli – Her tutorials are very easy to follow and she teaches the basics very well, even if you are just starting out. She asked me to “never forget her,” so here was her short intro.
Quick Making Guide: Crochet Oak Leaf Written Instructions
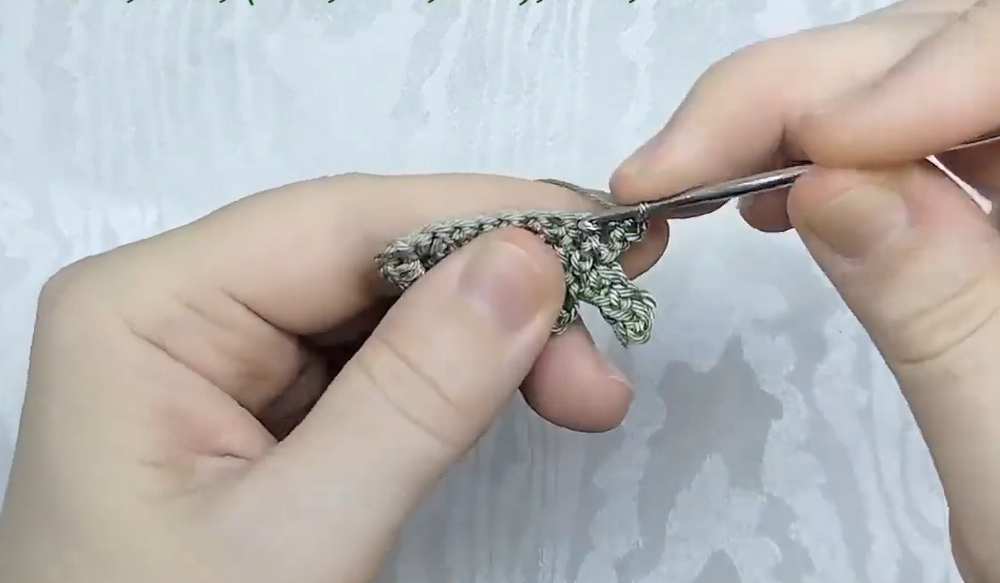
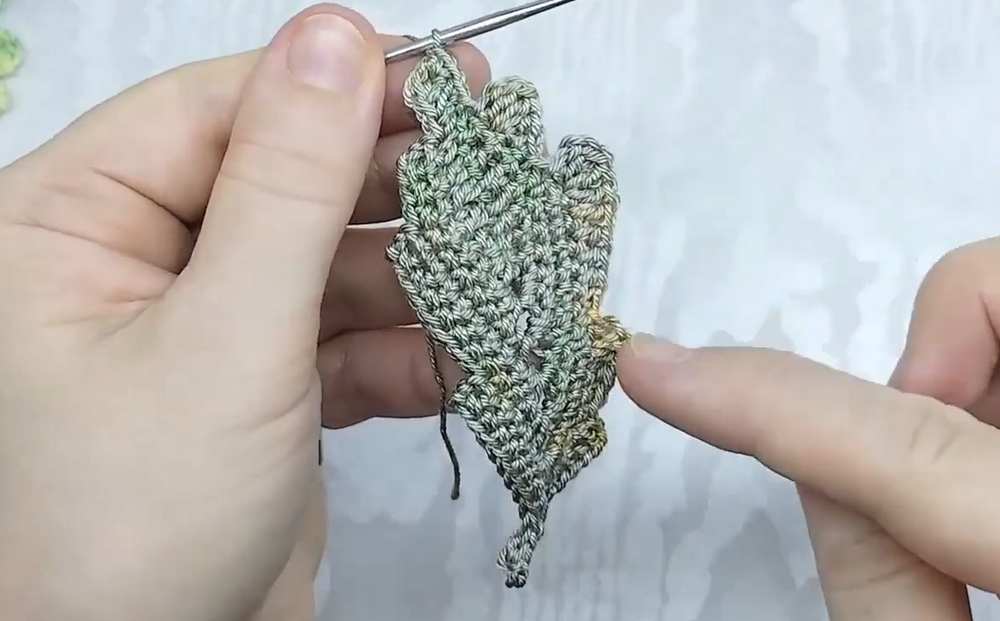
Let’s cmake a textured oak leaf perfect for autumn decorations. The pattern is worked by creating a central vein and building stitches around it in a U-shape.
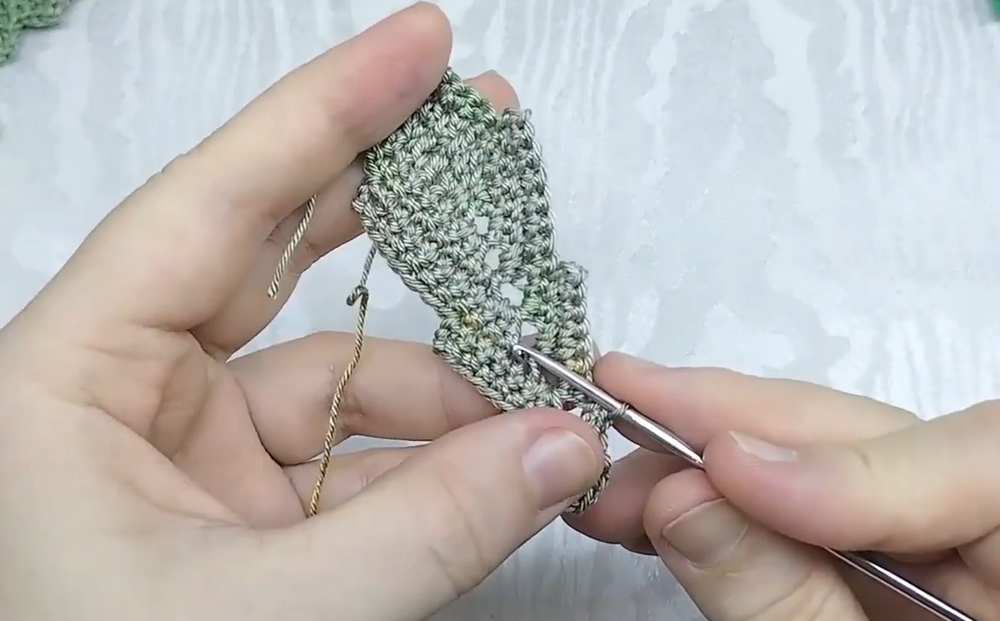
By turning your work before reaching the end of the row, you create the jagged base of the leaf. Finally, you crochet scalloped sections around the outside edge to give the oak leaf its signature rounded lobes.
This is a leaf. You make the leaf with yarn. You use a hook. You make a line. You work on the line. You make small parts. You make big parts. The parts make the leaf shape. You go up the leaf. You go down the leaf. You make a stem at the end. You cut the yarn. The leaf is done.
Materials
Yarn (in autumn colors)
Crochet hook
Scissors
Tapestry needle
Abbreviations (US Terms)
ch: chain
sc: single crochet (referred to as a “column without yarn over” in the video)
hdc: half double crochet
dc: double crochet (referred to as a “column with yarn over” in the video)
sl st: slip stitch
st / sts: stitch / stitches
inc: increase (2 stitches in the same stitch)
Instructions
Base Chain: Ch 10.
Row 1: Starting in the 2nd ch from the hook, 4 sc in the back loops. 1 hdc in next st. 2 dc in each of the next 2 sts. 1 hdc. In the last st, work: 2 sc, ch 3, 2 sc (this makes the top arch). Working down the other side of the chain: 1 hdc, 2 dc in each of the next 2 sts, 1 hdc, 1 sc. Leave the last 3 sts unworked. Turn.
Row 2: Ch 1. 7 sc. In the top ch-3 arch, work: 2 dc, ch 3, 2 sc. Then work 7 sc down the side. Leave 3 sts unworked. Turn.
Row 3: Ch 1. 9 sc. In the top ch-3 arch, work: 2 dc, ch 3, 2 dc. 6 sc down the side. Leave 3 sts unworked. Turn.
Row 4: Ch 1. 8 sc. In the top ch-3 arch, work: 2 dc, ch 3, 2 dc. 8 sc down the side. Leave 3 sts unworked. Turn.
Row 5: Ch 1. 10 sc. In the top arch, work: 2 sc, ch 3, 2 sc. 3 sc. Skip the next 7 sts. Turn.
Row 6: Ch 1. 5 sc. In the top arch, work: 2 sc, ch 3, 2 sc. 5 sc. Leave 7 sts unworked. Turn.
Row 7: Ch 1. 7 sc. Into the top arch, work 1 sc. Then, ch 5 (for the stem). Starting in the 2nd ch from the hook, 4 sc down the stem. Work 1 more sc into the top arch.
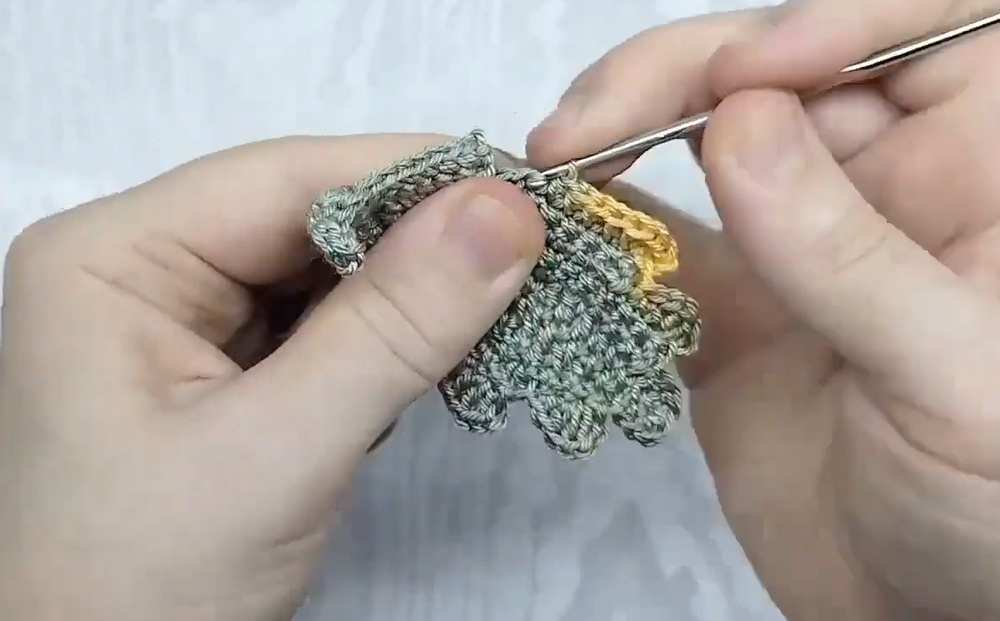
Creating the Lobes (“Feathers”): Work around the jagged edges to create the rounded oak lobes.
Lobe 1: 1 sc, 1 hdc, 2 hdc in next st, ch 1, sl st in same st.
Lobe 2: sl st, 1 sc, 1 hdc, 2 dc in next st, ch 2, sl st in same st.
Lobe 3 (Go down 2 rows): sl st, 1 sc, 3 hdc, 1 dc, 3 dc in last st, ch 2, sl st in same st.
Lobe 4 (Go down 2 rows): sl st, 1 sc, 1 hdc, 2 dc, ch 2, sl st in same st.
Lobe 5 (Top): sl st, 1 sc, 2 sc in next st. Mirror this on the other side of the leaf tip (2 sc in next st, 1 sc, sl st).
Lobe 6 (Go up 2 rows): sl st, ch 2, 2 hdc in same st, 1 hdc, 1 sc, sl st.
Lobe 7 (Go up 2 rows): sl st, ch 2, 3 dc in same st, 1 dc, 3 hdc, 1 sc, sl st.
Lobe 8 (Go up 2 rows): sl st, ch 2, 2 dc in same st, 1 hdc, 1 sc, sl st.
Lobe 9: sl st, ch 1, 2 hdc in same st, 1 hdc, 1 sc, sl st.
Finishing: Cut the yarn, pull through the last loop, and weave in your ends securely using a tapestry needle.
Video Tutorial to Learn Even Better