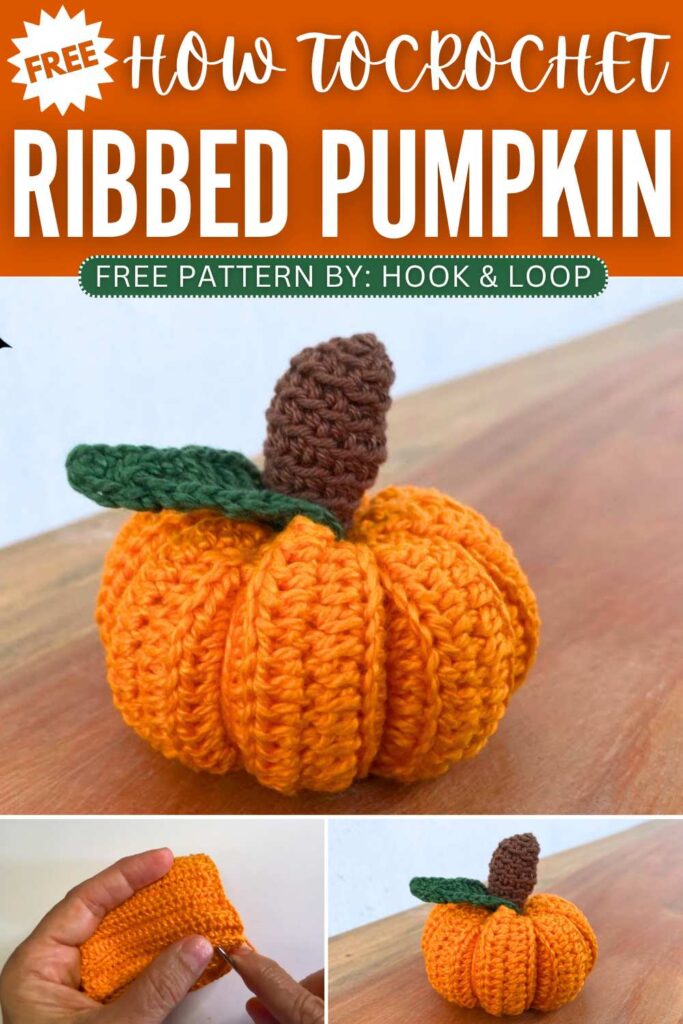
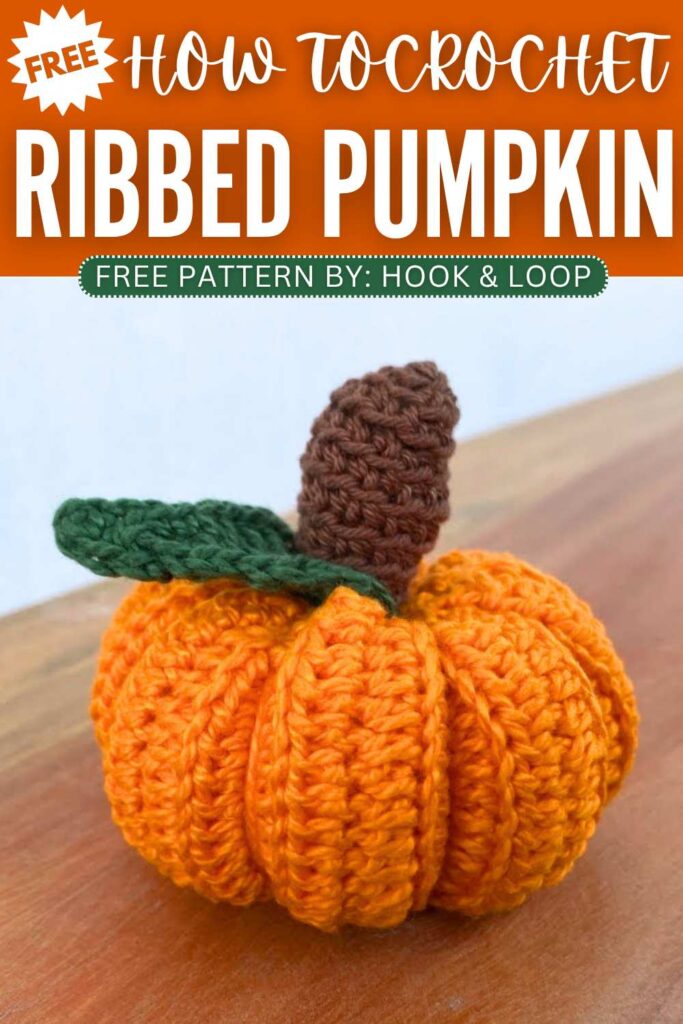
How to Crochet UNIQUE Ribbed Pumpkin Pattern For Fall & Halloween
Here is another FREE pattern to crochet a ribbed fall pumpkin for fall & Halloween decoration. This crochet pumpkin amigurumi is unique in its stem and the crochet leaf that are oversized and make it look SUPER ELEGANT as a fall, Thanksgiving and Halloween table decorations. It is easy for beginners as we shall follow the usual “pumpkin from a ribbed rectangle” pattern.
You can also crochet the curly vines for it. Be sure to use three different colors while crocheting this ribbed fall pumpkin. It also requires few strands of yarn for separating the natural pumpkin slices. Now, continue reading for the full crochet ribbed pumpkin pattern for absolute beginners.
About the designer: The designer of this pumpkin amigurumi is @ThuyenHoa – she shares beginner tutorials like this crochet pumpkin amigurumi and has been upto tons of other crochet projects from squares to amigurumi and keychains. Be sure to show support for her!
Crochet Fall Pumpkin Tutorial
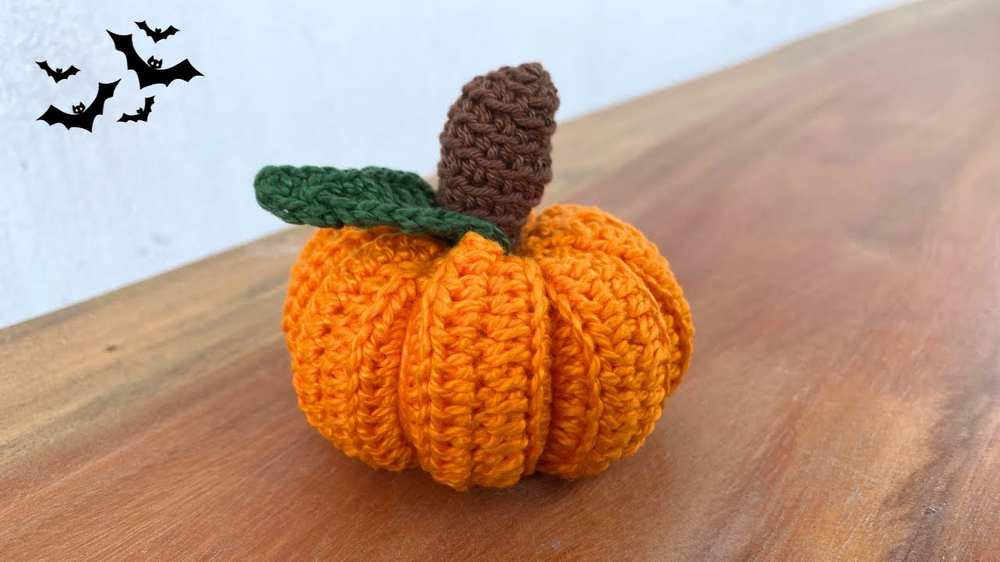
This fun project is a super cute crochet pumpkin that is perfect for autumn, Halloween, and Thanksgiving home decor.
You will make a ribbed orange pumpkin base by crocheting a flat rectangle and then gathering the ends, before adding a curly green leaf and a stuffed brown stem on top.
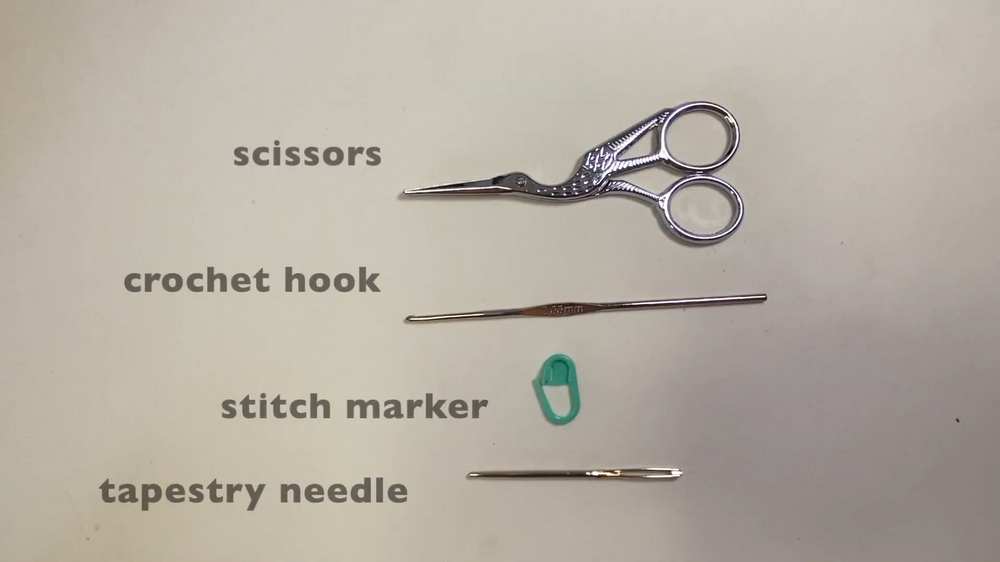
Materials
Yarn in 3 colors (Orange, Green, and Brown)
Crochet hook
Tapestry needle
Scissors
Stitch marker
Cotton or polyfill stuffing
Abbreviations
ch: chain
sl st: slip stitch
sc: single crochet
hdc: half double crochet
dc: double crochet
tr: treble crochet
st(s): stitch(es)
Pattern: The Pumpkin (Orange Yarn)
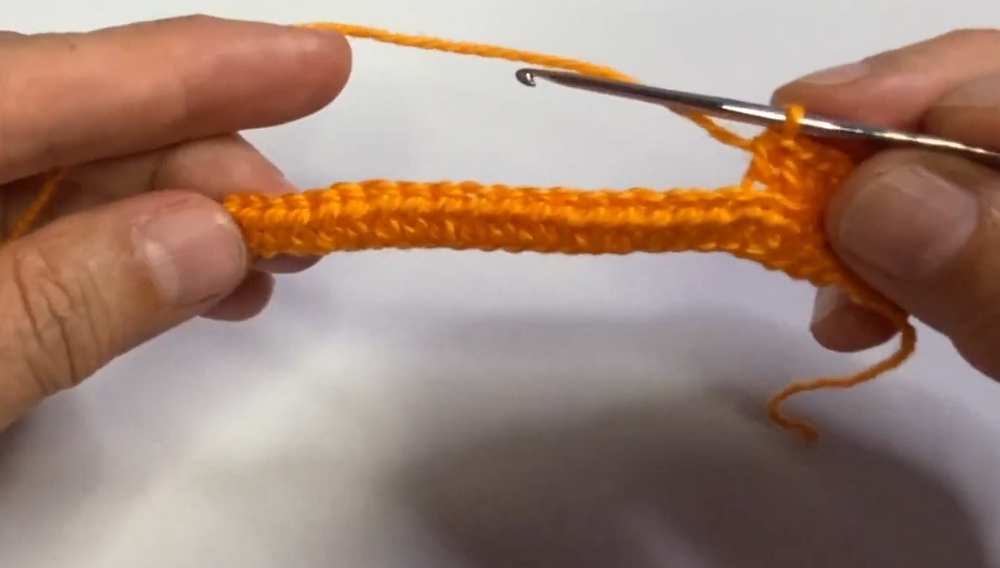
Make a slipknot and ch 25.
Skip the first stitch and work 1 hdc in each ch st across (24 sts).
Row 2: ch 2, turn. Work 1 hdc in each st (back loop only!).
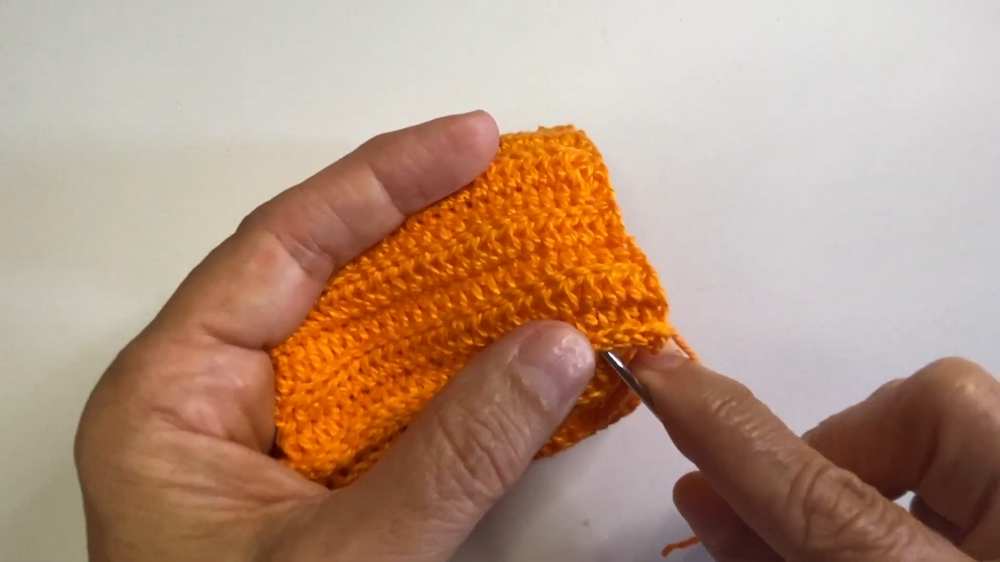
Repeat Row 2 until you complete 30 rows.
Fold the piece in half and close the side seam by working 1 sl st in each stitch across both edges.
Sl st, pull, and cut the yarn. Weave in the short tails.
Thread a long tail of orange yarn into your tapestry needle. Sew around the top edge of the tube, pull tight to gather and close the bottom, and knot securely.
Start stuffing the pumpkin with cotton or polyfill, layer by layer, until it is plump.
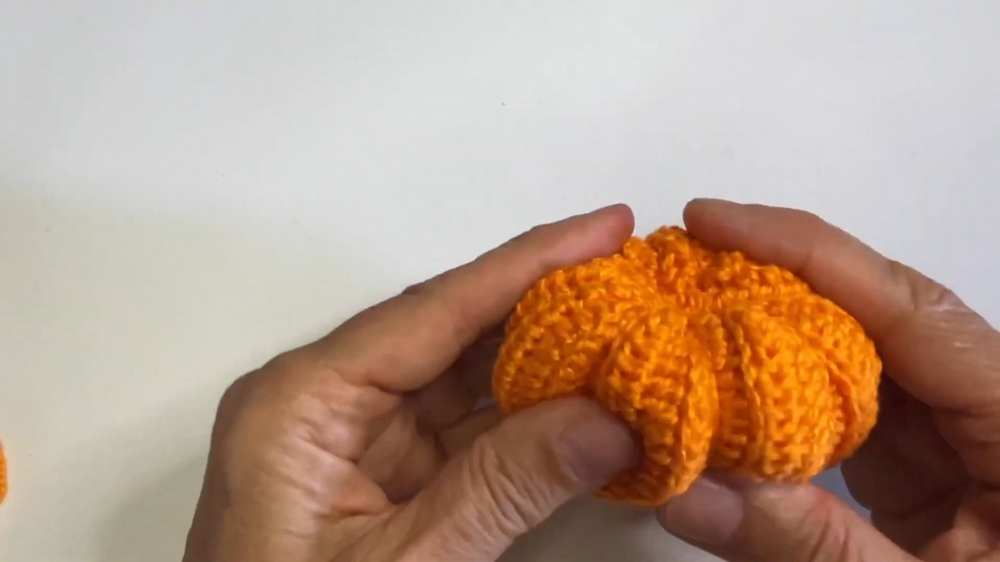
Get a very long tail of yarn to make the slices. Sew around the top edge and pull tight to close the top hole.

Wrap the long tail around the outside of the pumpkin from top to bottom, pulling tightly each time to create the pumpkin’s slices (ridges). Secure with a knot and weave in the end.
Pattern: The Leaf (Green Yarn)
Make a slipknot and ch 10.
Work 1 sc in the 2nd and 3rd ch st from the hook.
Work 1 hdc in the next 2 ch sts.
Work 1 dc in the next 3 ch sts.
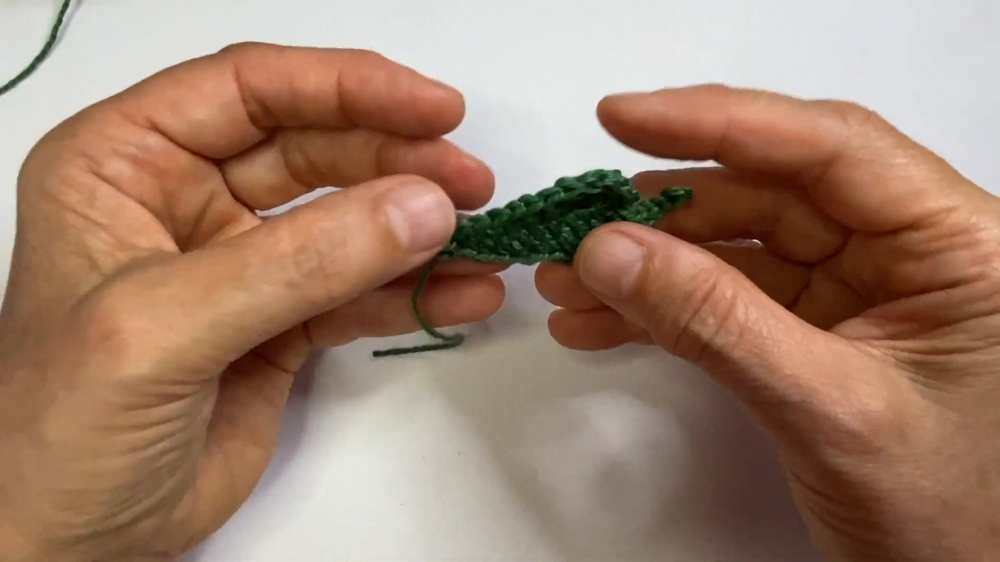
Work 1 tr in the next ch st, and 3 tr in the final ch st.
ch 5, skip 1 st, and work 1 sl st in the next 4 ch sts (this creates the leaf’s small stem).
Work 1 sl st in the middle of the previous tr st.
Work 3 tr in the same center space to round the corner.
Working down the opposite side of the chain: work 1 tr, 1 dc, 1 dc, 1 hdc, 1 hdc, 1 sc, 1 sc.
ch 3, then work 1 sc in the 2nd and 3rd ch st.
Sl st in the first sc of the previous round. Sl st, pull, and cut the yarn. Weave in the tails.
Pattern: The Stalk (Brown Yarn)
Make a slipknot and ch 4.
Sl st to the first ch to form a small ring.
ch 1 and work 6 sc into the small ring. Place your stitch marker.
Round 2: Work 2 sc in the first st, then 1 sc in the next st. Repeat this sequence twice.
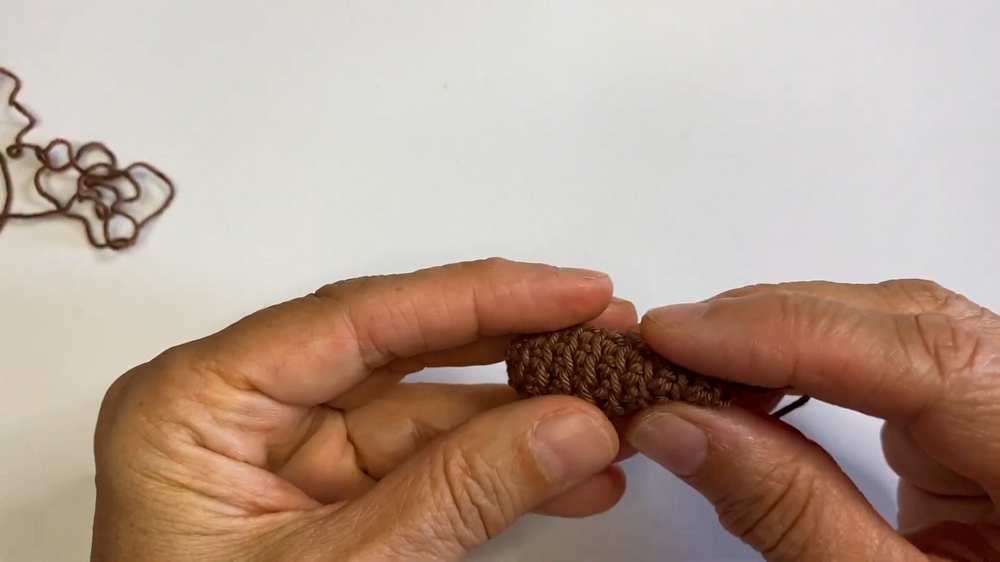
Round 3: Work 1 sc in each st (back loop only).
Rounds 4-6: Carry on with 1 sc in each st through both loops all around until you reach 6 rows in total.
Sl st, pull, and cut the yarn, leaving a tail for sewing.
Stuff the stalk firmly with polyfill.
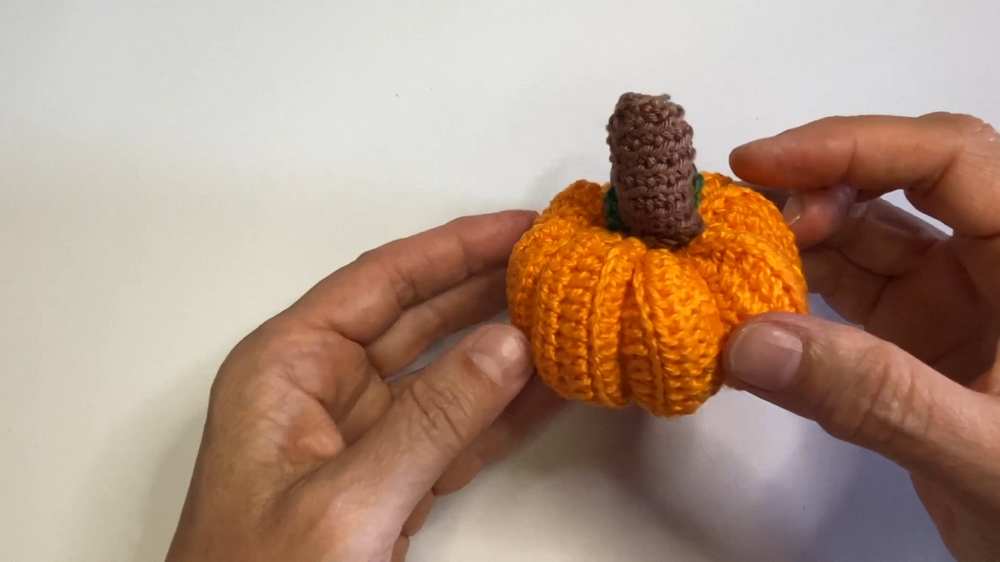
Assembly
Thread the brown yarn tail from the stalk onto your tapestry needle and sew the stalk securely to the top center of the pumpkin.
Use the green yarn tail from the leaf to attach the leaf right next to the stalk.
Tie off, hide all remaining yarn tails inside the pumpkin, and your cute decor is ready!
Video Tutorial!
Save for Later!
You may also like
5 Free Crochet UNIQUE Bucket Hat Patterns

10 Free Crochet Unique Flower Patterns for Spring

6 Free Crochet Unique Top Patterns for Summer
Crochet Unique Reversible Water Bottle Holder Variation Patterns