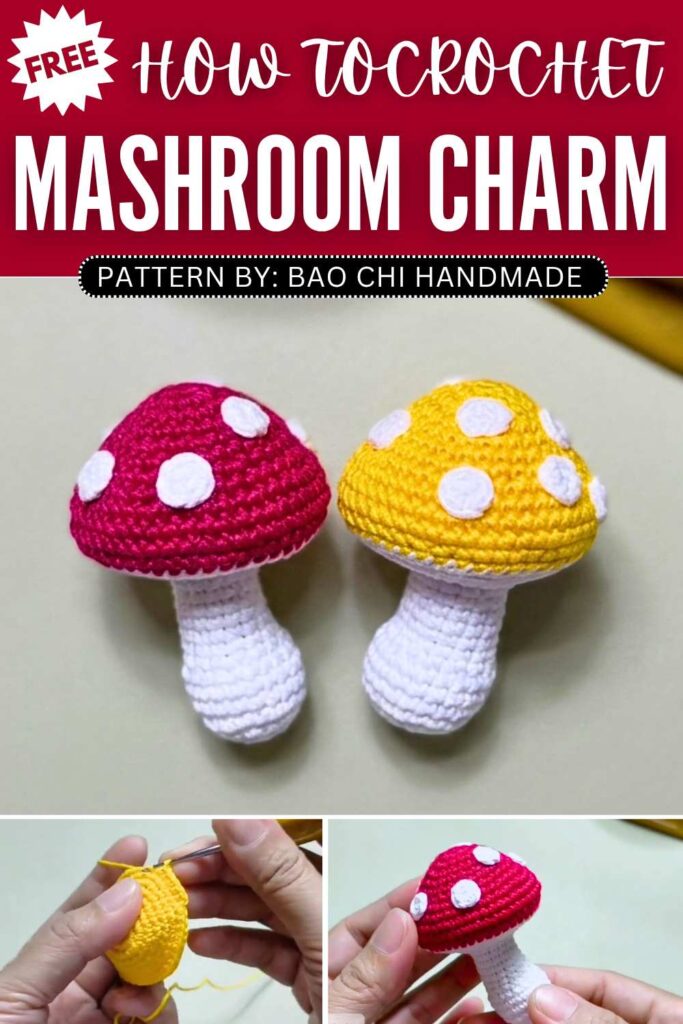
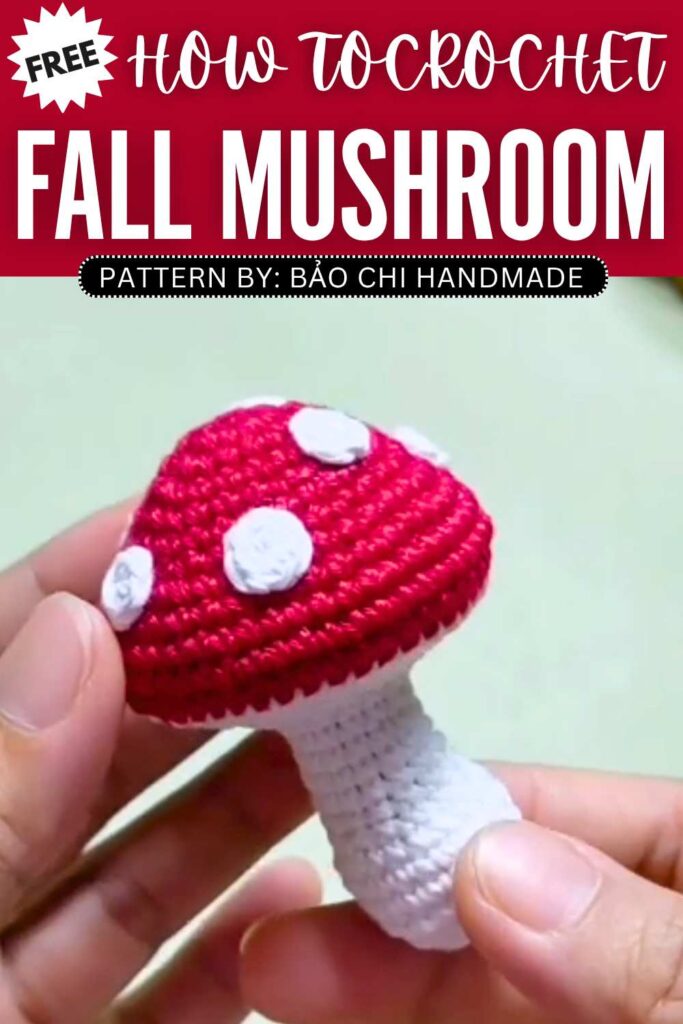
Free Crochet Toadstool Handmade Mushroom Amigurumi Pattern
I am finally going to continue the “crochet mushroom keychain” series after an year! Let’s begin with this crochet toadstool fall mushroom amigurumi that you can crochet within 30 minutes with this FREE pattern. This will be a low-sew stuffed mushroom that you can crochet for your fall tote bag as a bag charm or the Thanksgiving centerpiece with the gnomes.
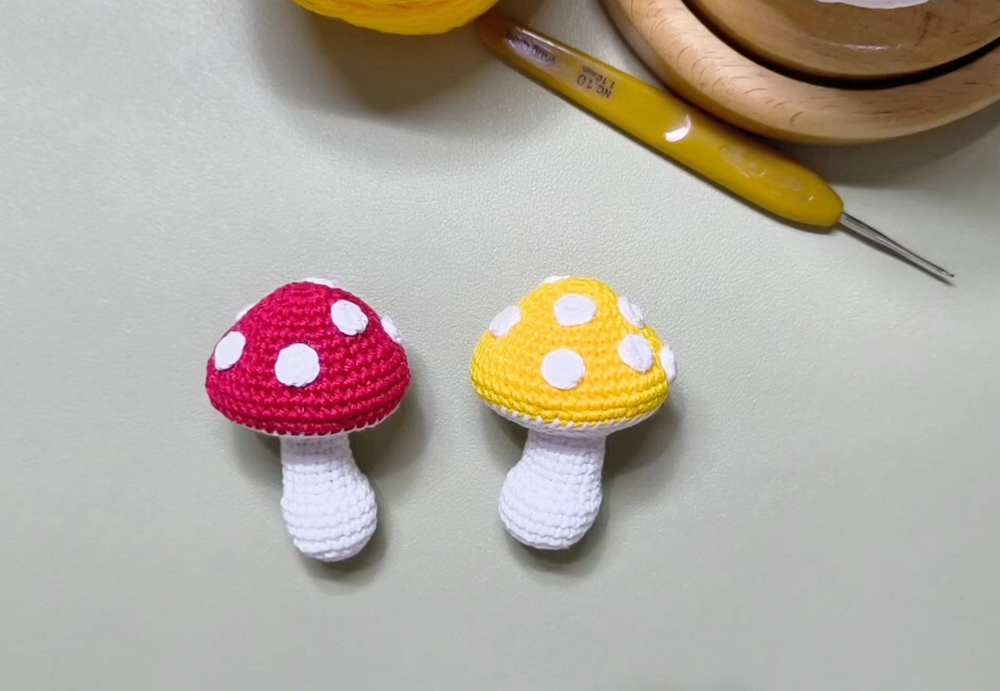
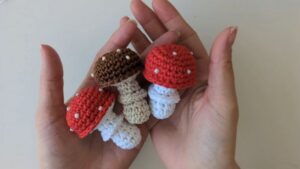
I recommend you to have a PVA glue to attach the white spots of the crochet toadstool mushroom. You can either crochet the red and the yellow version of this crochet amigurumi mushroom. Crocheting this mushroom amigurumi requires only small stuffing and with the curved body, it can be rightly called an elegant mushroom.
About the designer: The designer of this mushroom keychain is @Knittinglov – she is a versatile crocheter as she can design every type of crochet including amigurumi, home décor, wearables and more. That’s the reason we could find this crochet mushroom amigurumi keychain. Be sure to show your love for her by exploring her library of four hundred crochet patterns.
Crochet Toadstool Mushroom Pattern for All Skill Levels
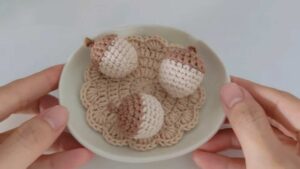
This adorable crochet project creates a cute, chubby amigurumi toadstool mushroom. You can use it as a keychain, bag charm, or cute handmade decoration.
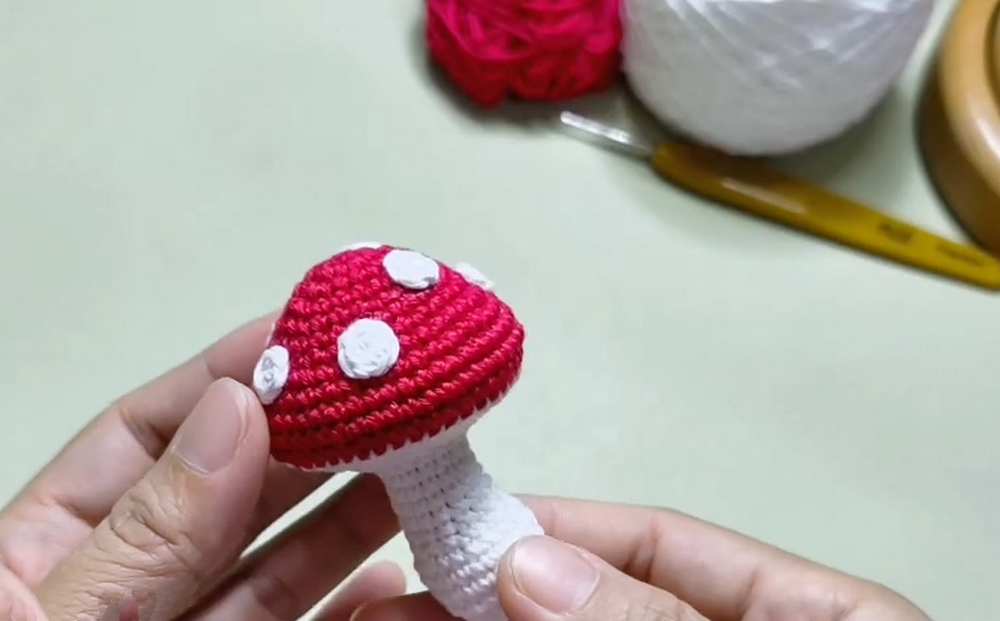
The pattern is worked in two main pieces: the colorful mushroom cap (which you can decorate with little white crochet spots) and the chunky white mushroom stem that is later sewn to the bottom of the cap and stuffed with fiberfill.
Materials Needed:
Yarn: Vietnam Cotton Yarn (or any cotton yarn of your choice) in Yellow/Red (for the cap) and White (for the stem and spots)
Crochet hook: 1.1 mm (or an appropriate size for your yarn choice to ensure tight stitches)
Fiberfill stuffing
Tapestry needle (for sewing)
Scissors
Fabric glue or hot glue (for the spots)
Optional: Keychain ring if making a bag charm
Abbreviations (US Terms):
MR: Magic Ring
ch: Chain
sc: Single crochet
inc: Increase (2 sc in the same stitch)
dec: Decrease (sc 2 stitches together, usually invisible decrease using front loops)
sl st: Slip stitch
st(s): Stitch(es)
Pattern Instructions:
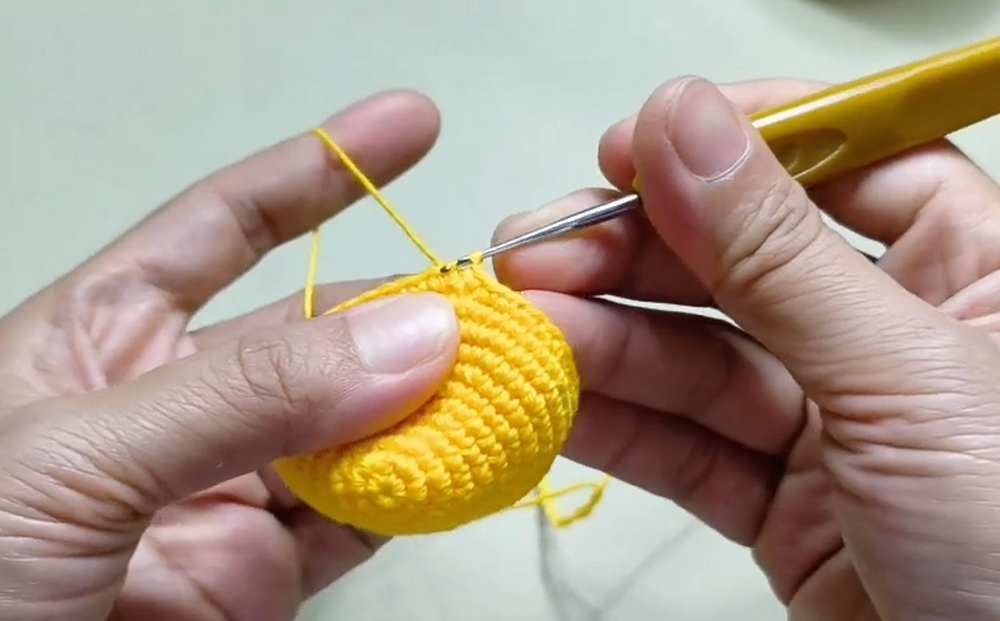
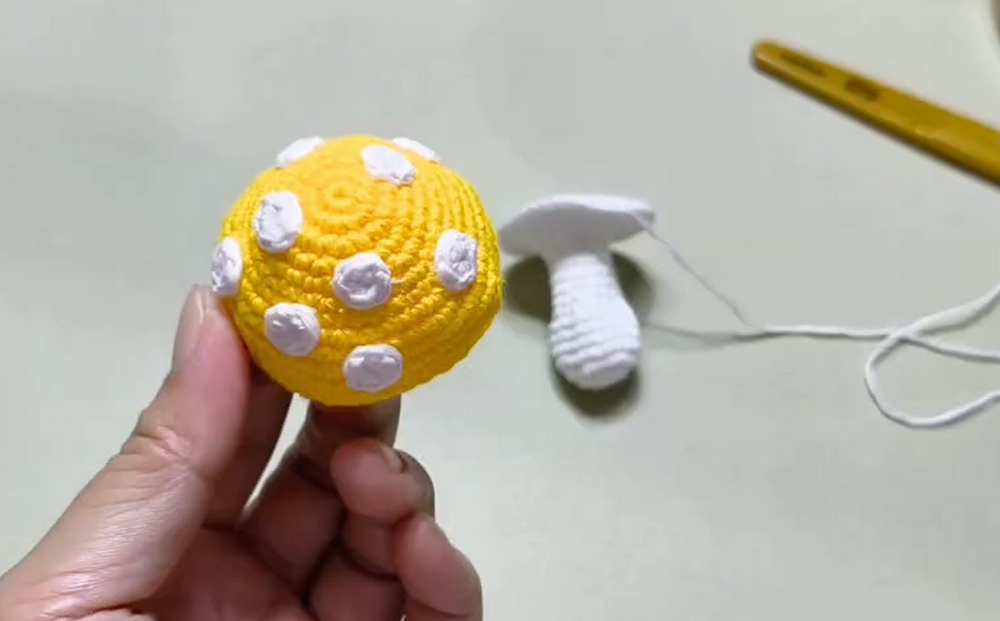
Mushroom Cap (Use Yellow/Red Yarn):
Round 1: Start with a MR, work 7 sc into the ring. Join with a sl st to the first st. ch 1. (7 sts).
Round 2: inc in each st around. Join with a sl st, ch 1. (14 sts).
Round 3: [1 sc, inc] 7 times. Join with a sl st, ch 1. (21 sts).
Round 4: sc in each st around. Join with a sl st, ch 1. (21 sts).
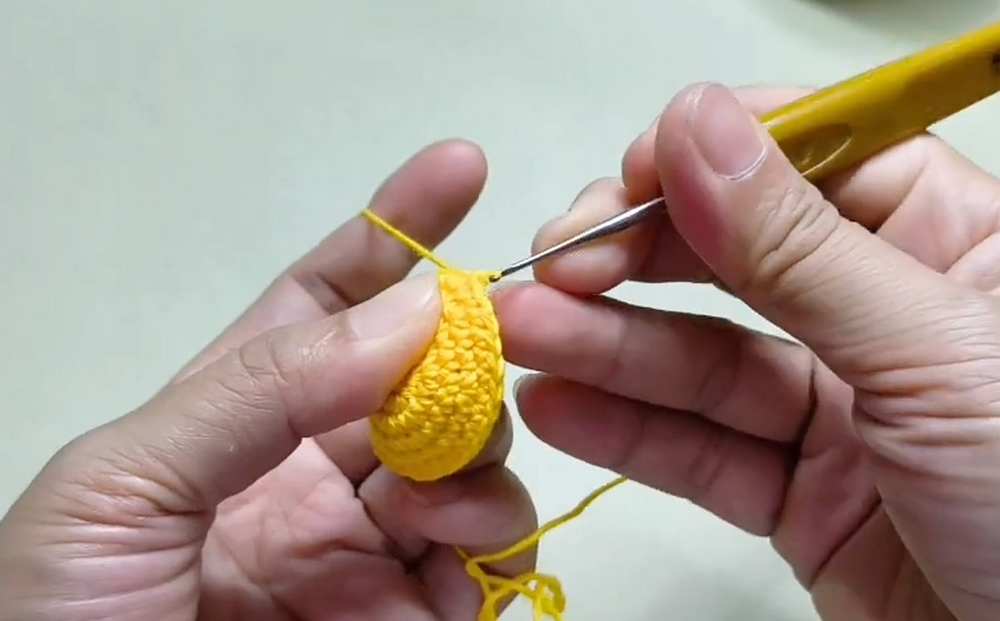
Round 5: [1 sc, inc, 1 sc] 7 times. Join with a sl st, ch 1. (28 sts).
Round 6: sc in each st around. Join with a sl st, ch 1. (28 sts).
Round 7: [3 sc, inc] 7 times. Join with a sl st, ch 1. (35 sts).
Round 8: [2 sc, inc, 2 sc] 7 times. Join with a sl st, ch 1. (42 sts).
Round 9: [5 sc, inc] 7 times. Join with a sl st, ch 1. (49 sts).
Rounds 10-11: sc in each st around. Join with a sl st, ch 1. (49 sts).
Round 12: [5 sc, dec] 7 times. Join with a sl st. (42 sts).
Fasten off and weave in the end.
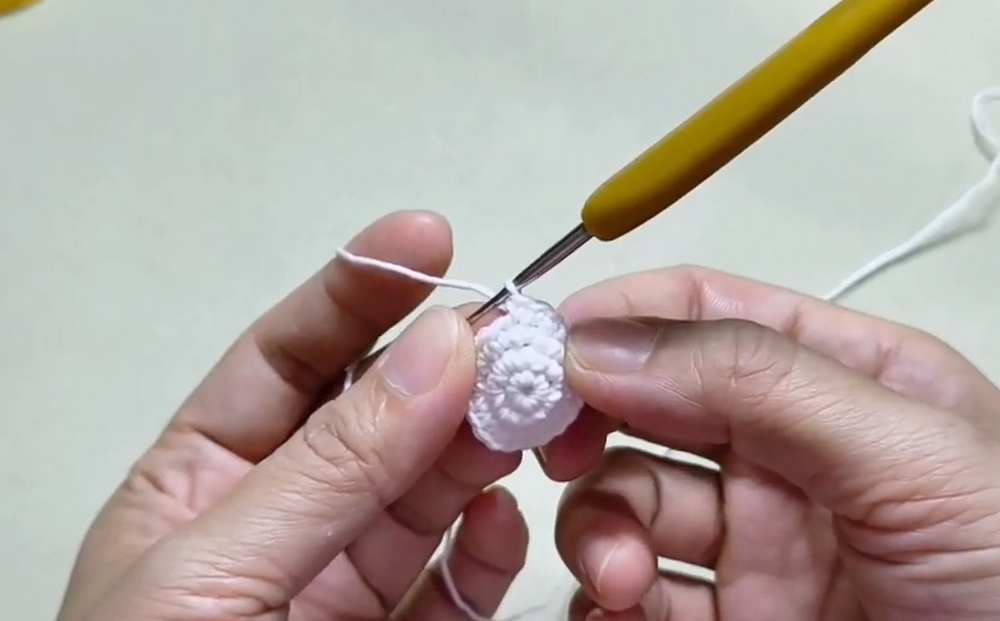
Mushroom Spots (Use White Yarn – Make 6 to 9):
Round 1: Start with a MR, work 6 sc into the ring.
Pull tight, join with a sl st to the first st.
Fasten off and cut the yarn short. Use glue to attach these to the cap later (or leave a long tail if you prefer sewing them on).
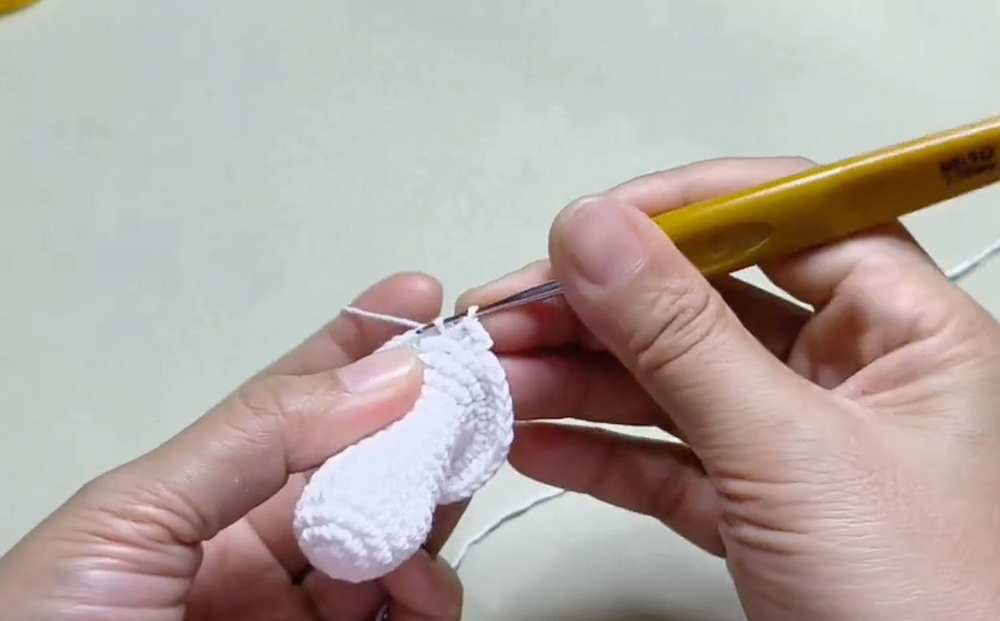
Mushroom Stem (Use White Yarn):
Round 1: Start with a MR, work 7 sc into the ring. Join with a sl st, ch 1. (7 sts).
Round 2: inc in each st around. Join with a sl st, ch 1. (14 sts).
Round 3: [1 sc, inc] 7 times. Join with a sl st, ch 1. (21 sts).
Rounds 4-7: sc in each st around. Join with a sl st, ch 1. (21 sts).
Round 8: [1 sc, dec] 7 times. Join with a sl st, ch 1. (14 sts).
Rounds 9-14: sc in each st around. Join with a sl st, ch 1. (14 sts).
Round 15: [1 sc, inc] 7 times. Join with a sl st, ch 1. (21 sts).
Round 16: [1 sc, inc, 1 sc] 7 times. Join with a sl st, ch 1. (28 sts).
Round 17: [3 sc, inc] 7 times. Join with a sl st, ch 1. (35 sts).
Round 18: [2 sc, inc, 2 sc] 7 times. Join with a sl st. (42 sts).
Fasten off, leaving a long tail for sewing.
Assembly:
Glue or sew the little white spots randomly around the colored mushroom cap.
Stuff the white stem firmly with fiberfill.
Align the 42 stitches of the top of the stem with the 42 stitches of the bottom edge of the cap.
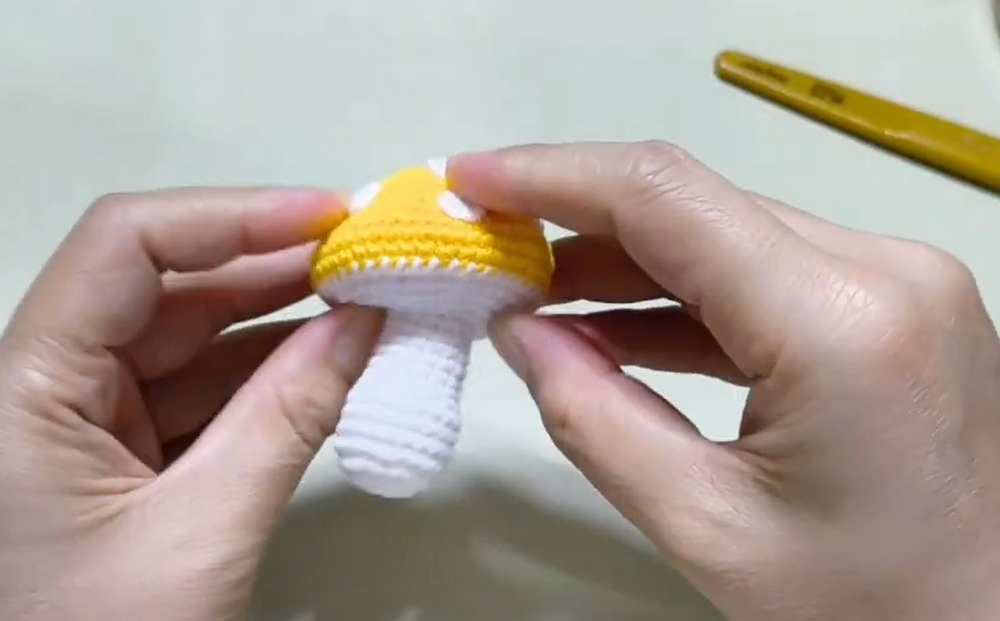
Using your tapestry needle and the long white yarn tail, sew the stem to the cap stitch-by-stitch.
Before completely closing the seam, add more fiberfill into the cap to make it plump.
Finish sewing, knot securely, and hide the yarn tail inside the mushroom.
Video Tutorial
Save for Later!
You may also like

How to Crochet Two Mini Mushroom Pouches (Kawaii & Toadstool)
How To Crochet Mini Mushroom Bag Charms – Toadstool Amigurumi

How to Crochet Life-Like Toadstool Mushroom for Christmas & Fall

How to Crochet Jellycat Toadstool (Mushroom Amigurumi)

HandMade-Top: Crochet Smiling Mushroom Amigurumi with Maple Leaf for Fall

HandMade-top: Free Crochet Halloween Potted Eyeball Flower Decoration Pattern

Handmade-top: Free Crochet Cat Holding Heart Applique for Halloween
HandMade-Top: Free Crochet Fugler Monster Plushie Pattern for Halloween
Avocado Handmade: Crochet Miniature Acorn Amigurumi for Fall