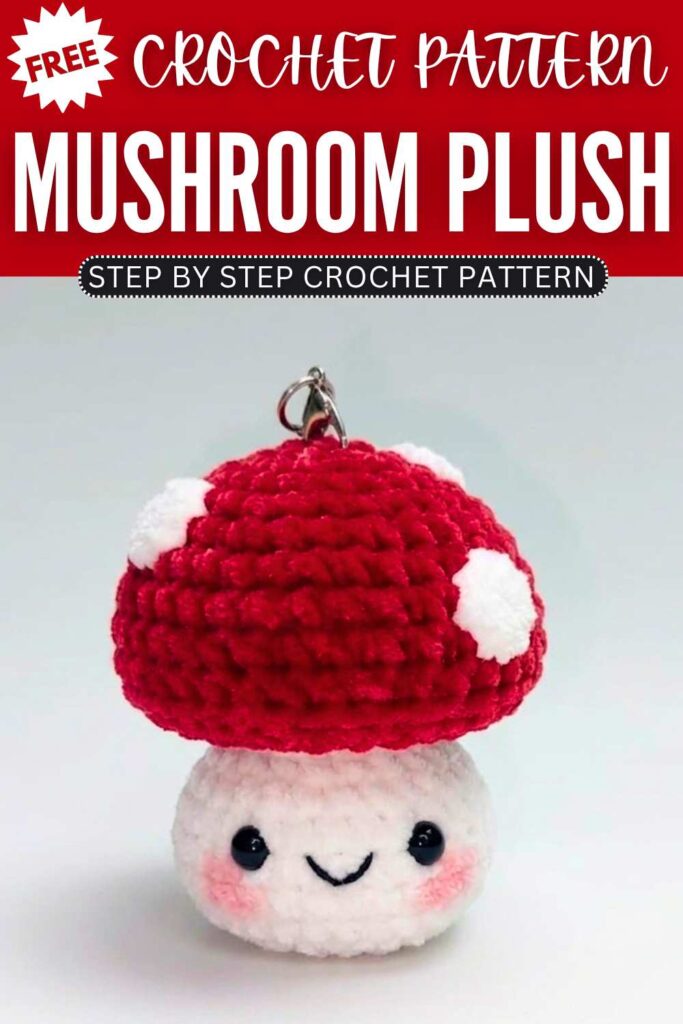
Crochet Mushroom Plush Fidget Toy Pattern
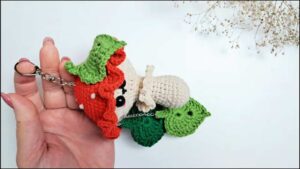
Crochet a cute mushroom pendant with this fun and simple crochet project. The design is made with separate parts like the mushroom top, stem, and tiny dots, which are later joined together. Small stitched faces and a lobster clasp add extra charm and make it easy to hang on bags or keys. Soft, small, and easy to make, this mushroom accessory is perfect as a cute handmade charm or little gift.
Crochet Mushroom Plush Fidget Toy
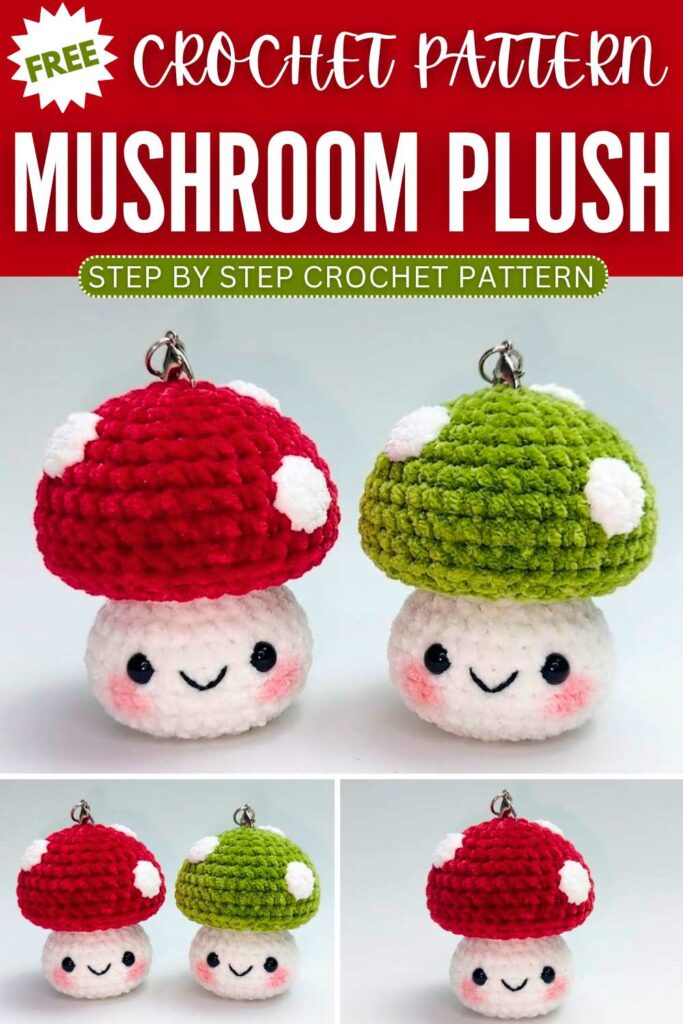
Step By Step Pattern
Materials Needed
Yarn: Plush Yarn (Main Cap color, Stem color, and expression details) and 2-ply milk cotton yarn (White, for the decorative cap dots)
Crochet Hooks: 4.5 mm
Eyes: 1 pair of 3 mm plastic safety eyes or beads
Fiberfill: Stuffing material
Tools: Tapestry needle, scissors, and a lobster clasp/keychain attachment loop
Abbreviation List
MR: Magic Ring
ch: Chain
sc: Single Crochet
inc: Single Crochet Increase (2 single crochets into the same stitch)
dec: Single Crochet Decrease (invisible decrease preferred)
BLO: Back Loop Only (stitch only into the loop furthest from you)
sl st: Slip Stitch
st(s): Stitch(es)
[ ] × N: Repeat the pattern sequence inside the brackets N times
Part 1: Mushroom Cap (Umbrella)
Note: Use the 2.0 mm hook and your chosen cap color yarn. Work in joined rounds, finishing each round with a slip stitch to the first stitch.
Round 1: MR, ch 1, 6 sc into the ring. Sl st to join. (6 sts)
Round 2: Ch 1, 6 inc, sl st to join. (12 sts)
Round 3: Ch 1, [1 sc, 1 inc] × 6, sl st to join. (18 sts)
Round 4: Ch 1, [1 sc, 1 inc, 1 sc] × 6, sl st to join. (24 sts)
Round 5: Ch 1, [3 sc, 1 inc] × 6, sl st to join. (30 sts)
Round 6: Ch 1, 30 sc around, sl st to join. (30 sts)
Flip the piece so the correct texture faces outward (this is the front side).
Round 7: Ch 1, [2 sc, 1 inc, 2 sc] × 6, sl st to join. (36 sts)
Rounds 8–9: Ch 1, 36 sc around, sl st to join. (36 sts)
Round 10: Ch 1, working in BLO for this round only, 36 sc around, sl st to join. (36 sts)
Round 11: Ch 1, [2 sc, 1 dec, 2 sc] × 6, sl st to join. (30 sts)
Round 12: Ch 1, [3 sc, 1 dec] × 6, sl st to join. (24 sts)
Round 13: Ch 1, [1 sc, 1 dec, 1 sc] × 6, sl st to join. (18 sts)
Fasten off, leaving a relatively short yarn tail. Stuff the completed cap firmly with fiberfill.
Part 2: Mushroom Stem (Pole)
Note: Use the 2.0 mm hook and white or cream 4-ply yarn.
Round 1: MR, ch 1, 8 sc into the ring. Sl st to join. (8 sts)
Round 2: Ch 1, 8 inc, sl st to join. (16 sts)
Round 3: Ch 1, [1 sc, 1 inc] × 8, sl st to join. (24 sts)
Round 4: Ch 1, [1 sc, 1 inc, 1 sc] × 8, sl st to join. (32 sts)
Rounds 5–6: Ch 1, 32 sc around, sl st to join. (32 sts)
Round 7: Ch 1, [1 sc, 1 dec, 1 sc] × 8, sl st to join. (24 sts)
Round 8: Ch 1, [1 sc, 1 dec, 1 sc] × 6, sl st to join. (18 sts)
Round 9: Ch 1, 18 sc around, sl st to join. (18 sts)
Fasten off, leaving a long yarn tail for sewing. Stuff the stem piece firmly with fiberfill.
Part 3: Small Cap Dots (Make 4)
Note: Use the 1.5 mm hook and 2-ply white milk cotton yarn.
Round 1: MR, ch 1, 8 sc into the ring. Tighten the ring loop firmly and sl st to the first stitch to join. (8 sts)
Fasten off, leaving a tail to sew or glue. Weave in the starting yarn end.
Note: For these small dots, the reverse/back side will actually serve as the clean front face.
Part 4: Assembly & Face Details
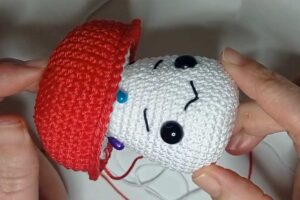
Sew Stem to Cap: Align the opening of the stuffed stem (18 sts) with the opening of the stuffed cap (18 sts). Using a tapestry needle and the long yarn tail left on the stem, sew the two pieces together stitch-for-stitch until completely secure.
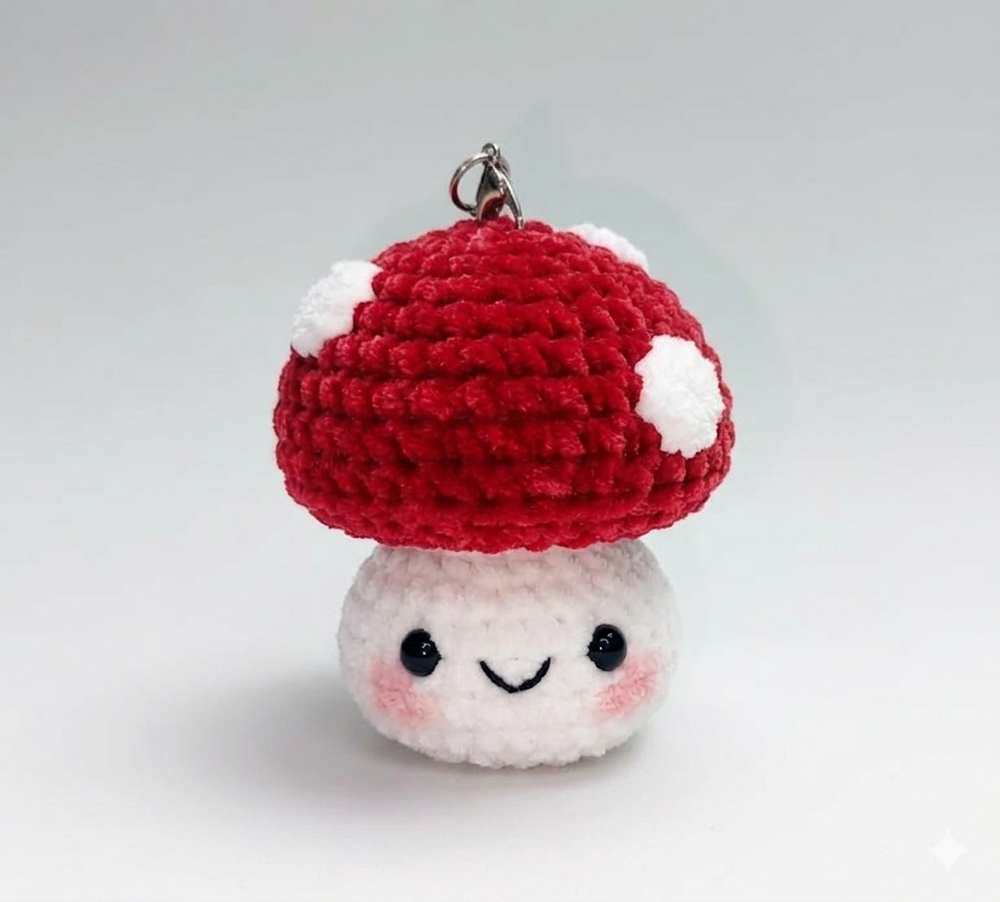
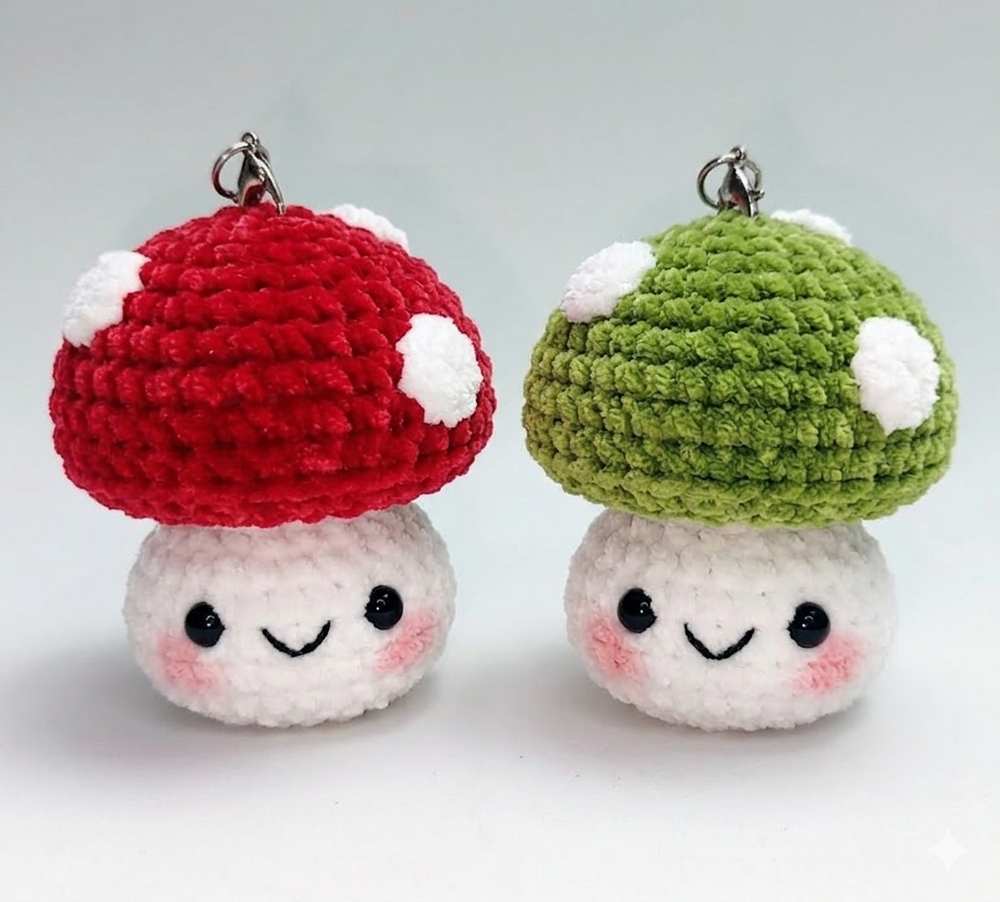
Attach Cap Dots: Position the 4 small white dots randomly across the top curvature of the mushroom cap. Sew or glue them into place.
Embroider the Face: Insert your 3 mm eyes or beads securely onto the front side of the mushroom stem. Use black thread to stitch a simple, cute mouth expression between the eyes.
Keychain Hardware: Attach your jump ring and lobster clasp directly through the very center top point of the mushroom cap. Your elastic, squishy mushroom keychain is officially complete!
You may also like
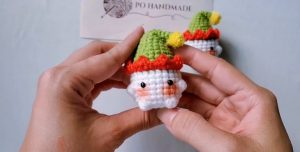
How to Crochet Elf Baby Mushroom for Christmas Last-Minute
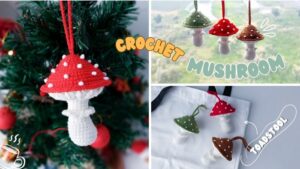
How to Crochet Life-Like Toadstool Mushroom for Christmas & Fall
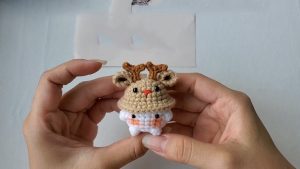
How to Crochet Baby Reindeer Mushroom for Christmas
HandMade-Top: Crochet Smiling Mushroom Amigurumi with Maple Leaf for Fall
How to Crochet 4 Baby Mushroom Amigurumi (Step-by-Step Tutorial)