
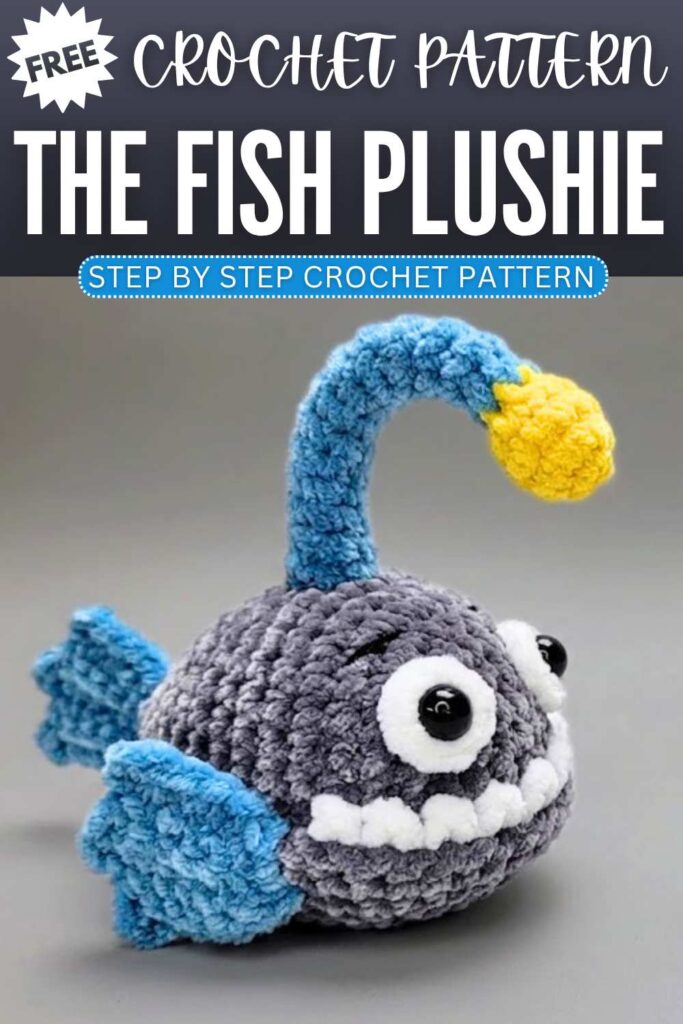
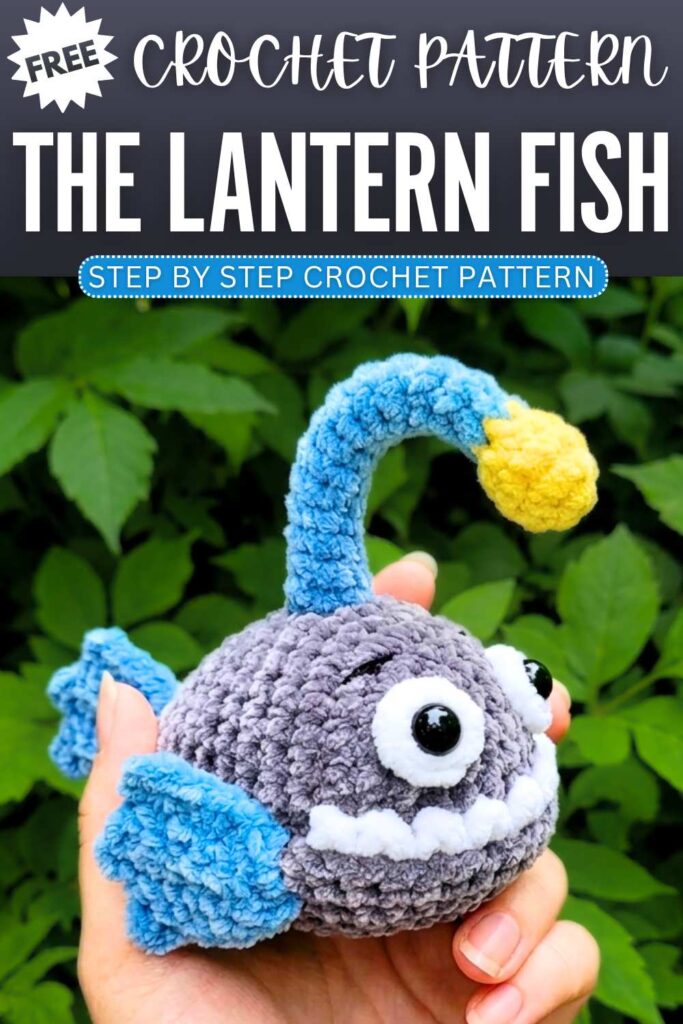
Crochet Lantern Fish Plushie Pattern For Summer
Make a cute deep-sea lantern fish plush with this fun crochet project. The plush is made in small parts like the body, fins, tail, mouth, teeth, eyes, and glowing lure. Each piece is made separately and then joined together to form a soft stuffed toy. Simple stitches and easy assembly help you build it step by step, making it a cute handmade plush for display, play, or gifting.
Step By Step Pattern
Materials List
Yarn: plush yarn (body color of your choice, plus small amounts of contrasting colors for details like white for the eyes and a soft shade for the light bulb).
Crochet Hook: 4.5 mm
Other Tools: 7 cm piece of craft wire (for the light antenna), fiberfill stuffing, stitch markers, yarn needle, safety eyes or black beads, and keychain hardware.
Abbreviation List
MR: Magic Ring
ch: Chain stitch
sc: Single crochet
inc: Single crochet increase (2 single crochets into the same stitch)
dec: Single crochet decrease (invisible decrease preferred)
sl st: Slip stitch
BLO: Back Loops Only (working into the inner half-loop)
st(s): Stitch(es)
[ ] x 6: Repeat the instructions inside the brackets a total of 6 times.
Part 1: Main Body
Stuffed firmly before closing.
Round 1: Start with a MR, ch 1, work 6 sc into the ring. Pull tight. (6 sts)
Round 2: [inc] x 6. (12 sts)
Round 3: [sc 1, inc] x 6. (18 sts)
Round 4: [sc 2, inc] x 6. (24 sts)
Round 5: [sc 3, inc] x 6. (30 sts)
Round 6: [sc 4, inc] x 6. (36 sts)
Rounds 7–12 (6 rounds total): sc in each stitch around. (36 sts per round)
Round 13: [sc 4, dec] x 6. (30 sts)
Round 14: sc in each stitch around. (30 sts)
Round 15: sc 9, [dec] x 6, sc 9. (24 sts)
Round 16: sc in each stitch around. (24 sts)
Round 17: [sc 2, dec] x 6. (18 sts)
Round 18: sc in each stitch around. (18 sts)
Round 19: sc 3, [dec] x 6, sc 3. (12 sts)
Round 20: sc in each stitch around. (12 sts)
Fasten off, leaving a long tail for sewing. Stuff the body firmly with fiberfill and sew the opening closed.
Part 2: Fins & Tail (Make 3)
You will make three identical pieces: two for the side pectoral fins and one for the rear tail fin. These are worked in flat rows using the back/inner loops to create a ribbed texture.
Row 1: Make a slip knot, ch 7. Turn, skip the first ch, and work into the back bumps (purl bumps) of the chain: 6 sc. (6 sts)
Row 2: ch 1, turn. Working in BLO, sc 5. Leave the last stitch unworked. (5 sts)
Row 3: ch 2, turn. Skip the first ch. Working in BLO, sc 5 down the side. (5 sts)
Row 4: ch 1, turn. Working in BLO, sc 5. (5 sts)
Row 5: ch 2, turn. Skip the first ch. Working in BLO, sc 6 down to the edge, sl st 1 at the base.
Fasten off, leaving a long tail for assembly.
Part 3: The Lantern (Esca / Light Antenna)
The Bulb (Contrasting Color)
Round 1: Start with a MR, ch 1, work 6 sc into the ring. (6 sts)
Round 2: [inc] x 6. (12 sts)
Round 3: sc in each stitch around. (12 sts)
Round 4: [dec] x 6. (6 sts) Change to your main body color on the last stitch.
The Stalk (Body Color)
Rounds 5–15 (11 rounds total): sc in each stitch around. (6 sts per round)
Round 16: [sc 1, inc] x 3. (9 sts)
Round 17: sc in each stitch around, sl st to the first st to finish. (9 sts)
Fasten off, leaving a long tail. Carefully insert the 7 cm piece of craft wire inside the stalk to make it poseable and support the bulb.
Part 4: The Lips
Worked flat in rows.
Row 1: Make a slip knot, ch 19. Turn, skip the first ch, and work into the back bumps: 18 sc. (18 sts)
Row 2: ch 1, turn. Work 18 sc across both loops normally. (18 sts)
Fasten off, leaving a long tail for sewing.
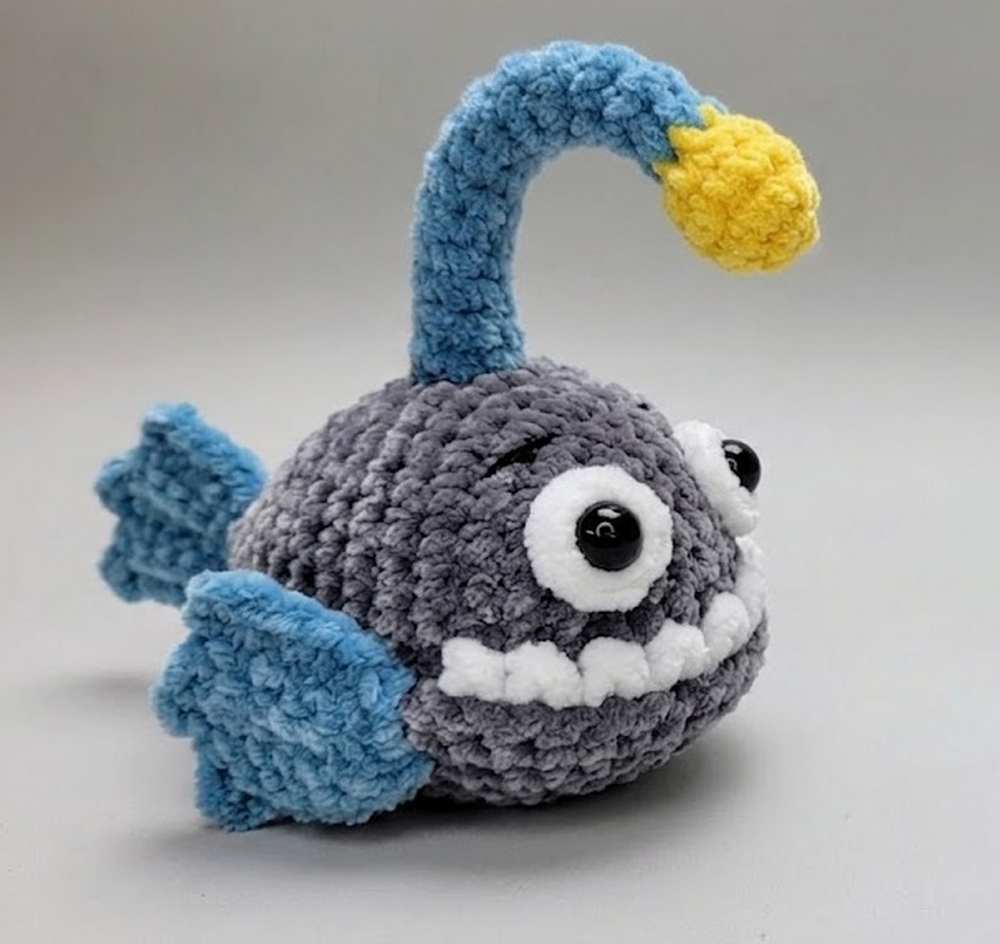
Part 5: The Teeth
This creates a continuous jagged strip of pointed teeth.
Tooth Pattern (Repeat 8 times): ch 3. Turn, skip the first ch, work 1 sl st into the back bump of the second ch, then work 1 sc into the back bump of the third ch.
Without fastening off, immediately repeat this exact sequence to create a total of 8 individual teeth on the string. Fasten off and leave a long tail for sewing.
Part 6: Eye Whites (Make 2)
Round 1: Start with a MR, ch 1, work 6 sc into the ring. Pull tight, join with a sl st to the first stitch. (6 sts)
Fasten off and weave in the loose ends. (You will attach your black safety eyes or beads directly through the centers of these circles).
Part 7: Assembly & Finishing
Eyes: Position and sew the eye whites to the front sides of the head. Secure the black safety eyes/beads through their centers.
Mouth & Teeth: Sew the tooth strip onto the flat side of the lip piece. Fold or shape the lips around the front lower half of the face to create the lantern fish’s classic huge underbite look, then sew firmly to the body.
Lantern: Plant the base of the wired lantern stalk directly on top of the head between the eyes, pushing the excess wire safely into the stuffed body cavity. Sew down the flared base (Round 17) to secure it. Bend the wire forward so the bulb hangs over the face.
Fins: Sew one pectoral fin to each side of the body, and the final fin to the back end as the tail.
Keychain: Securely attach your keychain ring to the top center of the fish’s back.
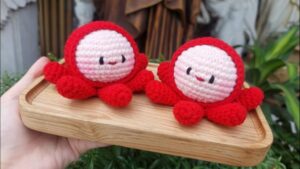
You may also like

Hui Crochet: How to Crochet Jack-o-Lantern Pumpkin Hairclip for Halloween
How to Crochet Frankenstein Basket & Lantern for Trick-or-Treating

How to Crochet Jack O Lantern Sweater For Halloween

How To Crochet Pumpkin Treat Bag With Jack-O-Lantern Faces
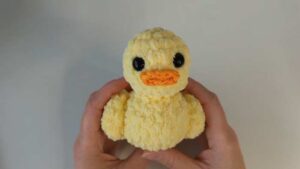
Crochet Water Creature Handmade Plushie Patterns (how to crochet a fish plushie)
11 Free Crochet Amigurumi Sea Creature Patterns (Fish, Crabs & Turtles)
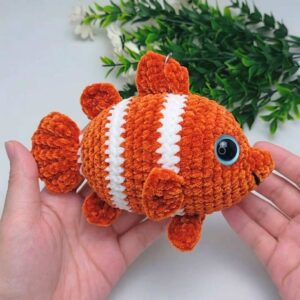
Crochet Clown Fish Plushie Pattern For Summer

Free Crochet Halloween Witch Hat & Fish Bone Toy for Black Cat

Crochet Fish Pouch Bag Pattern For Summer Outgoings


