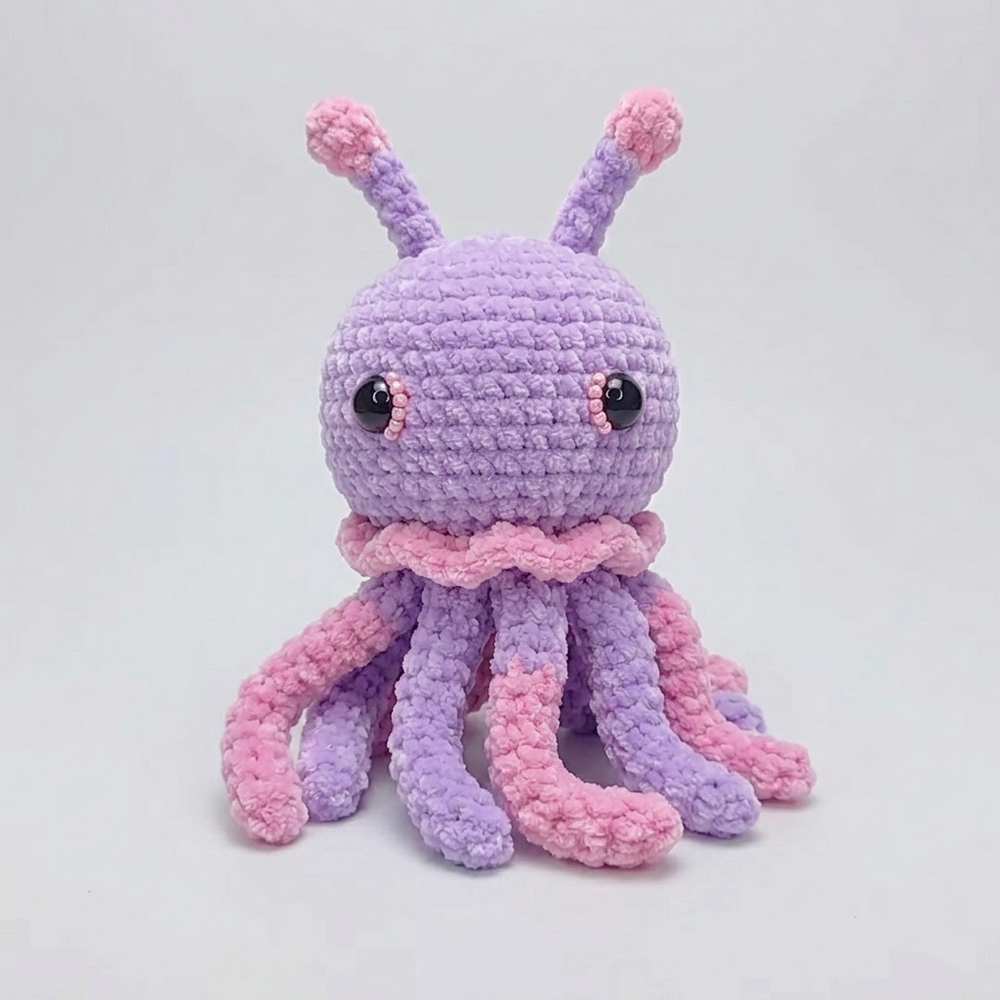
Crochet Octopus Plushie Pattern For Summer
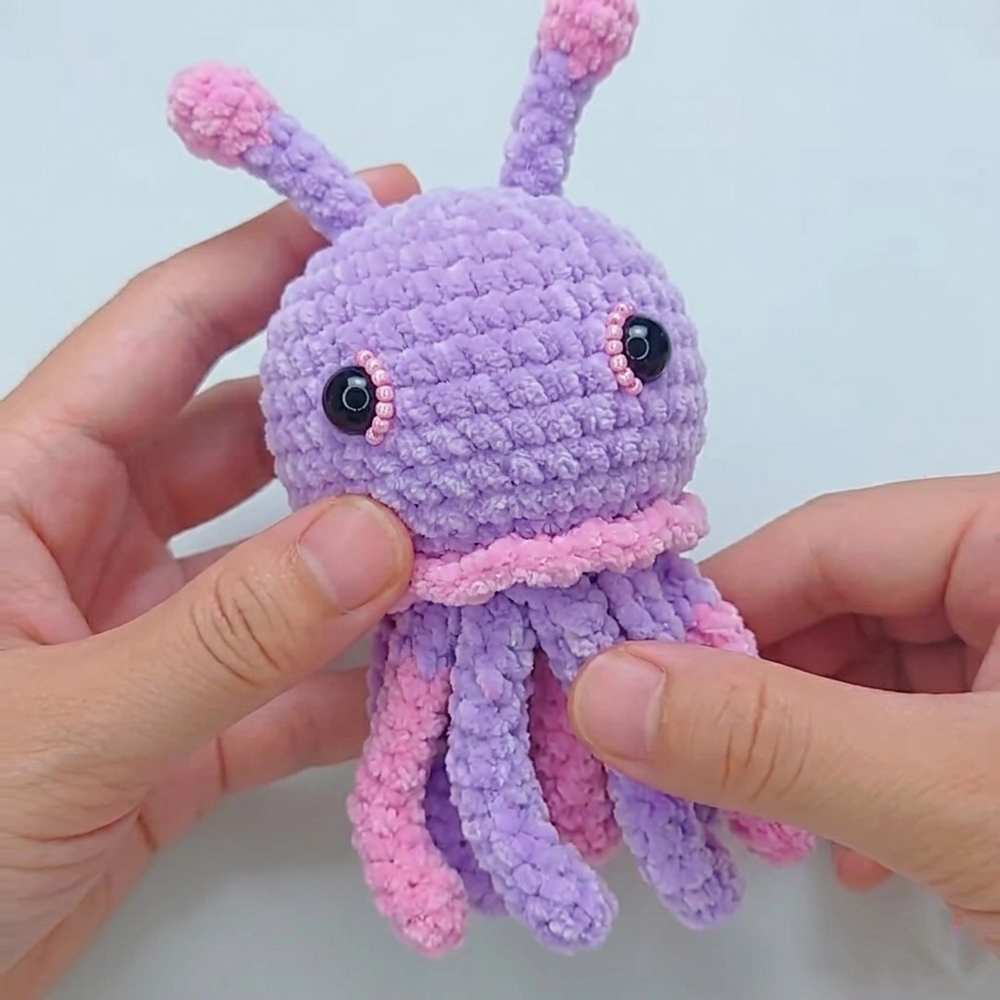
Make a cute octopus plush with this fun crochet project. The design is made in small parts like the head, base, tentacles, and curly tendrils. Each piece is made separately and then joined together to form a soft hanging ornament. You can also choose colors and adjust the number of tentacles, making it easy to personalize and enjoy as a cute handmade decoration or gift.
Crochet Octopus Plushie Pattern Free
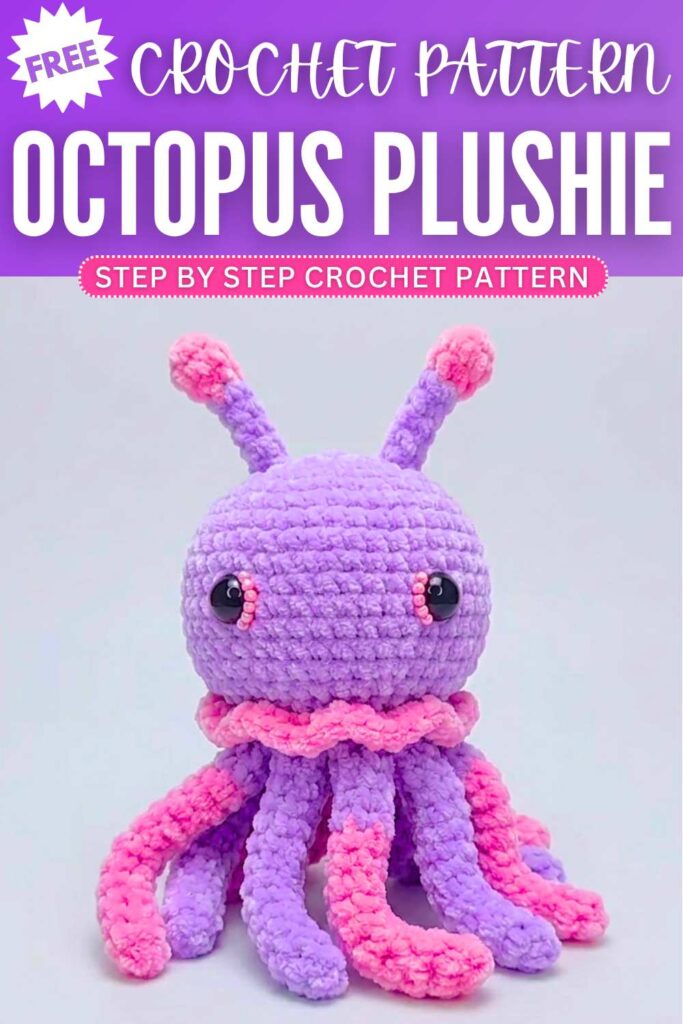
Step By Step Pattern
Materials List
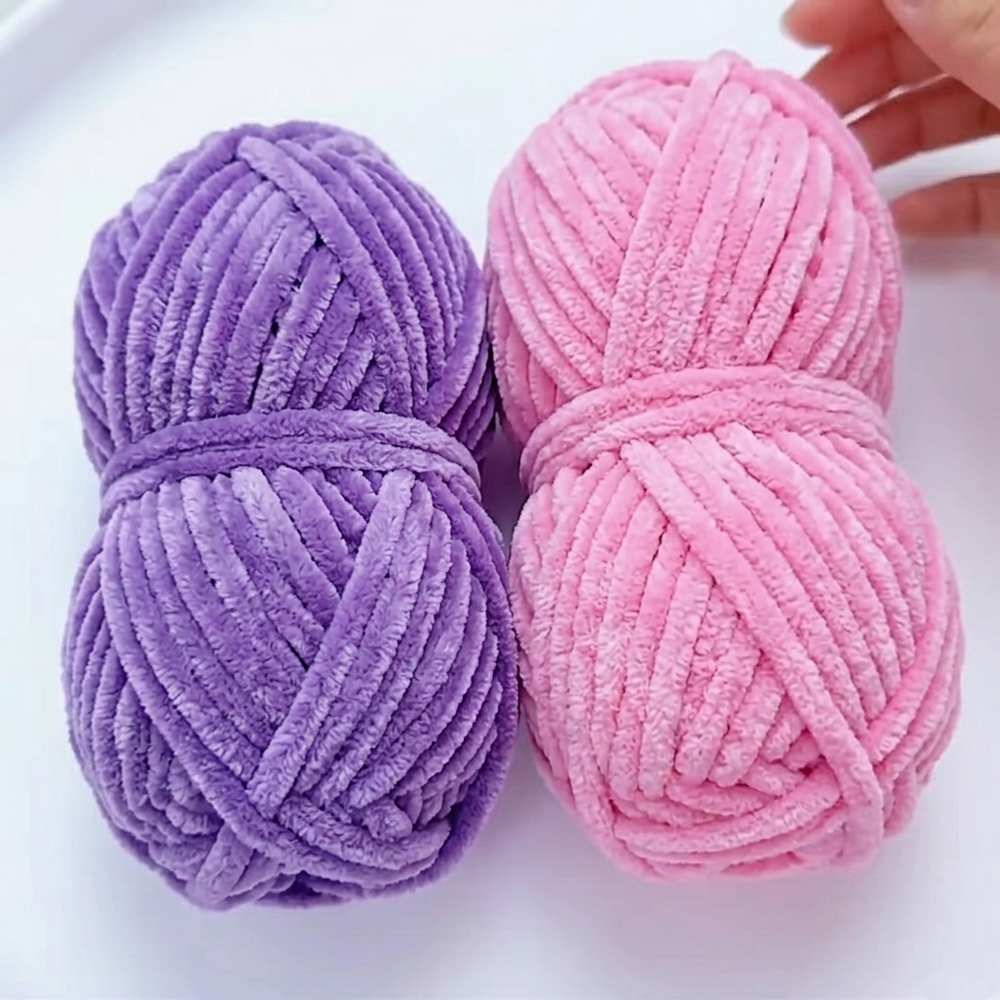
Yarn: 4-ply combed plush yarn (main color, secondary color for tentacles/details)
Crochet Hook: 4.5 mm
Other Tools: Fiberfill stuffing, craft wire/shaping strips (for tentacles), stitch markers, tapestry needle, safety eyes/thread for facial features.
Abbreviation List
MR: Magic Ring
ch: Chain stitch
sc: Single crochet
inc: Increase (2 single crochets into the same stitch)
dec: Decrease (crochet 2 stitches together)
sl st: Slip stitch
FLO: Front Loops Only (crochet only into the front loop of the stitch)
st(s): Stitch(es)
[ ] x N: Repeat the instructions inside the brackets N times.
Step-by-Step Pattern
Part 1: The Head
Note: Unless stated otherwise, join each round with a sl st to the first stitch of that round.
Round 1: Start with a MR, ch 1 (does not count as a stitch), work 8 sc into the ring. Pull ring tight. Sl st to join. (8 sts)
Round 2: 8 inc. Sl st to join. (16 sts)
Round 3: [1 sc, 1 inc] x 8. Sl st to join. (24 sts)
Round 4: [3 sc, 1 inc] x 6. Sl st to join. (30 sts)
Round 5: [2 sc, 1 inc, 2 sc] x 6. Sl st to join. (36 sts)
Round 6: [5 sc, 1 inc] x 6. Sl st to join. (42 sts)
Rounds 7–15: 42 sc around. Sl st to join. (42 sts for 9 rounds)
(Tip: This is a good time to attach safety eyes and stitch on the mouth details onto the front of the head!)
Round 16: [5 sc, 1 dec] x 6. Sl st to join. (36 sts)
Round 17: [2 sc, 1 dec, 2 sc] x 6. Sl st to join. (30 sts)
Round 18: [3 sc, 1 dec] x 6. Sl st to join. (24 sts)
Round 19 (FLO): Working in Front Loops Only, [1 sc, ch 2] x 24. Sl st to join. (This creates the decorative ruffled bottom edge).
Finishing: Fasten off, leaving a long yarn tail for assembly and sewing. Stuff the head firmly with fiberfill stuffing.
Part 2: The Bottom Base
Rounds 1–3: Repeat the exact same steps as Rounds 1 to 3 of the Head.
Finishing: After completing Round 3 (24 sts), fasten off and weave in the ends.
Part 3: The Tentacles (Make 8)
Round 1: Start with a MR, ch 1, work 4 sc into the ring. Pull ring tight. Sl st to join. (4 sts)
Round 2: 1 inc, 3 sc. Sl st to join. (5 sts)
(Tip: Push the piece inside out if needed so the right side faces outward).
Round 3: 1 inc, 4 sc. Sl st to join. (6 sts)
Rounds 4–10: 6 sc around. (6 sts)
Round 11: 5 sc. On the 6th sc, start the stitch but do not complete it. Drop the main color, bring in your secondary yarn color, and pull it through the remaining 2 loops on your hook to complete the stitch. Sl st to join. (6 sts)
Rounds 12–15: 6 sc around in the new color. (6 sts)
Insertion: Slide a small piece of craft wire or a shaping strip inside the tentacle to make it poseable.
Row 16: Ch 1, flatten the opening of the tentacle so the stitches align. Crochet through both layers across to close the opening with 3 sc.
Finishing: Fasten off, leaving a long tail for sewing.
Part 4: The Tentacle Tendrils / Antennae (Optional Detail)
Round 1: Make a slip knot, ch 3. Sl st back into the back ridge/bump of the very first chain to close.
Round 2: Work 6 sc into the center space/loop just created. Sl st to join. (6 sts)
Round 3: 6 sc around. Sl st to join. (6 sts) Flip the tiny tube right side out.
Round 4: [1 dec] x 3. On the final decrease, switch to your secondary yarn color right before completing the stitch. Sl st to join. (3 sts)
Round 5: 1 inc, 2 sc. Sl st to join. (4 sts)
Rounds 6–9: 4 sc around. (4 sts)
Finishing: Fasten off, leaving a yarn tail for assembly.
Part 5: Assembly & Joining
Sew the Base: Take the Bottom Base (Part 2) and align it with the unworked back loops of Round 18 on the Head (Part 1). Use a tapestry needle and the yarn tail to sew them together, securing the stuffing completely inside.
Attach Tentacles: Evenly space and sew the flat edges of the 8 tentacles onto the bottom base.
Attach Details: Sew the little tendril pieces onto the head if desired, weave in all remaining loose yarn ends securely, and your octopus plushie is complete!
You may also like
Free Crochet Octopus Bag Pattern For Summer
12 Free Crochet Amigurumi Octopus Patterns (Kawaii & Plush)

Crochet Puffy Octopus Amigurumi Pattern Free
How to Crochet Halloween Ghost Octopus Amigurumi with Witch Hat
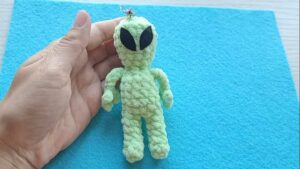
Free Crochet Green Mini Alien Plushie for Halloween

Sotvorimka: Crochet Low-Sew Halloween Black Cat Plushie in a Witch Hat
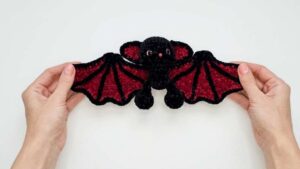
Free Crochet Flying Baby Bat Plushie Pattern for Halloween
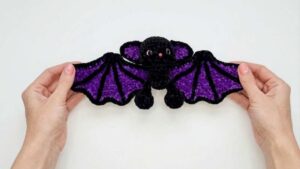
Sotvorimka: Free Crochet Foldable Wings Bat Plushie in Purple
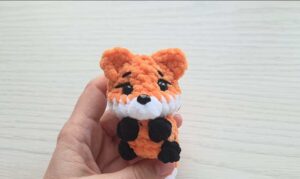
Love-Knitting: Free Crochet No-Sew Sitting Fox Plushie for Fall Decorations