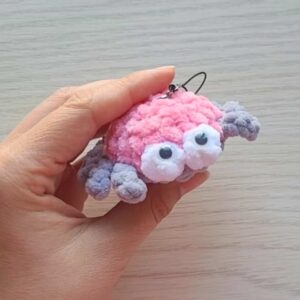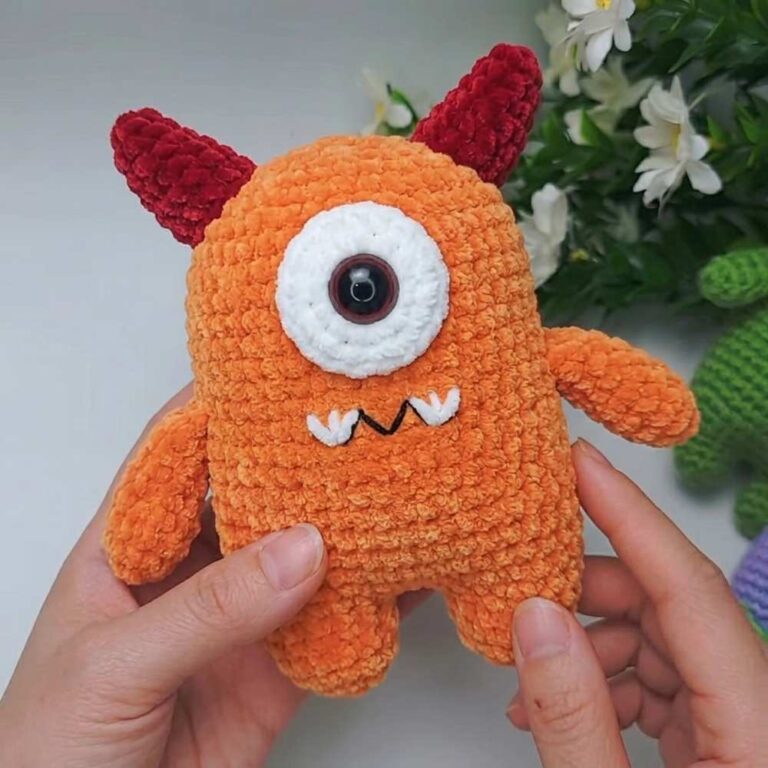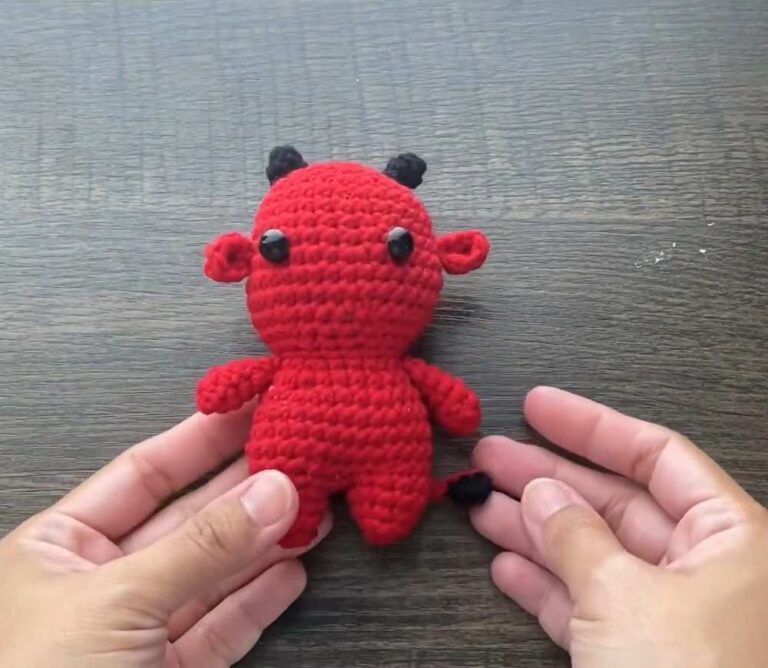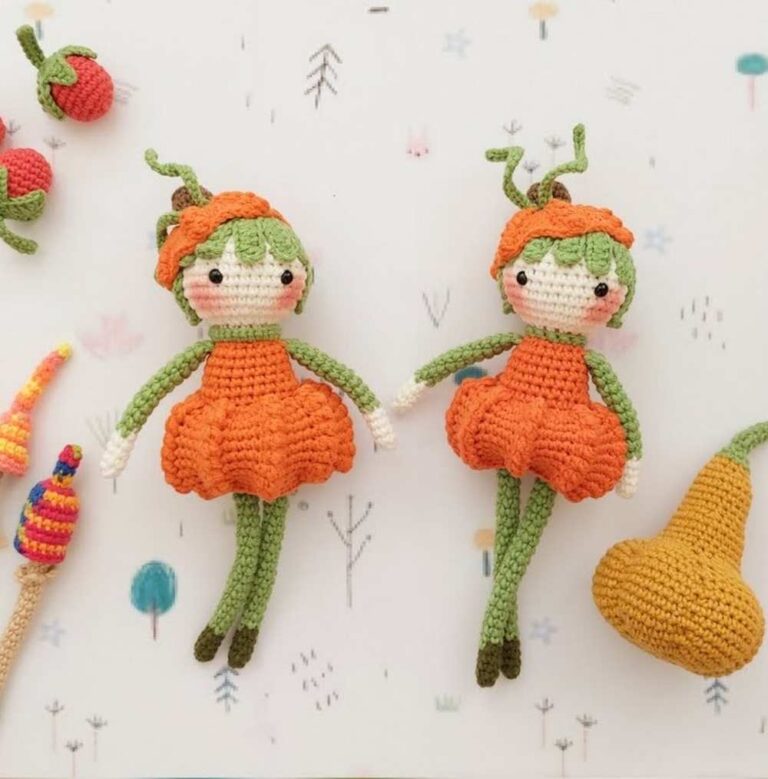






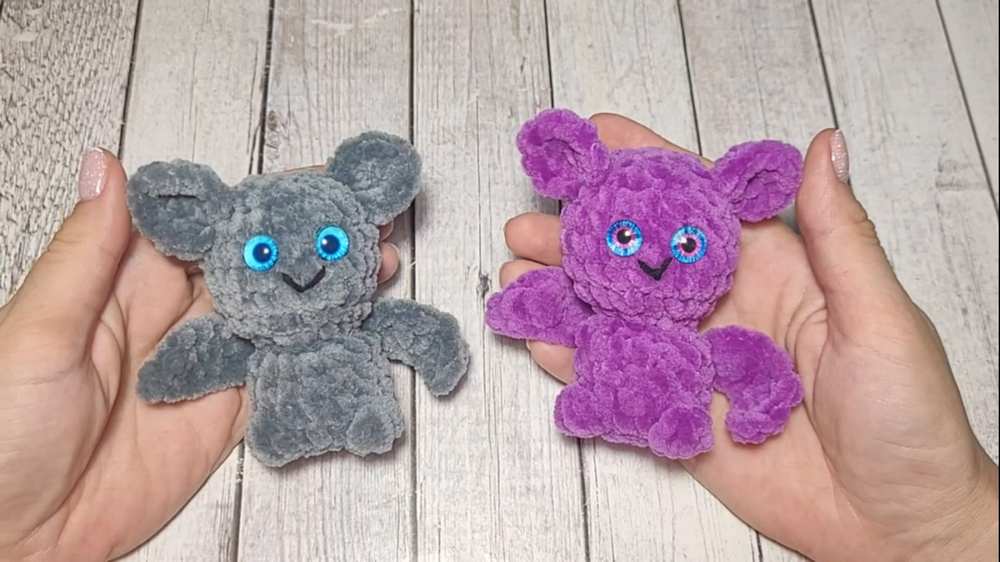
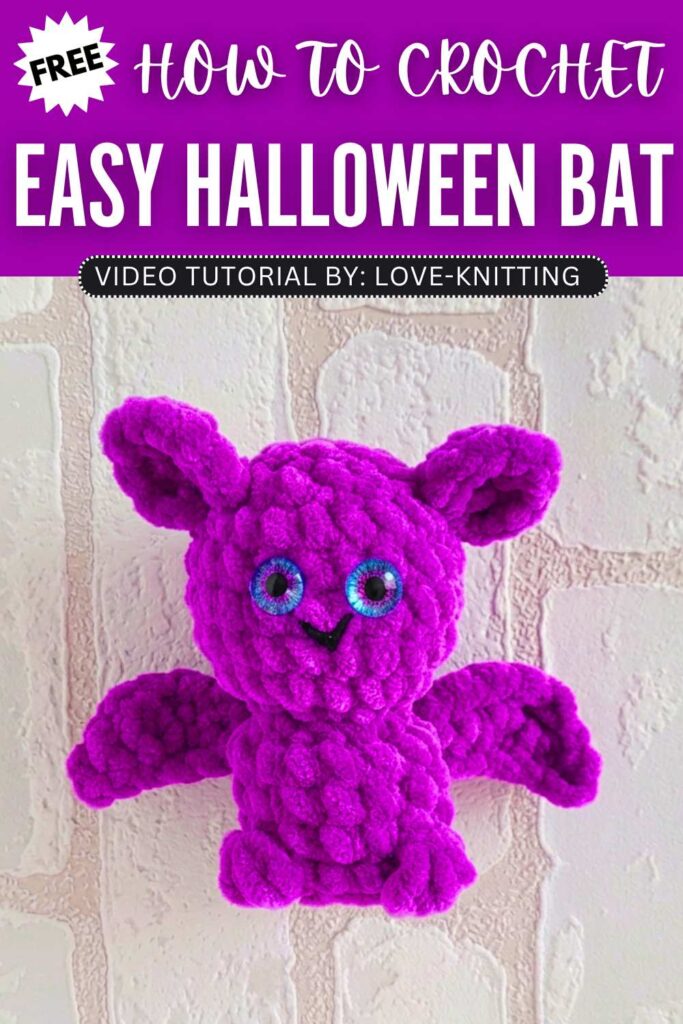
Looking for the QUICKEST crochet bat plush pattern? Learn how to crochet this no-sew bat desk buddy plushie with a FREE pattern for absolute beginners. This crochet bat plush is small and worked as a single piece including the ears from the bottom. You can crochet many bat plushies in purple, grey, red and black and place them on the table to welcome to guests.
Crochet No-Sew Bat Plushie Pattern
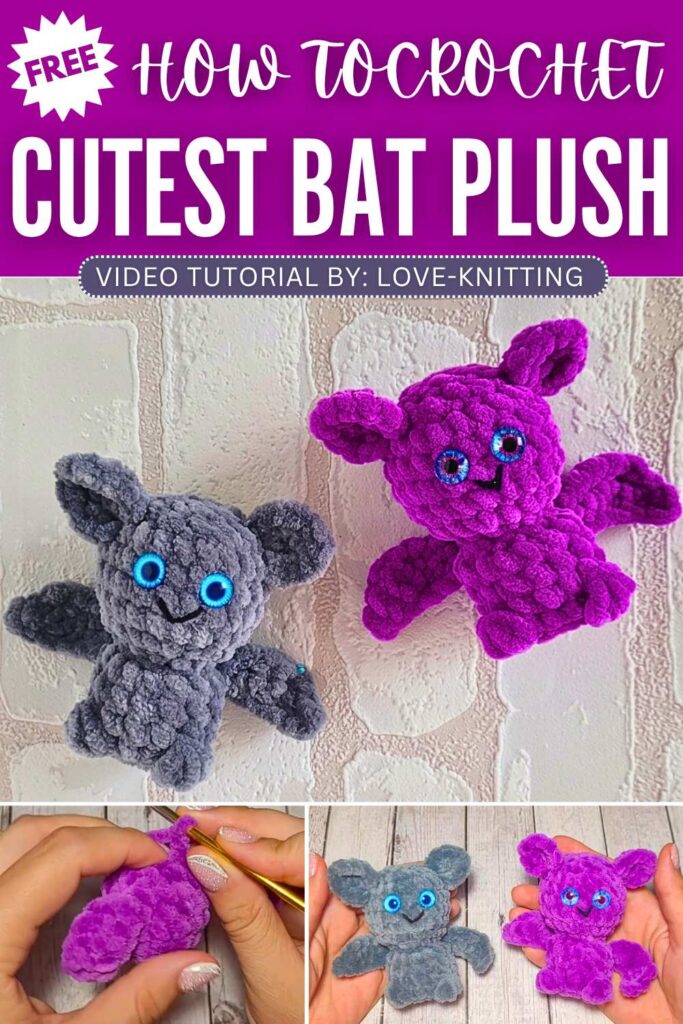
This crochet bat also has blue glitter eyes and a smile. You can also customize the pattern if you are looking for more detailed crochet bat plush. This bat variant looks CUTE, anyway and you can learn that with the pattern below. Let’s get started to crochet bat pattern.
About the Designer: The designer behind this crochet ghost plushie and the tutorial is @love-knitting –with her 1k plush and accessory tutorials, she is a master in crochet whose super bulky yarn series is my favorite.
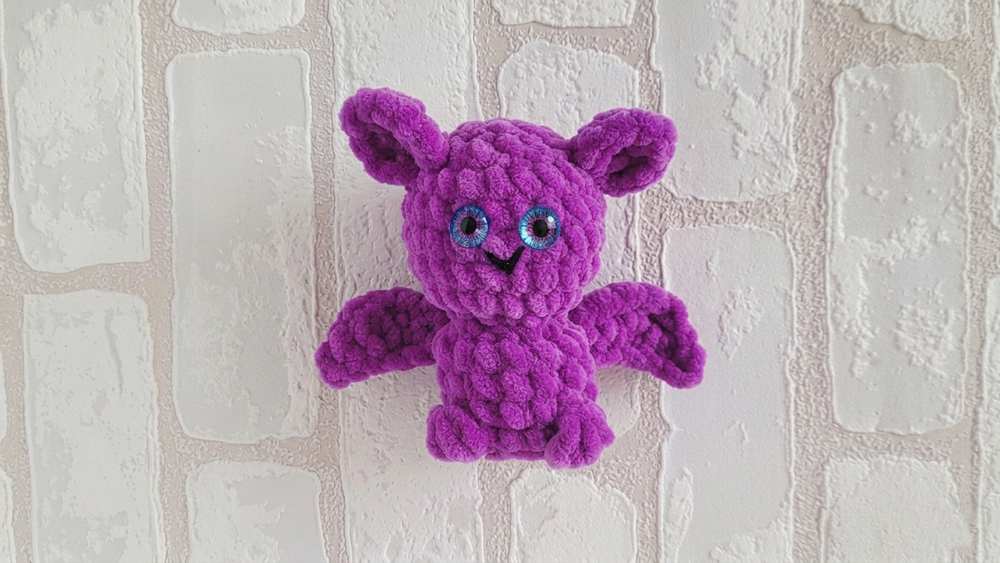
Crochet Plush Bat Pattern
This crochet project is a plush bat toy. You make the bat toy using thick yarn and a hook. The bat toy starts at the bottom. You make the feet of the bat toy first. Then you make the body of the bat toy. Next, you make the wings on the body of the bat toy.
After the body, you make the head of the bat toy. You make the ears on the head of the bat toy. You stuff the bat toy with soft filling. Finally, you put eyes on the bat toy.
Materials
Plush yarn (Chenille) – 100g / 120m
4.0 mm crochet hook
Toy stuffing (fiberfill)
10 mm safety eyes (or glue-on eyes)
Yarn needle and scissors
Small amount of black yarn for the mouth
Abbreviations (US Terms)
MR – Magic Ring
ch – chain
sc – single crochet
hdc – half double crochet
dc – double crochet
sl st – slip stitch
inc – increase (2 sc in one stitch)
dec – decrease (sc 2 together)
puff st – puff stitch (make 3 or 4 unfinished double crochets in the same stitch, then pull the yarn through all loops on the hook to create a little foot)
FLO – front loop only
Written Crochet Instructions
Body and Head (Worked in one continuous piece from bottom up):
Round 1: 7 sc in MR (7)
Round 2: 7 inc (14)
Round 3: 4 sc, 1 puff st, 3 sc, 1 puff st, 5 sc (14) Note: The puff stitches create the little feet.
Round 4: 14 sc (14)
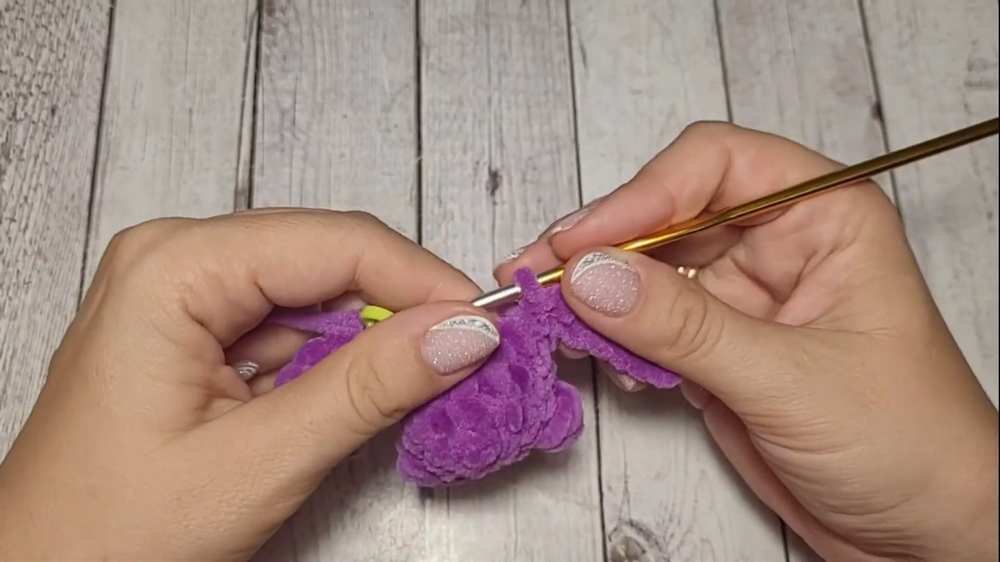
Round 5: 2 sc. From this 2nd stitch, chain 6 to start the first wing. Work down the chain starting from the 2nd chain from the hook: 1 sl st, 1 hdc, 2 dc in next ch, 2 dc in next ch, 1 hdc in last ch. Sl st back into the base stitch on the body. Continue on the body: 10 sc. From this stitch, chain 6 to start the second wing. Work down the chain: 1 sl st, 1 hdc, 2 dc in next ch, 2 dc in next ch, 1 hdc in last ch. Sl st back into the base stitch on the body. Continue on the body: 2 sc. (14 body stitches total)
Round 6: 14 sc (14) Note: Fold the wings forward to easily crochet into the body stitches behind them. Round 7: 7 dec (7) Stuff the body firmly with toy stuffing.
Round 8: 7 inc (14) Note: This round starts the head.
Round 9: (1 sc, inc) repeat 7 times (21)
Round 10-12: 21 sc (21)
Round 13: 6 sc. In the FLO of the next stitch make the first ear: (sl st, ch 3, 2 dc, sl st) all in the same front loop. Then 9 sc. In the FLO of the next stitch make the second ear: (sl st, ch 3, 2 dc, sl st) all in the same front loop. Then 4 sc. (21 body stitches)
Round 14: (1 sc, dec) repeat 7 times (14) Stuff the head firmly with toy stuffing. Round 15: 7 dec (7) Fasten off. Weave the tail through the front loops of the last 7 stitches, pull tight to close the hole, and hide the yarn tail inside.
Ear Border:
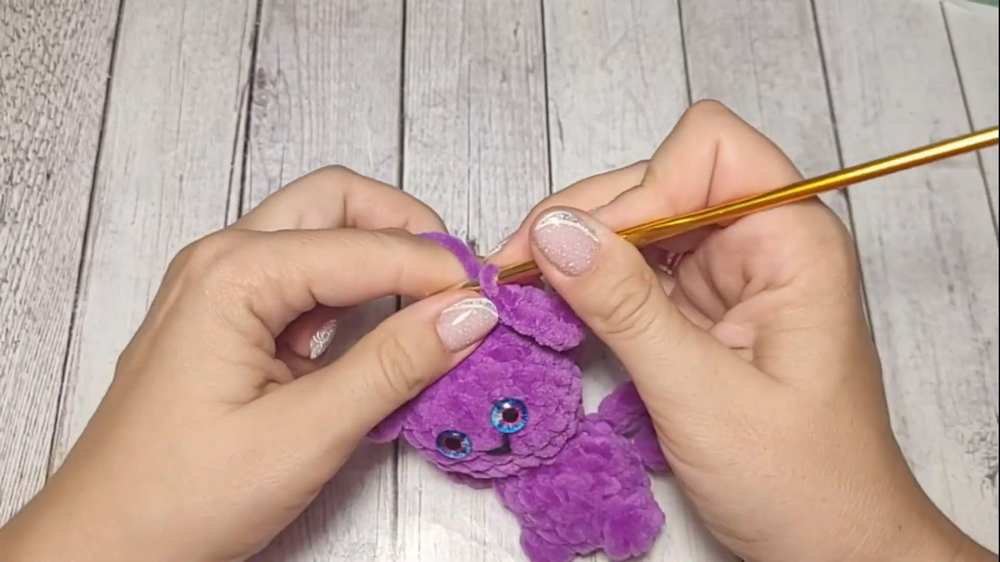
Attach your yarn to the bottom edge of the ear.
Crochet up the side of the ear: 3 sc.
At the top tip of the ear: (1 sc, ch 1, 1 sc) into the exact same space.
Crochet down the other side of the ear: 3 sc.
Sl st to the base, fasten off, and hide the yarn tails inside the head. Repeat for the other ear.
Finishing: Attach or glue the 10 mm eyes to the face. Use thin black yarn to embroider a small smile between the eyes.
Video Tutorial To Learn Even Better
Save For Later:
You may also like
Crochet No-Sew Baby Ghost Plushie Pattern for Halloween
Free Crochet 2-in-1 No-Sew Baby Mushy Amigurumi & Box Pattern for Fall
Smileb: How to Crochet No-Sew Kawaii Mushroom Amigurumi Keychain
Love-Knitting: Free Crochet No-Sew Sitting Fox Plushie for Fall Decorations
Crochet Miniature No-Sew Baby Spider Plushie Pattern Pattern