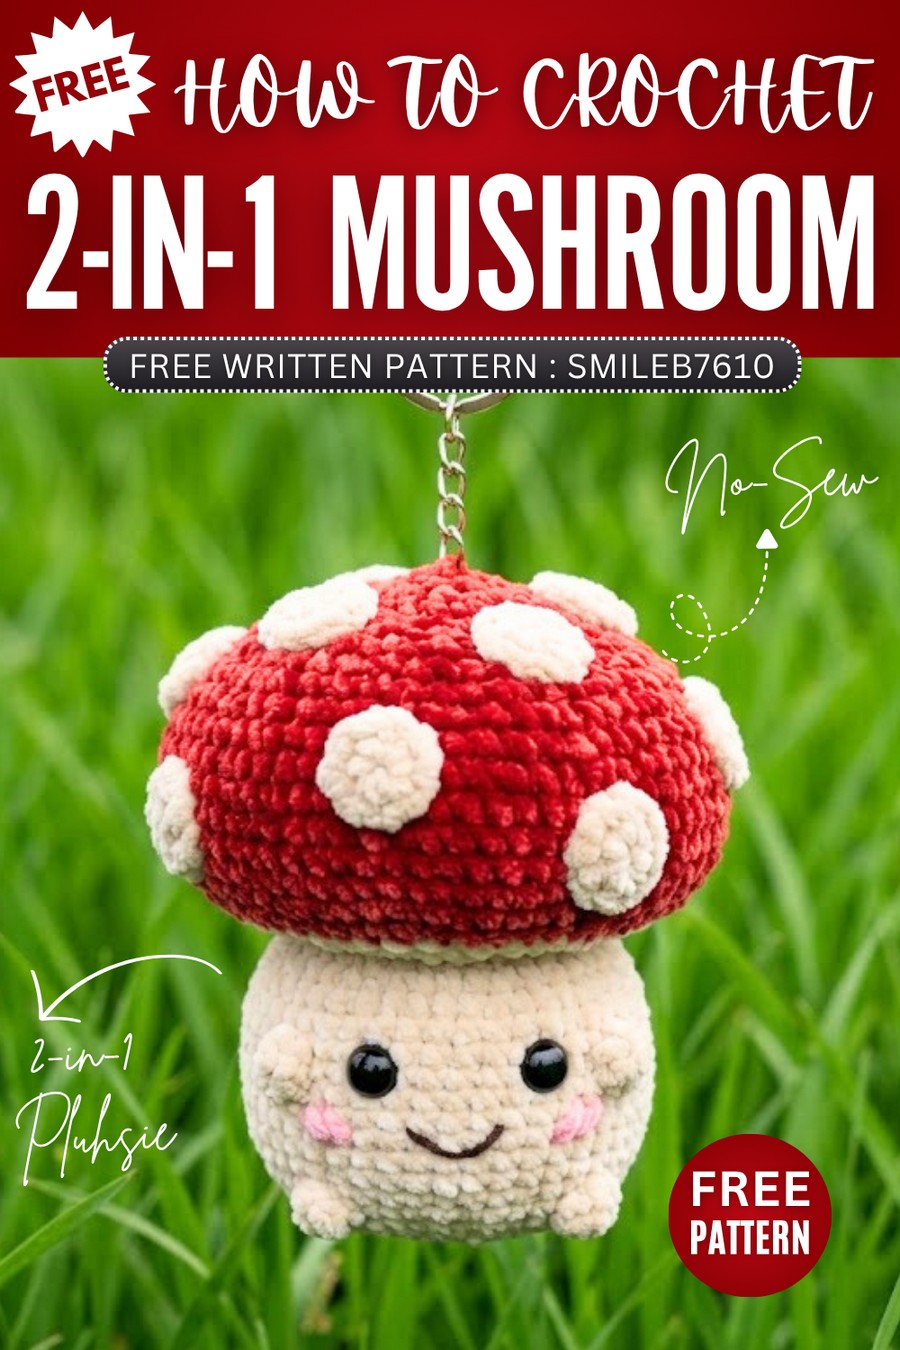
Free Crochet 2-in-1 No-Sew Baby Mushy Amigurumi & Box Pattern for Fall
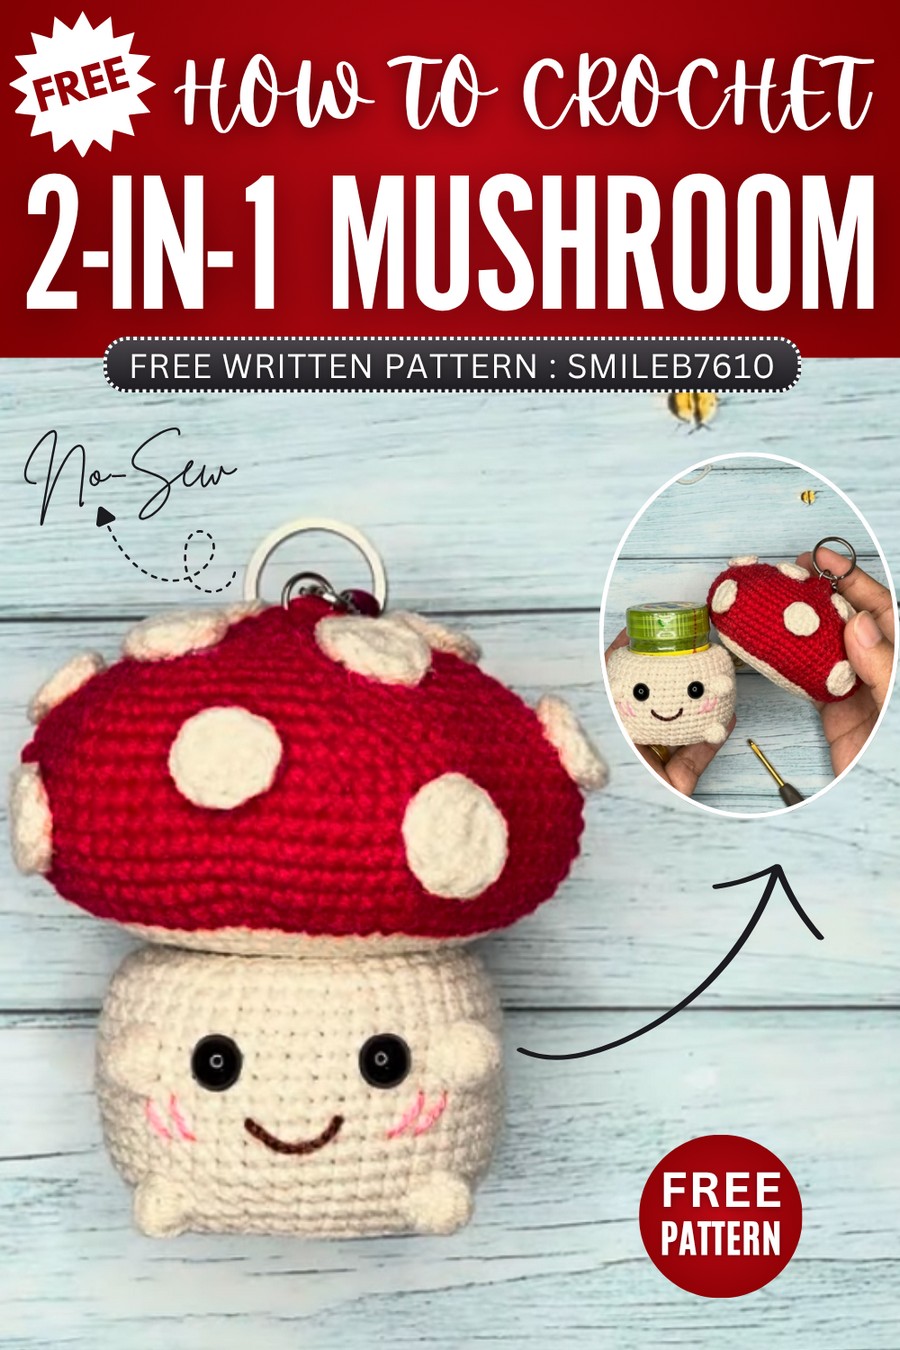
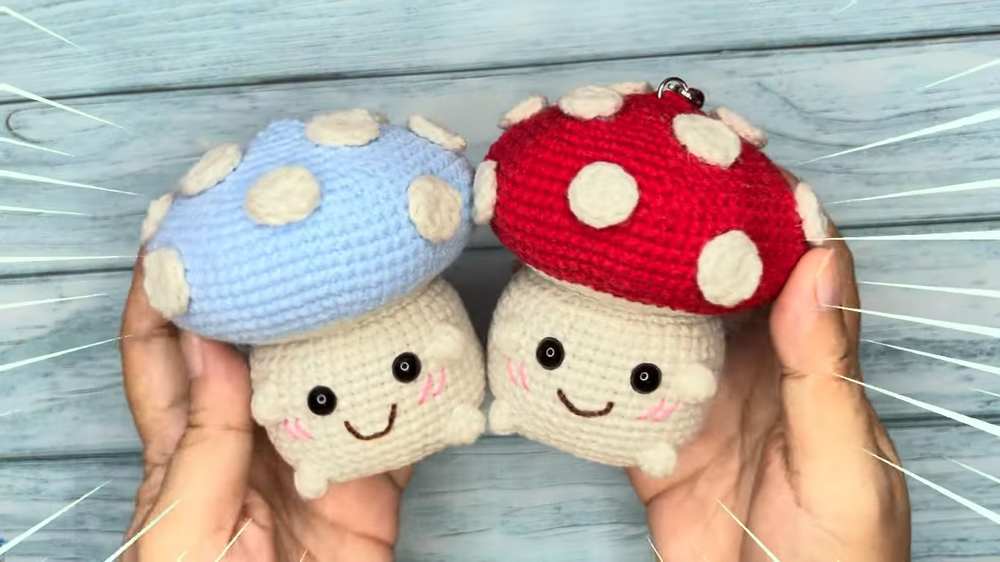
With this FREE written pattern & tutorial as well, learn how to crochet a kawaii baby mushroom amigurumi & 2-in-1 box, specifically an inhaler and jewelry case. You can either crochet the toadstool baby mushy amigurumi or blue mushroom version, too. Our mushroom has a smile, eyes, blush embroidery and the bobble stitch legs and arms, too. You can pull the cap of the spotted mushroom to insert your small box.
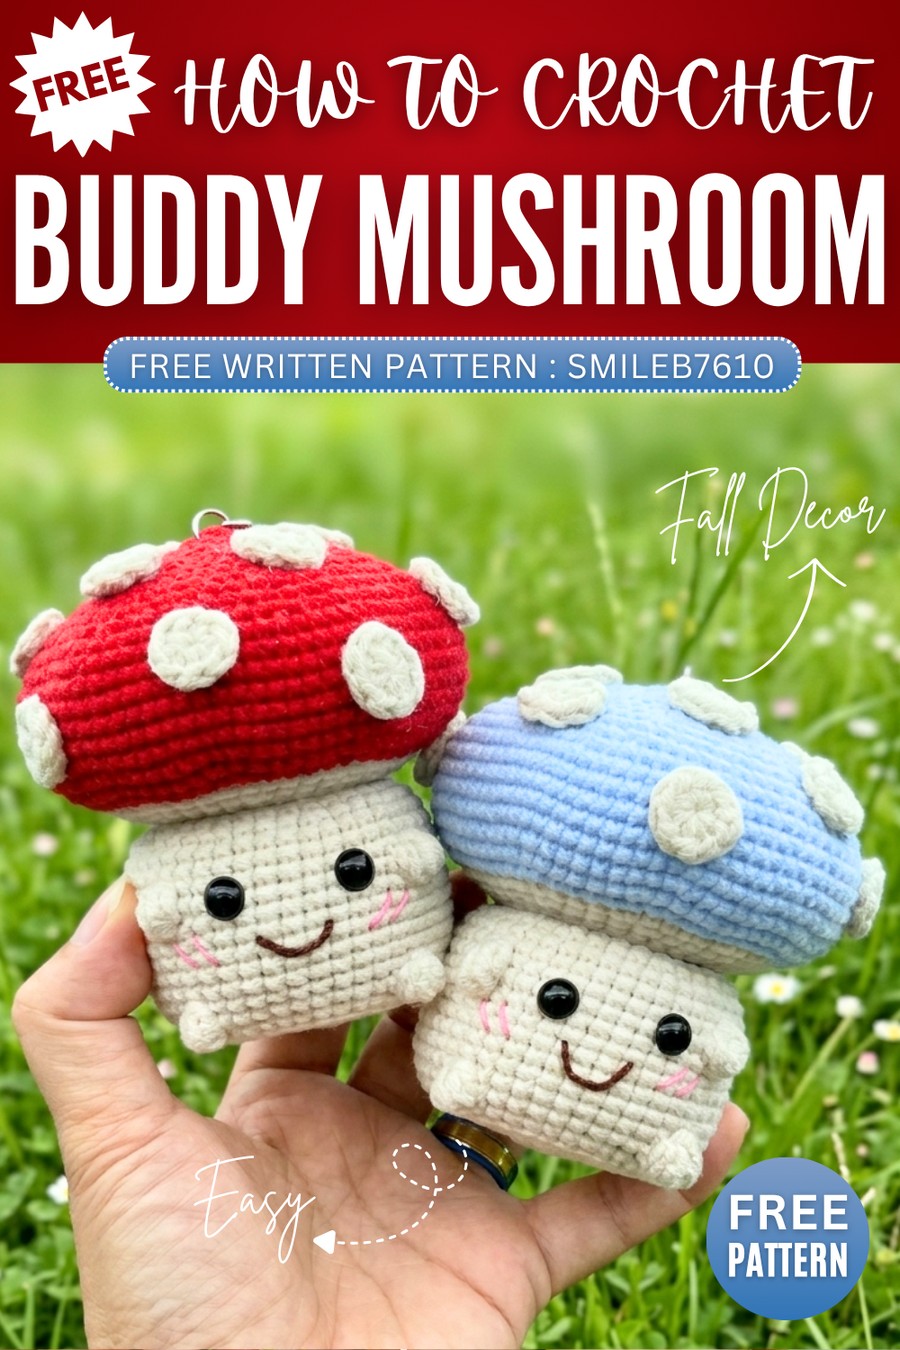
Crocheting this mushroom buddy amigurumi for your fall table would be mush easier. However, it is designed to be a larger crochet mushroom plush, so I recommend using the velvet yarn to make yours. Crocheting this might take 2 hours to finish but I am hoping you will love this project.
Featured Designer: We have featured the @smileb0 this time as a designer for this crochet kawaii mushroom tutorial – she crochets really detailed amigurumi and custom hybrids, too. I love all of her ideas and except that you will all support her!
Materials Needed
- 4-Ply Milk Cotton or plush yarn
- Crochet hook: 2.5 mm.
- 3. Fiber filling
- Black round eyes, 8 mm.
- Glue gun
- Ball chain
- 9 mm circular rings
- Keychain
Size: 8×11 cm. (4 inch)
Abbreviations
MR: Magic Ring
sc: Single Crochet
inc: Increase (2 single crochets in the same stitch)
dec: Invisible Decrease (sc 2 together using front loops only)
BLO: Back Loop Only
FLO: Front Loop Only
Bo 5: 5-dc Bobble Stitch (Yarn over, insert hook, pull up a loop, pull through 2 loops; repeat 5 times in the same stitch, then yarn over and pull through all loops on the hook).
ch: Chain
sl st / SL: Slip Stitch
st(s): Stitch(es)
Part 1: Stem
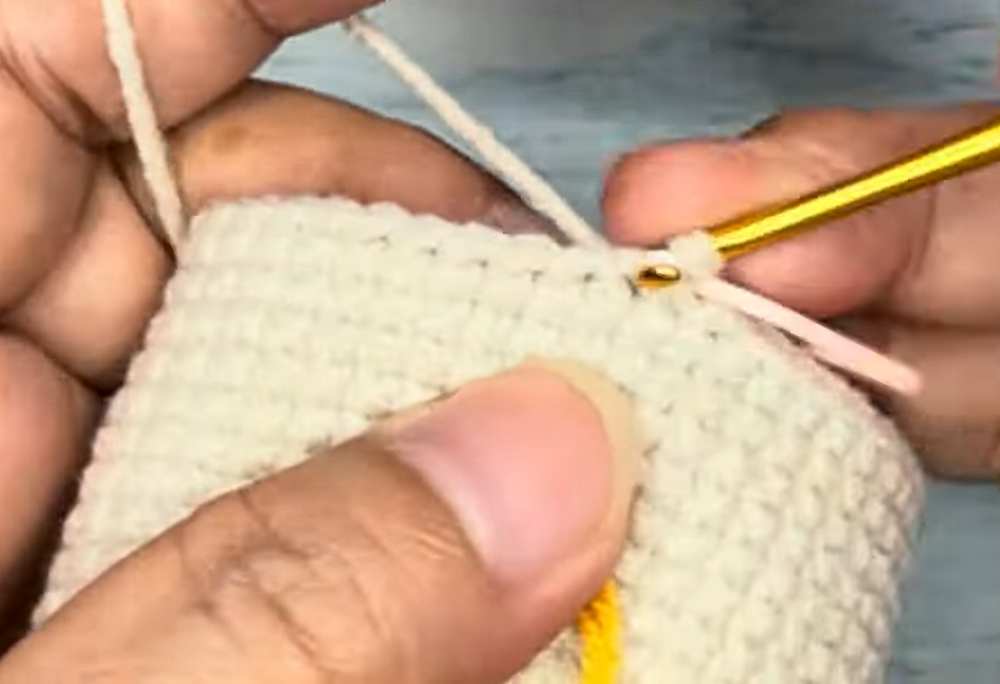
Note: Start every round with ch1 and end with the slip stitch. This pattern is worked in the joined rounds.
Base
Round 1: 6 sc in MR (6)
Round 2: [inc] x 6 (12)
Round 3: [1 sc, inc] x 6 (18)
Round 4: [2 sc, inc] x 6 (24)
Round 5: [3 sc, inc] x 6 (30)
Round 6: [4 sc, inc] x 6 (36)
Round 7: BLO 36 sc (36)
Round 8–17: 36 sc (36)
At the end of Round 17, ch 8 and sl st into the first stitch.
After stuffing & Including legs and arms
Round 1: 36 sc (36)
Round 2: [3 sc, inc] x 9 (45)
Round 3–5: 45 sc (45)
Round 6: Ch 1, sc 16, Bo 5, sc 11, Bo 5, sc 16, sl st (45)
Round 7–12: 45 sc (45)
Round 13: Ch 1, sc 17, Bo 5, sc 10, Bo 5, sc 16, sl st (45)
Round 14: 45 sc (45)
Stuff the piece firmly before narrowing the opening. In this step, you can also insert the inhaler and stuff the sides.
Round 15: BLO [3 sc, dec] x 9 (36)
Round 16: Ch 1, sc 2, dec, [sc 4, dec] x 5, sc 2, sl st (30)
Round 17: [3 sc, dec] x 6 (24)
Round 18: Ch 1, sc 1, dec, [sc 2, dec] x 5, sc 1, sl st (18)
Round 19: [1 sc, dec] x 6 (12)
Round 20: [dec] x 6 (6)
Weave in all remaining loose ends and finish stuffing.
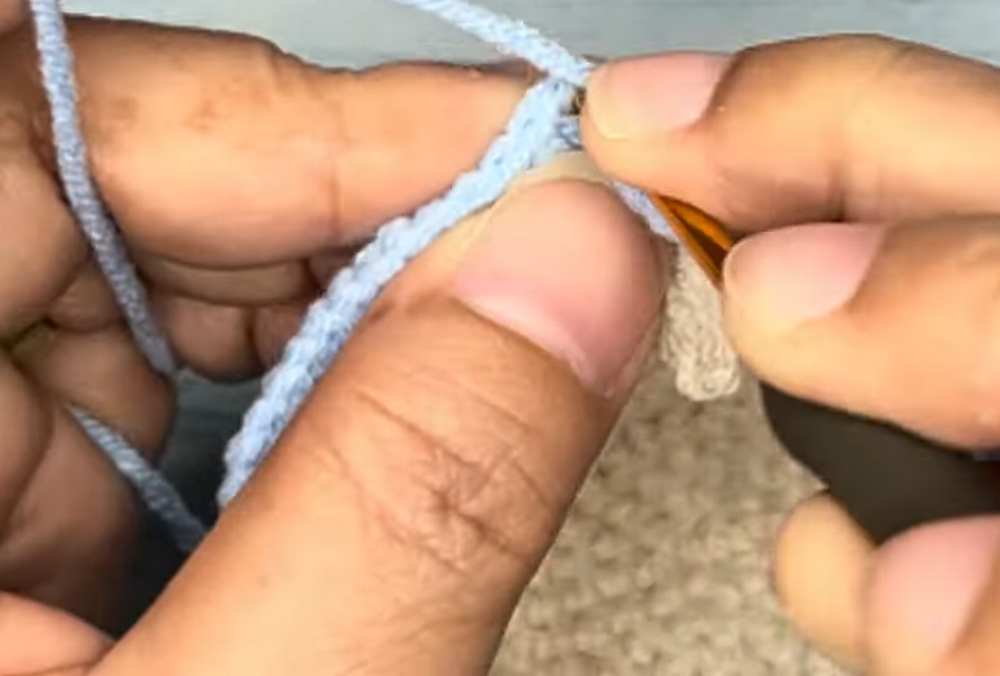
Part 2: Mushroom Cap
Round 1: 6 sc in MR (6)
Round 2: [inc] x 6 (12)
Round 3: [1 sc, inc] x 6 (18)
Round 4: [2 sc, inc] x 6 (24)
Round 5: BLO [1 sc, inc] x 12 (36)
At the end of Round 5, ch 8 and sl st into the first stitch. (Not treated as a separate round).
Continue
Round 1: 36 sc (36)
Round 2: [3 sc, inc] x 9 (45)
Round 3: [4 sc, inc] x 9 (54)
Round 4: FLO [5 sc, inc] x 9 (63)
Round 5: [6 sc, inc] x 9 (72)
Round 6: [7 sc, inc] x 9 (81)
Round 7–11: 81 sc (81)
Round 12: [7 sc, dec] x 9 (72)
Round 13: [10 sc, dec] x 6 (66)
Round 14: [9 sc, dec] x 6 (60)
Round 15: [8 sc, dec] x 6 (54)
Round 16: [7 sc, dec] x 6 (48)
Stuff the piece firmly at this stage.
Round 17: [6 sc, dec] x 6 (42)
Round 18: [5 sc, dec] x 6 (36)
Round 19: [4 sc, dec] x 6 (30)
Round 20: [3 sc, dec] x 6 (24)
Round 21: [2 sc, dec] x 6 (18)
Round 22: [1 sc, dec] x 6 (12)
Round 23: [dec] x 6 (6)
White Spots
Round 1: 6 sc in MR (6)
Round 2: [inc] x 6 (12)
Round 3: [1 sc, inc] x 6 (18)
Quick Assembly Guide
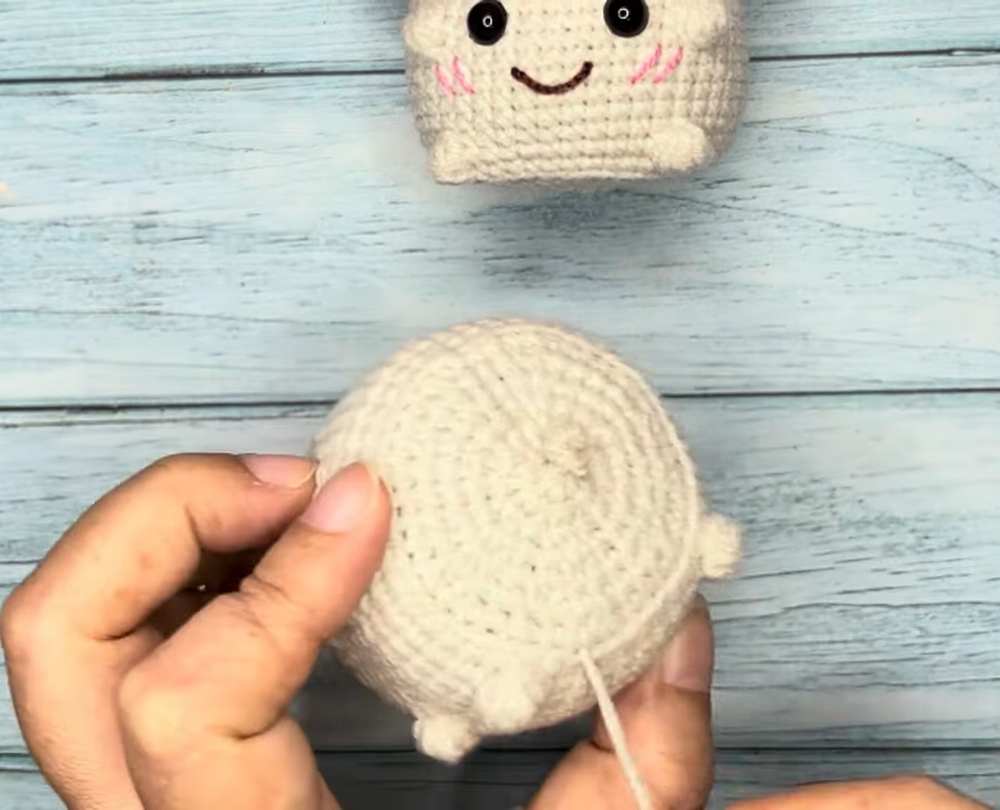
Attach Eyes: Secure the safety eyes onto the beige base section before fully closing the top.
Stuffing: Ensure the base is firmly stuffed to maintain its shape, as seen in the completed project.
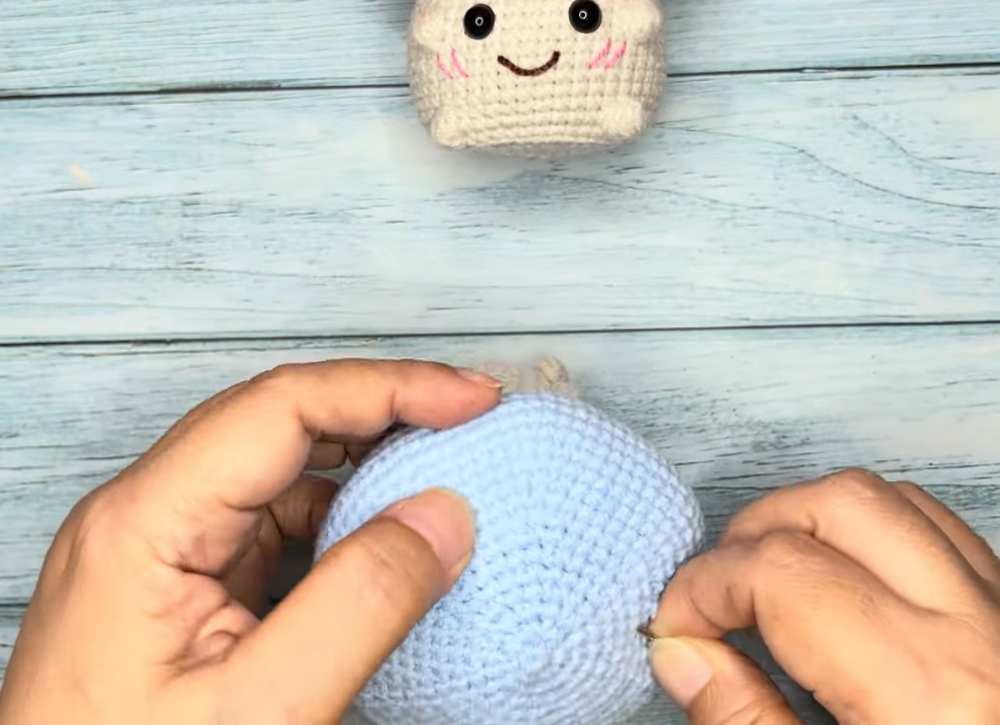
Join Pieces: Align the mushroom cap centrally over the top of the beige base.
Finishing: Use a yarn needle to sew the cap to the base securely, or use an adhesive for final detailing if necessary.
Detailing: Once assembled, embroider the blush marks onto the cheeks using pink yarn as shown in the example.
Placement: Distribute the spots randomly across the red cap to achieve a natural look.
Learn the Assembly Steps
Save for Later!