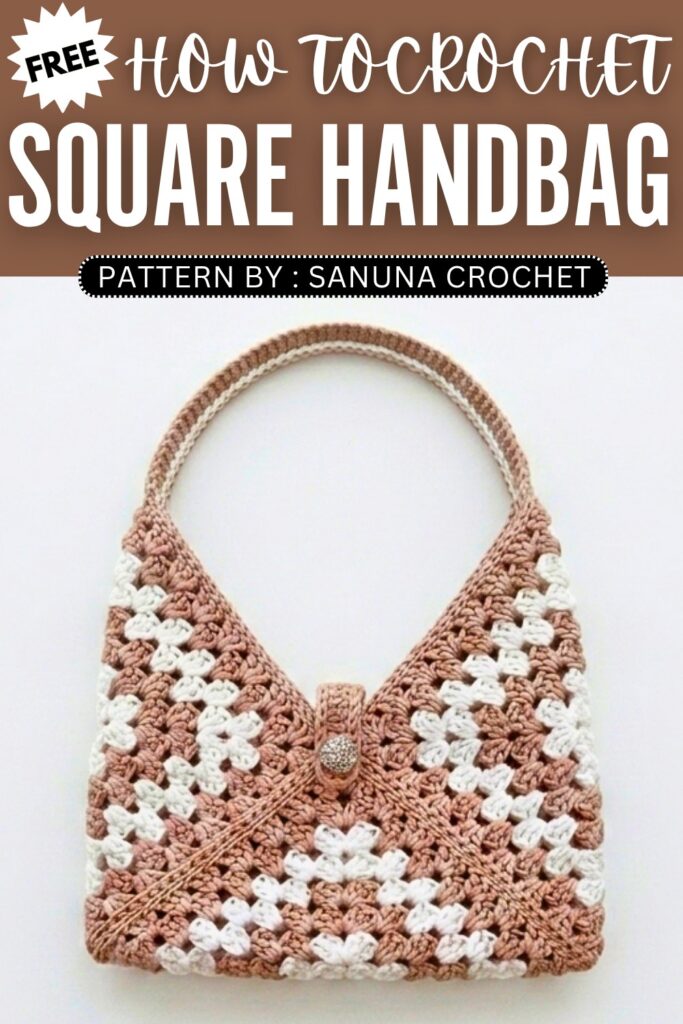
Crochet Granny Square Handbag Pattern To Make
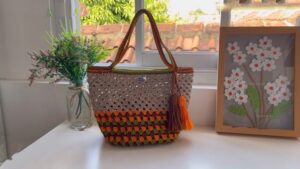
Want a cute and handy bag to crochet? This granny square crossbody bag is a great choice. It is small enough to carry comfortably but has room for your phone and a few everyday items. The bag is made by joining three granny squares together, giving it a classic crochet look. Simple, practical, and easy to take with you, it makes a lovely accessory for everyday use.
Granny Square Handbag Pattern
Step by Step Pattern
Materials Needed
Yarn: Raffia cotton grass yarn (used as 3 strands held together).
Crochet Hook: 3.5mm.
Extras: Yarn needle, scissors, one decorative button, and a crossbody bag strap.
Abbreviations
ch: Chain stitch
st: Stitch
sl st: Slip stitch
tr: Treble crochet (US terminology used: this stitch is taller than a single crochet)
sp: Space (the gap created by ch stitches)
corner: (3 tr, ch 2, 3 tr) worked into the same space
Pattern Instructions
Step 1: Create Three Identical Granny Squares
Follow these steps for each of the three squares. Aim for the same number of rounds for all.
Round 1: Create a magic ring. Ch 3 (counts as first tr), work 2 tr into the ring. Ch 2, 3 tr into the ring. Repeat this group 3 more times. End with ch 2 and join with a sl st to the top of the initial ch 3. Sl st across until you reach the first corner space.
Round 2: In the first corner space, ch 3, 2 tr, ch 2, 3 tr. In each of the remaining 3 corners, work a corner (3 tr, ch 2, 3 tr). Join with a sl st.
Round 3: Join yarn in any corner space. Ch 3, 2 tr, ch 2, 3 tr in that space. In the side space between the corner groups, work 3 tr. Continue around, working corners in the corners and 3 tr in each side space.
Rounds 4 to 8: Continue this pattern. Always work a corner in the corner spaces and 3 tr in every side space. This builds the square size. Fasten off and weave in ends after the 8th round (or your desired size).

Step 2: Bag Assembly
Layout: Arrange your three squares into a “V” or “U” shape (one square for the front, one for the back, and one forming the bottom and sides).
Stitch Marking: Use stitch markers to align the edges of the squares.
Seaming: Join your yarn at a corner. Using the back loop of the stitches on both squares, whip stitch the panels together. Work one stitch into the corresponding opposite stitch to create a clean, durable seam.

Step 3: Creating the Button Loop
Locate the center-top stitch on the back panel.
Join yarn and ch 15.
Skip the first 2 chains and work 1 tr into each of the remaining chains.
To create the buttonhole: Ch 1, skip 1 st on the bag edge, and continue working 1 tr into each remaining stitch to secure the loop. Sl st to the bag edge to finish.

Step 4: Finishing Touches
Edge: Work one round of slip stitches (sl st) all the way around the top opening of the bag to give it a neat, reinforced border.
Button: Sew your button onto the center of the front panel, precisely where the loop meets the fabric when folded down.
Strap: Attach your crossbody bag strap to the top corners of the bag body.
Video Pattern:
Pattern In UK Terms
Materials Needed
Yarn: Raffia cotton grass yarn (used as 3 strands held together).
Crochet Hook: 3.5mm.
Extras: Yarn needle, scissors, one decorative button, and a crossbody bag strap.
Abbreviations (UK Terms)
ch: Chain stitch
st: Stitch
sl st: Slip stitch
tr: Treble crochet (Standard tall stitch)
sp: Space (the gap created by ch stitches)
corner: (3 tr, ch 2, 3 tr) worked into the same space
Pattern Instructions
Step 1: Create Three Identical Granny Squares
Follow these steps for each of the three squares.
Round 1: Create a magic ring. Ch 3 (counts as first tr), work 2 tr into the ring. Ch 2, 3 tr into the ring. Repeat this group 3 more times. End with ch 2 and join with a sl st to the top of the initial ch 3. Sl st across until you reach the first corner space.
Round 2: In the first corner space, ch 3, 2 tr, ch 2, 3 tr. In each of the remaining 3 corners, work a corner (3 tr, ch 2, 3 tr). Join with a sl st.
Round 3: Join yarn in any corner space. Ch 3, 2 tr, ch 2, 3 tr in that space. In the side space between the corner groups, work 3 tr. Continue around, working corners in the corners and 3 tr in each side space.
Rounds 4 to 8: Continue this pattern. Always work a corner in the corner spaces and 3 tr in every side space. This builds the square size. Fasten off and weave in ends after the 8th round (or your desired size).
Step 2: Bag Assembly
Layout: Arrange your three squares into a “V” or “U” shape (one square for the front, one for the back, and one forming the bottom and sides).
Stitch Marking: Use stitch markers to align the edges of the squares.
Seaming: Join your yarn at a corner. Using the back loop of the stitches on both squares, whip stitch the panels together. Work one stitch into the corresponding opposite stitch to create a clean, durable seam.
Step 3: Creating the Button Loop
Locate the center-top stitch on the back panel.
Join yarn and ch 15.
Skip the first 2 chains and work 1 tr into each of the remaining chains.
To create the buttonhole: Ch 1, skip 1 st on the bag edge, and continue working 1 tr into each remaining stitch to secure the loop. Sl st to the bag edge to finish.

Step 4: Finishing Touches
Edge: Work one round of slip stitches (sl st) all the way around the top opening of the bag to give it a neat, reinforced border.
Button: Sew your button onto the center of the front panel, precisely where the loop meets the fabric when folded down.
Strap: Attach your crossbody bag strap to the top corners of the bag body.
You may also like

How to Crochet Granny Square Bow (Colorful & Super Easy)
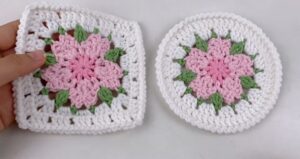
How to Crochet Cherry Blossom Granny Square & Coaster

How To Crochet Santa Pouch from Granny Squares for Christmas
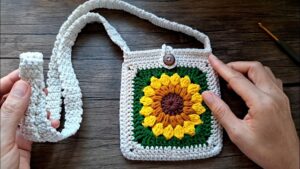
How to Crochet Sunflower Granny Square Bag For Fall
How to Crochet Granny Square Fall Bag With Lining