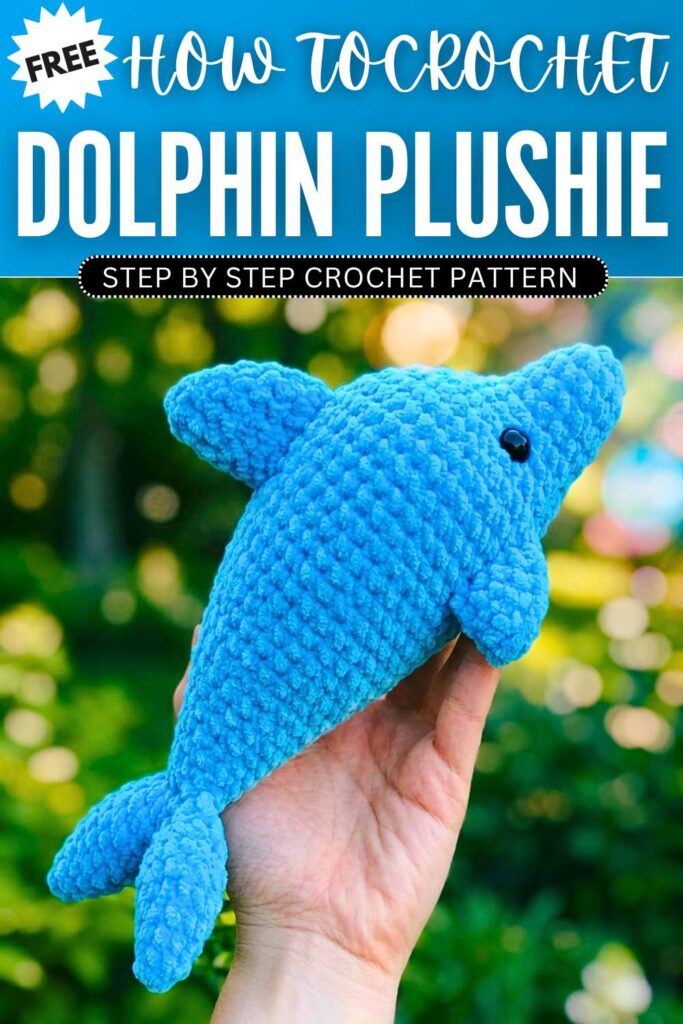
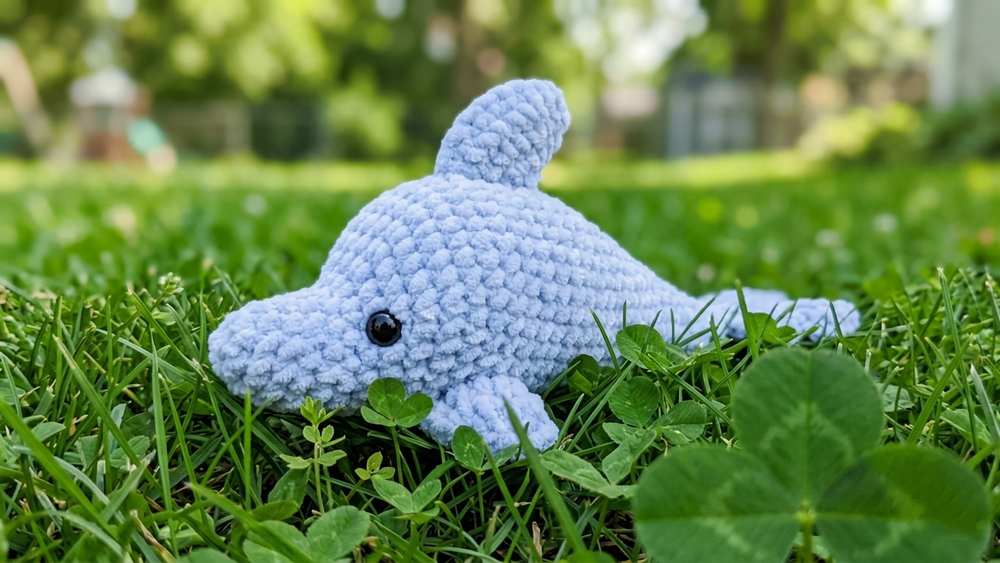
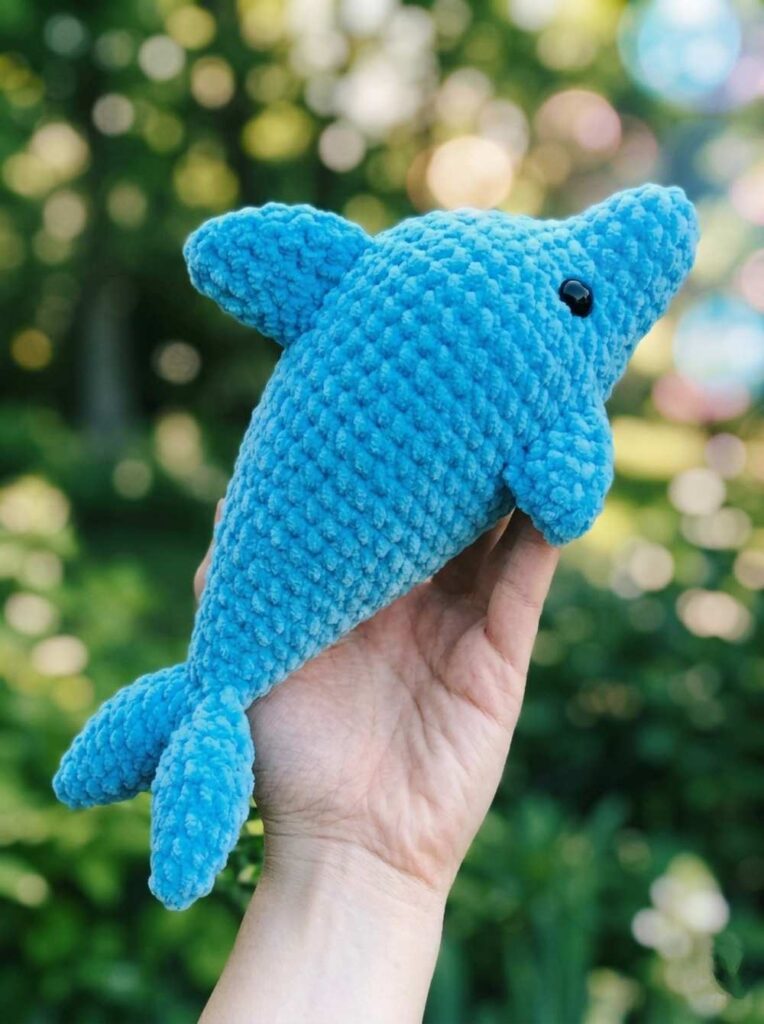
Crochet Dolphin Amigurumi Plushie Pattern For Kids
This dolphin amigurumi is a fun crochet project. The guide shows you how to make a soft and cuddly dolphin that is great for gifting or keeping for yourself. You can make it in different sizes, making it a cute handmade toy, a special keepsake, or even a fun school souvenir. Its sweet design and simple shape make it an enjoyable project for crocheters of all skill levels.
Crochet Dolphin Plushie For Decorations
Crochet Easy Dolphin Plushie Pattern: Round-by-Round Pattern
Here is the full crochet pattern for crocheting the big dolphin plush with the assembly in the end:
Materials Needed
- Yarn: 1 skein of Himalaya Dolphin Baby (or similar super bulky chenille/plush yarn) in light gray, white, or your preferred dolphin color.
- Crochet Hook: 5.0 mm (Size H/8)
- Safety Eyes: 12 mm or 16 mm black or glitter safety eyes.
- Stuffing: Polyester fiberfill (amigurumi stuffing).
- Other Tools: Stitch marker, yarn needle, regular sewing thread (double strand in matching color for joining pieces), and scissors.
Abbreviations (US Terms)
- MR: Magic Ring (or Magic Circle)
- Sc: Single crochet
- Inc: Increase (2 single crochets in the same stitch)
- Dec: Decrease (crochet 2 stitches together)
- St(s): Stitch(es)
- Rep: Repeat
Crochet Pattern
1. Dorsal Fin (Top Fin) – Make 1
- Round 1: 6 sc into a MR (6 sts)
- Round 2: Inc in each st around (12 sts)
- Round 3: [1 sc, inc] rep 6 times (18 sts)
- Round 4: Sc even around (18 sts)
- Assembly: Fold the piece flat. Working through both layers to close the opening, crochet 9 sc across. Make the final stitch slightly lower at the corner to form a sharp, distinct tip. Fasten off, leaving a long thread to sew onto the back later.
2. Side Flippers – Make 2
- Round 1: 6 sc into a MR (6 sts)
- Round 2: Inc in each st around (12 sts)
- Round 3: Sc even around (12 sts)
- Assembly: Do not stuff; keep flat. Fold the piece and crochet through both layers to close the edge with 6 sc. Secure the yarn and hide the tail inside.
3. Tail Fins – Make 2
- Round 1: 6 sc into a MR (6 sts)
- Round 2: Inc in each st around (12 sts)
- Round 3: [1 sc, inc] rep 6 times (18 sts)
- Round 4: [2 sc, inc] rep 6 times (24 sts)
- Assembly: Fold flat. Working through both thickness levels, sc 12 across to close. These two separate flat paddles will be joined side-by-side to create the horizontal tail fluke.
4. Main Body & Head
Stuff firmly as you progress, prioritizing a round head shape while tapering down smoothly toward the back tail.
- Round 1: 6 sc into a MR (6 sts) Pull tight to secure the tip of the nose.
- Round 2: Inc in each st around (12 sts)
- Round 3: [1 sc, inc] rep 4 times, then sc in the remaining 4 sts (16 sts)
- Round 4: Sc even around (16 sts)
- Round 5: 3 sc, [inc] rep 4 times, 9 sc (20 sts)
- Round 6: 4 sc, [inc, 1 sc] rep 4 times, 8 sc (24 sts)
- Round 7: 5 sc, [inc, 2 sc] rep 4 times, 7 sc (28 sts)
- Round 8: 6 sc, [inc, 3 sc] rep 4 times, 6 sc (32 sts)
- Round 9: 7 sc, [inc, 4 sc] rep 4 times, 5 sc (36 sts)
-
Rounds 10–14: Sc even around for 5 complete rounds (36 sts per round)
- Placement for Safety Eyes: Insert the eyes during these rounds. Use the increasing curvature of the face structure as a visual guide. Ensure they are symmetrical on either side of the head, leaning slightly down towards the snout line.
- Round 15: 13 sc, dec, 6 sc, dec, 13 sc (34 sts)
- Round 16: Sc even around (34 sts)
- Round 17: 12 sc, dec, 6 sc, dec, 12 sc (32 sts)
- Round 18: Sc even around (32 sts)
- Round 19: 12 sc, dec, 6 sc, dec, 10 sc (30 sts)
- Round 20: 12 sc, dec, 6 sc, dec, 8 sc (28 sts)
- Round 21: Sc even around (28 sts)
- Round 22: 11 sc, dec, 5 sc, dec, 8 sc (26 sts)
- Round 23: 10 sc, dec, 4 sc, dec, 8 sc (24 sts)
- Round 24: 9 sc, dec, 4 sc, dec, 7 sc (22 sts)
- Round 25: 8 sc, dec, 4 sc, dec, 6 sc (20 sts)
- Round 26: 7 sc, dec, 4 sc, dec, 5 sc (18 sts)
- Round 27: Sc even around (18 sts)
- Round 28: 8 sc, dec, 2 sc, dec, 4 sc (16 sts)
- Round 29: 7 sc, dec, 2 sc, dec, 3 sc (14 sts)
- Round 30: 7 sc, dec, 2 sc, dec, 1 sc (12 sts)
- Round 31: 5 sc, dec, 2 sc, dec, 1 sc (10 sts)
- Round 32: 4 sc, dec, 2 sc, dec (8 sts)
- Final Row: Crochet the final 8 stitches down to flatten the very end of the body tail, fasten off, and weave in your ends.
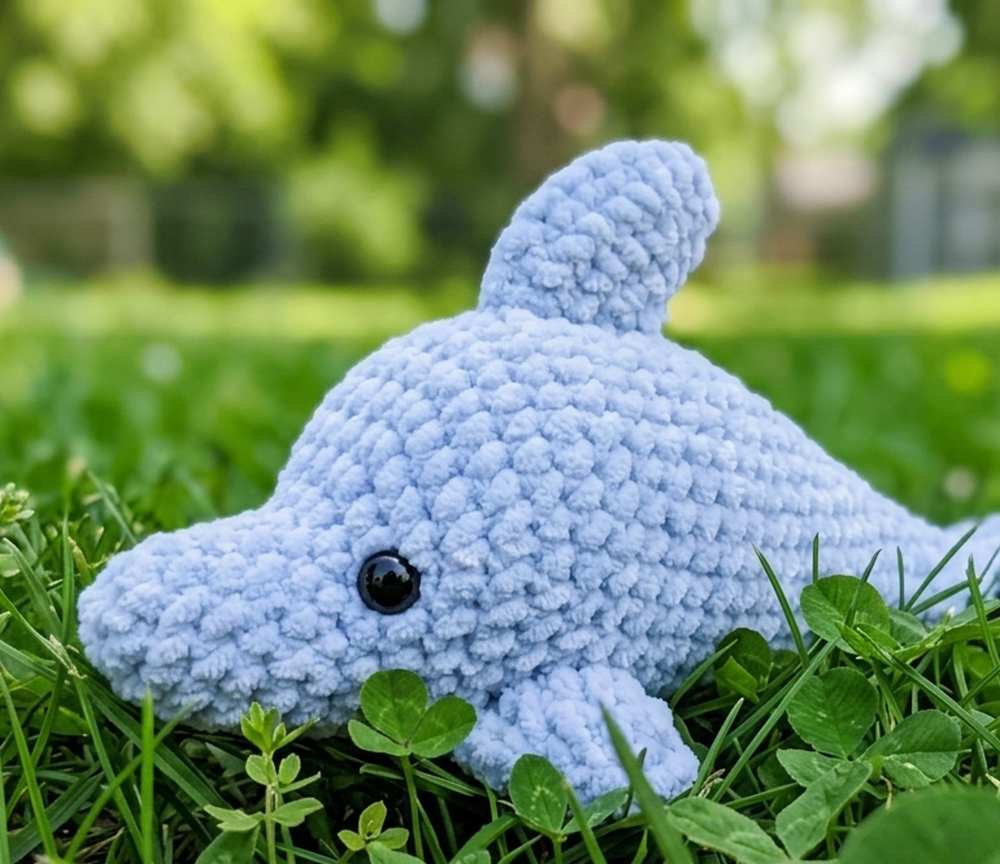
Final Assembly and Sewing
- Tail Fluke: Take the two flat tail fin pieces and sew their straight edges side-by-side to make one wide fin. Sew this unit horizontally to the flat tip at the back of the body (Round 32).
- Side Flippers: Pin the two side flippers to the lower sides of the body. Place the dolphin flat on a table to ensure they act like balancing feet; they should support the dolphin so it sits level without tipping. Sew securely.
- Dorsal Fin: Position the top dorsal fin right in the middle of the dolphin’s back, aligning it straight down the spine. Sew firmly into place, knot the thread, and hide the remnants inside the body core.
You may also like
dolphin
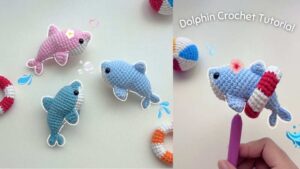
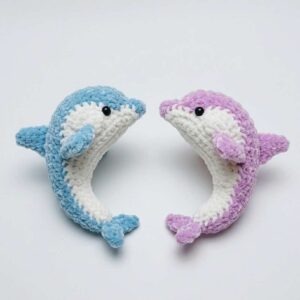
Chubby Cheeks: Crochet Mini Dolphin in Swim Ring Amigurumi Tutorial
dolphin
Crochet Dolphin Amigurumi Plushie Pattern

amigurumi
Free Crochet Low-Sew Baby Squirrel Plush Amigurumi Pattern for Fall
amigurumi
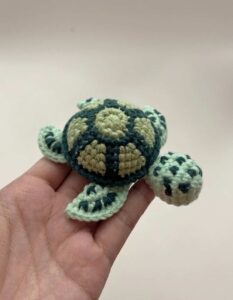
Chubby Cheeks: How to Crochet Spotted Sea Turtle Amigurumi Tutorial for Summer

amigurumi
Hui Crochet: How to Crochet Googly-Eyed Owl Amigurumi for Fall with UNIQUE Yarns
amigurumi
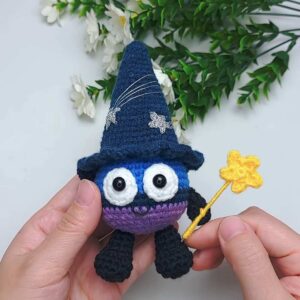
Hui Crochet: How to Crochet Ball Magician Doll Amigurumi for Halloween

amigurumi
TejidosVal: Crochet Kitty Boo Ghost Amigurumi Pattern for Halloween
amigurumi