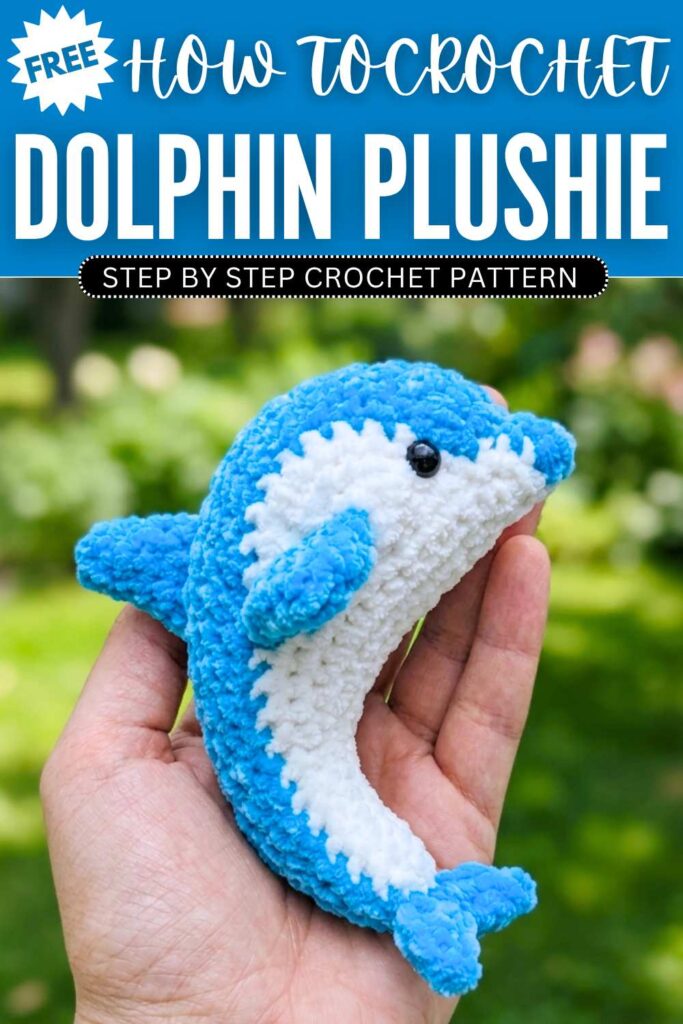
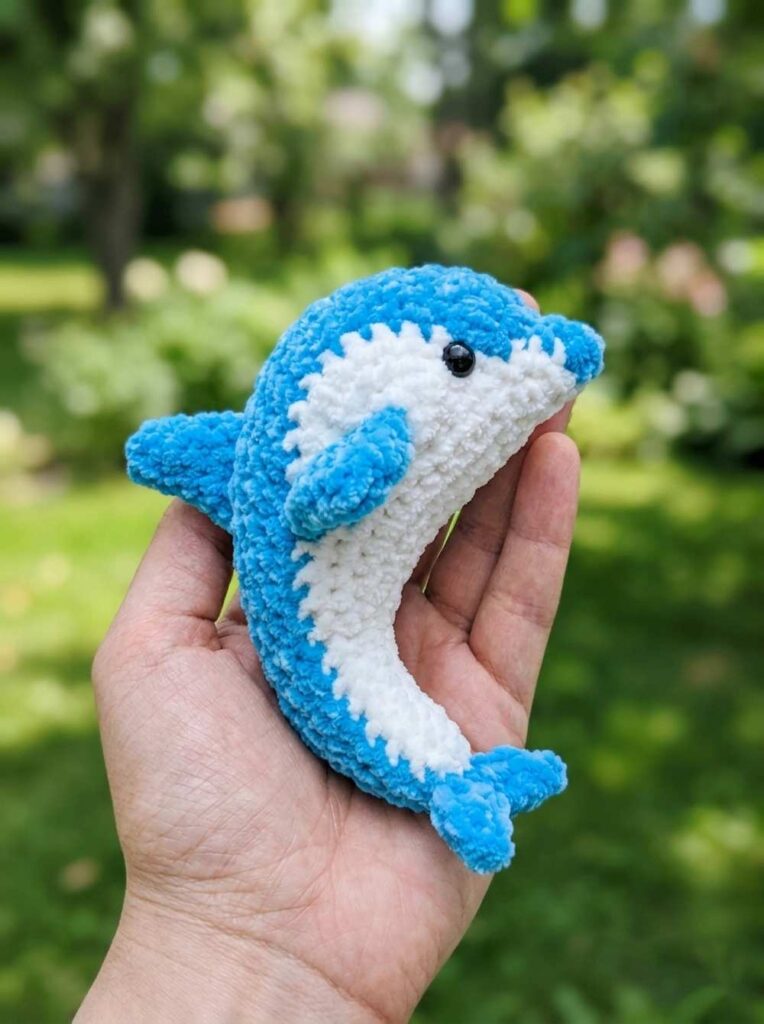
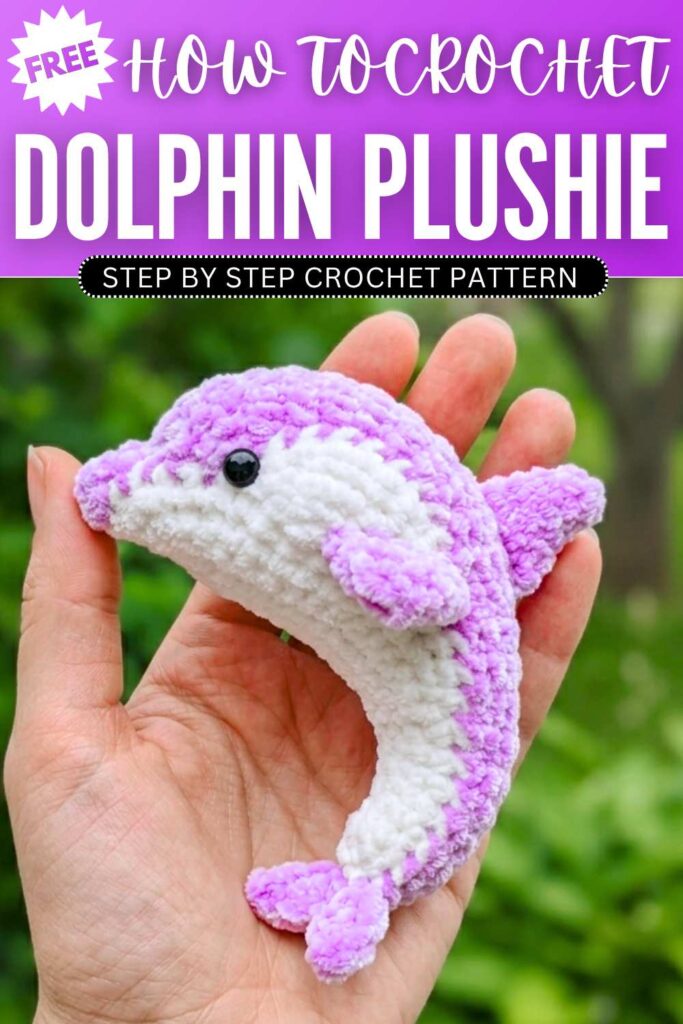
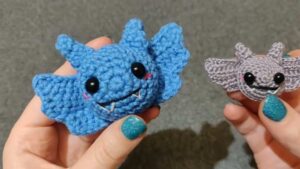
Crochet Dolphin Amigurumi Plushie Pattern
This pattern shows you how to make a cute dolphin plush a soft, ocean-inspired look. It uses simple crochet steps like back-and-forth rows and slip stitches to help shape the dolphin smoothly. By following the guide, you can create a small “pocket-sized” dolphin that is easy to carry. It’s a fun handmade project that adds a sweet, dreamy touch to your keys or bag.
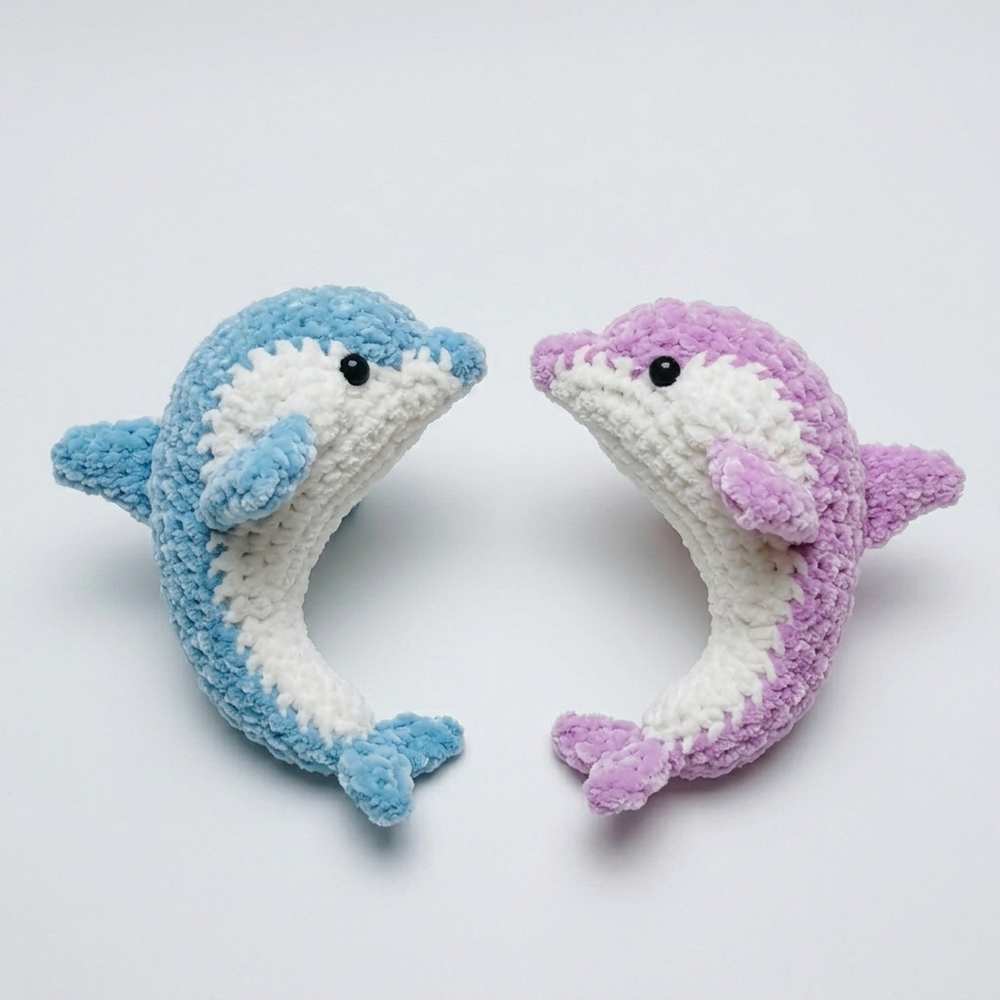
Crochet Dolphin Amigurumi Plushie Toy
Step by Step Pattern
Materials Needed
Yarn (2.0mm cotton yarn, light blue/teal)
Crochet hook (2.0mm)
Fiberfill for stuffing
Pair of 6mm safety eyes
Lobster clasp (for the keychain)
Needle for sewing and weaving ends
Abbreviations
st: Stitch
ch: Chain
sc: Single crochet
inc: Increase (2 sc in one stitch)
sl st: Slip stitch
reverse sl st: Reverse slip stitch (for edge smoothing)
Row-by-Row Instructions
Part 1: Belly
Row 1: Ch 21. Starting in the 2nd ch from the hook, 19 sc, 4 sc in the last ch. Turn and work 19 sc along the other side. Join with sl st. (Total: 42 sc)
Row 2: Ch 1, 20 sc, 2 inc, 12 sc, join with sl st. Turn. Skip 1 st, 1 sl st in next, 12 sc, 2 inc, 13 sc, join with sl st. Turn. Skip 1 st, 1 sl st in next, 13 sc, 2 inc, 21 sc, join with sl st. (Total: 46 sc)
Row 3: Ch 1, 22 sc, 2 inc, 22 sc, join with sl st. Fasten off and weave in ends. (Total: 48 sc)
Part 2: Side Fins (Make 2)
Note: Mark stitches 16 and 33 on the belly piece for placement.
Row 1: Join yarn, ch 1, 3 sc in the same st, 1 sl st. Turn.
Row 2: Skip 1, 4 sc, 1 sl st. Turn.
Row 3: Skip 1, 2 inc, 2 sc, 1 sl st. Turn.
Row 4: Skip 1, 6 sc, 1 sl st. Turn.
Row 5: Skip 1, 2 inc, 5 sc, 1 sl st. Fasten off and weave in ends.
Part 3: Head, Back, and Tail
Start at the 5th stitch of the main body.
Row 1: Ch 1, 2 sc, 1 sl st. Turn.
Row 2: Skip 1, 2 sc, 1 reverse sl st. Turn.
Row 3: Skip 1, 2 sc, 1 sl st. Turn.
Row 4: Skip 1, 2 sc, 1 reverse sl st. Turn.
Row 5: Skip 1, 2 sc, 1 sl st. Turn.
Row 6: Skip 1, 2 sc, 1 reverse sl st. Turn.
Row 7: 3 inc, 1 sl st.
Row 8: 1 inc (in the sl st), 2 sc, 1 inc, 3 sc, 1 reverse sl st.
Row 9: Skip 1, 9 sc, 1 sl st.
Row 10: Skip 1, 9 sc, 1 reverse sl st.
Row 11: Skip 1, 9 sc, 1 sl st.
Row 12: Skip 1, 9 sc, 1 reverse sl st.
Rows 13–38: Repeat Rows 11 and 12 (13 times total). Stuff as you go.
Row 39: Skip 1, 1 sc, 7 sc, 1 sl st.
Row 40: Skip 1 (sl st), 1 dec, 6 sc, 1 reverse sl st.
Row 41: Skip 1, 7 sc, 1 sl st.
Row 42: Skip 1, 7 sc, 1 reverse sl st.
Row 43: Skip 1, 1 sc, 5 sc, 1 sl st.
Row 44: Skip 1, 1 sc, 4 sc, 1 reverse sl st.
Row 45: Skip 1, 5 sc, 1 sl st.
Row 46: Skip 1, 5 sc, 1 reverse sl st. Stuff the tail.
Row 47: Skip 1, 1 sc, 3 sc, 1 sl st.
Row 48: 1 sc, 2 sc, 1 reverse sl st.
Row 49: Skip 1, 3 sc, 1 sl st.
Row 50: 3 sc, 1 reverse sl st.
Part 4: Tail Fin (Make 2)
Row 1: Ch 7. Skip 1, 1 sl st, 4 sc, 1 sl st.
Row 2: Skip 1, 1 sl st, 2 sc, 1 sl st.
Row 3: Skip 1, 1 sl st, 1 sc, 1 sl st. Fasten off and weave in ends.
Part 5: Dorsal Fin
Row 1: Magic ring, ch 1, 5 sc.
Row 2: 1 sc, 1 inc, 1 sc, 1 inc, 1 sc (6 st).
Row 3: 4 sc, 2 inc, 2 sc (8 st).
Row 4: 6 sc, 2 inc, 2 sc (10 st).
Row 5: 9 sc, 1 inc (11 st). Fasten off, leaving a tail for sewing.
Part 6: Pectoral Fin (Make 2)
Row 1: Magic ring, ch 1, 6 sc.
Row 2: 1 sc, 4 sc, 1 inc (8 st).
Row 3: 1 inc, 6 sc, 1 inc (10 st).
Row 4: 1 inc, 8 sc, 1 inc (12 st).
Row 5: 1 inc, 10 sc, 1 inc (14 st). Fasten off, leaving a tail for sewing.
Final Assembly
Sew all fins into place.
Attach safety eyes.
Attach the lobster clasp to the top.
You may also like
Chubby Cheeks: Crochet Mini Dolphin in Swim Ring Amigurumi Tutorial
Crochet Dolphin Amigurumi Plushie Pattern For Kids
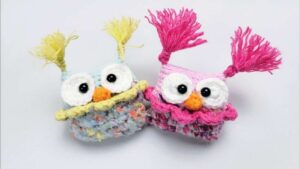
Hui Crochet: How to Crochet Googly-Eyed Owl Amigurumi for Fall with UNIQUE Yarns
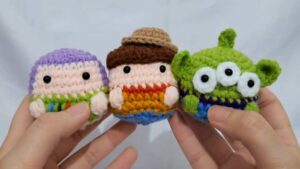
From LittleSpot: How to Crochet Kawaii Toy Story Character Amigurumi (3-in-1 Tutorial)
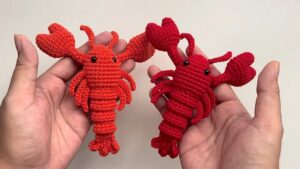
Chubby Cheeks: How to Crochet Rainbow Lobster Amigurumi for Summer
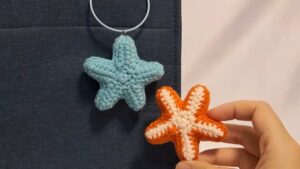
From Littlespot: How to Crochet 2-in-1 Starfish Keychain Amigurumi for Summer
I L ove Amigurumi: Free Crochet Sweet Bat Brooch Pattern for Halloween