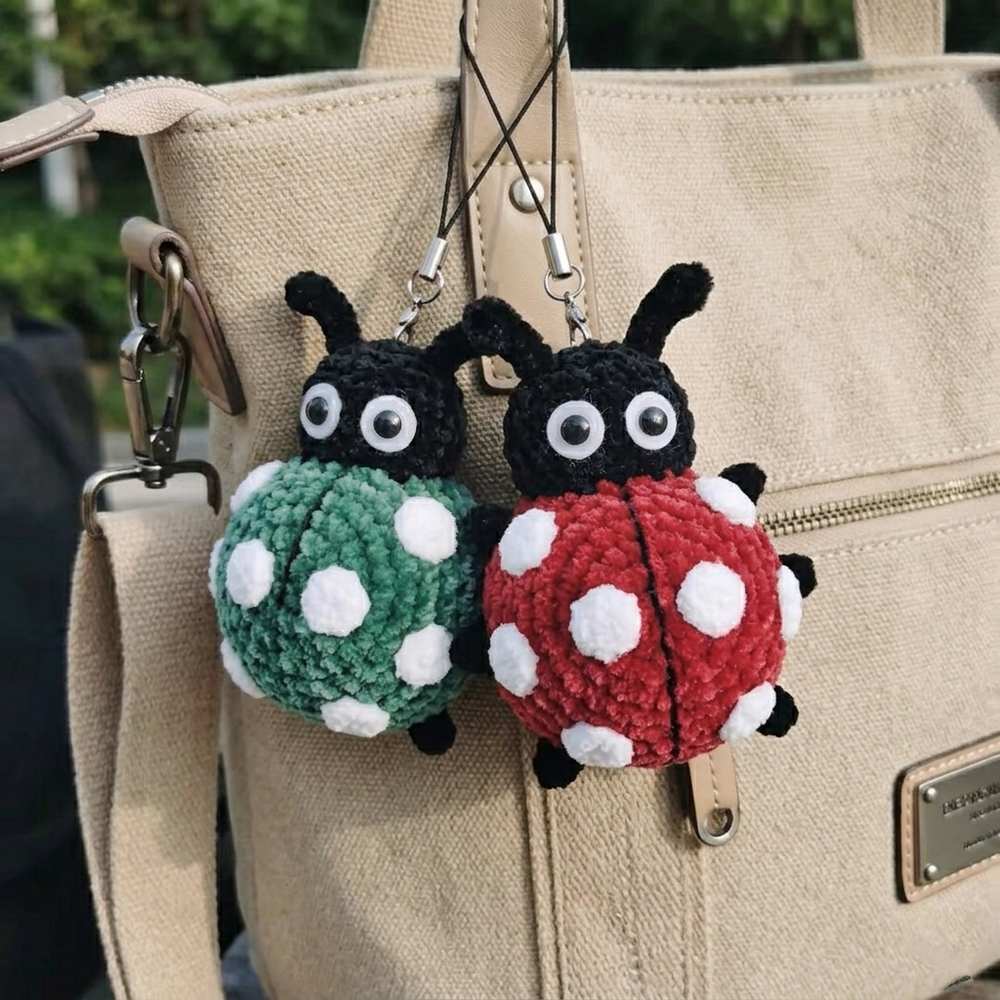
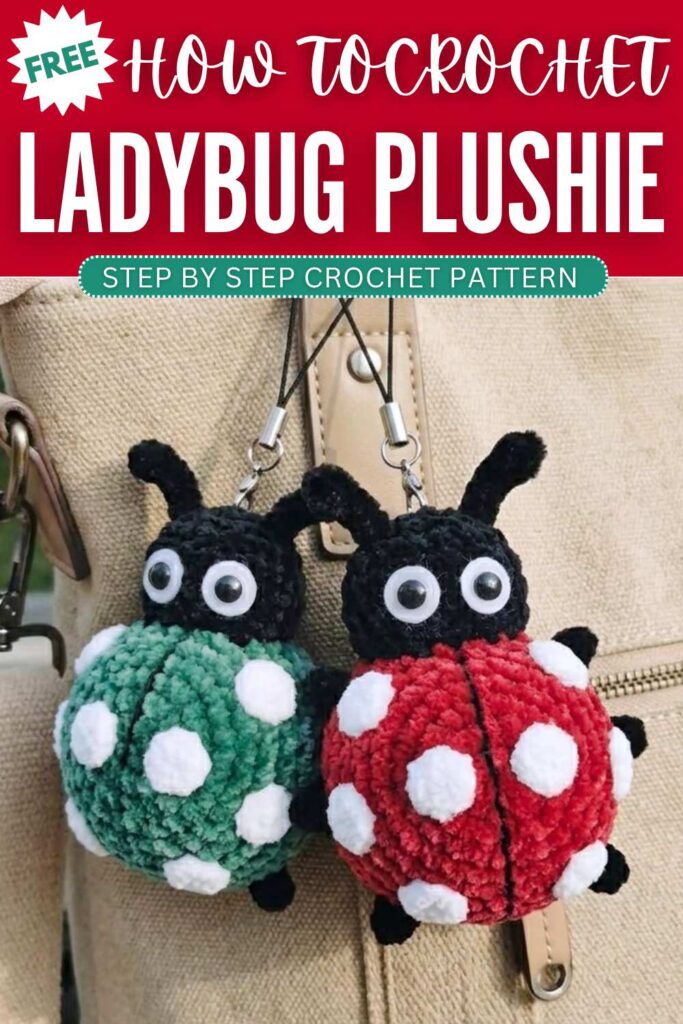
Crochet Ladybug Amigurumi Plushie Toy Pattern
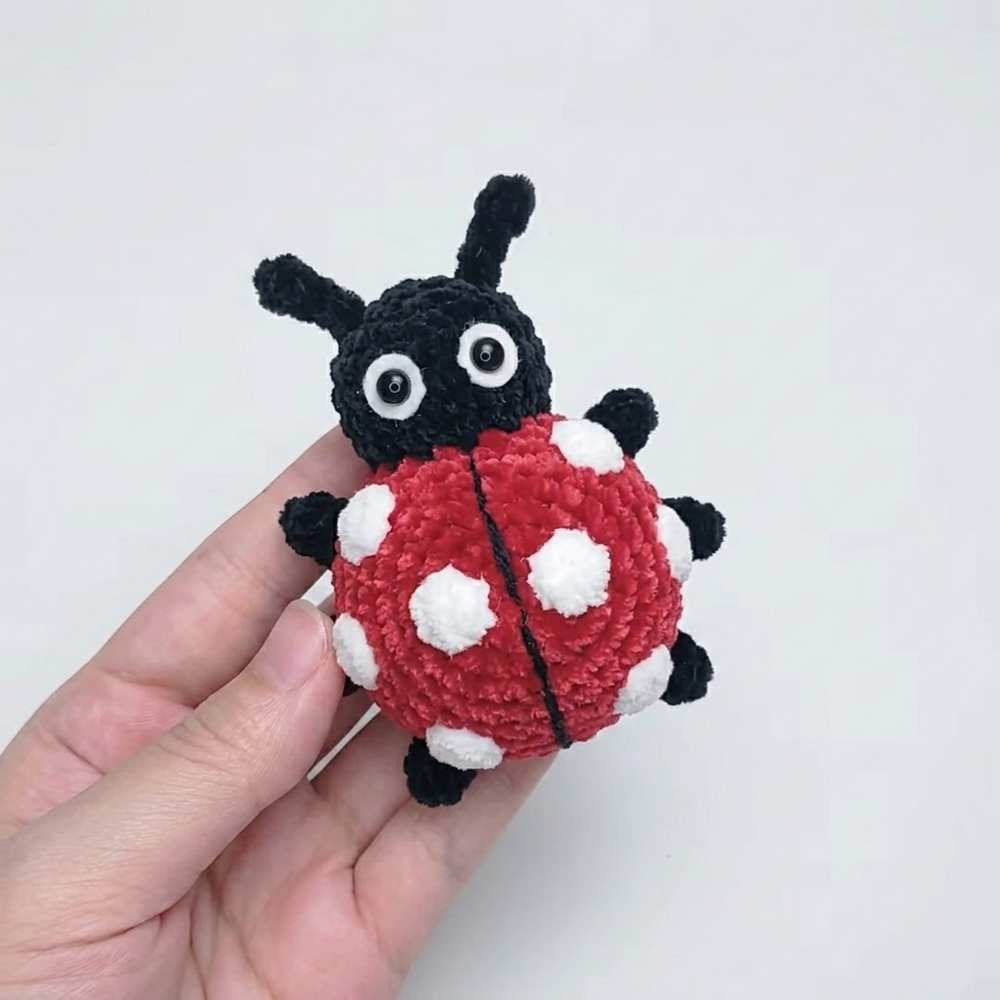
This cute crochet ladybug charm is a fun little project that adds a bit of luck and charm to your collection. It has a round body with classic polka dots, plus small parts like the head and legs that are put together step by step. A special part of the project is making the eyes, which help give the ladybug a lively look. It’s a beginner-friendly make that is simple, enjoyable, and great to use as a keychain or small decoration.
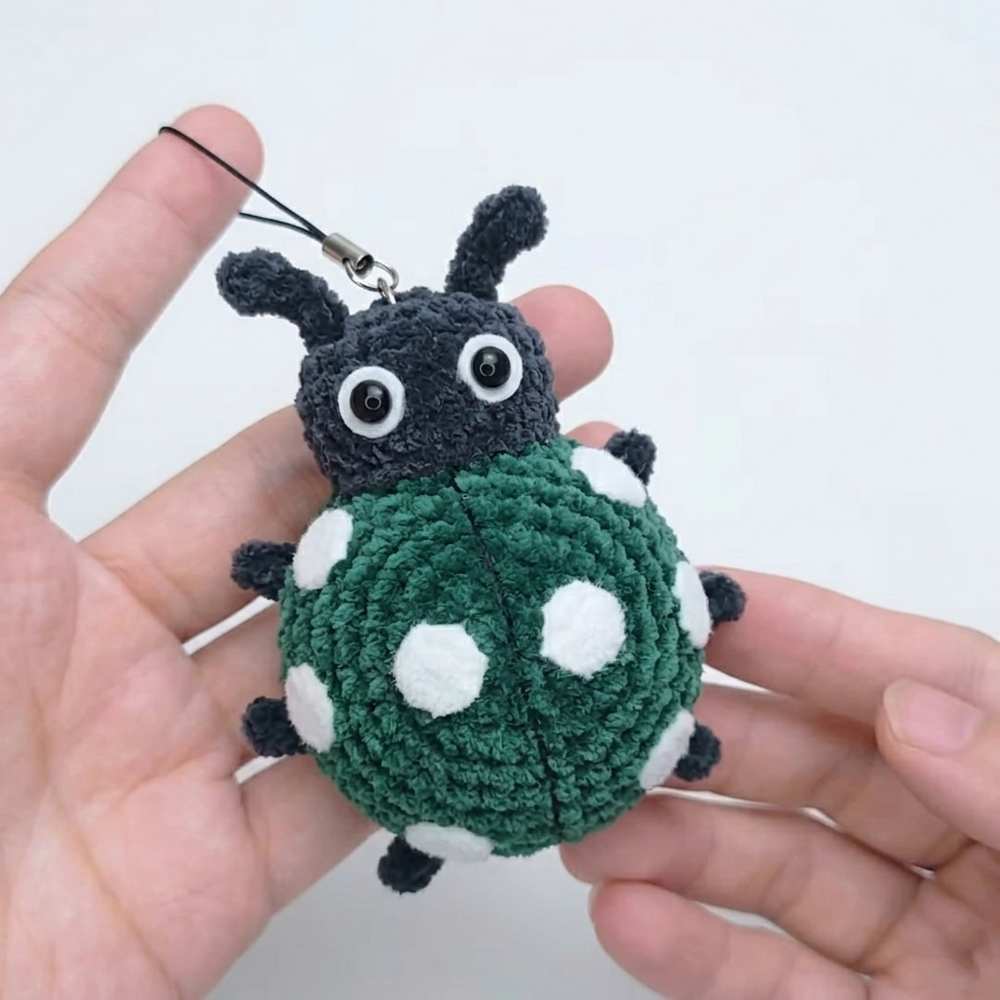
Crochet Ladybug Amigurumi Plushie Toy
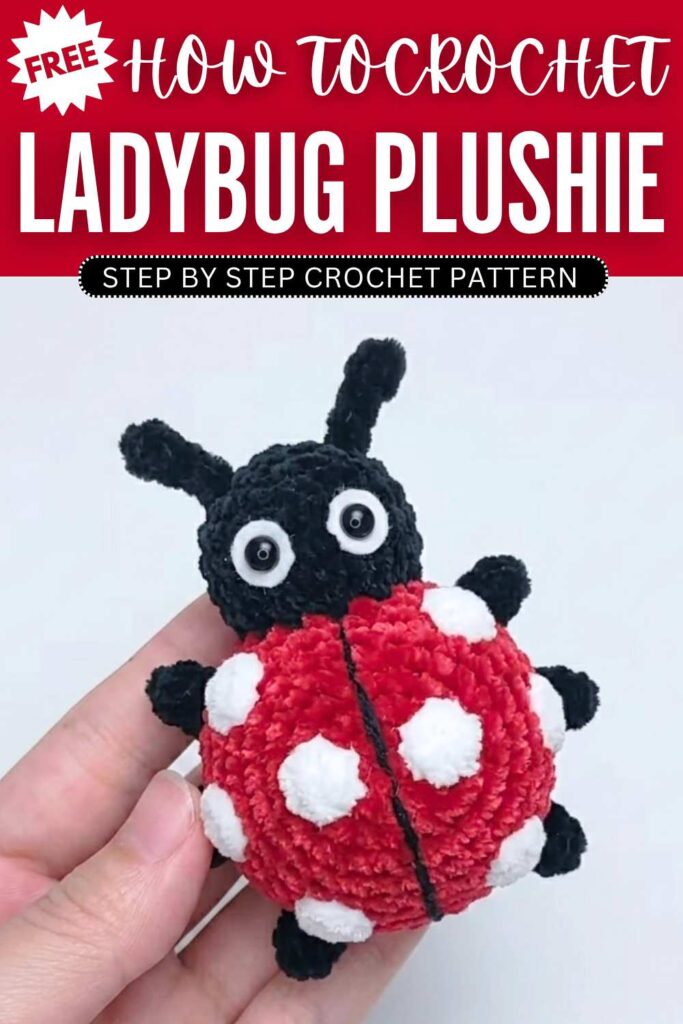
Step by Step Pattern
This crochet tutorial provides a step-by-step guide to creating a cute ladybug toy charm.
Materials Needed
Yarn (2.0mm cotton yarn)
Crochet hook (2.0mm)
Fiberfill for stuffing
Felt or pre-made eye pieces (9mm white felt for eye white, 5mm black for pupils)
Black embroidery thread (for back stripes)
Lobster clasp (for charm attachment)
Needle for sewing and embroidery
Abbreviations
st: Stitch
ch: Chain
sc: Single crochet
inc: Increase (2 sc in one stitch)
sl st: Slip stitch
hdc: Half double crochet
Row-by-Row Instructions
Part 1: Bottom
Row 1: Magic ring, ch 1, 8 sc into ring, join with sl st.
Row 2: Ch 1, 8 inc (16 st), join with sl st.
Row 3: Ch 1, 1 sc, 1 inc repeat 8 times (24 st), join with sl st.
Row 4: Ch 1, 1 sc, 1 inc, 1 sc repeat 8 times (32 st), join with sl st.
Row 5: Ch 1, 3 sc, 1 inc repeat 8 times (40 st), join with sl st. Fasten off.
Part 2: Body
Row 1: Magic ring, ch 1, 8 sc into ring, join with sl st.
Row 2: Ch 1, 8 inc (16 st), join with sl st.
Row 3: Ch 1, 1 sc, 1 inc repeat 8 times (24 st), join with sl st.
Row 4: Ch 1, 24 sc, join with sl st.
Row 5: Ch 1, 1 sc, 1 inc, 1 sc repeat 8 times (32 st), join with sl st.
Row 6: Ch 1, 32 sc, join with sl st.
Row 7: Ch 1, 3 sc, 1 inc repeat 8 times (40 st), join with sl st.
Row 8–10: Ch 1, 40 sc, join with sl st. Fasten off, leaving a long tail for sewing.
Assembly: Align the bottom piece with the body and sew them together by stitching the inner loops of the bottom to the outer loops of the body. Use black embroidery thread to create the stripe pattern on the back.
Part 3: Head
Row 1: Ch 6. Starting from the 2nd ch, 1 inc, 3 sc, 4 sc in the last ch, turn and work 3 sc, 1 inc (14 st). Join with sl st.
Row 2: Ch 1, 1 inc, 5 sc, 2 inc, 5 sc, 1 inc (18 st). Join with sl st.
Row 3–5: Ch 1, 18 sc, join with sl st.
Assembly: Stuff the head before finishing. Sew the head onto the body.
Part 4: Antennae (Make 2)
Ch 6. Working in the back loops, 1 hdc in the 2nd ch, 4 sl st. Fasten off.
Part 5: Legs (Make 6)
Ch 4. Working in the back loops, 3 sl st. Fasten off. For the last 3 legs, rotate the body slightly to find the correct placement for symmetry.
Part 6: Finishing & Assembly
Attach felt eye pieces (9mm white, 5mm black pupils) to the head.
Attach the lobster clasp to the top of the ladybug.
Pattern In UK Terms
Important Conversion Note:
US Single Crochet (sc) becomes UK Double Crochet (dc).
US Half Double Crochet (hdc) becomes UK Half Treble Crochet (htr).
Materials Needed
Yarn: 2.0mm cotton yarn
Crochet hook: 2.0mm
Fiberfill for stuffing
Felt or pre-made eye pieces: (9mm white felt for eye white, 5mm black for pupils)
Black embroidery thread: (for back stripes)
Lobster clasp: (for charm attachment)
Needle: For sewing and embroidery
Abbreviations (UK Terms)
st: Stitch
ch: Chain
dc: Double crochet (US sc)
inc: Increase (2 dc in one stitch)
sl st: Slip stitch
htr: Half treble crochet (US hdc)
Row-by-Row Instructions
Part 1: Bottom
Row 1: Magic ring, ch 1, 8 dc into ring, join with sl st.
Row 2: Ch 1, 8 inc (16 st), join with sl st.
Row 3: Ch 1, 1 dc, 1 inc repeat 8 times (24 st), join with sl st.
Row 4: Ch 1, 1 dc, 1 inc, 1 dc repeat 8 times (32 st), join with sl st.
Row 5: Ch 1, 3 dc, 1 inc repeat 8 times (40 st), join with sl st. Fasten off.
Part 2: Body
Row 1: Magic ring, ch 1, 8 dc into ring, join with sl st.
Row 2: Ch 1, 8 inc (16 st), join with sl st.
Row 3: Ch 1, 1 dc, 1 inc repeat 8 times (24 st), join with sl st.
Row 4: Ch 1, 24 dc, join with sl st.
Row 5: Ch 1, 1 dc, 1 inc, 1 dc repeat 8 times (32 st), join with sl st.
Row 6: Ch 1, 32 dc, join with sl st.
Row 7: Ch 1, 3 dc, 1 inc repeat 8 times (40 st), join with sl st.
Row 8–10: Ch 1, 40 dc, join with sl st. Fasten off, leaving a long tail for sewing.
Assembly: Align the bottom piece with the body and sew them together by stitching the inner loops of the bottom to the outer loops of the body. Use black embroidery thread to create the stripe pattern on the back.
Part 3: Head
Row 1: Ch 6. Starting from the 2nd ch, 1 inc, 3 dc, 4 dc in the last ch, turn and work 3 dc, 1 inc (14 st). Join with sl st.
Row 2: Ch 1, 1 inc, 5 dc, 2 inc, 5 dc, 1 inc (18 st). Join with sl st.
Row 3–5: Ch 1, 18 dc, join with sl st.
Assembly: Stuff the head before finishing. Sew the head onto the body.
Part 4: Antennae (Make 2)
Ch 6. Working in the back loops, 1 htr in the 2nd ch, 4 sl st. Fasten off.
Part 5: Legs (Make 6)
Ch 4. Working in the back loops, 3 sl st. Fasten off. For the last 3 legs, rotate the body slightly to find the correct placement for symmetry.
Part 6: Finishing & Assembly
Attach felt eye pieces (9mm white, 5mm black pupils) to the head.
Attach the lobster clasp to the top of the ladybug.
You may also like
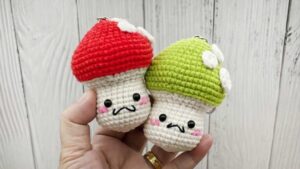
Smileb: How to Crochet No-Sew Kawaii Mushroom Amigurumi Keychain

TejidosVal: Crochet Kitty Boo Ghost Amigurumi Pattern for Halloween
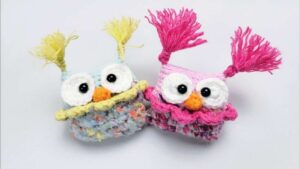
Hui Crochet: How to Crochet Googly-Eyed Owl Amigurumi for Fall with UNIQUE Yarns
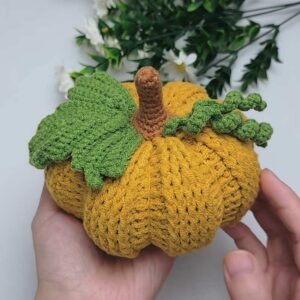
Hui Crochet: Crochet Real Like Pumpkin Amigurumi for Fall Tutorial
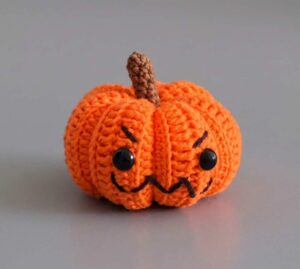
Hello Amigurumi: How to Crochet Quirky Pumpkin Amigurumi for Fall