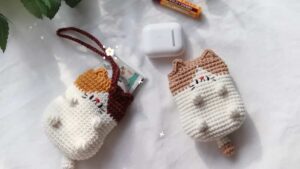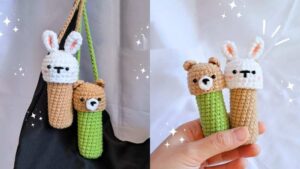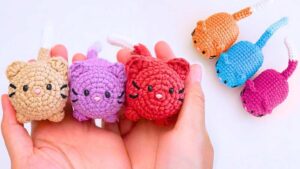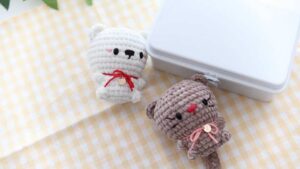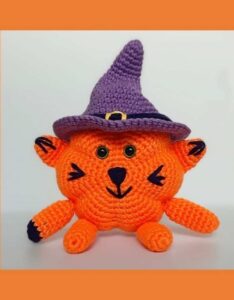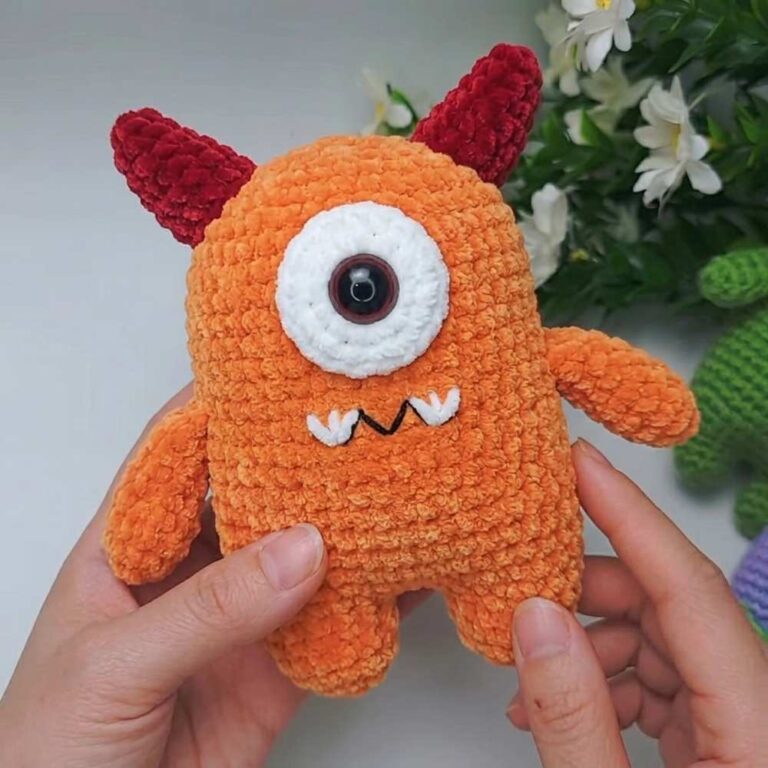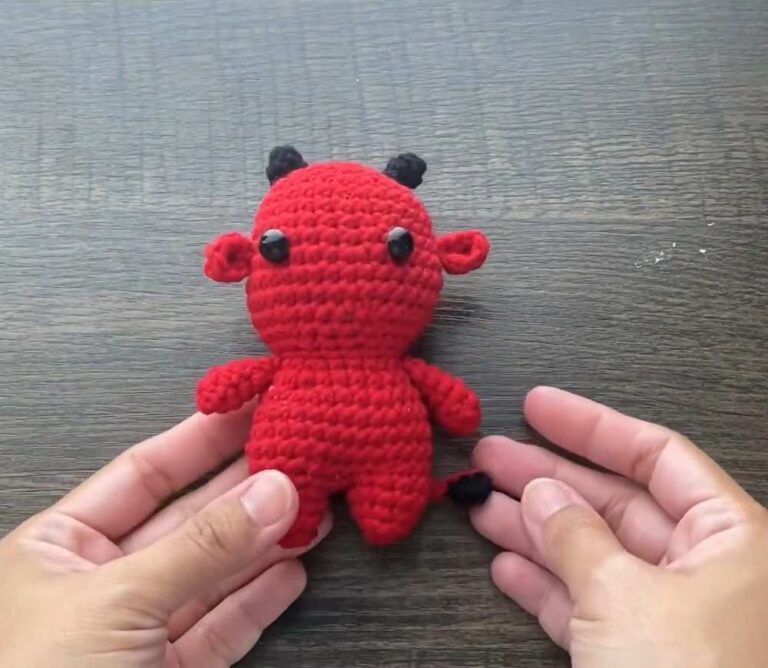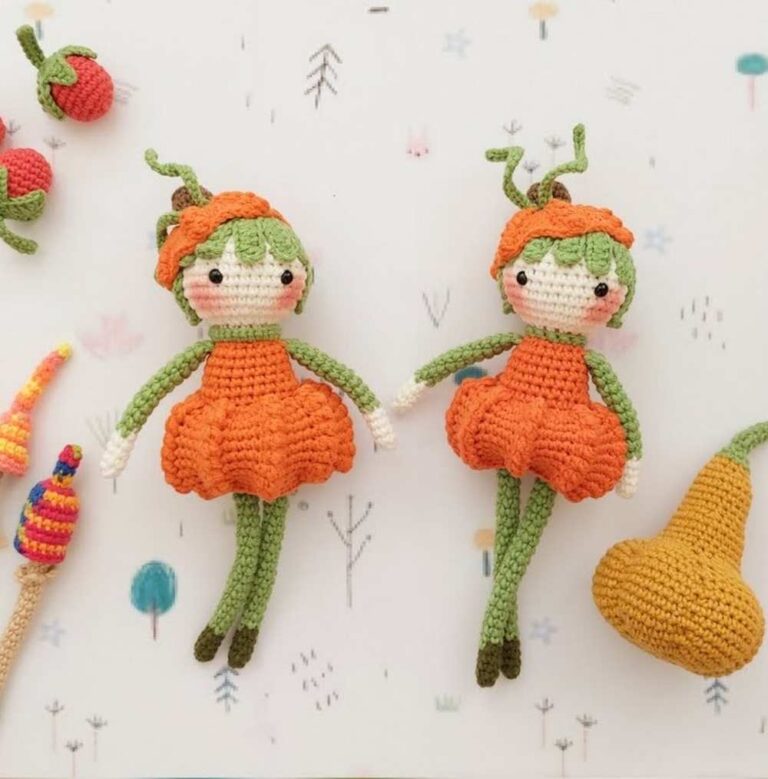






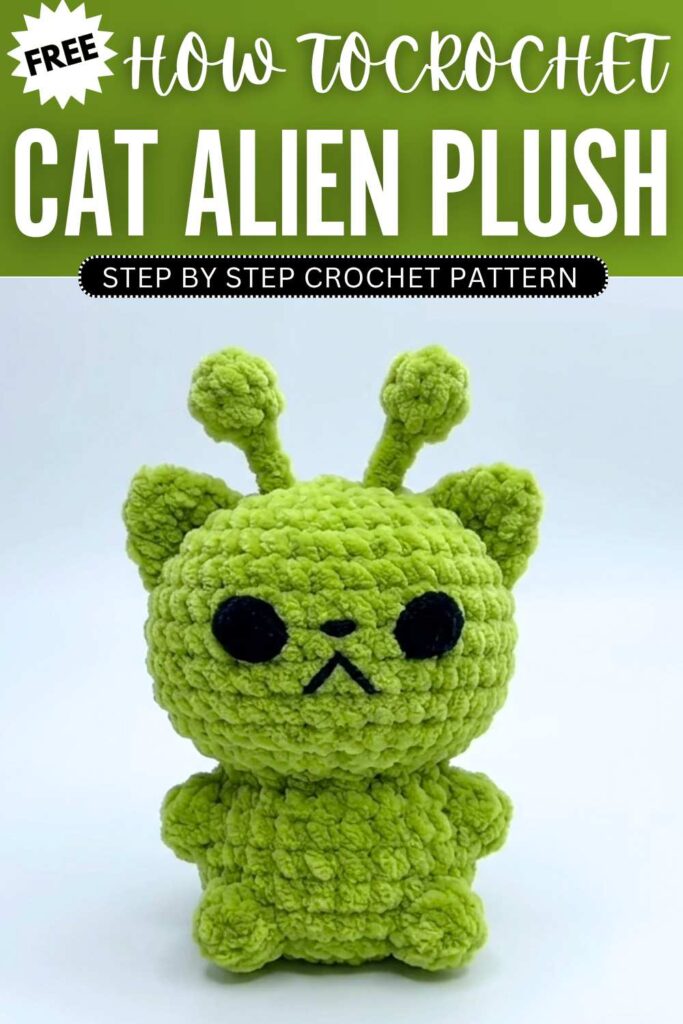
Creating your own crochet cat alien plushie is a wonderfully weird and simple project, perfect for crafters of all skill levels. You will start by working in continuous rounds to form the main body pieces, typically utilizing the basic single crochet stitch () and standard increases and decreases.
The magic begins by crafting a classic cat-like head and body using a quirky extraterrestrial color pallet—like neon green, galactic purple, or cosmic blue.
Once the main body is complete, you will stitch together the signature alien features that bring this creature to life. This involves crocheting three or more expressive eyes, a pair of pointy cat ears, and a couple of playful, bobbing antennae.
After stuffing all the pieces firmly with fiberfill, you simply sew the limbs, ears, and antennae onto the head and body, and finish it off with an embroidered little smile. In just a few short steps, you’ll have an adorable, out-of-this-world companion!
Step by Step Pattern
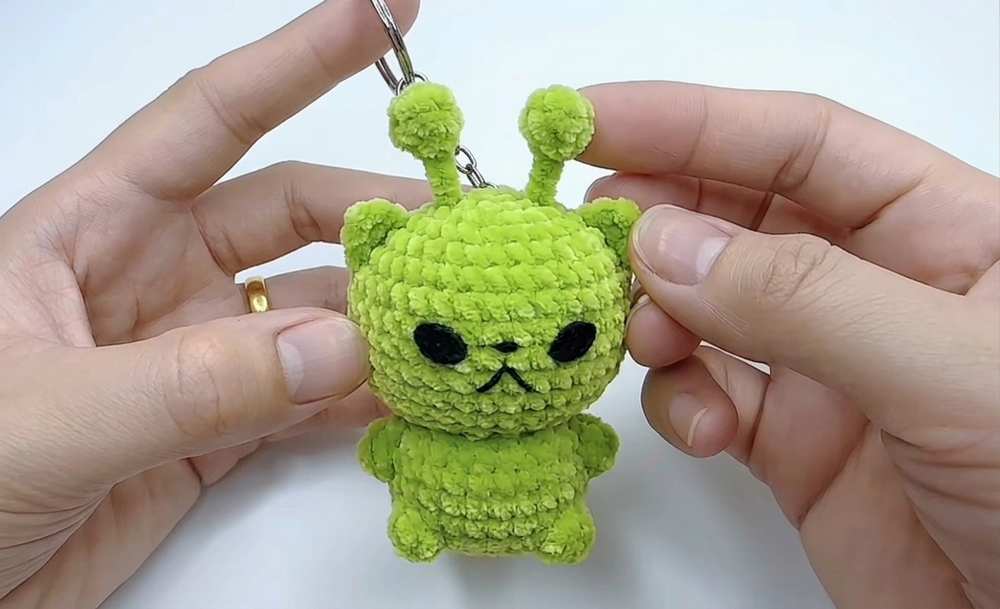
This crochet pattern guides you through creating a cute Alien Cat keychain. The pattern uses standard amigurumi techniques, including increases, decreases, and popcorn stitches for the feet and antennae.
Materials Needed
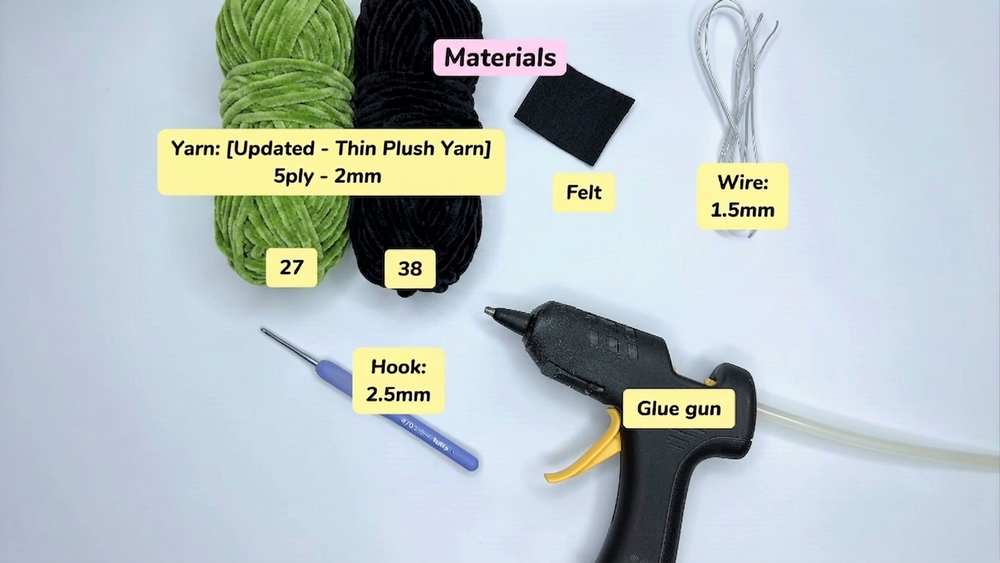
Yarn: 2mm weight in two colors (main body color and accent color)
Crochet hook: 2.5mm
Stuffing (fiberfill)
Black felt (for eyes)
Plastic-coated wire (1.5mm size, approx. 6cm length for each antenna)
Hot glue gun
Yarn needle and scissors
Abbreviations
st: Stitch
ch: Chain
sc: Single crochet
inc: Increase (2 sc in one stitch)
dec: Decrease (sc 2 stitches together)
sl st: Slip stitch
FLO: Front Loop Only
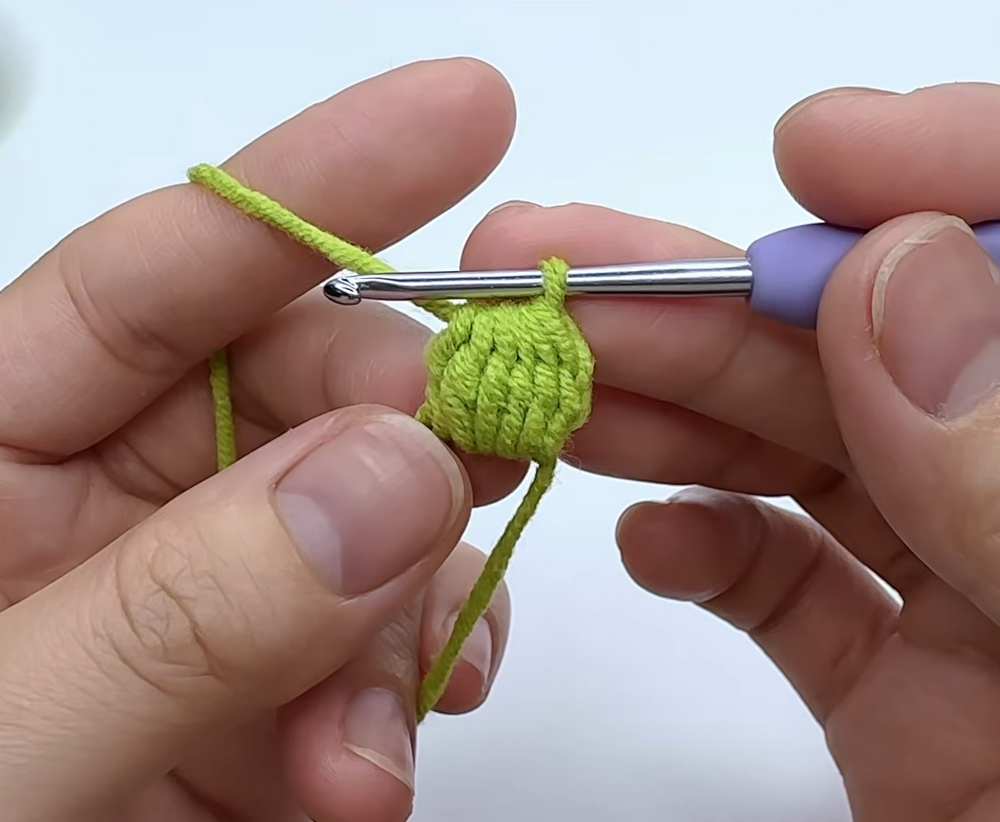
Popcorn Stitch: Work 5 dc into the same stitch, then pull through all loops on the hook.
Row-by-Row Instructions
Body & Head
Row 1: Make a magic ring, ch 1, 6 sc into the ring. Join with a sl st to the first st.
Row 2: Ch 1, 6 inc (12 st). Join with sl st.
Row 3: Ch 1, 1 sc, 1 inc repeat 6 times (18 st). Join with sl st.
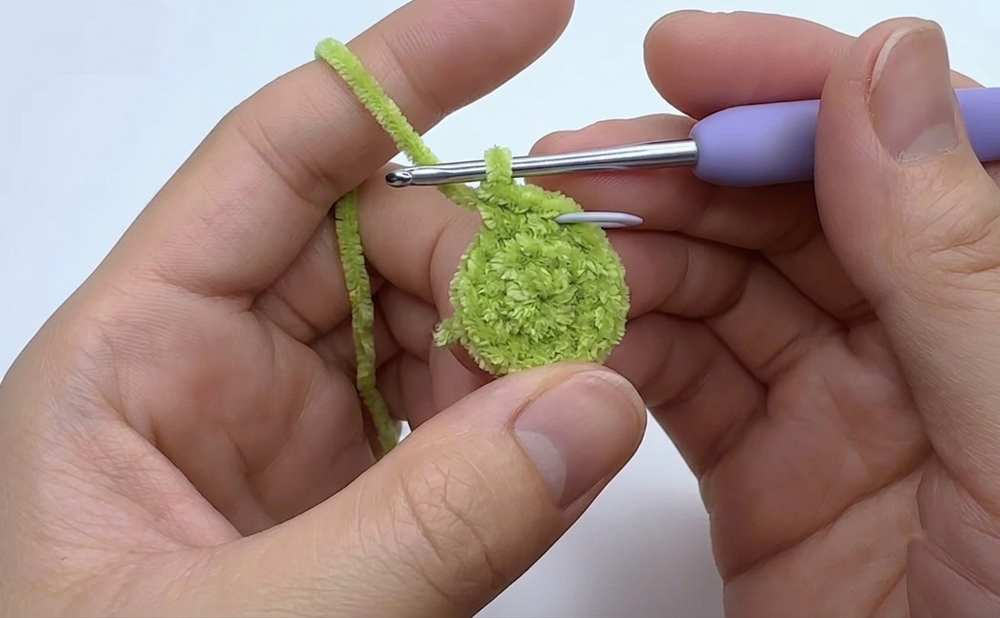
Row 4: Ch 1, 1 sc, 1 inc, 1 sc repeat 6 times (24 st). Join with sl st.
Row 5: Ch 1, 3 sc, 1 inc repeat 6 times (30 st). Join with sl st.
Row 6: Ch 1, 2 sc, 1 inc, 2 sc repeat 6 times (36 st). Join with sl st.
Rows 7–12: Ch 1, 36 sc around. Join with sl st.
Row 13: Ch 1, 1 sc, 1 dec repeat 12 times (24 st). Join with sl st.
Row 14: Ch 1, 1 sc, 1 dec repeat 8 times (16 st). Join with sl st.
Row 15: Ch 1, working in FLO only: 1 sc, 1 inc repeat 8 times (24 st). Join with sl st.
Row 16: Ch 1, 24 sc around. Join with sl st.
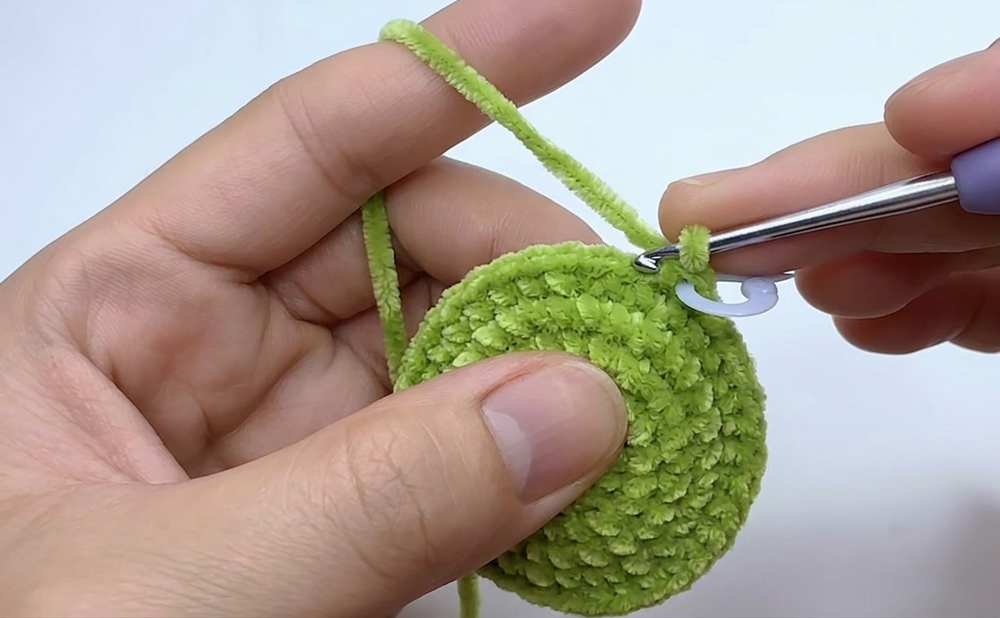
Row 17: Ch 1, 6 sc, 1 popcorn stitch, 10 sc, 1 popcorn stitch, 6 sc. Join with sl st.
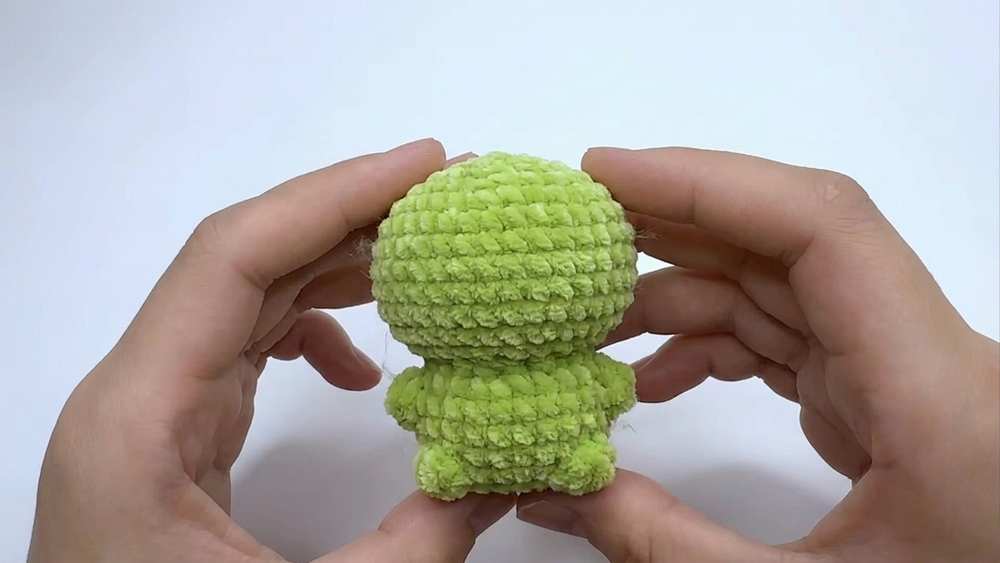
Rows 18–19: Ch 1, 24 sc around. Join with sl st.
Row 20: Ch 1, 8 sc, 1 popcorn stitch, 6 sc, 1 popcorn stitch, 8 sc. Join with sl st.
Row 21: Ch 1, 2 sc, 1 dec repeat 6 times (18 st). Join with sl st.
Note: Pause here to stuff the head and body firmly.
Row 22: Ch 1, 1 sc, 1 dec repeat 6 times (12 st). Join with sl st.
Row 23: Ch 1, 6 dec (6 st). Join with sl st. Fasten off and use a yarn needle to sew the final opening closed.
Antennae (Make 2)
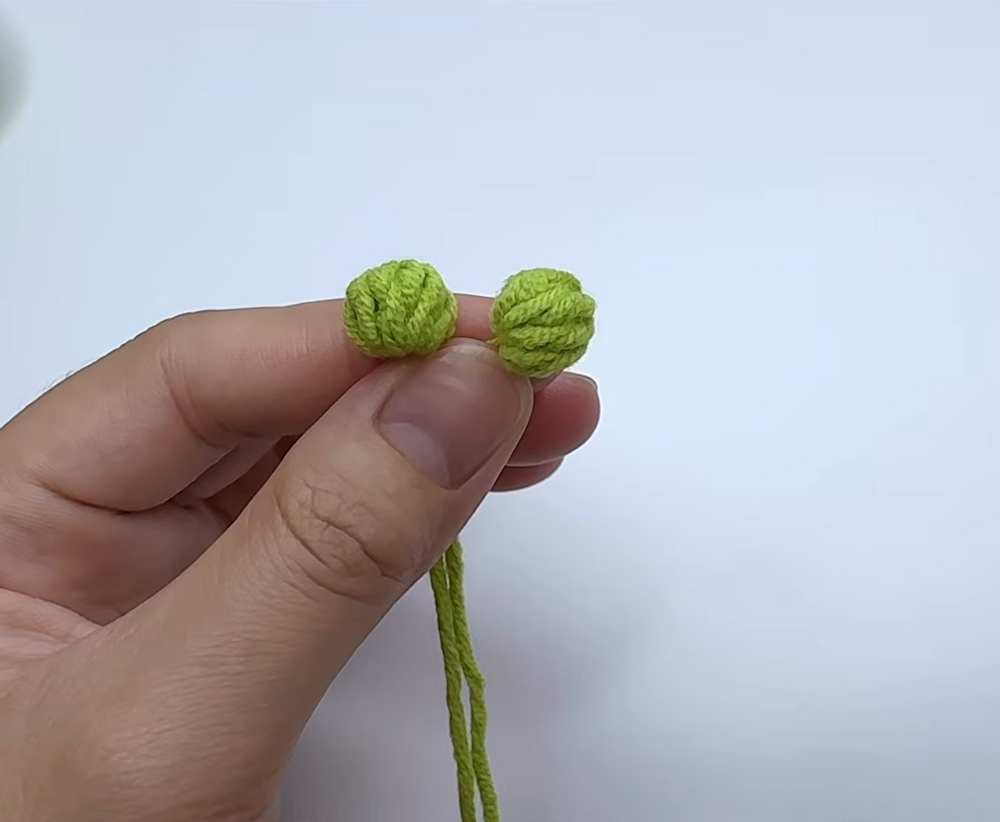
Circular Top: Create a magic ring, ch 2, work 1 popcorn stitch into the ring, ch 1, then 1 sl st into the ring. Pull the ring tight, cut the yarn leaving a long tail.
Assembly: Attach a 6cm piece of wire to the top. Wrap the remaining yarn tail around the wire to cover it. Secure with a small amount of hot glue. Attach to the top of the head between rows 2 and 3.
Ears (Make 2)
Attach yarn between rows 6 and 7.
Ch 3. Skipping the first ch, work 1 sc in the next ch, and 1 dc in the final ch.
Skip 1 stitch on the head and join with a sl st to the next stitch. Fasten off and weave in ends.
Finishing Touches
Eyes: Cut two small ovals from black felt and glue them onto the face.
Mouth: Use a thin strand of black yarn to embroider a simple mouth shape between the eyes.
Attachment: Attach a keychain ring to the very top center of the cat’s head.