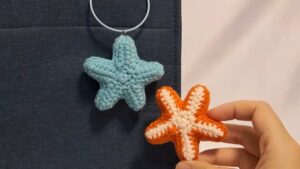
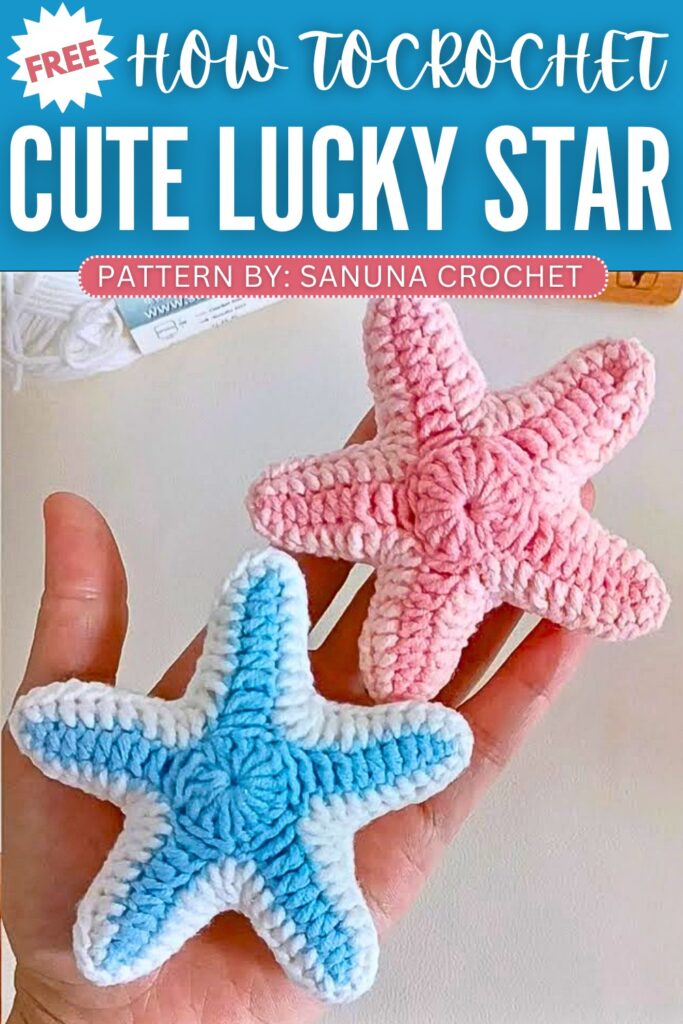
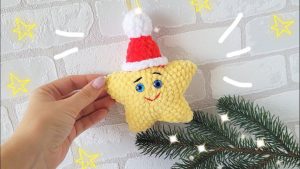
Crochet Lucky Star Starfish Amigurumi Pattern
Crochet Lucky Star Amigurumi Pattern
Step by Step Pattern
To make this pattern easier to follow, I have broken it down into a much more relaxed, step-by-step format. Think of this as a guided walk-through rather than a dense manual.
Abbreviations
ch: Chain
st(s): Stitch(es)
sl st: Slip stitch
sc: Single crochet
hdc: Half double crochet
dc: Double crochet
dc3tog: Double crochet 3 stitches together (a decrease)
Materials Needed
Yarn: Medium weight yarn in your chosen star color.
Hook: Size 2.5mm – 3.5mm (or whatever feels comfortable for your yarn).
Tapestry Needle: To sew the pieces together.
Stuffing: A small amount of polyester fiberfill.
Scissors: To trim your ends.

Pattern Instructions
Part 1: The First Star Panel
This will be one side of your star.
Start: Create a magic ring.
Round 1: Chain 3 (this counts as your first stitch). Now, work 14 double crochets into the center of the ring. Pull the tail of your ring tight so the center closes. Join to the top of your starting chain-3 with a slip stitch. You now have 15 stitches in your circle.
Round 2 (The Star Points):
To start a point: Chain 10.
Working down the chain: In the 2nd chain from your hook, work 1 sc. In the next chain, work 1 sc. In the next 4 chains, work 1 hdc in each. In the last 3 chains, work 1 dc in each.
Connecting the point: Skip 2 stitches on your center circle and slip stitch into the next stitch.
Repeat: Repeat these instructions until you have 5 points in total.
Finish: Slip stitch into the base of the first point to secure it. Fasten off.
Part 2: The Second Star Panel
Simply repeat everything you did in Part 1 to create an identical second piece.
Note: If you want to use the remaining yarn to sew them together later, leave a long tail of about 10–12 inches when you fasten off.

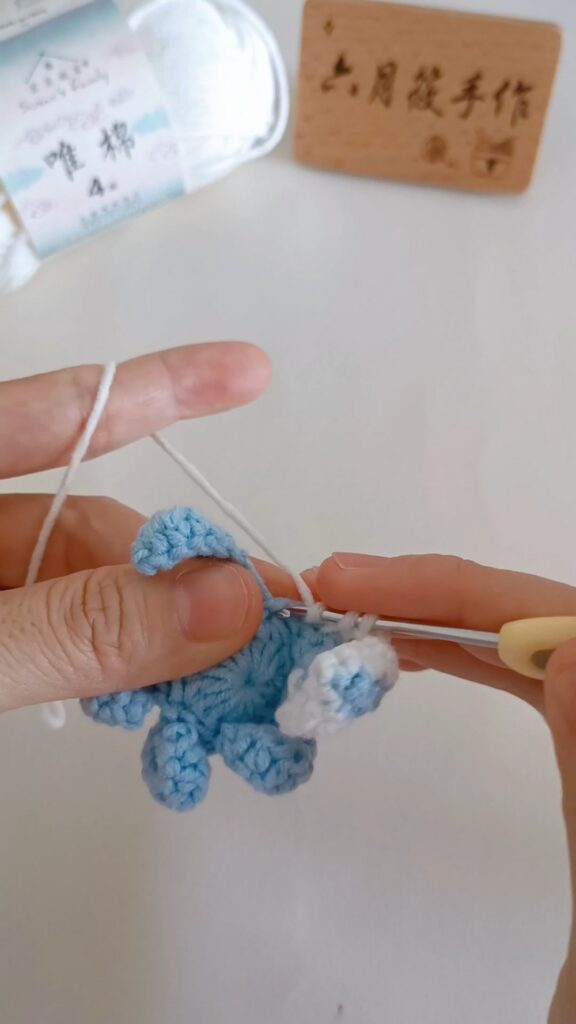
Part 3: The Decorative Edging
This step helps the edges look polished and creates the “star” shape.
Join your yarn at the base, right in the space between two points.
Chain 3, and then work 1 double crochet into that same space.
Moving up the side of the first point: work 2 double crochets, then 4 half double crochets, then 2 single crochets.
At the very tip of the point: work 1 single crochet.
Moving down the other side of the point: work 2 single crochets, 4 half double crochets, and 2 double crochets.
At the valley: When you reach the bottom space between the points, work a dc3tog (this pulls the two points together neatly).
Repeat this entire sequence for all 5 points. Slip stitch to the first stitch to finish.
Part 4: Putting it Together
Layout: Lay your two finished star panels flat, with the “pretty” sides facing outward.
Sewing: Thread your tapestry needle with the yarn tail. Line up the stitches of the front piece with the back piece.
Joining: Use a whip stitch to sew through both loops of each stitch all the way around the edge.
Stuffing: When you have sewn about 75% of the way around, pause and push a small amount of stuffing into the center of the star to give it a 3D, plush look.
Finish: Continue sewing the remaining edge closed. Tie a secure knot, hide your yarn end inside the star, and trim any excess.
Video Pattern:
Pattern In UK Terms
Abbreviations
ch: Chain
st(s): Stitch(es)
ss: Slip stitch (US: sl st)
dc: Double crochet (US: sc)
htr: Half treble crochet (US: hdc)
tr: Treble crochet (US: dc)
tr3tog: Treble crochet 3 stitches together (a decrease) (US: dc3tog)
Materials Needed
Yarn: Medium weight yarn in your chosen star color.
Hook: Size 2.5mm – 3.5mm (or whatever feels comfortable for your yarn).
Tapestry Needle: To sew the pieces together.
Stuffing: A small amount of polyester fiberfill.
Scissors: To trim your ends.
Pattern Instructions
Part 1: The First Star Panel
This will be one side of your star.
Start: Create a magic ring.
Round 1: Chain 3 (this counts as your first stitch). Now, work 14 treble crochets into the center of the ring. Pull the tail of your ring tight so the center closes. Join to the top of your starting chain-3 with a slip stitch. You now have 15 stitches in your circle.
Round 2 (The Star Points):
To start a point: Chain 10.
Working down the chain: In the 2nd chain from your hook, work 1 dc. In the next chain, work 1 dc. In the next 4 chains, work 1 htr in each. In the last 3 chains, work 1 tr in each.
Connecting the point: Skip 2 stitches on your center circle and slip stitch into the next stitch.
Repeat: Repeat these instructions until you have 5 points in total.
Finish: Slip stitch into the base of the first point to secure it. Fasten off.

Part 2: The Second Star Panel
Simply repeat everything you did in Part 1 to create an identical second piece.
Note: If you want to use the remaining yarn to sew them together later, leave a long tail of about 10–12 inches when you fasten off.
Part 3: The Decorative Edging
This step helps the edges look polished and creates the “star” shape.
Join your yarn at the base, right in the space between two points.
Chain 3, and then work 1 treble crochet into that same space.
Moving up the side of the first point: work 2 treble crochets, then 4 half treble crochets, then 2 double crochets.
At the very tip of the point: work 1 double crochet.
Moving down the other side of the point: work 2 double crochets, 4 half treble crochets, and 2 treble crochets.
At the valley: When you reach the bottom space between the points, work a tr3tog (this pulls the two points together neatly).
Repeat this entire sequence for all 5 points. Slip stitch to the first stitch to finish.

Part 4: Putting it Together
Layout: Lay your two finished star panels flat, with the “pretty” sides facing outward.
Sewing: Thread your tapestry needle with the yarn tail. Line up the stitches of the front piece with the back piece.
Joining: Use a whip stitch to sew through both loops of each stitch all the way around the edge.
Stuffing: When you have sewn about 75% of the way around, pause and push a small amount of stuffing into the center of the star to give it a 3D, plush look.
Finish: Continue sewing the remaining edge closed. Tie a secure knot, hide your yarn end inside the star, and trim any excess.
You may also like
How to Crochet Star Ornament with Golden Bell
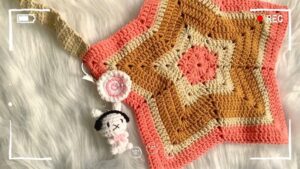
How to Crochet Fall Star Bag (Tutorial for Beginners)
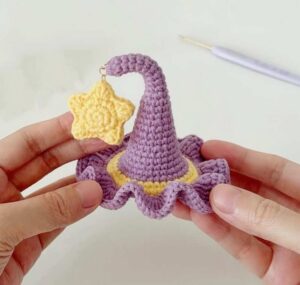
Xiaoshimei: Crochet Elf Wizard Hat with Star Charm Tutorial for Halloween
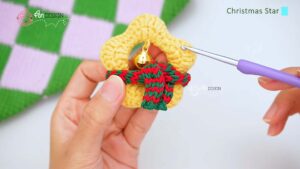
How to Crochet Christmas Star Plushie for Beginners

Free Crochet Star & Bouquet Charm Reversible Bottle Holders