
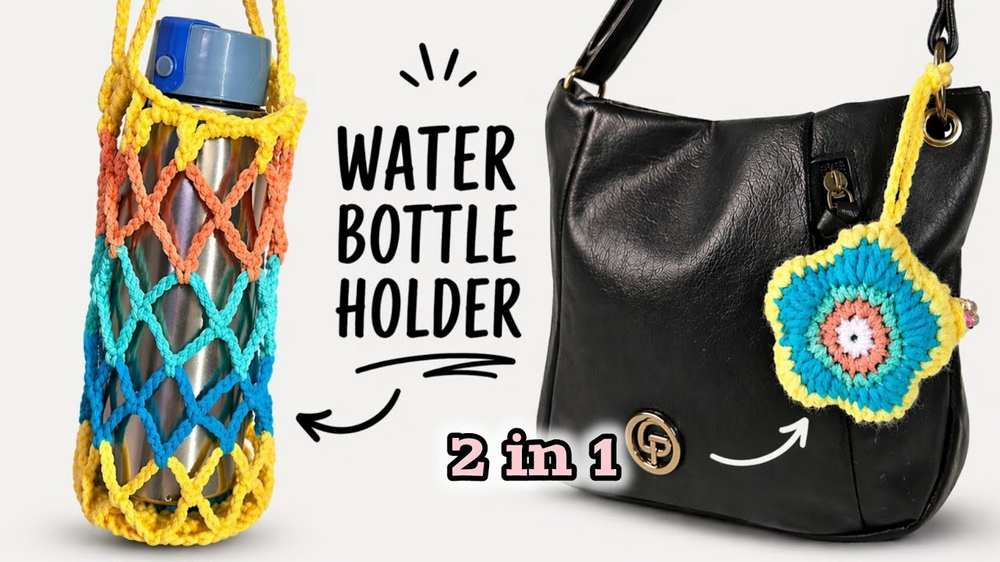
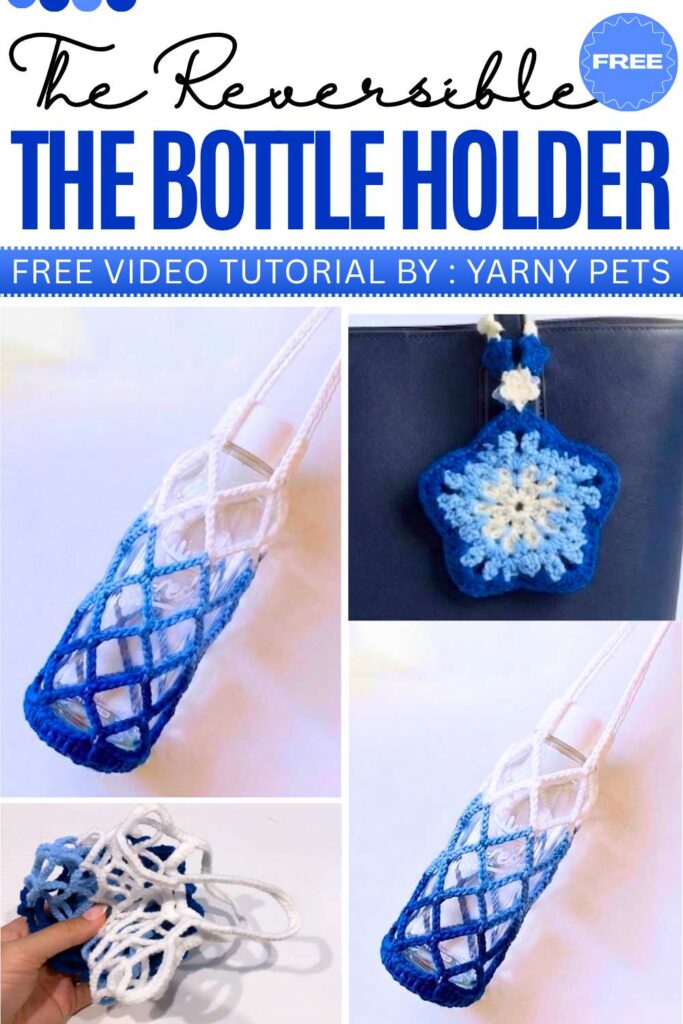
Free Crochet Star & Bouquet Charm Reversible Bottle Holders
I have shared with the patterns for making both the reversible and traditional water bottle holders in general. Coming back to reversible ones, one of the most popular types of them are the one with star bag charm and a bouquet pouch. Actually, these are so trendy that there are tens of variations of each. So, in this post, I decided to gather free crochet patterns for star & bouquet charm reversible holders and these are the best variations. I have already shared the rose bouquet holder previously, so I have only selected, the Lily of the Valley bottle and cup holders, this time.
Crochet Star & Bouquet Charm Reversible
There are two variations for each. But don’t worry, I will soon be filling it with tons of similar ideas and you will love all of them. For bouquet holders specifically, you will crochet both the solid and mesh stitches for the bag. You will love how elegant it will come and look similar to the popular drawstring rose bouquet bag. The star motif patterns are worth-making including a galaxy, rainbow and stripes star and more!
Crochet reversible holder patterns and ideas shared already:
Supplies Needed for Water Bottle Holders
Below are the materials needed for making these water bottle holders:
- Yarn (cotton yarn is highly recommended for durability and structure)
- Crochet hook (size suitable for your chosen yarn, usually 3.5 mm – 5 mm)
- Stitch markers (optional, for keeping track of rounds)
- Tapestry needle (for weaving in ends)
- Scissors
- Measuring tape (to adjust size for different bottles)
- Buttons, beads, or charms (optional, for embellishment)
- Metal or wooden rings (optional, for handles or straps).
01 of 05 Crochet Striped Star Water Bottle Holder
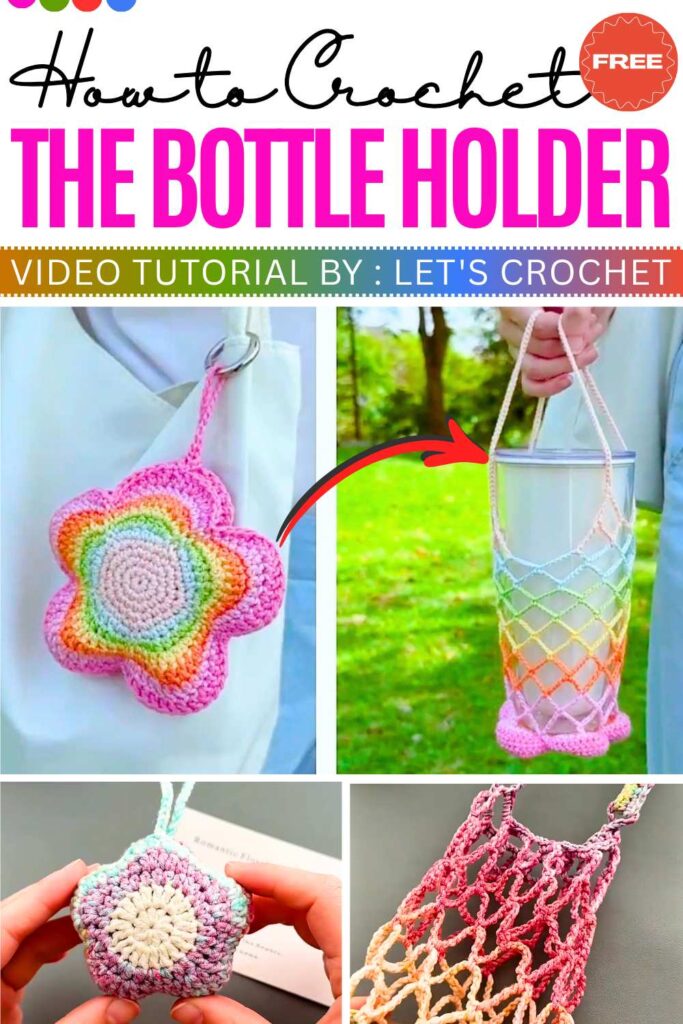
Elevate your hydration game with this vibrant Crochet Striped Star Water Bottle Holder. This pattern has a unique star-shaped base and bold stripes, creating a sturdy and eye-catching accessory. It’s a perfect project for using up yarn scraps while making something functional for long walks or trips to school.
Quick Guide:
Start at the bottom: Crochet a flat star that is the same size as the bottom of your bottle.
Grow the sides: Stop adding extra stitches and crochet in circles to build the walls upward.
Add stripes: Change your yarn color every few rows to create a striped look.
Finish with a strap: Crochet a solid edge at the top and add a long strap for easy carrying.
Video Tutorial:
02 of 05 Crochet Star Motif Water Bottle Holder
Here is the other version of the star holder but with a nice color gradient. The design has a solid star-shaped base and open-mesh walls that make it both sturdy and breathable. It is a practical and fun project that is perfect for taking your water bottle with you on a walk or to your next creative meetup.
Quick Guide:
The Star Base: Start with a magic ring and work rounds of double crochets, increasing at the points to form a flat, five-pointed star.
The Body: Stop increasing at the points and crochet in rounds using an open-mesh or “V-stitch” pattern to build the walls upward.
The Height: Continue the pattern rounds until the holder reaches the desired height for your bottle.
The Finish: Crochet a solid border around the top opening and attach a long, reinforced strap for easy carrying.
Video Tutorial:
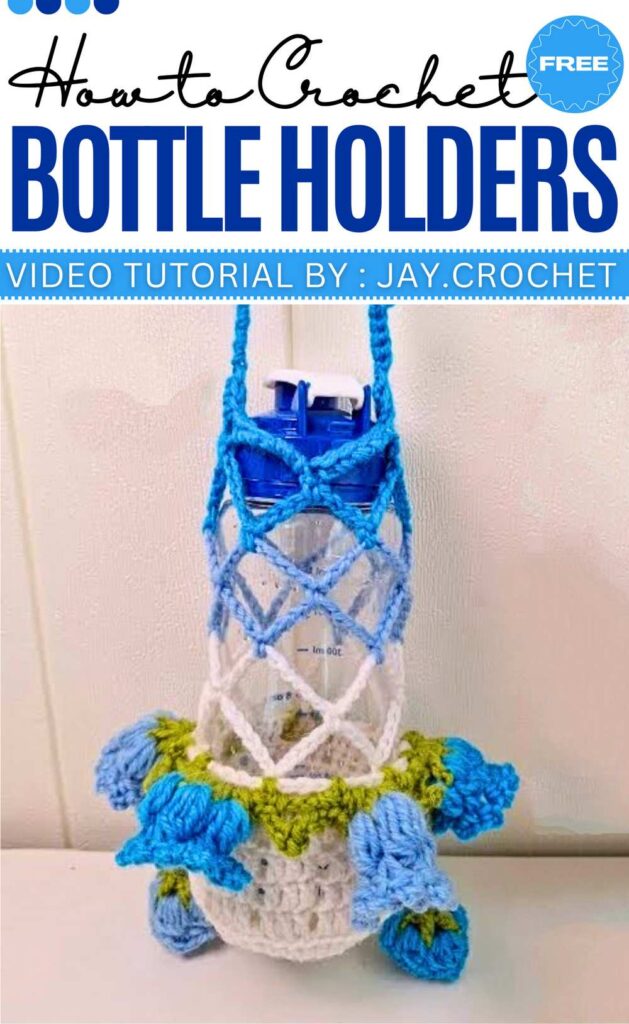
03 of 05 Crochet Bell Bouquet Water Bottle Holder
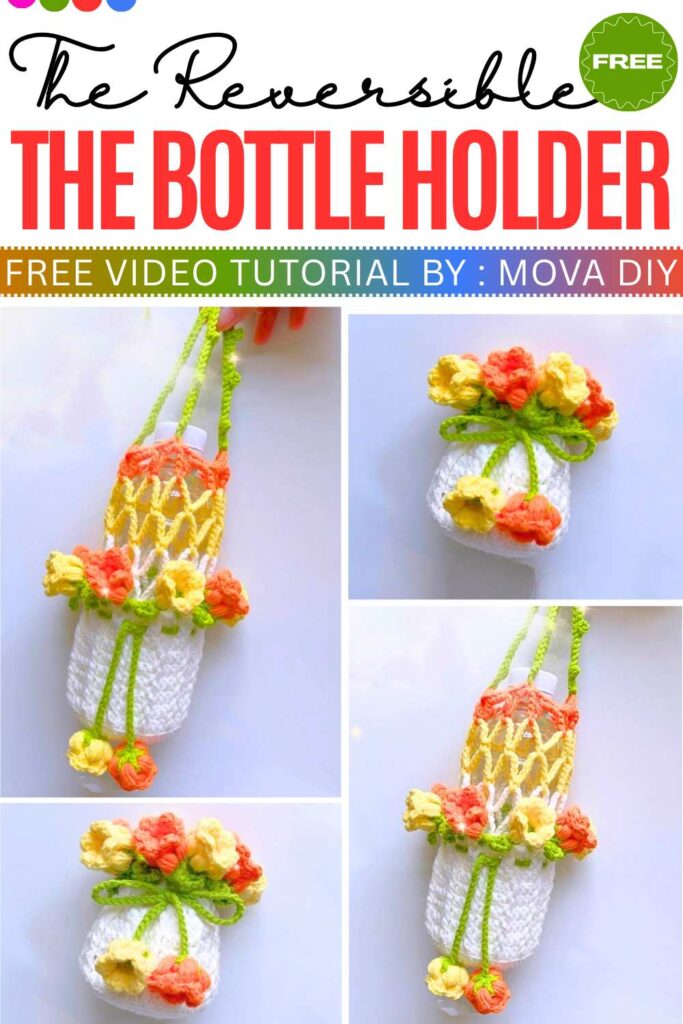
This Crochet Bell Bouquet Water Bottle Holder is a 2-in-1 project that can be used as a drawstring bag or a cup holder. It has a base of solid rounds, a body with textured front post stitches, and a decorative top with Lily of the Valley flowers.
Quick Guide:
The Circular Base: Start with a magic ring and work four rounds of double crochet, increasing until you have 48 stitches.
The Body: Crochet rounds of double crochet combined with front-post stitches to create a ribbed, vertical texture.
The Mesh Section: Transition to rounds of long chain loops to build the open-mesh walls at the top.
The Floral Trim: Add green leaf loops around the opening and attach small bobble-stitch flowers to create a bouquet effect.
The Handles & Drawstring: Finish by crocheting two reinforced handles and a long chain string to weave through the mesh.
Video Tutorial:
04 of 05 Crochet Lily of the Valley Bottle Holder
This one is an elegant and delicate version of the floral bottle carrier. It has a solid base and a unique “vining” body decorated with white bell-shaped flowers.
Quick Guide:
The Solid Base: Begin by crocheting a flat circle in green to match the width of your bottle’s bottom.
The Vining Body: Crochet upward using a combination of chains and stitches that create a trellis or vine-like texture.
The Lily Flowers: Create the “bell” flowers by working small white clusters or bobble stitches directly onto the green vine structure.
The Top Border: Finish the upper edge with a few rounds of solid stitches to keep the holder secure around the neck of the bottle.
The Strap: Crochet a long, reinforced strap in green to complete the look of a flowering vine.
Video Tutorial:
05 of 05 Crochet Nice-Combo Star Bottle Holder
Ending the lovely curation with this Crochet Nice-Combo Star Bottle Holder. It’s is a colorful and transformable piece that can serve as both a star bag charm and a functional carrier
Quick Guide:
The Circular Base (Part 1): Start with a magic ring and work rounds of single crochet, increasing from 10 to 20, then to 30 stitches.
The Star Petals: Use half double and double crochet increases to build five points around the circle, repeating this for a fifth round to create a larger star shape.
Creating Part 2: Crochet a second identical star, but add a 40-chain loop for the handle and a 6-chain loop to act as a button closure.
Assembly: Align the two star pieces and join them by crocheting around the edges with single crochet, leaving a section open for the bottle.
The Net Body: Build the carrier’s body by working rounds of 10-chain loops, alternating colors every two rounds until it reaches your desired bottle length.
The Finishing Touches: Add a 50-chain reinforced handle at the top and sew a button onto the center of the star to allow the holder to fold up and secure into a compact charm.
Video Tutorial: