Free Crochet Quick Any-Color Pumpkin Amigurumi Pattern
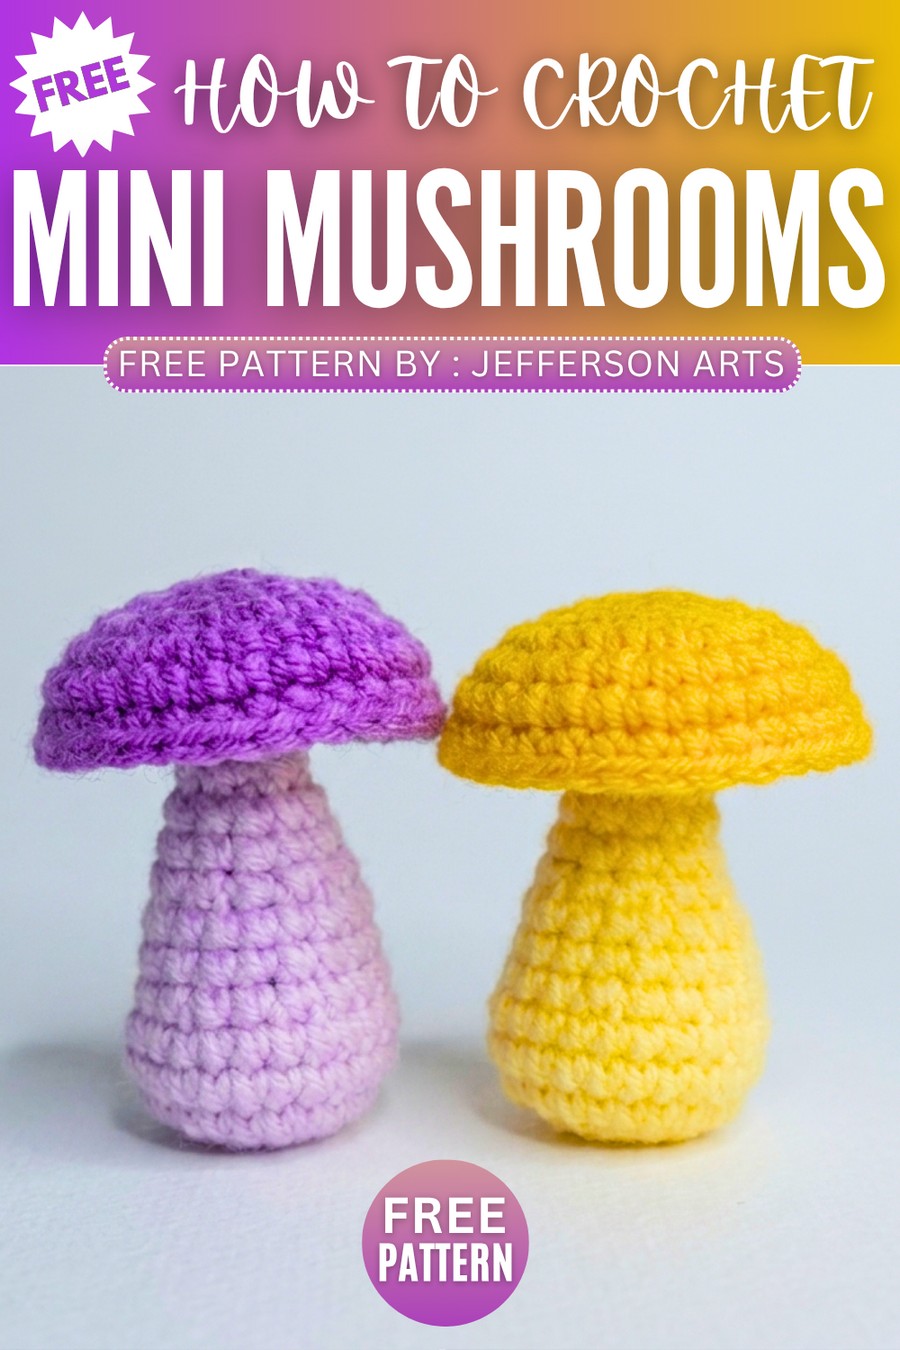
Today, let’s crochet these simple and easy no-embroidery crochet mini mushrooms with a FREE pattern for beginners. You can crochet a bunch of these stuffed mushroom in unusual colors like the purple, yellow, green and even pink or go with the usual brown for wild mushroom and or red for the toadstool mushroom. This crochet mushroom is designed to be last-minute, so you can also sell them at fall craft fairs.
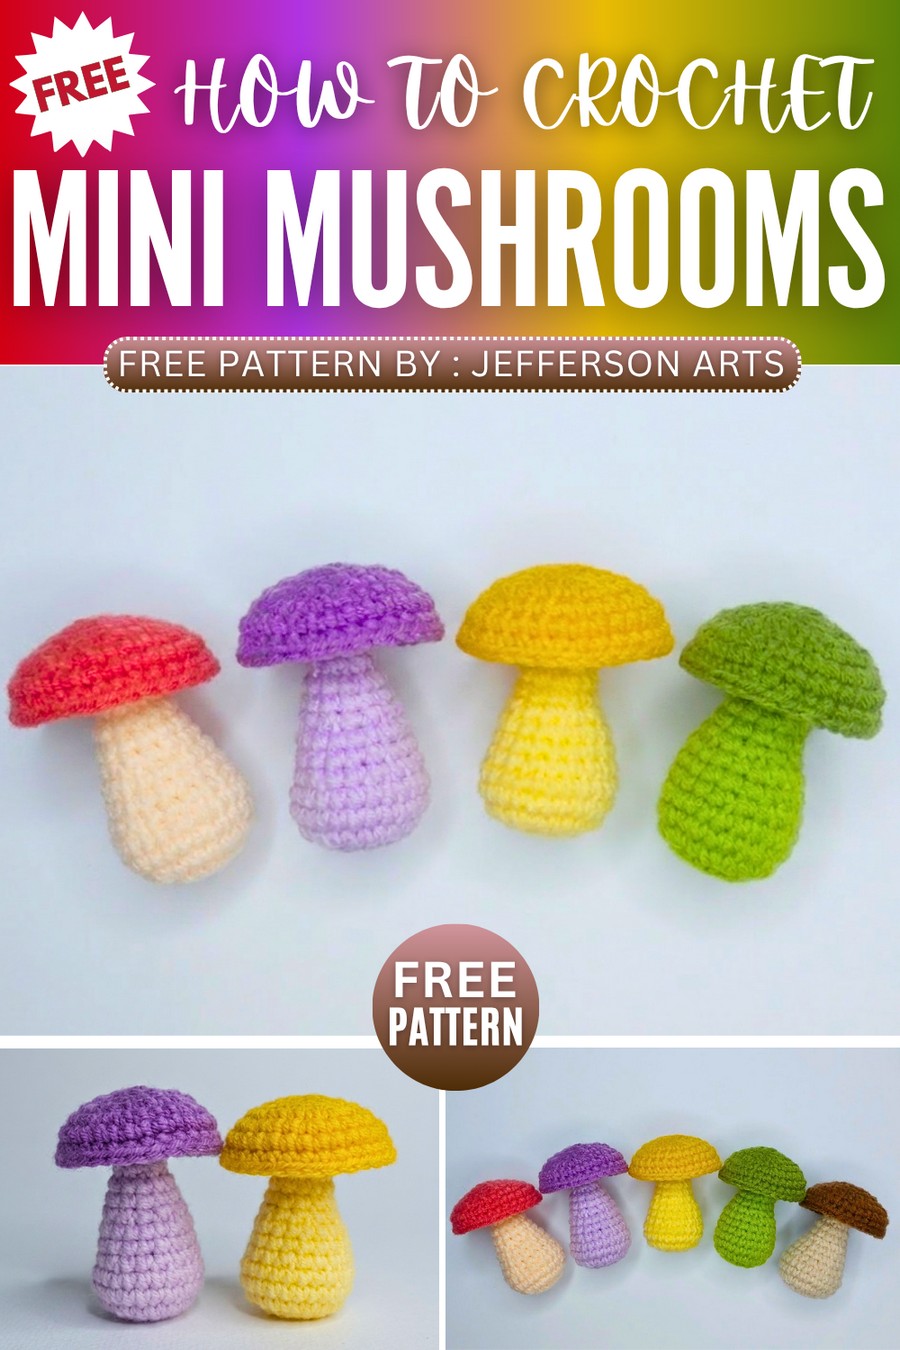
You can easily crochet this mushroom amigurumi within 15 minutes as the stem only needs 18 rounds and the cap needs 7 rounds. You can also crochet this mushroom with the usual white spot embroidery of the crochet toadstool. Anyway, customization is up to you; so continue reading for the full crochet pattern.
About the Designer: The designer behind this crochet mushroom is is @jeffersonarts – she is a rising crochet decoration and other amigurumi projects designer! Her currently small crochet tutorial library has a large collection of highly crochet flower and amigurumi projects!
How to Crochet Little Mushrooms for Beginners
This project make a cute, chunky amigurumi mushroom that can be used as a keychain. You will crochet the mushroom in two pieces: the white stem (which is stuffed to give it a nice 3D shape and features a flared top) and a colorful cap.
Once the cap is crocheted, it is joined directly onto the top of the stem to seamlessly close it up. Finally, you can personalize your mushroom by attaching a keychain ring and adding tiny beads or rhinestone charms for extra detail!
Materials Needed
Yarn in white (for the stem)
Yarn in your color of choice, such as pink or brown (for the cap)
Crochet hook
Fiberfill stuffing
Scissors
Yarn needle
Keychain ring and jump rings
Optional: Headpins, beads, and rhinestones for decoration
Abbreviations
mr: magic ring
ch: chain
sc: single crochet
inc-sc: single crochet increase (2 single crochets in the same stitch)
dec-sc: single crochet decrease (join 2 stitches into 1 single crochet)
sl st: slip stitch
R: round
Part I: Mushroom Stem (White Yarn)
R1: 8 sc in mr, sl st
R2: ch 1, inc-sc x 8, sl st = 16 sc
R3: ch 1, (sc, inc-sc) x 8, sl st = 24 sc
R4 – R5: ch 1, 24 sc, sl st
R6: ch 1, (2 sc, dec-sc) x 6, sl st = 18 sc
R7 – R8: ch 1, 18 sc, sl st
R9: ch 1, (sc, dec-sc) x 6, sl st = 12 sc
R10 – R11: ch 1, 12 sc, sl st
Stuff the base of the stem firmly with fiberfill.
R12: ch 1, dec-sc x 6, sl st = 6 sc
R13 – R14: ch 1, 6 sc, sl st
Add a little bit more stuffing to the top of the stem.
R15: ch 1, inc-sc x 6, sl st = 12 sc
R16: ch 1, (sc, inc-sc) x 6, sl st = 18 sc
R17: ch 1, (2 sc, inc-sc) x 6, sl st = 24 sc
R18: ch 1, sc, inc-sc, (3 sc, inc-sc) x 5, 2 sc, sl st, fasten off, cut the yarn = 30 sc
Part II: Mushroom Cap (Color Yarn)
R1: 6 sc in mr, sl st
R2: ch 1, inc-sc x 6, sl st = 12 sc
R3: ch 1, (sc, inc-sc) x 6, sl st = 18 sc
R4: ch 1, (2 sc, inc-sc) x 6, sl st = 24 sc
R5: ch 1, sc, inc, (3 sc, inc-sc) x 5, sl st = 30 sc
R6: ch 1, 30 sc, sl st
R7 (Connecting Part II to Part I): Align the edges of the cap and the flared top of the stem. Inserting your hook through both pieces: ch 1, 30 sc around to join them, sl st, fasten off, and cut the yarn.
Hide any loose yarn tails inside the piece, then attach your keychain hardware to the top!
Video Tutorial to Learn Even Better
Save for Later!