
I L ove Amigurumi: Free Crochet Sweet Bat Brooch Pattern for Halloween
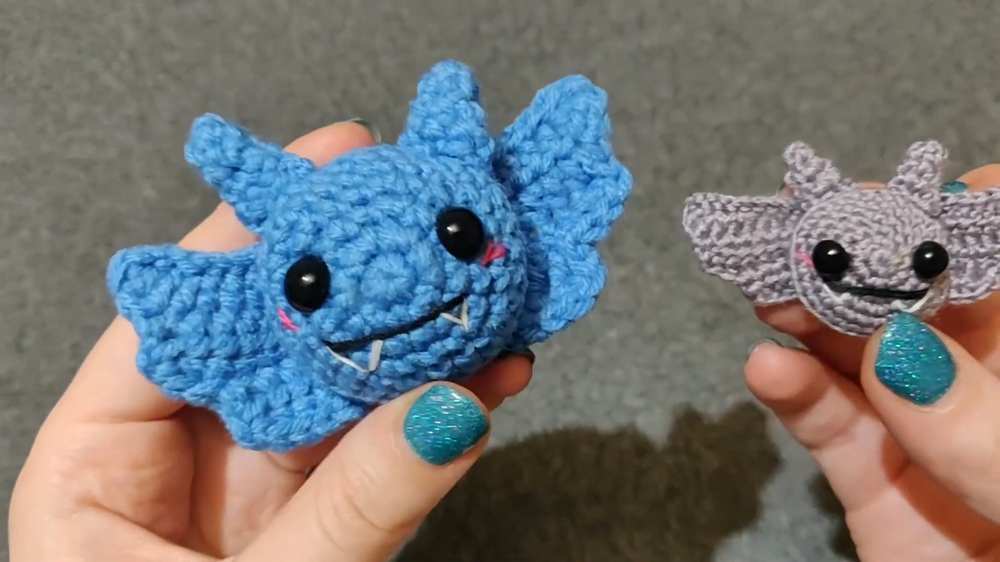
Learn how to crochet a CUTE, little bat brooch and keychain for Halloween with this FREE pattern. Crocheted with the fine yarn and a 1.0mm crochet hook, this small crochet bat ends up so small and CUTE! You can crochet it either with a simple smile or teeth embroidery, too. Choose from grey, purple, black or red crochet bat.
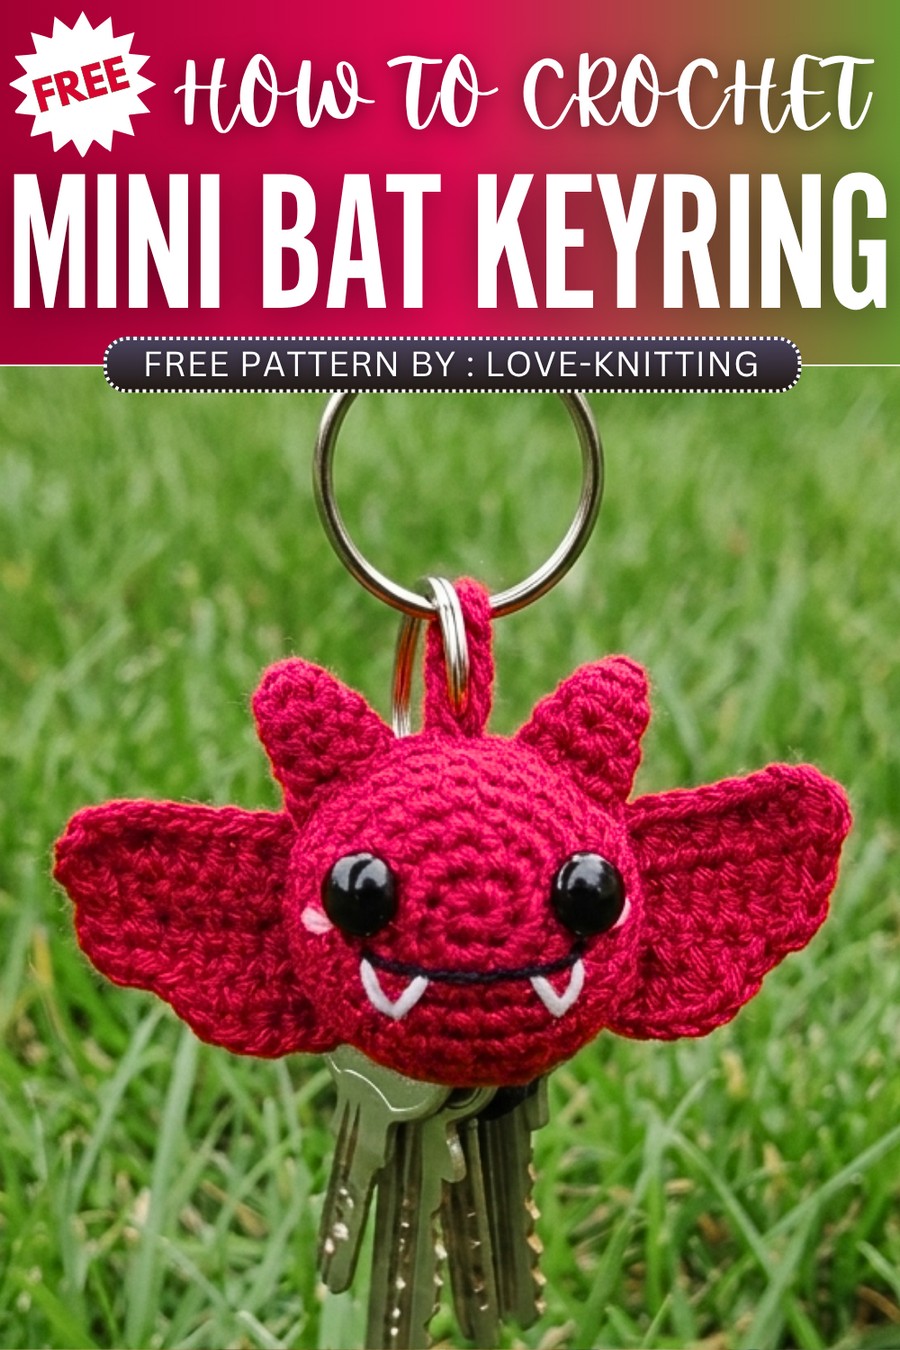
The shape of the wings, really make it look like a brooch and with the big eyes, this crochet bat amigurumi, looks the CUTEST. You can also crochet it using the plush yarn if you want it in bigger size. Anyway, customization is up to you; here is the free pattern to crochet this bat.
About the designer: The designer behind this crochet bat amigurumi is @iloveamigurumi – she crocheted cute and small amigurumi with FREE patterns.
How to Crochet Sweet Bat Brooch Pattern
This project is an adorable, beginner-friendly crochet bat brooch that is perfect for festive Halloween styling or spooky-season accessories.
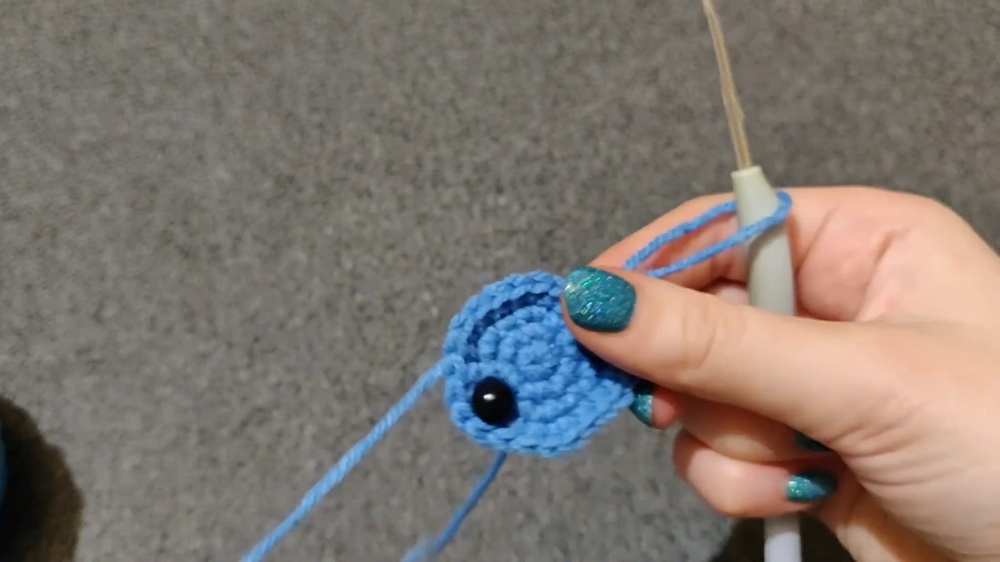
The bat features a round body worked from the top down, with built-in safety eyes and simple embroidered facial expressions like tiny white fangs and rosy cheeks.
The pointy wings and ears are crocheted separately and stitched onto the main body, and a metal brooch pin is attached to the back to make it a wearable accessory.
Materials
Yarn: Fine or sport-weight yarn in a dark color (e.g., black, grey, or purple). Small scraps of white yarn for the fangs and pink/red yarn for the cheeks.
Crochet Hook: A 1.0 mm hook is used for a tiny, tight brooch, though a 2.5 mm hook is recommended for beginners to easily see the stitches.
Safety Eyes: 4 mm safety eyes.
Stuffing: A small amount of polyester fiberfill stuffing.
Tools: Tapestry needle for assembly, embroidery needle for details, and scissors.
Hardware: A small brooch pin or safety pin clasp backing.
Stitch Marker: To keep track of the continuous rounds.
Abbreviations (US Terms)
MR: Magic Ring
sc: Single crochet
hdc: Half double crochet
inc: Increase (2 single crochets worked into the same stitch)
dec: Decrease (joining 2 stitches together)
ch: Chain
sl st: Slip stitch
BLO: Back loop only
st(s): Stitch(es)
Full Crochet Pattern
1. Body
The body is worked in continuous rounds. Use a stitch marker to track your progress.
Round 1: Work 6 sc into a MR. Join the round with a sl st. (6 sts)
Round 2: Work an inc into every stitch around. (12 sts)
Round 3: Repeat (1 sc, inc) 6 times around. (18 sts)
Round 4: Repeat (2 sc, inc) 6 times around. (24 sts)
Eye Placement: Insert the 4 mm safety eyes between Rounds 3 and 4, spacing them apart to your preference.
Round 5: Repeat (3 sc, inc) 6 times around. (30 sts)
Round 6: Work 1 sc into every stitch around. (30 sts)
Round 7: Working in BLO, work 1 sc into every stitch around. (30 sts)
Face Details Embroidery: Stop here to finish the face details before closing up the body.
Mouth: Embroider a simple black line starting 1 stitch away from the eye.
Fangs: Use white yarn to stitch tiny triangular teeth (about 1 stitch wide), going over them twice to ensure they are defined.
Cheeks: Add small pink horizontal lines just below the eyes.
Round 8: Repeat (3 sc, dec) 6 times around. (24 sts)
Round 9: Repeat (2 sc, dec) 6 times around. (18 sts)
Round 10: Repeat (1 sc, dec) 6 times around. (12 sts)
Stuffing: Stuff the bat firmly with fiberfill.
Round 11: Work 6 dec around. (6 sts)
Finishing: Cut the yarn, weave the tail through the remaining stitches to pull the opening closed, and knot securely.
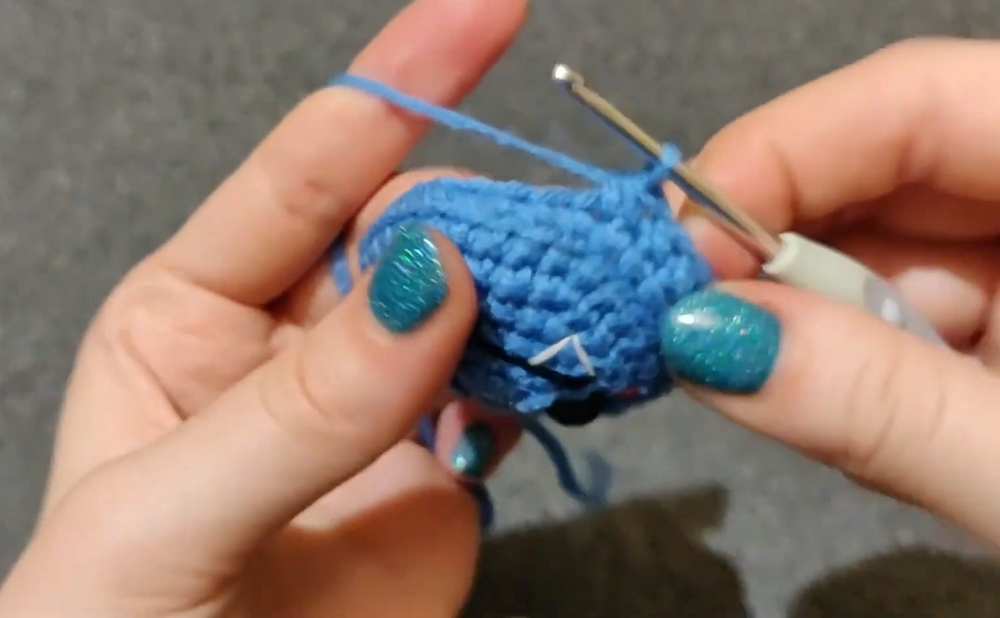
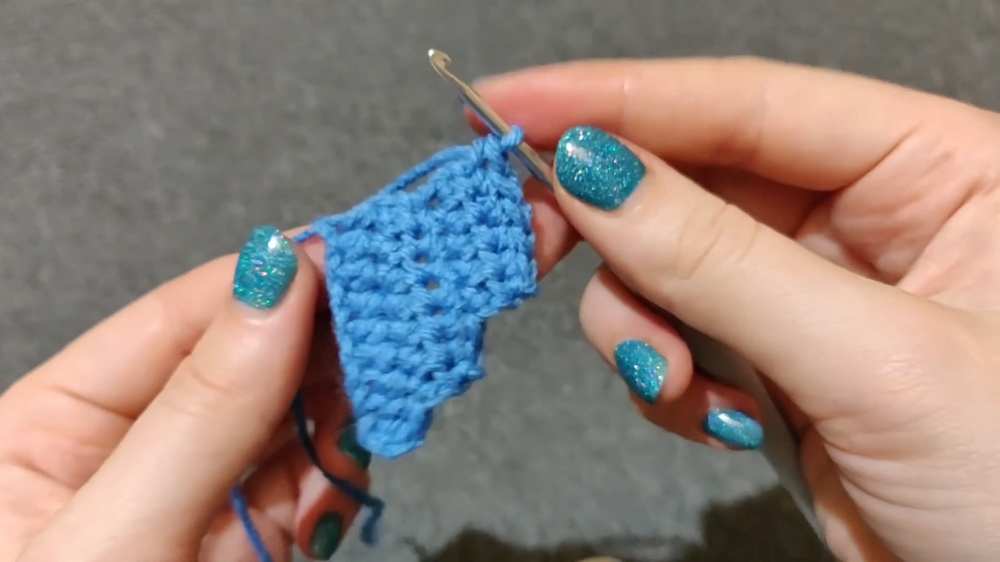
2. Wings (Make 2)
The wings are worked in flat rows.
Foundation: Ch 10.
Row 1: Starting in the 2nd ch from the hook, work 9 hdc across. Ch 1, turn. (9 sts)
Row 2: Work 7 hdc across. Ch 1, turn. (7 sts)
Row 3: Work 7 sc across. Ch 1, turn. (7 sts)
Row 4: Work 5 hdc across. Ch 1, turn. (5 sts)
Row 5: Work 5 sc across. Ch 1, turn. (5 sts)
Wing Border: Ch 1, then work a round of sl sts evenly around the entire perimeter of the wing piece to clean up the edges and give it a sharper shape. Fasten off, leaving a long tail for sewing.
3. Ears (Make 2)
The ears are worked in continuous rounds.
Round 1: Work 4 sc into a MR. (4 sts)
Round 2: Work 1 sc into every stitch around. (4 sts)
Round 3: Repeat (1 sc, inc) 2 times around. (6 sts)
Round 4: Work 1 sc into every stitch around. Join with a sl st to finish. (6 sts)
Finishing: Fasten off, leaving a long tail for sewing.
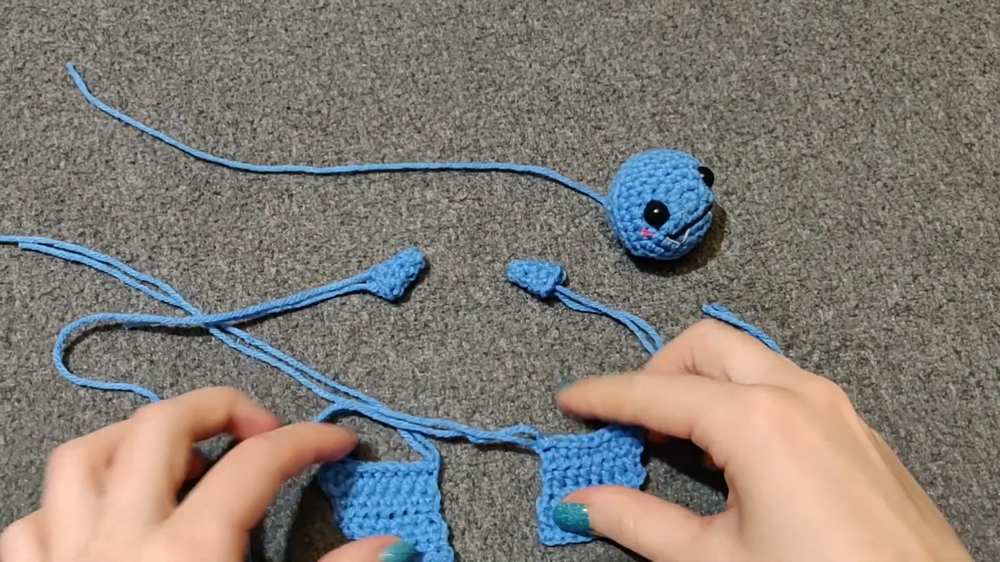
Assembly
Brooch Pin: Sew your brooch clasp backing onto the back of the body, positioning it right over the closed bottom area from Round 11.
Ears: Stitch the ears onto the top of the head along the ridge line left by the Round 7 BLO stitches.
Wings: Position the wings symmetrically on the sides of the body (you can tilt them at an angle or sew them flat depending on the look you want) and sew securely into place.
Final Touch: Hide all yarn tails inside the body cavity and snip any excess yarn.