Ngocong: Free Crochet Pirate Ghost Keychain for Halloween
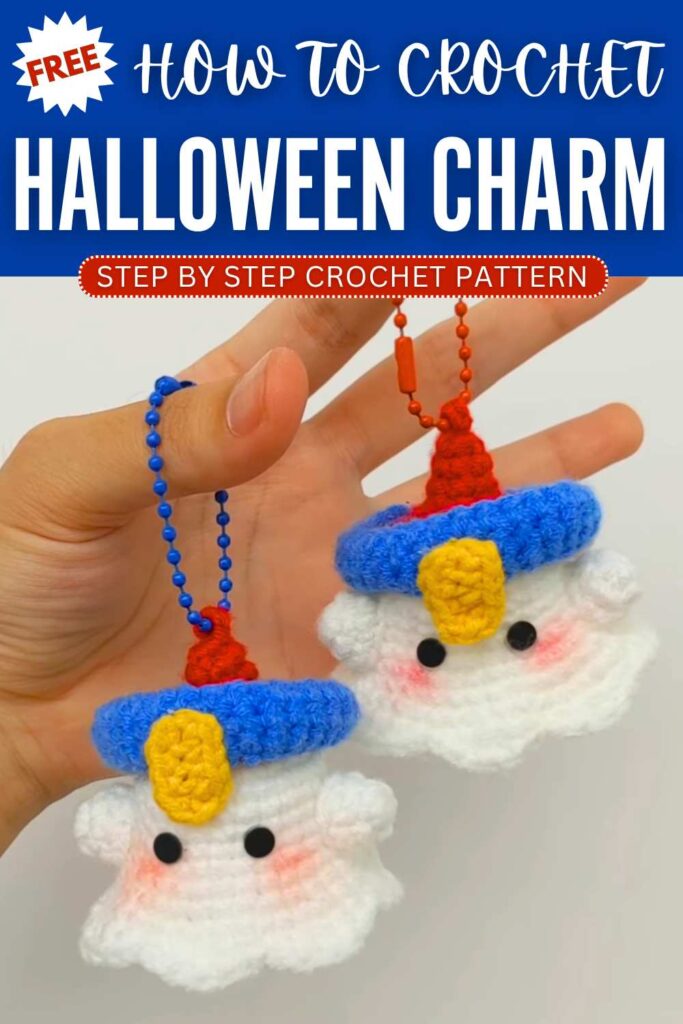
Halloween cosplay is not just limited to us! That’s why, you should crochet this oh-so cute baby ghost wearing a pirate hat keychain with a FREE pattern for absolute beginners. It is the Jiangshi ghost! The hat is crocheted in red, blue and yellow which, in my opinion, is the most appealing combo. We shall crochet the classic no-sew BOO ghost base separately from the hat, so it becomes removeable.
Crochet Pirate Ghost Keychain
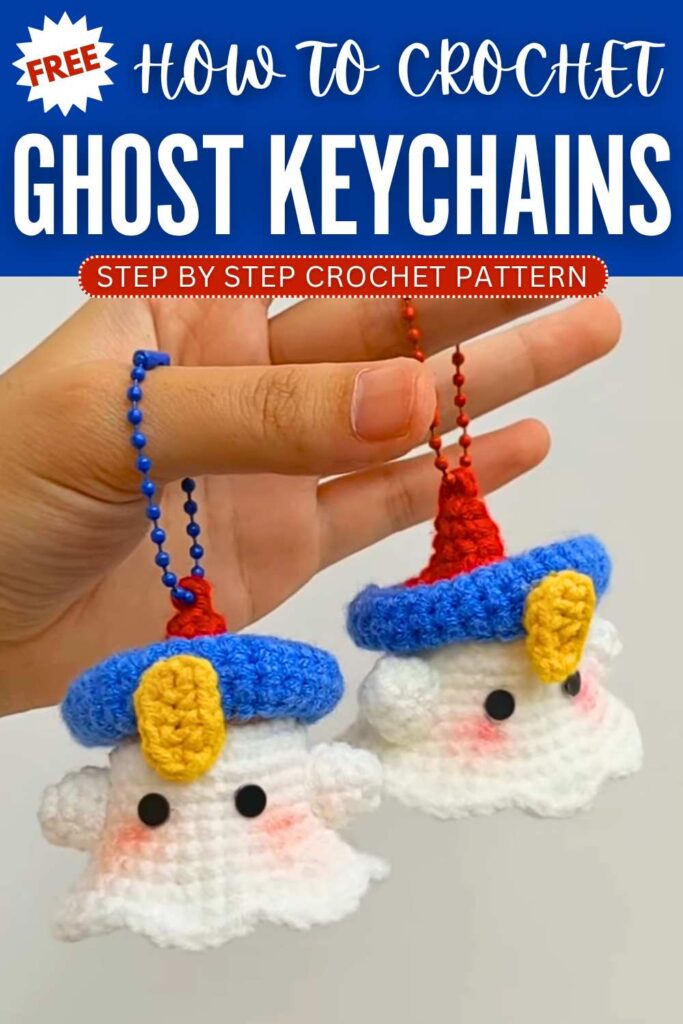
This crochet ghost also has the black felt eyes and the blush on the cheeks. You can also replace the eyes with the black plastic beads. You can easily crochet this cosplay ghost set within the 30 minutes. So, continue reading for the full crochet pirate ghost plush!
About the designer: The designer behind this crochet pirate ghost is @ngocongococ – She mostly crochets miniature amigurumi (micro crochet rings) but I like her medium-sized amigurumi more. Her ideas are worth-checking and recreating!
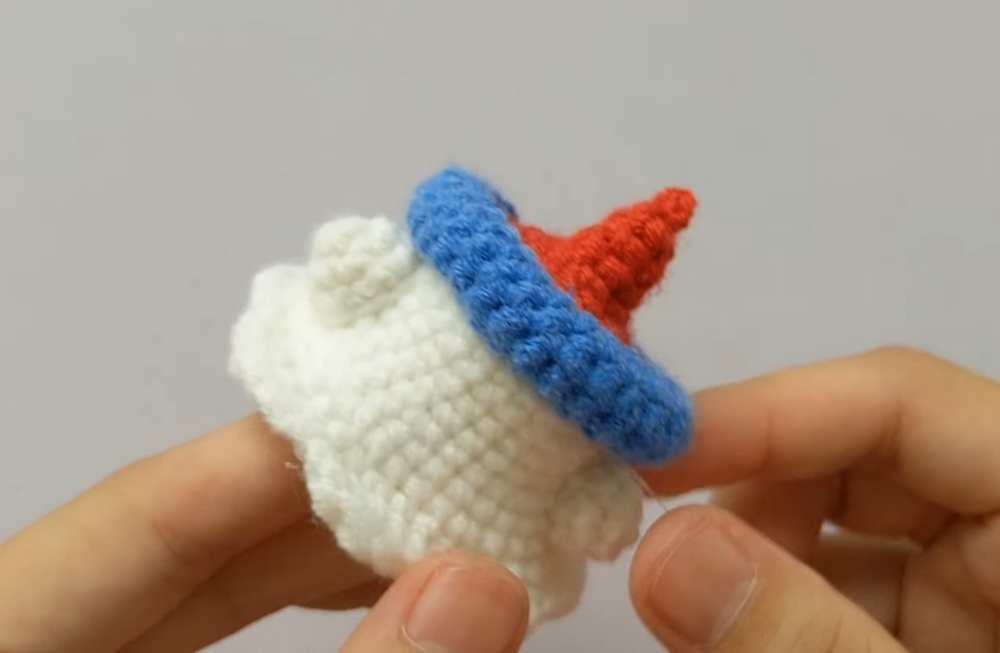
How to Crochet Boo Ghost Wearing a Pirate Hat
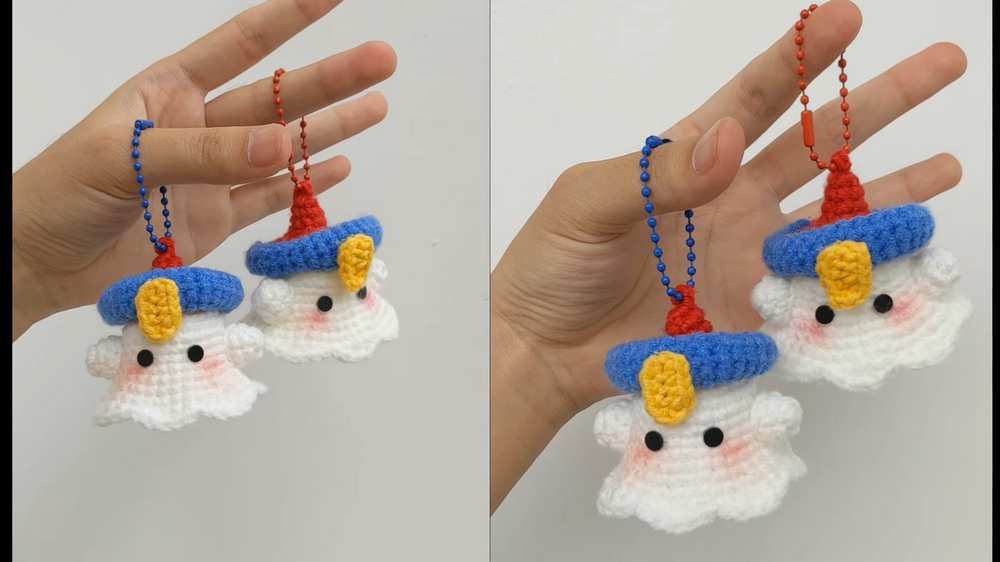
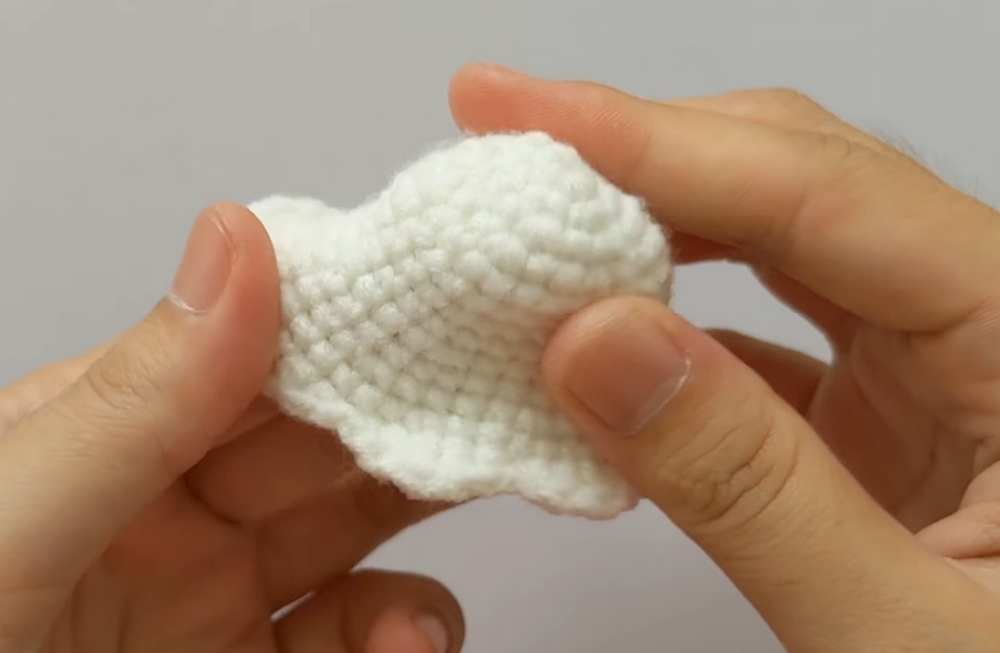
This project is an adorable “Oh My Ghost” Halloween amigurumi keychain, designed to look like a cute little Jiangshi (a Chinese hopping vampire/ghost). The ghost features a round white body with a ruffled edge at the bottom, short arms reaching forward, a traditional mandarin-style hat in red and dark blue (or black), and a signature yellow talisman tag hanging from the hat.
It is a simple, quick project worked mostly in continuous rounds using single crochet stitches, making it perfect for beginners wanting to create a spooky-yet-sweet handmade gift or bag charm for Halloween.
Materials
Yarn: Medium weight (DK or worsted) cotton or acrylic yarn in White, Red, Dark Blue/Black, and Yellow.
Crochet Hook: A size appropriate for your yarn (typically 2.5mm or 3.0mm for amigurumi to ensure tight stitches).
Tools: Tapestry needle, scissors, stitch markers, and a hot glue gun (for assembly).
Extras: Toy stuffing (fiberfill), small black safety eyes or embroidery thread for the face, and a keychain ring.
Abbreviations
MR = Magic Ring (Magic Circle)
ch = chain
sc = single crochet
hdc = half double crochet
dc = double crochet
inc = increase (2 sc in the same stitch)
sl st = slip stitch
BLO = Back Loop Only
st(s) = stitch(es)
Pattern Instructions
1. White Ghost Body
Round 1: Make a MR, 6 sc into the ring. Sl st to close. (6 sts)
Round 2: Ch 1, inc in every stitch around. Sl st to close. (12 sts)
Round 3: Ch 1, 1 sc, inc repeat around. Sl st to close. (18 sts)
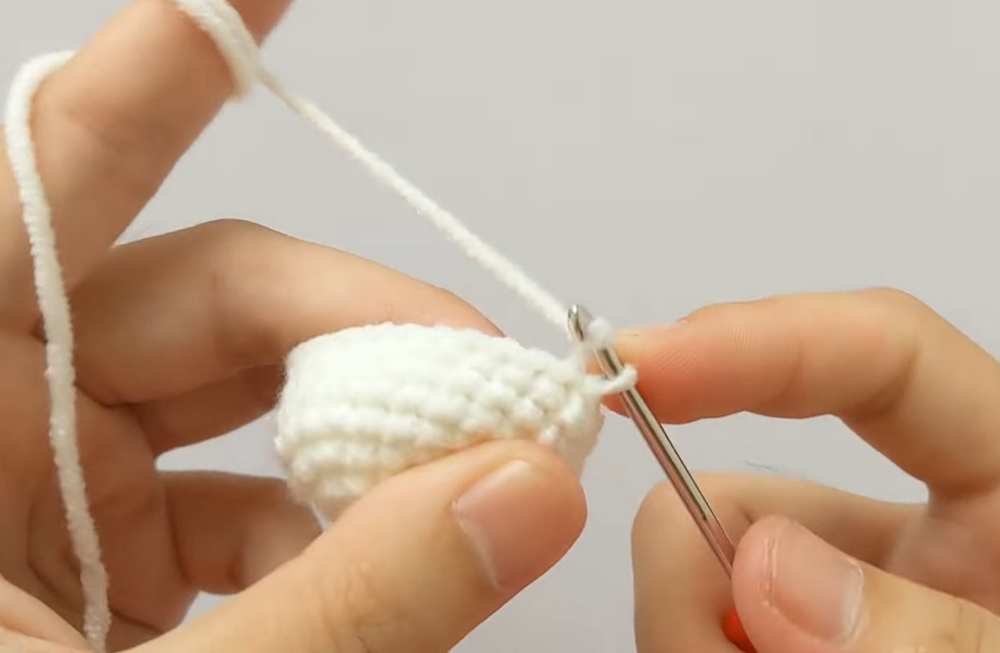
Round 4: Ch 1, 1 sc, inc, 1 sc repeat around. Sl st to close. (24 sts)
Rounds 5–8: Ch 1, sc in each st around for 4 rounds. Sl st to close each round. (24 sts)
Round 9: Ch 1, 3 sc, inc repeat around. Sl st to close. (30 sts)
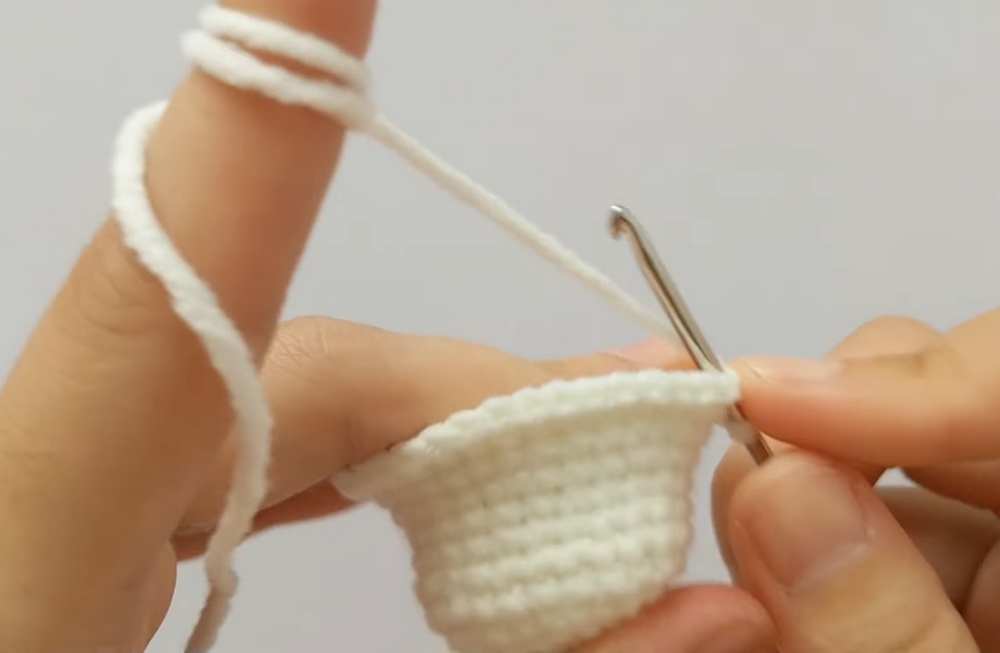
Round 10: Ch 1, sc in each st around. Sl st to close. (30 sts)
Round 11: Ch 1, 2 sc, inc, 2 sc repeat around. Sl st to close. (36 sts)
Round 12: Ch 1, 5 sc, inc repeat around. Sl st to close. (42 sts)
Round 13 (Ruffle Edge): Ch 1. In the first stitch work 1 sc, next st 1 hdc, next st 1 dc, next st 1 hdc, next st 1 sc, next st sl st. Repeat this ruffled shell sequence (1 sc, 1 hdc, 1 dc, 1 hdc, 1 sc, sl st) around to the end of the round.
Fasten off, leaving a tail to weave in.
2. Ghost Arms (Make 2)
(Worked in White)
Round 1: Make a MR, 5 sc into the ring. Sl st to close. (5 sts)
Round 2: Ch 1, 1 sc, inc repeat 2 times, end with 1 sc. Sl st to close. (7 sts)
Round 3: Ch 1, sc in each st around. Sl st to close. (7 sts)
Fasten off, leaving a tail. Stuff the loose yarn ends into the arms (no extra stuffing required). Flatten the open ends together.
3. Hat
(Start with Red yarn)
Round 1: Make a MR, 4 sc into the ring. Sl st to close. (4 sts) Note: leave a long starting tail for the keychain loop later.
Round 2: Ch 1, 1 sc, inc repeat 2 times. Sl st to close. (6 sts)
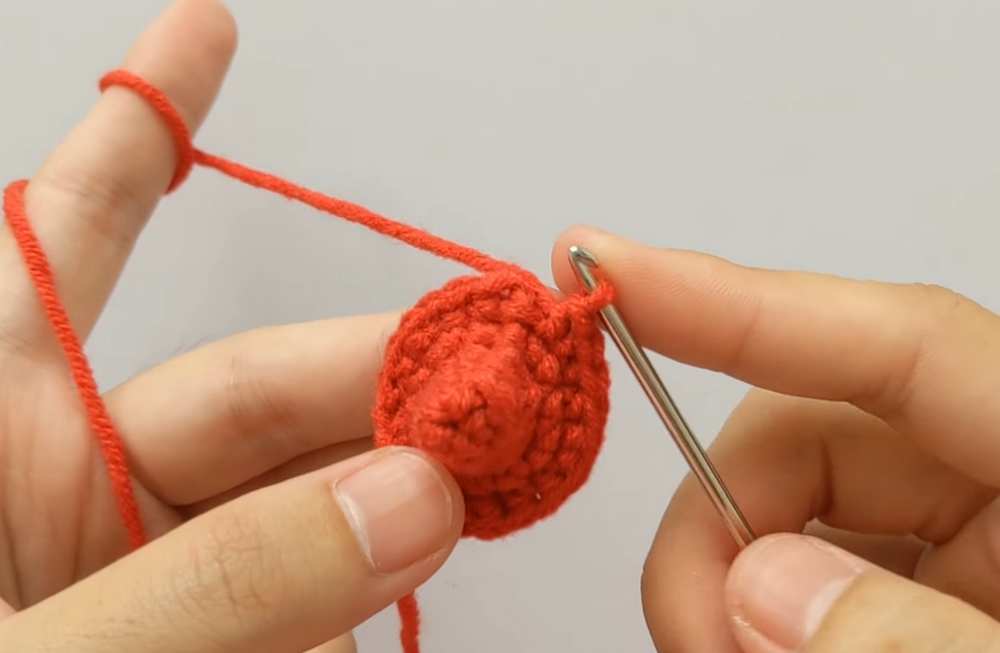
Round 3: Ch 1, 1 sc, inc, 1 sc repeat 2 times. Sl st to close. (8 sts)
Round 4: Ch 1, 3 sc, inc repeat 2 times. Sl st to close. (10 sts)
Round 5: Ch 1, 1 sc, inc repeat 5 times. Sl st to close. (15 sts)
Round 6: Ch 1, 2 sc, inc repeat 5 times. Sl st to close. (20 sts)
Round 7: Ch 1, 3 sc, inc repeat 5 times. On the very last slip stitch, change color to Dark Blue/Black. (25 sts)
Round 8: (In Dark Blue/Black) Ch 1. Working in BLO, 4 sc, inc repeat 5 times around. Sl st to close. (30 sts)
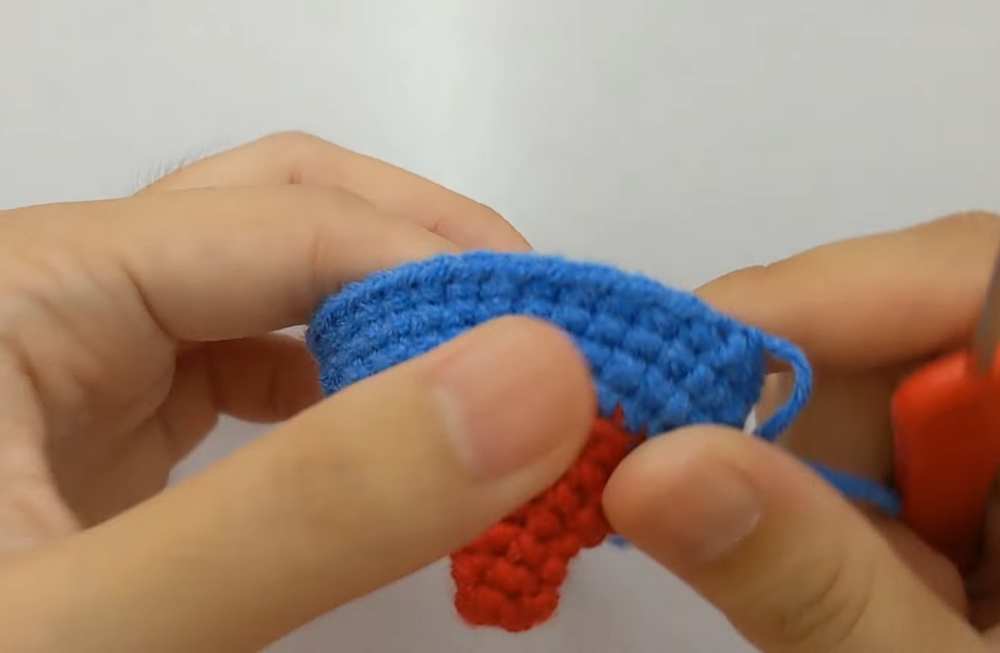
Rounds 9–11: Ch 1, sc in each st around (through both loops normally) for 3 rounds. Sl st to close each round. (30 sts)
Fasten off and weave in the blue/black end. Flip the blue/black brim section up slightly.
Keychain Loop: Take the long starting red tail at the top of the hat, thread it through the center hole, chain 4, and secure it back down into the hat to create a loop for the keychain hardware.
4. Talisman / Paper Charm
(Worked in Yellow)
Row 1: Ch 5. Starting in the 2nd ch from the hook, work 4 sc across. (4 sts)
Edge shaping: Ch 1, sl st into the side of the last sc. Ch 1, turn to work down the opposite side of the foundation chain. Work 4 sc across the bottom of the foundation chain. Ch 1, sl st to finish the rectangular tag shape.
Fasten off, and knot the two yarn tails together neatly at the top of the charm. Use a red pen or tiny stitches of red yarn to draw squiggly talisman symbols on the front of the yellow piece.
5. Assembly
Fill the top of the Red/Blue hat with hot glue and press it firmly onto the top of the white ghost body. (Alternatively, sew it on).
Use hot glue to attach the two white arms to the front sides of the body so they stick straight out.
Glue the yellow talisman charm to the center front of the hat brim so it hangs down over the ghost’s face.
Add small black eyes and a blushing cheek detail if desired beneath the talisman.
Attach a metal keychain ring to the red yarn loop at the top of the hat.
Video Tutorial to Learn Even Better