
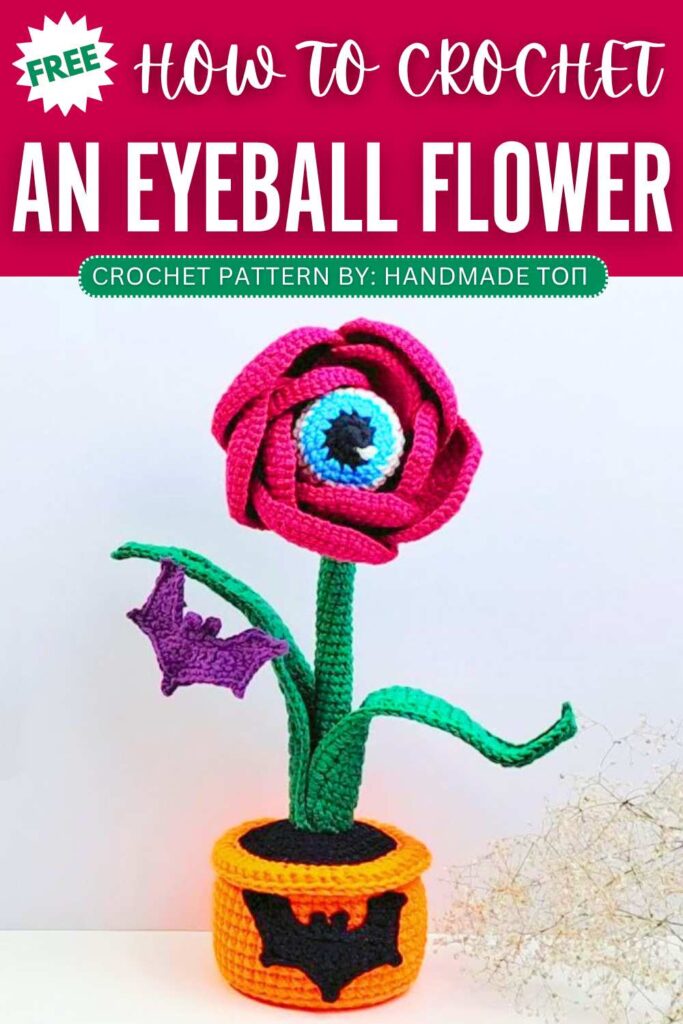
HandMade-top: Free Crochet Halloween Potted Eyeball Flower Decoration Pattern
This Halloween, learn how to crochet this unique Halloween potted flower that features a spooky eyeball in the middle and a crochet bat applique charm, too! You can learn how to crochet this spooky Halloween flower decoration with a FREE written pattern as well as a tutorial, in this post. It will make an irresistible Halloween party decoration!
Crochet Halloween Potted Eyeball Flower Decoration
We shall crochet a big flower plant with rose flower on the top that has a crochet eyeball in the middle. The rose is crocheted from multiple separate petals and it is easy to assemble. It also has the leaf slices. So, continue reading for learning this crochet rose with a FREE pattern.
How to Crochet Potted Spooky Eyeball Flower
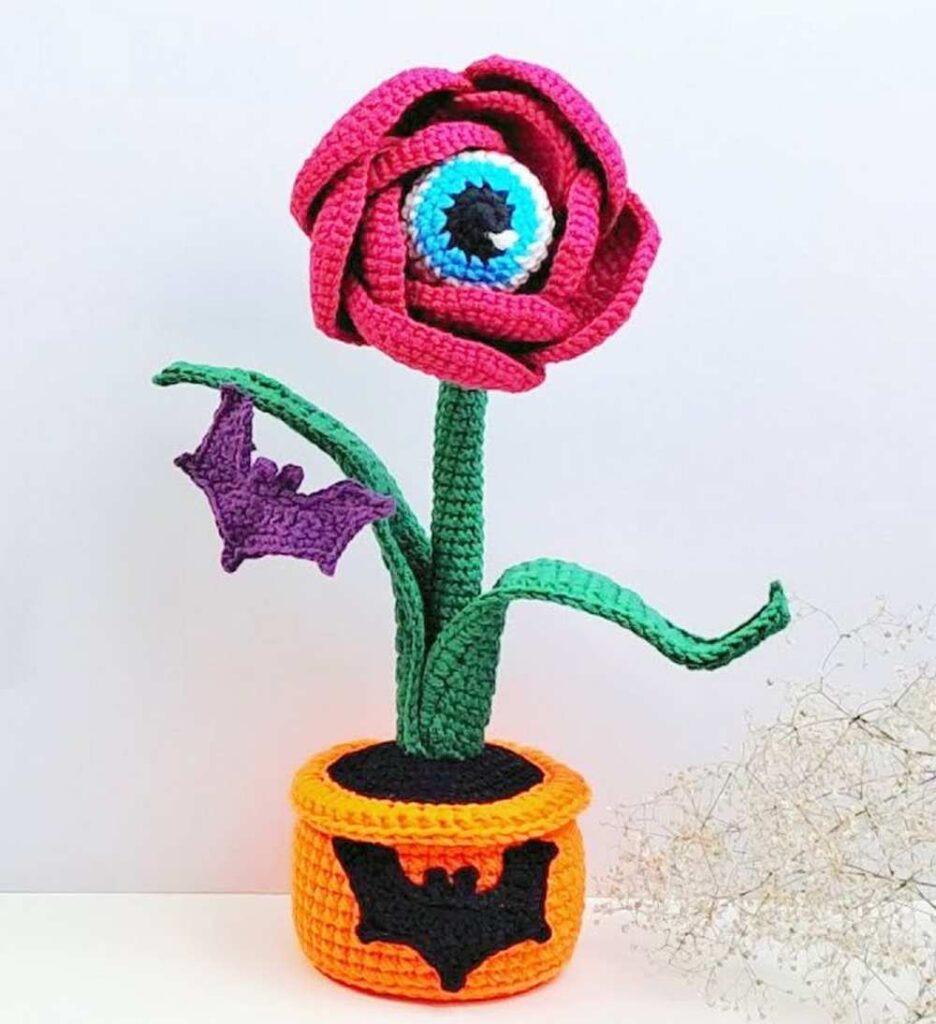
This project is a fun, spooky, and cute Halloween decoration. It features a giant, creepy eyeball flower sitting inside a bright orange crochet flower pot.
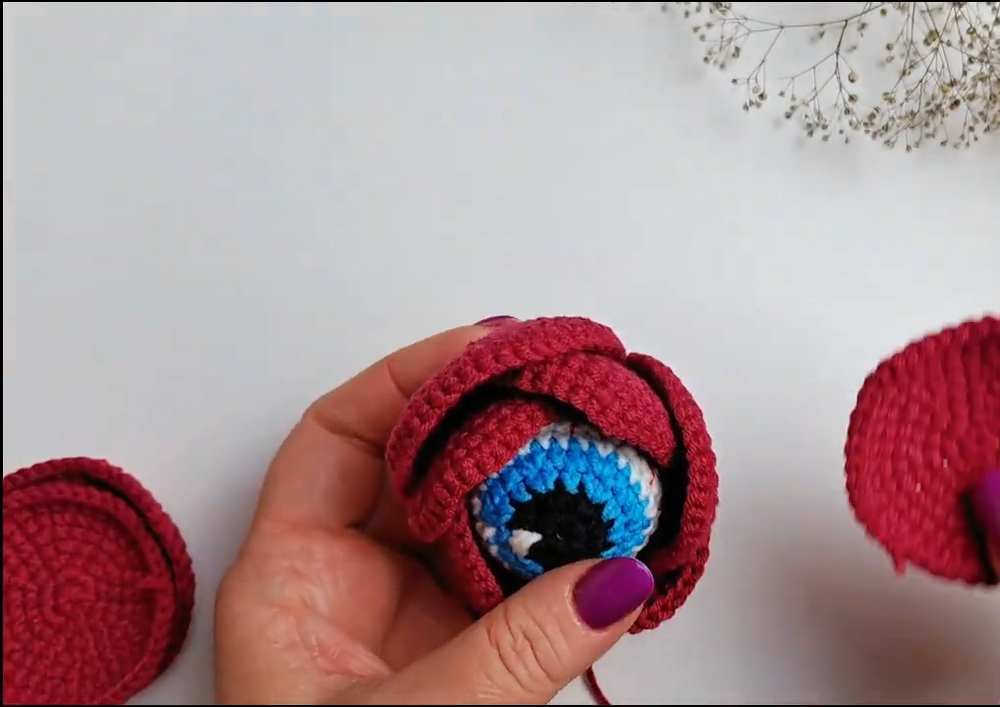
The center of the flower is a blue and white eyeball with embroidered red veins, framed by two layers of flower petals. It is supported by a thick green stem with two leaves, planted securely in crochet soil.
To finish the spooky look, a tiny, dark purple crochet bat hangs off the side of the pot or the leaves.
Materials:
Yarn in Black, Blue, White, Red, Green, Orange, Brown/Black, and Dark Purple.
Crochet hook (e.g., 3.5 mm, or sized to match your yarn weight).
Fiberfill stuffing.
Tapestry needle and scissors.
Wooden stick or piece of craft wire (to strengthen the stem and leaves).
A small piece of thick cardboard (for the flat base of the pot).
Hot glue gun (optional, for assembly if you prefer not to sew everything).
Abbreviations:
MR – Magic Ring
ch – chain
sl st – slip stitch
sc – single crochet
hdc – half double crochet
dc – double crochet
tr – treble crochet
inc – increase (2 stitches in the same stitch)
dec – decrease (crochet 2 stitches together)
BLO – back loops only
Part 1: The Eyeball and Petals
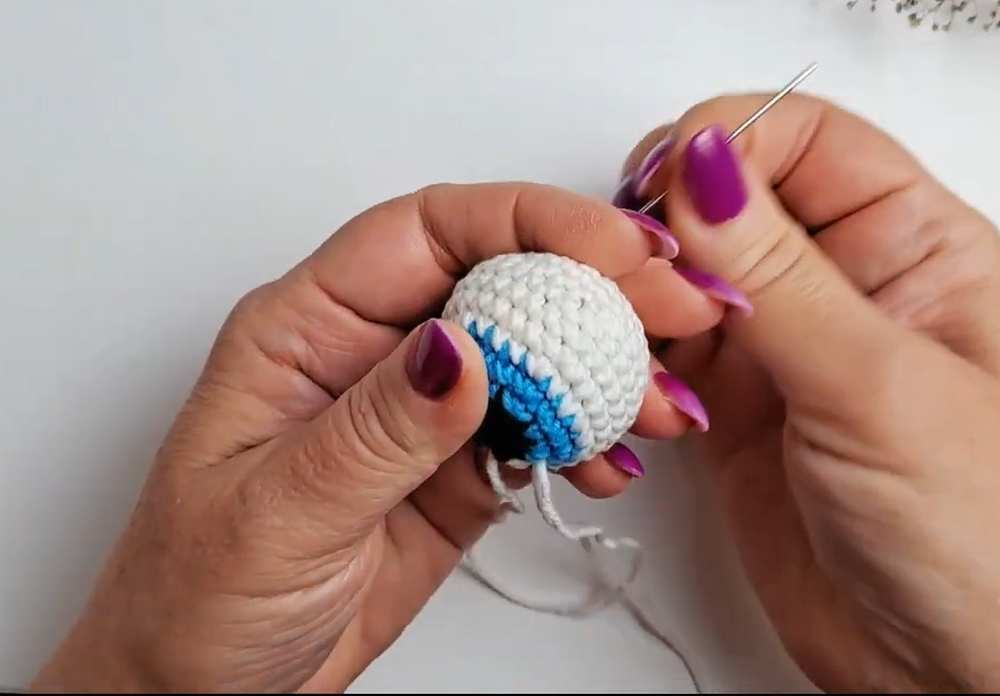
Eyeball:
Round 1 (Black yarn): 6 sc in MR (6)
Round 2: 6 inc (12)
Round 3 (Change to Blue yarn): [1 sc, inc] 6 times (18)
Round 4: [2 sc, inc] 6 times (24). Change to White yarn at the end of the round.
Round 5 (White yarn): [3 sc, inc] 6 times (30)
Rounds 6-8: 30 sc (30)
Round 9: [3 sc, dec] 6 times (24)
Round 10: 24 sc (24)
Round 11: [2 sc, dec] 6 times (18)
Round 12: [1 sc, dec] 6 times (12). Stuff the eyeball firmly with fiberfill.
Round 13: 6 dec (6). Fasten off and close the hole.
Details: Embroider a small white highlight on the black pupil, and stitch red veins branching outwards on the white sclera.
Small Petals (Make 5):
Round 1: 6 sc in MR (6)
Round 2: 6 inc (12)
Round 3: [1 sc, inc] 6 times (18)
Round 4: 1 sc, inc, [2 sc, inc] 5 times, 1 sc (24)
Round 5: [3 sc, inc] 6 times (30)
Round 6: 2 sc, inc, [4 sc, inc] 5 times, 2 sc (36). Sl st and fasten off.
Large Petals (Make 5):
Rounds 1-6: Follow the exact same pattern as the small petals.
Round 7: [5 sc, inc] 6 times (42)
Round 8: 3 sc, inc, [6 sc, inc] 5 times, 3 sc (48). Sl st and fasten off.
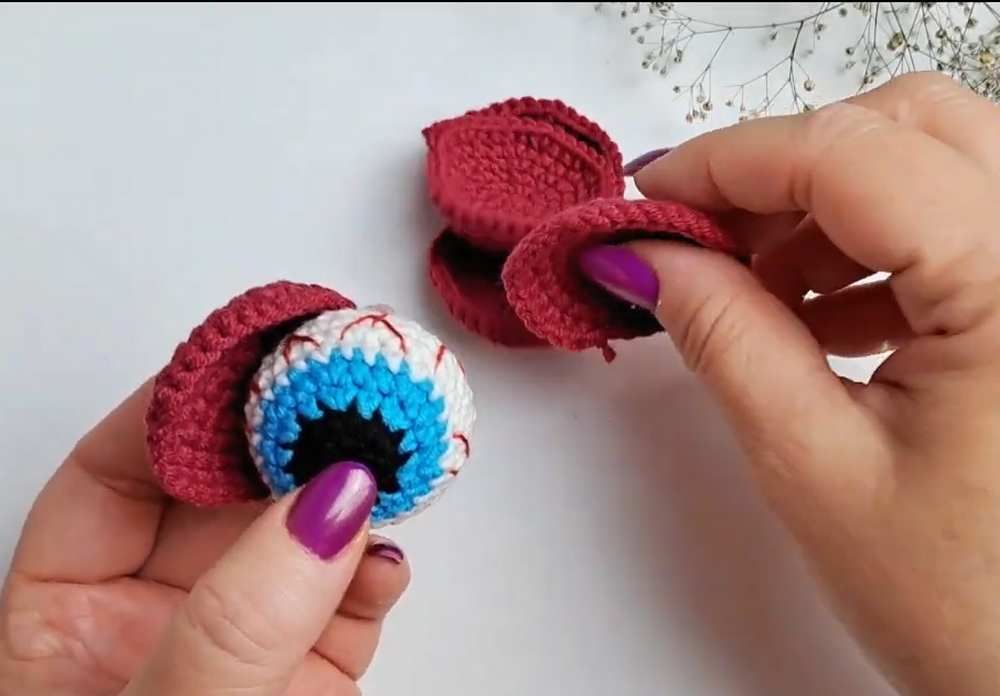
Flower Assembly:
Sew or glue the 5 small petals evenly around the eyeball.
Attach the 5 large petals behind the small ones, staggering them so they peek through the gaps.
Part 2: The Stem and Leaves
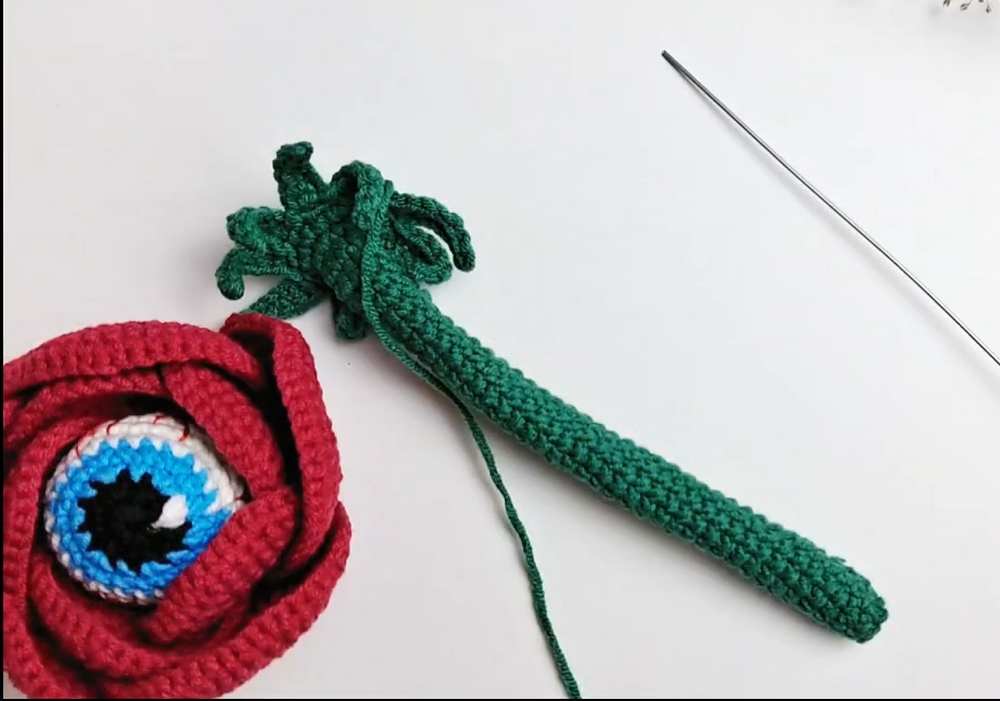
Stem:
Round 1 (Green yarn): 9 sc in MR (leave the starting hole slightly open to insert the wire/stick later) (9)
Rounds 2-36: 9 sc in each round (9). (Adjust the total number of rounds if you want a taller/shorter stem).
Round 37: 3 hdc, 6 sc (9)
Round 38: 4 hdc, 4 sc, 1 hdc (9)
Round 39: [2 sc, inc] 3 times (12)
Round 40: [1 sc, inc] 6 times (18)
Top Sepals: Sl st, ch 7, work down the chain (2 sl st, 2 sc, 2 hdc), skip 1 stitch on the stem, sl st into the next stitch. Repeat this around the top edge. Fasten off.
Stem Assembly: Insert your wire or stick, stuff the stem lightly around it, and sew the wide sepal top to the back of the flower head.
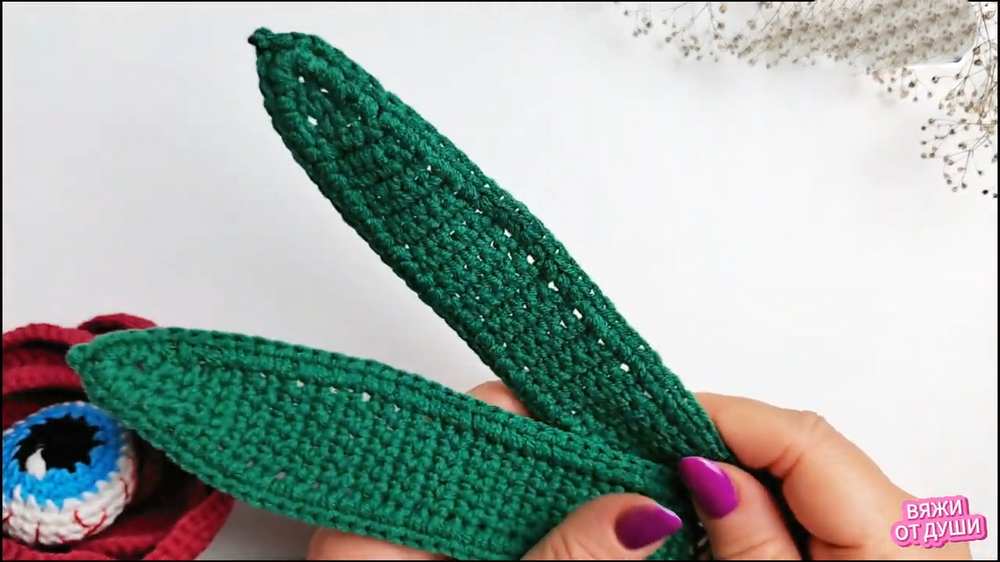
Leaves (Make 2):
Row 1: Ch 7. Starting in the 2nd ch from the hook, 6 sc. Ch 1, turn (6)
Rows 2-32: 6 sc. Ch 1, turn (6)
Row 33: 4 sc, dec. Ch 1, turn (5)
Row 34: 3 sc, dec. Ch 1, turn (4)
Row 35: 2 sc, dec. Ch 1, turn (3)
Row 36: 1 sc, dec. Ch 1, turn (2)
Row 37: dec (1). Fasten off.
Border: Lay a piece of wire along the edge of the leaf. Crochet hdc stitches all the way around the leaf, crocheting over the wire to hide it. At the pointy tip, work (2 hdc, ch 2, sl st in 2nd ch, 2 hdc) all into the tip stitch.
Assembly: Sew the leaves securely onto the side of the stem.
Part 3: The Flower Pot and Soil
Flower Pot (Orange yarn, held double for stiffness):
Round 1: 8 sc in MR (8)
Round 2: 8 inc (16)
Round 3: [1 sc, inc] 8 times (24)
Round 4: [2 sc, inc] 8 times (32)
Round 5: [3 sc, inc] 8 times (40)
Round 6: [4 sc, inc] 8 times (48). (Trace and cut a cardboard circle the size of this base now).
Rounds 7-8: In BLO, 48 sc (48)
Rounds 9-17: 48 sc (48)
Pot Rim: Ch 2, turn. In BLO, dc in each stitch around (48). Sl st and fasten off.
Soil (Brown or Black yarn):
Round 1: 24 sc in a large MR (leave the center hole open wide enough to push the stem through) (24)
Round 2: [3 sc, inc] 6 times (30)
Round 3: [4 sc, inc] 6 times (36)
Round 4: [5 sc, inc] 6 times (42)
Round 5: [6 sc, inc] 6 times (48). Fasten off, leaving a long tail for sewing.
Potting Assembly:
Place the cardboard flat at the bottom of the orange pot.
Insert the bottom of the flower stem into the center hole of the soil piece.
Sew the edge of the soil to round 17 (the inner edge below the rim) of the pot. Stuff the pot firmly with fiberfill before closing the seam completely.
Part 4: The Bat Decoration
Body and Wings (Dark Purple yarn):
Row 1: Ch 15. Starting in the 4th ch from the hook, work the following across: 1 hdc, 1 hdc, 1 dc, 1 dc, 1 dc inc, 2 dc, (1 dc, 1 tr) in the next st, (1 tr, 1 dc) in the next st, 2 dc, 1 dc inc, 1 dc, 1 dc inc.
Row 2 (Wing Scallops): Ch 1, turn. Work this sequence across the stitches:
Stitch 1: (1 sc, 1 hdc, ch 2 and sl st to the base of the ch, 1 hdc, 1 sc)
Next 2 sts: 1 sc in each
Next st: (1 sc, 1 hdc, ch 2 and sl st to base, 1 hdc, 1 sc)
Next 4 sts: 1 sc in each
Next st (Center Tail): (1 hdc, 1 dc, ch 3 and sl st to base, 1 dc, 1 hdc)
Next 4 sts: 1 sc in each
Next st: (1 sc, 1 hdc, ch 2 and sl st to base, 1 hdc, 1 sc)
Next 2 sts: 1 sc in each
Last st: (1 sc, 1 hdc, ch 2 and sl st to base, 1 hdc, 1 sc)
Top Edge and Ears:
Do not fasten off yet. Continue up the side of the starting chain with 2 sl st.
Work 6 sl st along the straight top edge of the bat.
Ear 1: ch 3, 2 sc down the chain, sl st back into the exact same stitch on the body.
Work 1 sl st in the next stitch.
Ear 2: ch 3, 2 sc down the chain, sl st back into the exact same stitch on the body.
Work 5 sl st to finish the top edge. Fasten off, leaving a tail to sew the bat to the flower pot or the leaves!
Learn with the Video Tutorial Even Better