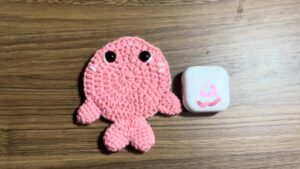
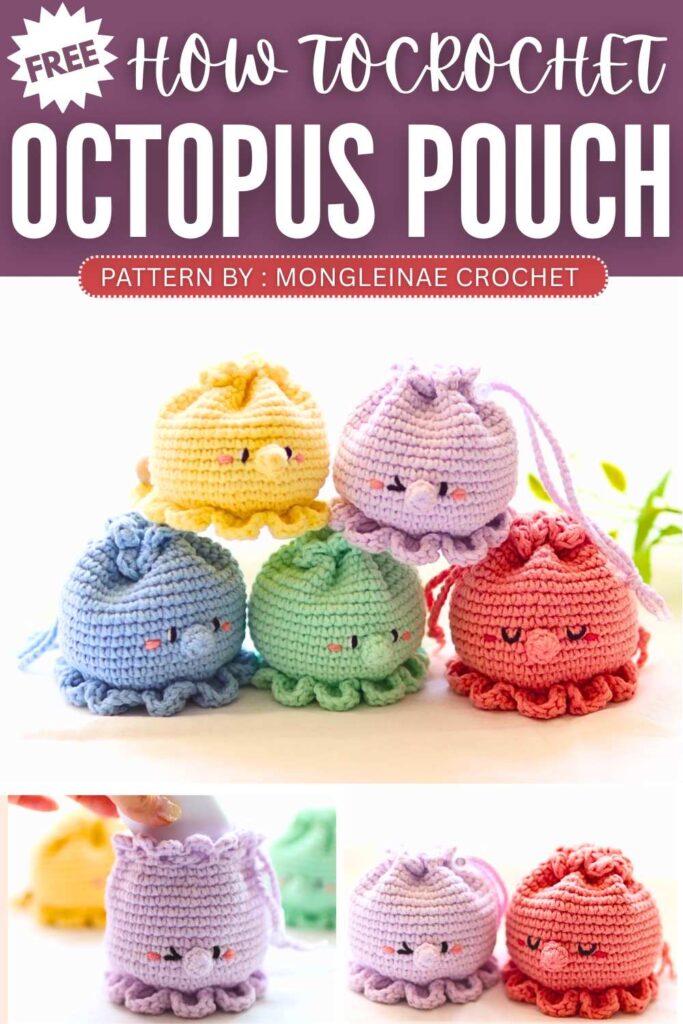
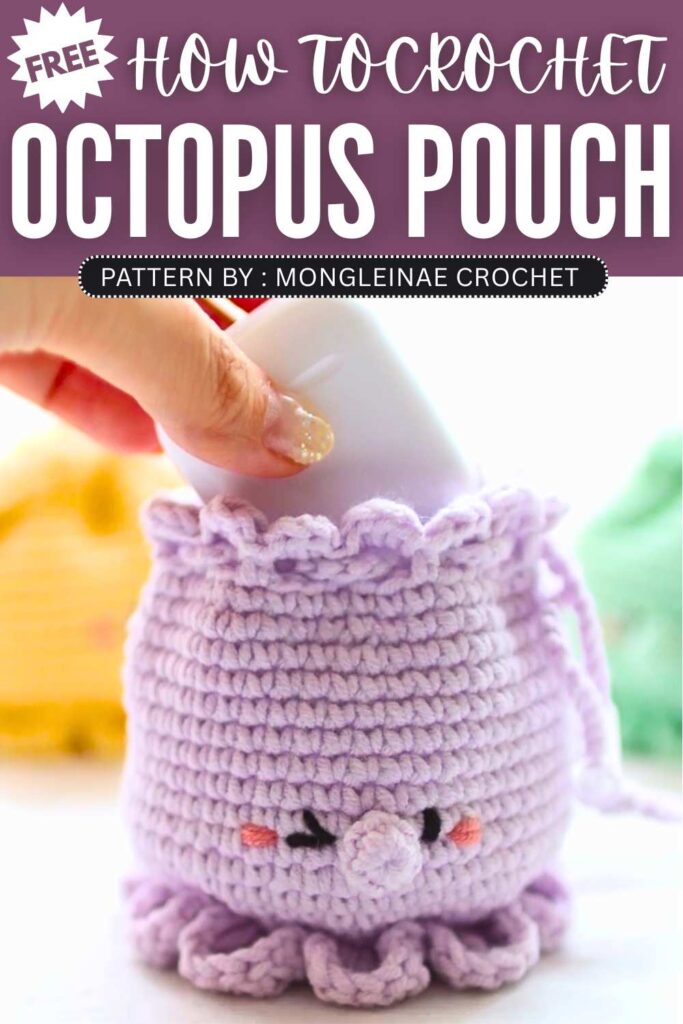
Free Crochet Octopus Bag Pattern For Summer
Crochet Abbreviations Used
MR: Magic Ring (start of the circle)
CH: Chain
ST: Stitch
SC: Single Crochet
HDC: Half Double Crochet
INC: Increase (2 stitches in the same hole)
DEC: Decrease (joining 2 stitches into 1)
SL ST: Slip Stitch
BLO: Back Loop Only (inserting hook only into the back half of the “V”)
FLO: Front Loop Only (inserting hook only into the front half of the “V”)

Step-by-Step Pattern
1. The Bottom & Increases
Round 1: MR, 7 SC.
Round 2: 7 INC (14 sts).
Round 3: (1 SC, 1 INC) x 7 (21 sts).
Round 4: (2 SC, 1 INC) x 7 (28 sts).
Round 5: (3 SC, 1 INC) x 7 (35 sts).
Round 6: (4 SC, 1 INC) x 7 (42 sts).
Round 7: (5 SC, 1 INC) x 7 (49 sts).
Round 8: (6 SC, 1 INC) x 7 (56 sts).
Round 9: (7 SC, 1 INC) x 7 (63 sts).
Round 10 (BLO): (8 SC, 1 INC) x 7 (70 sts). Note: The unworked front loops here are for the legs later.
Round 11: (9 SC, 1 INC) x 7 (77 sts).
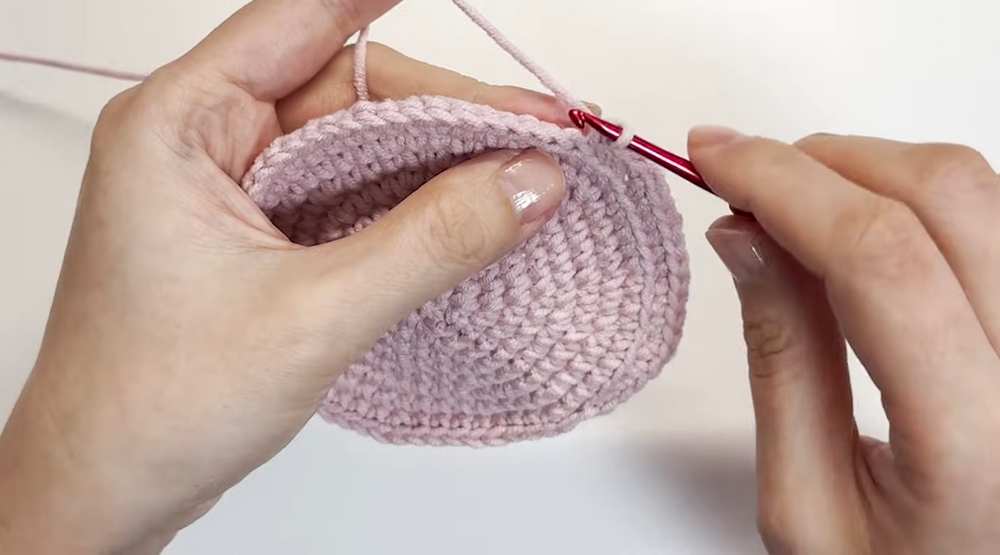
2. The Body (Height)
Rounds 12–32: 1 SC in every stitch around (77 sts per round).
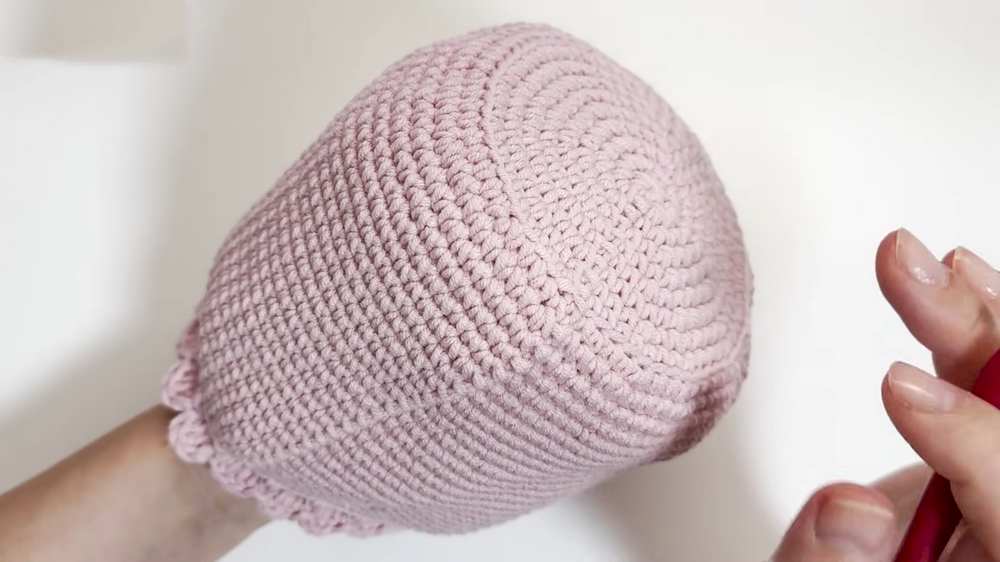
3. The Top Shaping (Decreasing)
Round 33: (9 SC, 1 DEC) x 7 (70 sts).
Round 34: (8 SC, 1 DEC) x 7 (63 sts).
Round 35: (19 SC, 1 DEC) x 3 (60 sts).
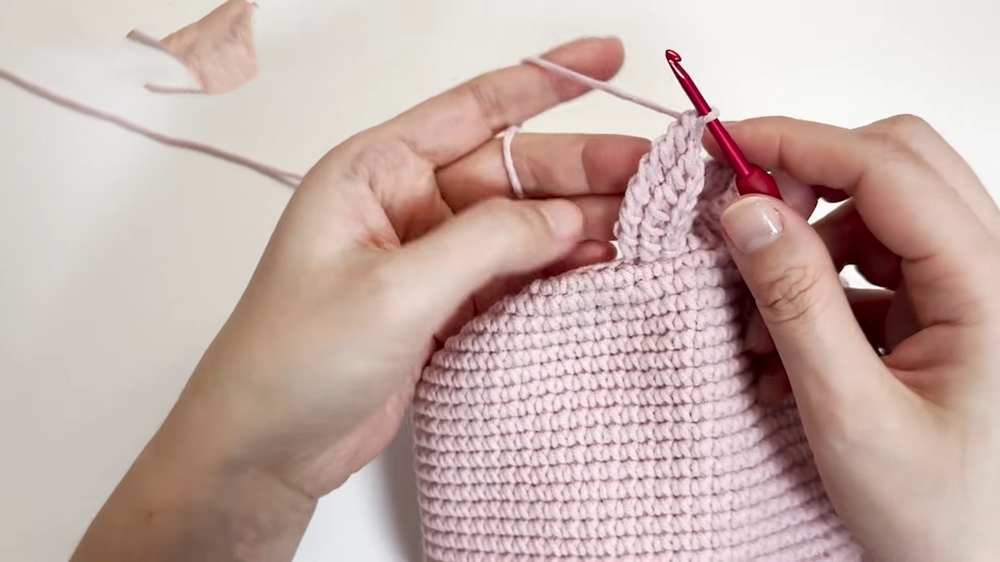
4. The Decorative Edge
Round 36: CH 4 (counts as HDC + CH 2). Skip 2 sts, HDC, CH 2, Skip 2. Repeat around. Sl St to the 2nd chain of the starting CH 4.
Round 37: In every CH-2 space: (SL ST, 3 HDC, SL ST). This creates the petal-like frill at the top.
5. The Legs (worked into Round 10 FLO)
Attach yarn to the front loops left from Round 10.
Foundation: CH 5.
Leg Rows: Pick up loops through the back bumps of the chain and the base stitch (7 loops on hook). Work them off 2 by 2 (like Tunisian crochet).
Increasing: CH 1, pick up loops again to increase the leg width (8 loops on hook). Work off 2 by 2.
Repeat: Continue for 4–5 rows of this “ribbed” texture, then SL ST down the side to finish the leg.
Spacing: Repeat around the base until you have 9 legs.
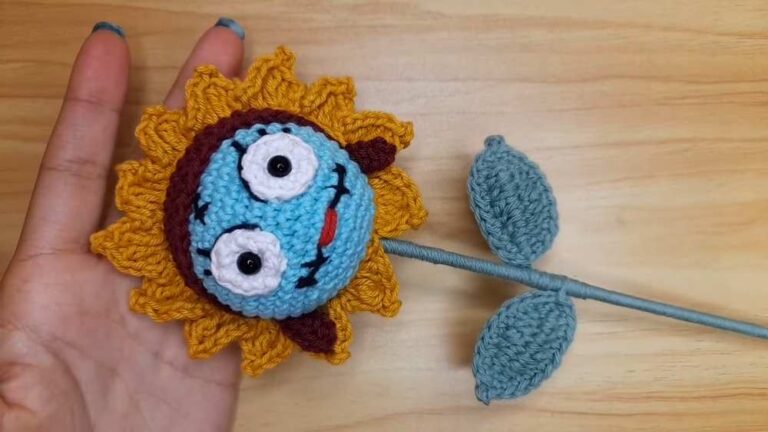
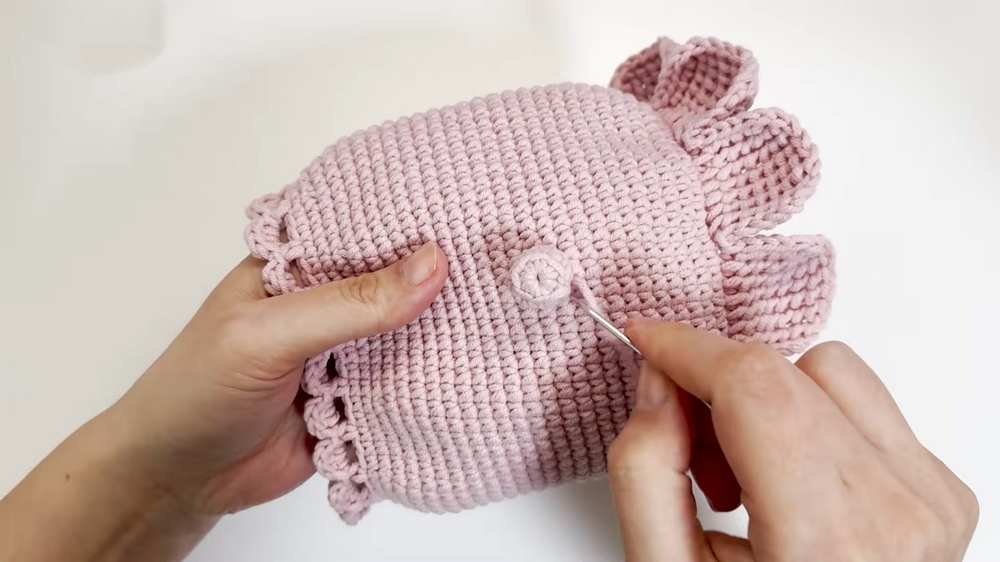
1. Creating the Nose
The nose is worked in a small, 3D cylinder shape to give the face some dimension.
Round 1: Start with a Magic Ring (MR) and work 7 Single Crochets (SC) into it. Pull the ring tight.
Round 2: Work 7 SC into the Back Loops Only (BLO). This creates a sharp edge that helps the nose stand out from the face.
Round 3: Work 7 SC regularly (through both loops).
Assembly: Fasten off, leaving a long tail. Stuff the nose slightly with a tiny bit of fiberfill and sew it to the center of the face.
2. Making the Cheeks
These are flat, circular accents that add a “blush” effect to your character.
Round 1: Start with a Magic Ring (MR) and work 5 SC into it.
Round 2: Work an Increase (INC) in every stitch around. You will end up with 10 stitches.
Assembly: Fasten off. You can either sew these onto the face using the yarn tail or use a small amount of fabric glue to secure them just below and to the sides of the eyes.
3. Embroidering the Eyes
Instead of plastic safety eyes, these are embroidered for a soft, handmade look.
Placement: Locate the row that is 2 rows above where you attached the nose.
Technique: Using black yarn or embroidery thread, create two vertical lines. Each eye should be roughly 2 stitches wide.
Tip: Try to keep the tension even so the eyes look symmetrical and “sunken” into the plush fabric just slightly.
4. Crafting the Drawstring Cord
This functional piece allows you to open and close your project securely.
The Cord: Create a foundation chain. Continue chaining until the cord measures between 40cm and 50cm.
Finishing the Chain: Fasten off and knot the ends tightly to prevent unraveling.
Alternative: If you want a sturdier cord, you can work a row of Slip Stitches back down your chain.
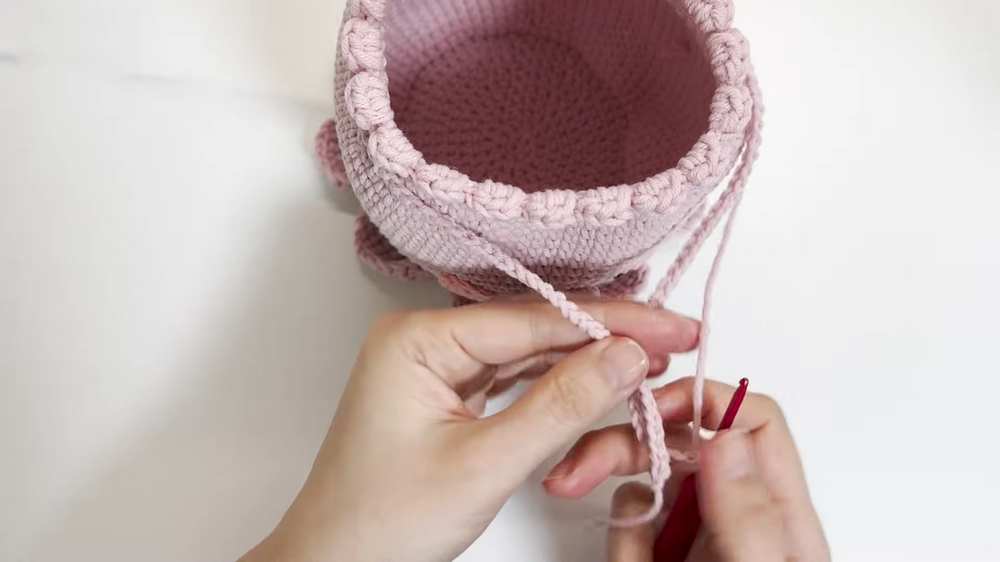
5. Final Assembly & Securing
This is the final step to turn your crochet work into a functional bag.
Weaving: Take your finished drawstring and thread it through the gaps you created in Round 36. Go over and under the stitches all the way around the circumference.
Adding Hardware: Slide a cord stopper onto both ends of the chain, or tie large beads to the ends. This prevents the cord from slipping back into the bag when it is pulled open.
Video Tutorial:
You may also like
12 Free Crochet Amigurumi Octopus Patterns (Kawaii & Plush)
Crochet Octopus Plushie Pattern For Summer
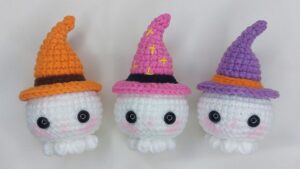
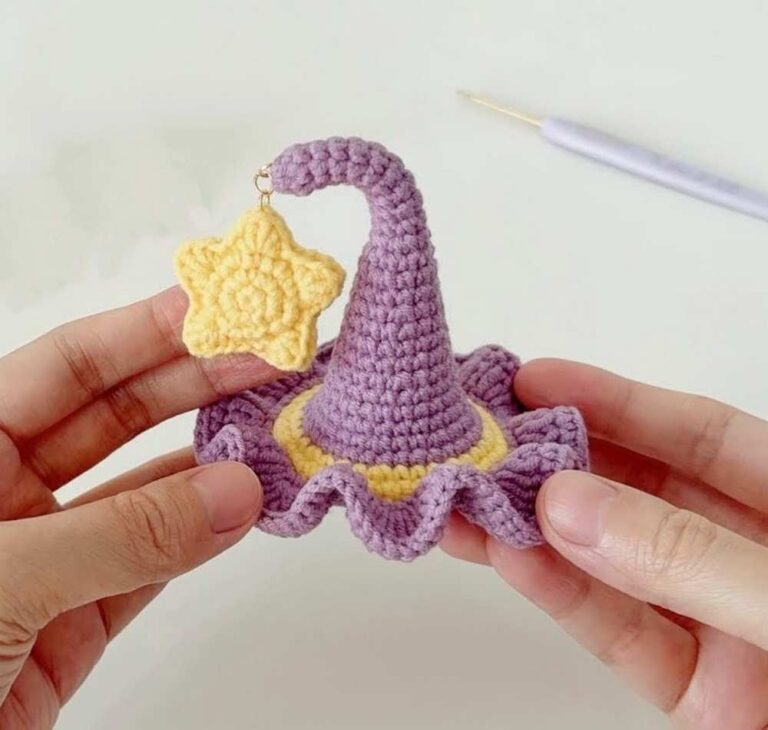
How to Crochet Halloween Ghost Octopus Amigurumi with Witch Hat
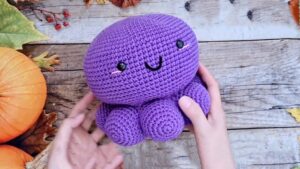
Crochet Puffy Octopus Amigurumi Pattern Free
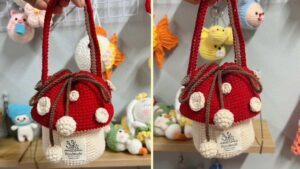
Crochet Mushroom Bag Pattern For Autumn
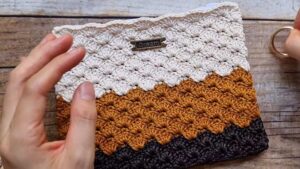
Crochet Shell Stitch Bag Pattern For Autumn
Ngocongo: Crochet UNIQUE Susuwatari Bag Charm for Halloween

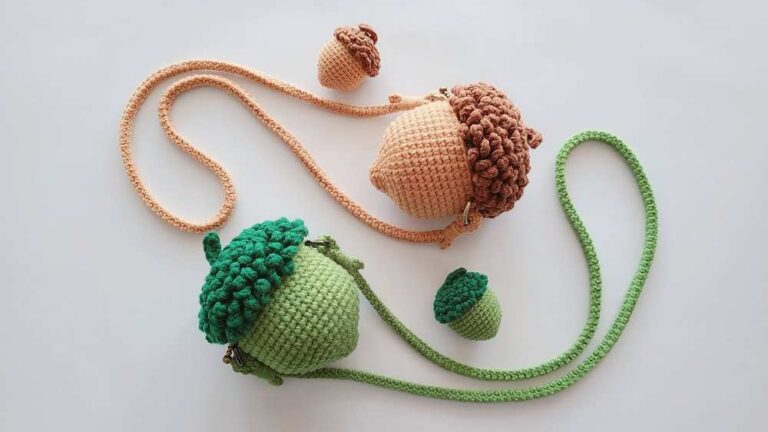
Xiaoshimei: How to Crochet Acorn Shoulder Bag for Fall

Love-Knitting: Crochet Low-Sew Kawaii Squirrel Plushie with Acorn Bag for Fall