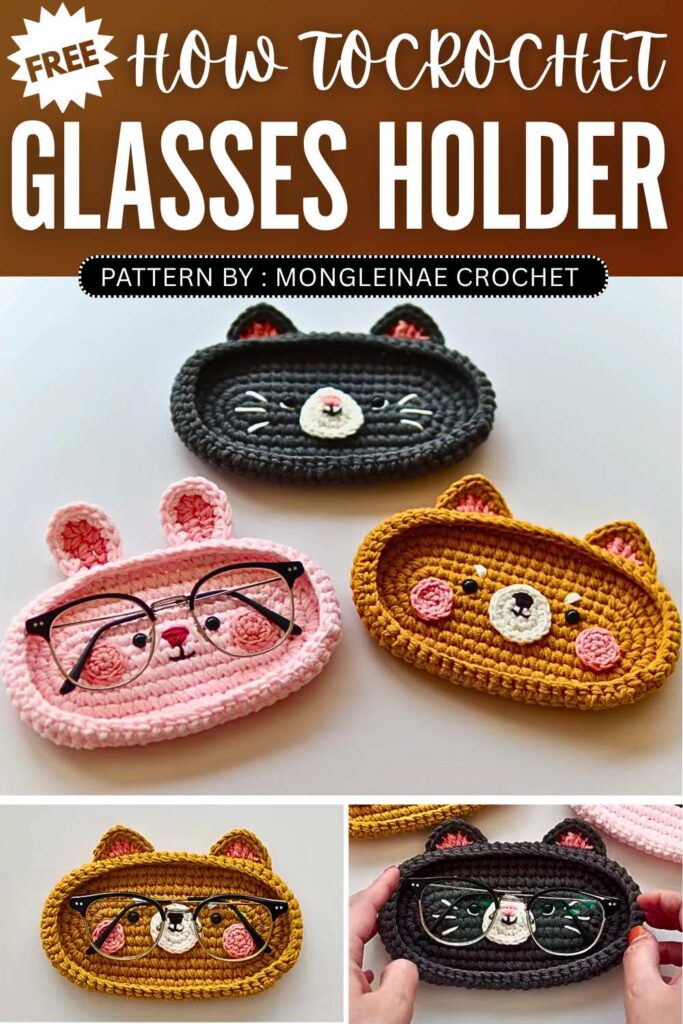
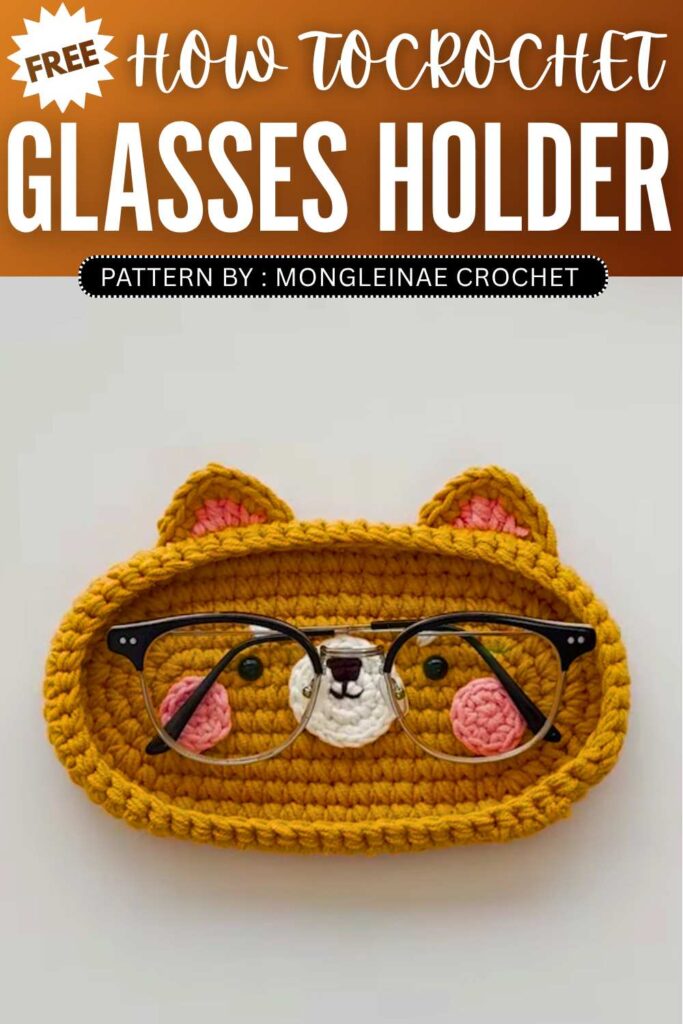
Crochet Animal Themed Glasses Holder Pattern
Today’s pattern shows how to make a cute animal tray for glasses, sunglasses, or small items. It starts with a strong oval base made using simple increases and thick yarn. Then ears, faces, and details are added to turn it into a cat, bear, or rabbit. Finishing touches like embroidery give it a sweet look, making it both useful and decorative for any space.
Free Animal Themed Glasses Holder Pattern
Materials List
Main Yarn: Medium weight yarn in the color of your choice (e.g., beige, gray, or white for the body).
Contrast Yarn: Pink for the cheeks and inner ears, and black for facial features.
Crochet Hooks:
4.0mm (7/0): For the main tray/body.
3.0mm (5/0): For the facial details (snout, cheeks, etc.).
Button Eyes: 8mm (1 pair).
Adhesive: Brush-on glue or a hot glue gun (optional, for attaching face parts).
Tapestry Needle: For sewing and weaving in ends.
Stitch Markers: To mark the start of rounds.
Scissors
Abbreviations (US Terms)
ch: Chain
sc: Single Crochet
hdc: Half Double Crochet
dc: Double Crochet
inc: Increase (2 sc in the same stitch)
3-sc inc: 3 sc in the same stitch
sl st: Slip Stitch
st(s): Stitch(es)
1. Tray Body (using 4.0mm Hook)
Note: Use two strands of yarn held together for a sturdier tray.
Foundation: Ch 16.
R1: Skip 1 ch, inc in the 2nd ch. Sc in next 14 chs. 3-sc inc in the last ch. Working along the bottom of the chain: sc in next 14 chs. Sl st to join.
R2: Ch 1. Inc twice. Sc in next 14 sts. Inc three times. Sc in next 14 sts. Inc in the last st. Sl st to join.
R3: Ch 1. (Sc 1, inc) repeat twice. Sc 14. (Sc 1, inc) repeat three times. Sc 15, inc. Sl st to join.
R4: Ch 1. (Sc 2, inc) repeat twice. Sc 14. (Sc 2, inc) repeat three times. Sc 16, inc. Sl st to join.
R5: Ch 1. (Sc 1, inc, sc 2) repeat twice. Sc 14. (Sc 1, inc, sc 2) repeat three times. Sc 15, inc, sc 2. Sl st to join.
R6: Ch 1. (Sc 4, inc) repeat twice. Sc 14. (Sc 4, inc) repeat three times. Sc 18, inc. Sl st to join.
R7–R8: Ch 1. Sc in each stitch around (no increases). Sl st to join. Fasten off and weave in ends.
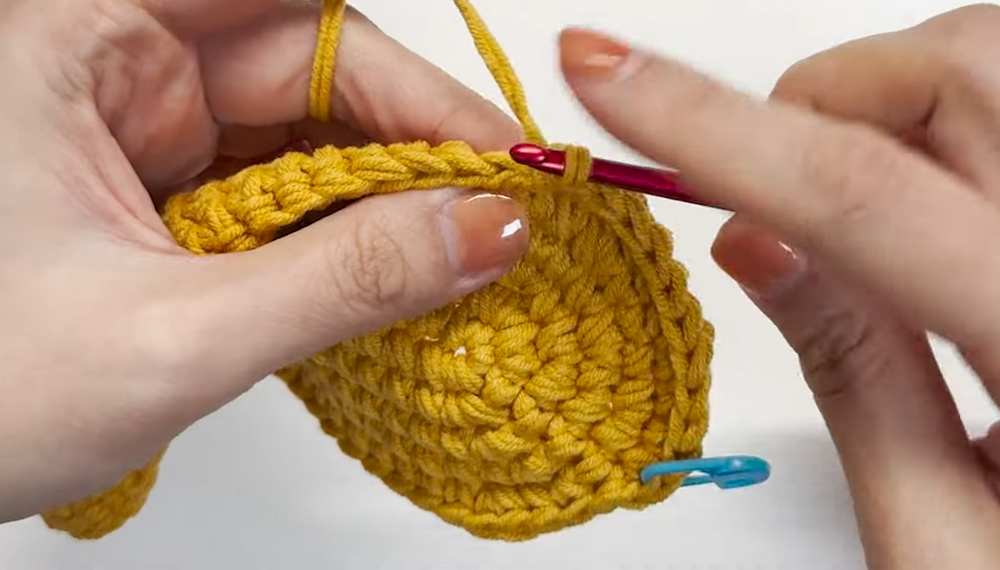
2. Animal Ears (Working directly on the tray)
Bear/Cat Ears:
Mark the center of the top edge. Count 7 sts between the ears.
Attach yarn: Sc 1, (hdc 1, dc 1, hdc 1) in the next st, sc 1.
Border: Use the main color to sc around the pink inner ear to give it shape.
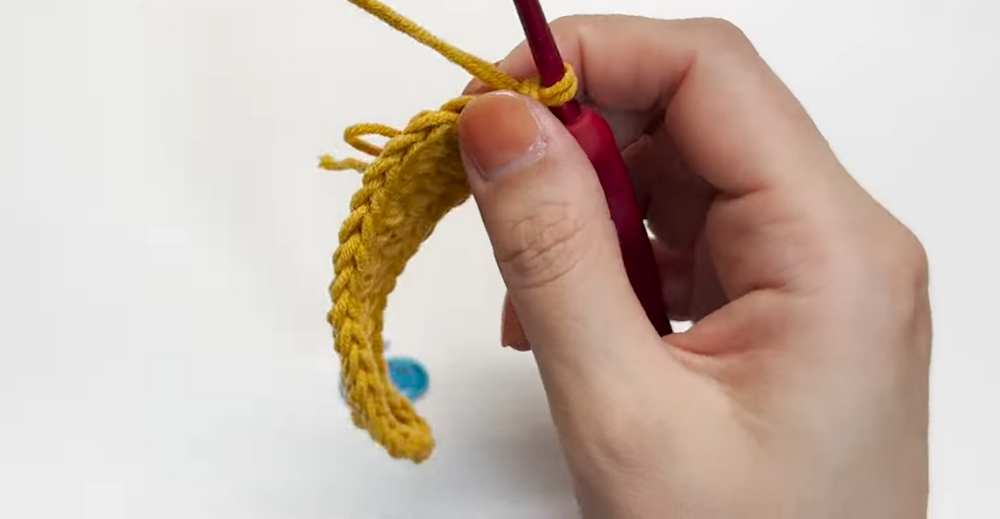
Rabbit Ears (Made separately):
Ch 5. Skip 1 ch, sc 2, hdc 1, 4-hdc inc in the last ch.
Work back: hdc 1, sc 2.
Border: Ch 1, sc around the ear, doing increases at the top curve. Sew to the tray.
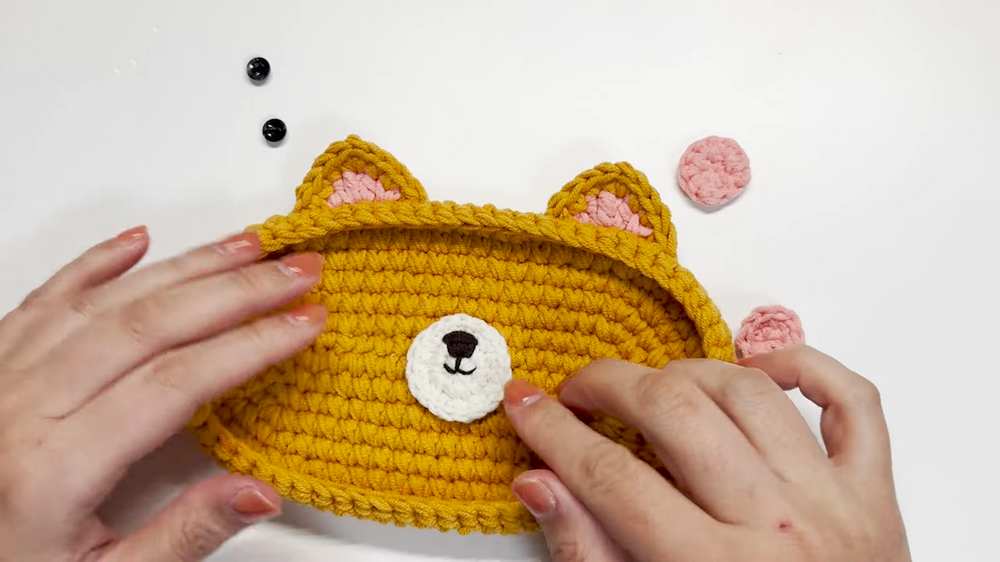
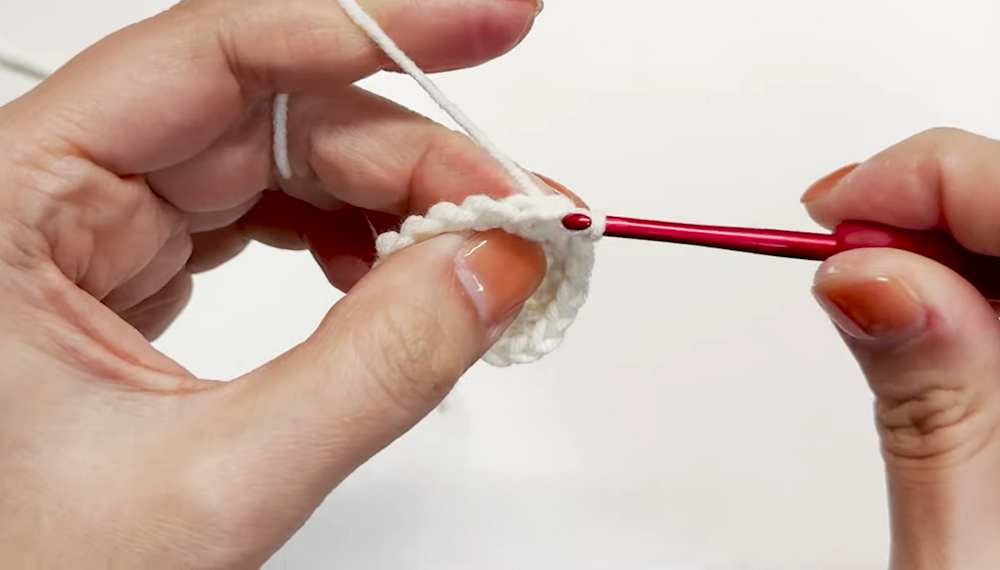
3. Facial Features (using 3.0mm Hook)
Snout/Muzzle:
R1: MR, sc 6.
R2: Inc in each st (12).
R3: (Sc 1, inc) around (18). Fasten off.
Cheeks (Make 2):
MR, sc 5.
Inc in each st (10). Fasten off.
4. Finishing
Assembly: Use adhesive or a needle and yarn to attach the snout and cheeks to the front of the tray.
Details: Embroider a “V” or “Y” shape for the nose and mouth using black yarn. Add whiskers for a cat or eyebrows for a bear.
Eyes: Glue or sew the 8mm buttons just above the snout, spaced about 2 stitches apart.
Steaming: If the tray edges curl, use a garment steamer lightly to help it lay flat.
Video Tutorial:
You may also like
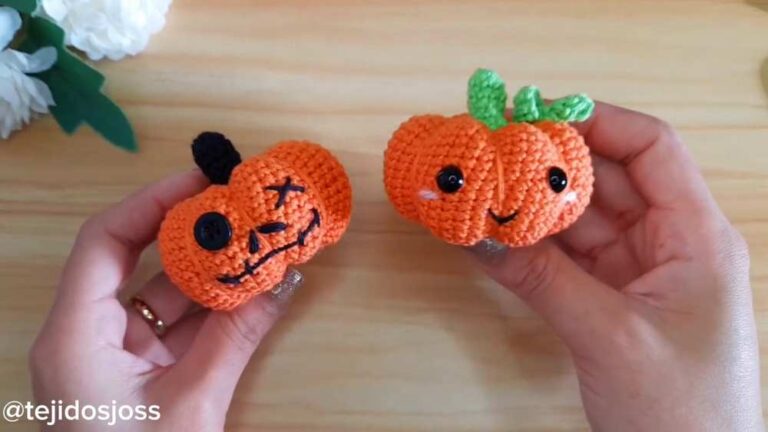
How To Crochet Animal in Pumpkin Amigurumi for Fall & Halloween
11 Free Crochet No-Sew Animal Plushie Tutorials for Kids
Crochet Animal Jibbitz & Accessories Pattern
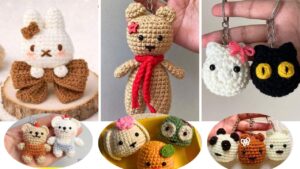
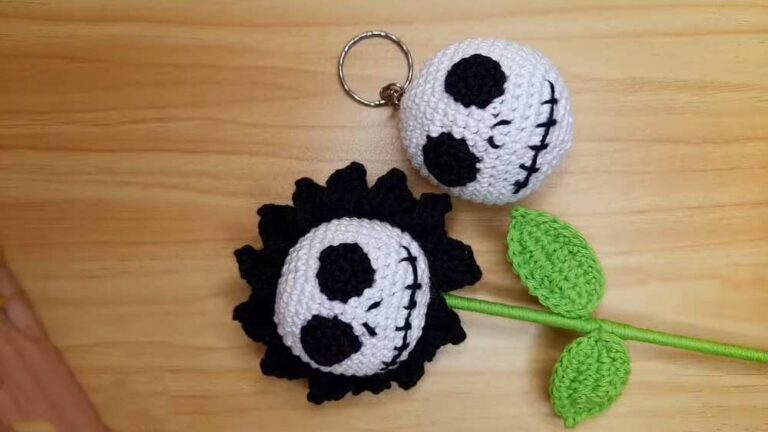
15 Free Crochet Animal Keychain Tutorials for Kids
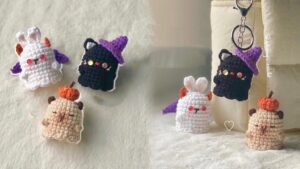
How to Crochet Animal Ghosts (Capybara, Bunny & Black Cat)