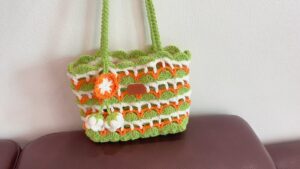
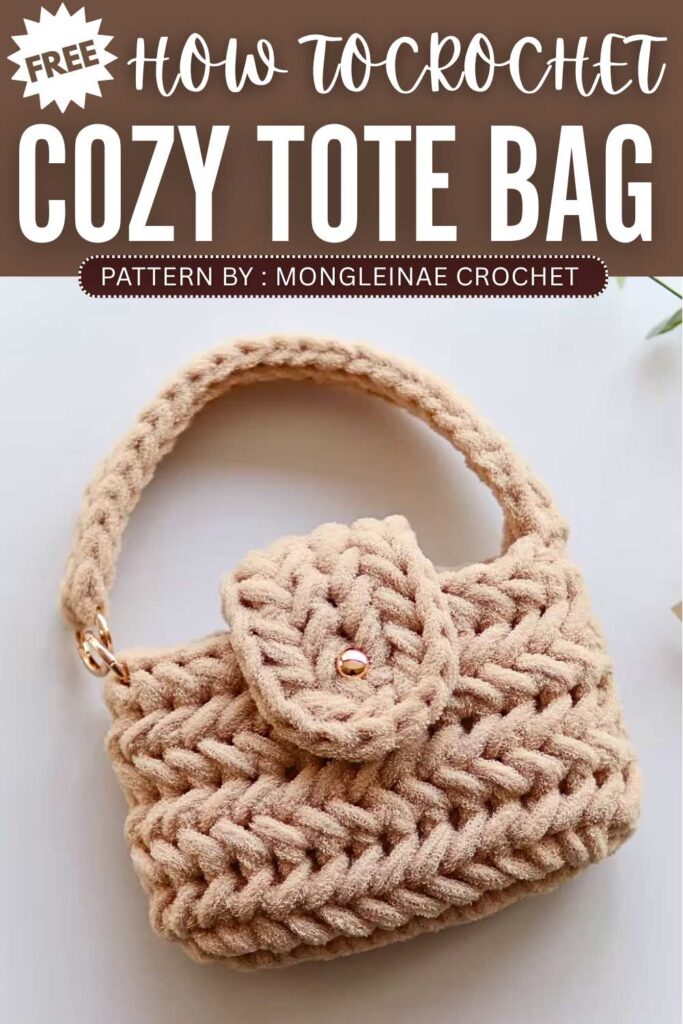
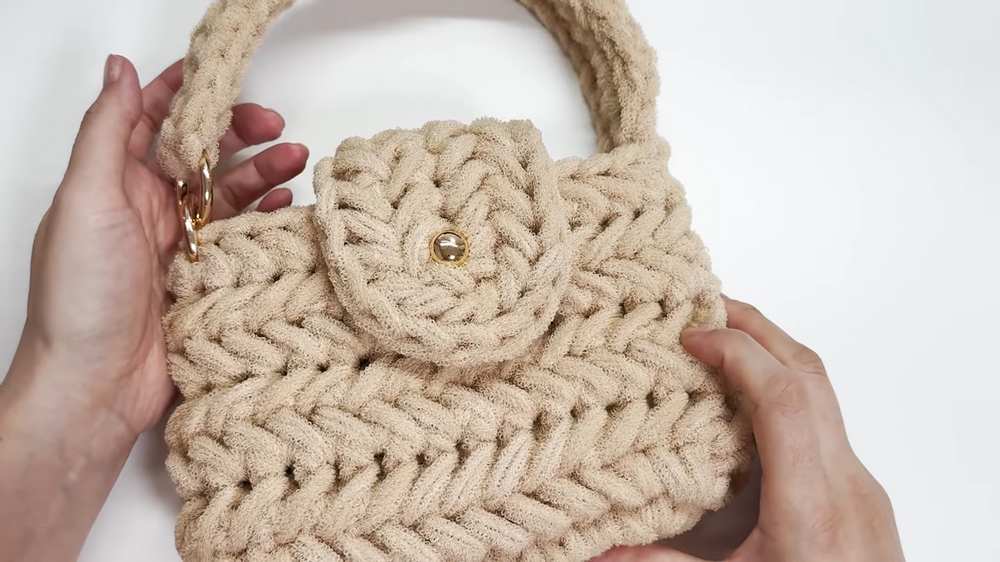
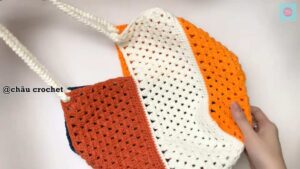
Crochet Cozy Tote Bag Pattern For Beginners
This tutorial shows how to make a strong herringbone bag using thick yarn and simple tools. It starts from a basic chain base and builds a textured body with herringbone stitches. A flap is added for closure with a stud button. The design is finished with a sturdy handle and O-ring straps, making it perfect for daily use.
Crochet Cozy Tote Bag Pattern For Beginners
I. Project Specifications
Hook Sizes: 12mm (Body) and 10mm (Flap/Strap)
Stitch Count: 30 stitches for the body
Technique: Alternating front-side and back-side Herringbone Crochet
II. Bag Body (12mm Hook)
Foundation: The Double Chain
Leave a 50-60cm tail. Create a slip knot.
Hold the tail yarn below the hook and the working yarn over your finger.
Wrap the tail over the hook (front to back), then yarn over with the working yarn and pull through both loops.
Repeat until you have 9 double-chain stitches.
Work 1 standard chain to turn.
Round 1: The Oval Base
First End: In the last double-chain made, work 2 Single Crochets (SC). Mark the first stitch.
Straight Edge: Work 7 SC across the side of the chain.
Second End: In the last stitch (the first chain made), work 4 SC into the same hole to turn the corner.
Opposite Side: Work 7 SC back down the other side.
Finishing the First End: Work 2 SC into the very first hole (where you started).
Join: Slip stitch (sl st) into the marked first stitch. (Total: 30 stitches).
Round 2: Herringbone (Front Side)
Ch 1. Insert hook into the first stitch, pull up a loop, and work a SC. Mark this first stitch.
For the next stitch: Insert hook into the left-most vertical bar of the previous stitch, then into the next stitch. Pull up a loop (3 loops on hook).
Tilt the hook and pull through all 3 loops.
Repeat this around the entire bag (30 stitches).
Join: Insert hook into the vertical bar of the last stitch, then into the marked first stitch. Sl st through everything.
Round 3: Herringbone (Back Side/Inside) This round is worked from the inside of the bag to create the reverse slant.
Ch 1. Turn the bag so the inside is facing you.
Insert the hook from the back to the front through the first stitch.
Yarn over and pull a loop through to the back. Work a SC. Mark this.
For the next stitch: Insert hook into the vertical bar (located on the side facing you), then insert from back to front through the next stitch.
Yarn over, pull through (3 loops), then yarn over and pull through all 3.
Repeat around. Sl st to join as before.
Rounds 4–8:
Repeat Rounds 2 and 3 alternately until you complete 8 rounds total.
Finish with a slip stitch, cut yarn, and weave in ends.

III. The Flap (10mm Hook)
Leave a 30-40cm tail. Work 8 double-chain stitches.
Note: Make the first chain slightly loose (this serves as the buttonhole for the Saltregi).
Row 1 (Front):
Ch 1. Work 7 Herringbone stitches across.
In the 8th stitch (the end), work 4 Herringbone stitches into the same space to curve.
Work 7 Herringbone stitches back down the opposite side.
Row 2 (Back):
Ch 1, turn. Work the “Back Side” Herringbone (as described in Round 3 of the body).
Increase at the curve: Work 2 Herringbone stitches into each of the 4 corner stitches (8 stitches total for the curve).
Work the remaining 7 stitches straight.
Cut yarn, leaving a long tail for sewing.
IV. The Strap (10mm Hook)
Leave a long tail. Chain 23 (standard chain).
Row 1:
Ch 1. Work Herringbone stitches into the back bumps (back bars) of the chain starting from the second chain from the hook. (23 stitches).
Row 2:
Ch 1, turn. Work “Back Side” Herringbone stitches across the row.
Cut yarn, leaving a long tail for sewing.
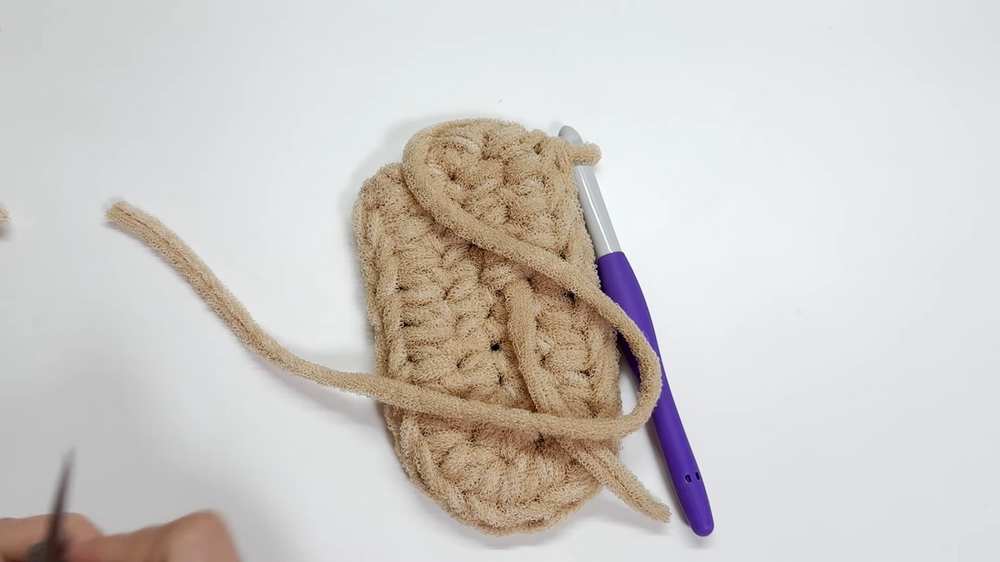
V. Assembly
Attach Flap: Center the flap on the back of the bag (Round 8). Use a tapestry needle to sew the straight edge of the flap to the body using a whip stitch or mattress stitch.
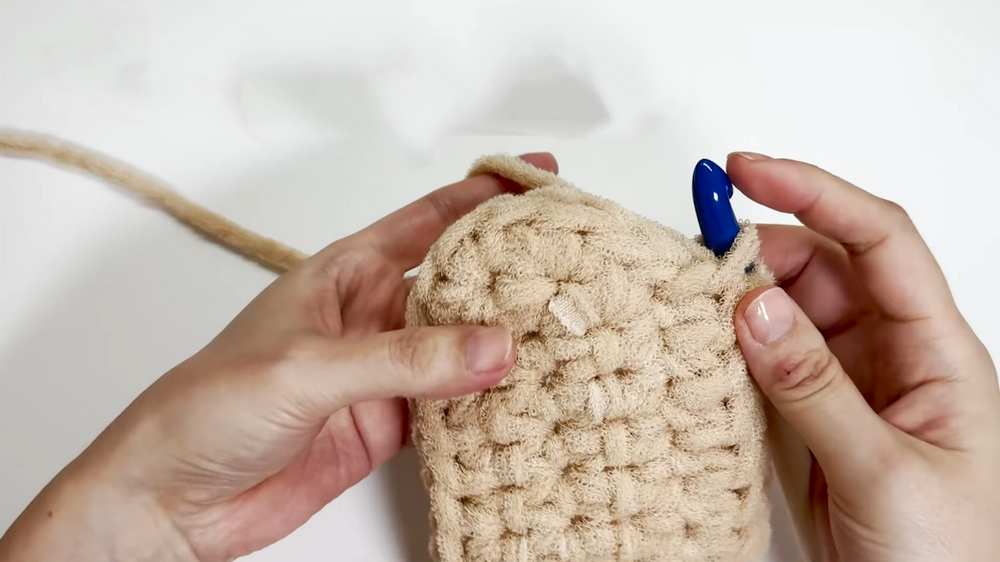
Saltregi Closure:
Find the center front of the bag, roughly 2 rounds down from the top.
Push the screw part of the Saltregi through the fabric from the inside.
Screw the gold stud on from the outside. The hole in the flap should fit snugly over this.
Attach Strap:
Side A: Sew one end of the strap directly to the side of the bag body.
Side B: Attach two O-rings to the other side of the bag body. Sew the remaining end of the strap onto the O-rings for a decorative finish.
Video Tutorial:
You may also like
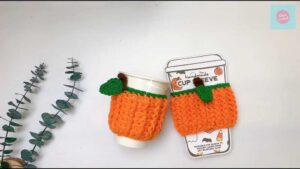
Chau Crochet: How to Crochet Ribbed Fall Pumpkin Cozy (Gift on Halloween)
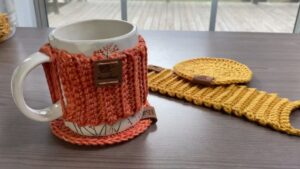
How to Crochet Matching Coaster & Mug Cozy for Autumn
Crochet Cozy Wallet Pattern For Gifting Your Man
Chau Crochet: How to Crochet Candy Corn Fall Tote Bag for Halloween

Crochet Beautiful Tote Bag Pattern For Summer