Chau Crochet: How to Crochet Ribbed Fall Pumpkin Cozy (Gift on Halloween)
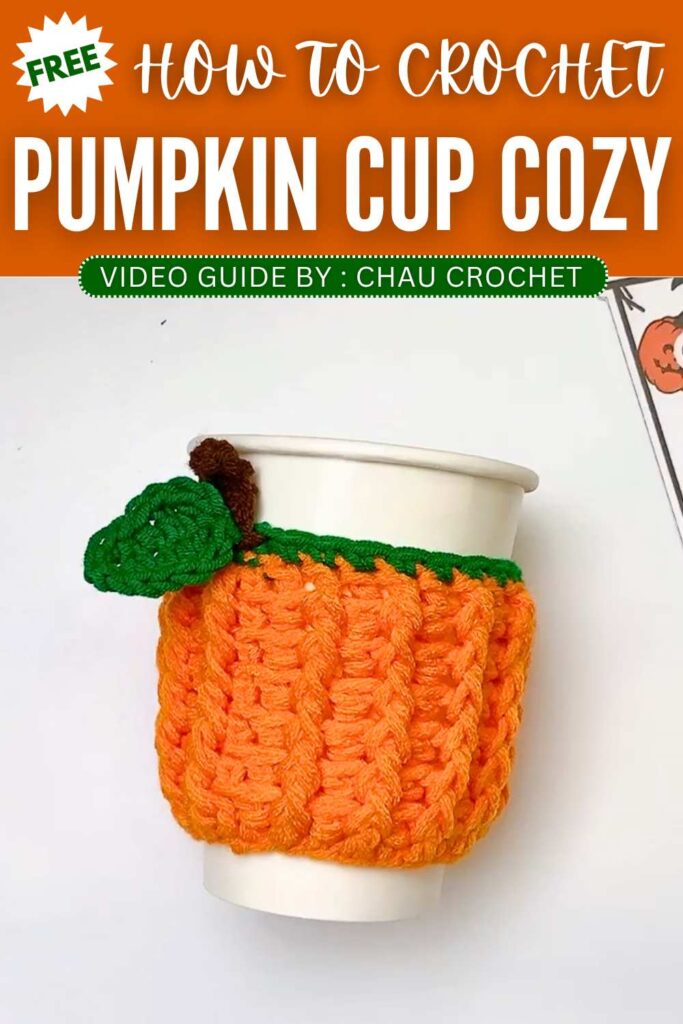
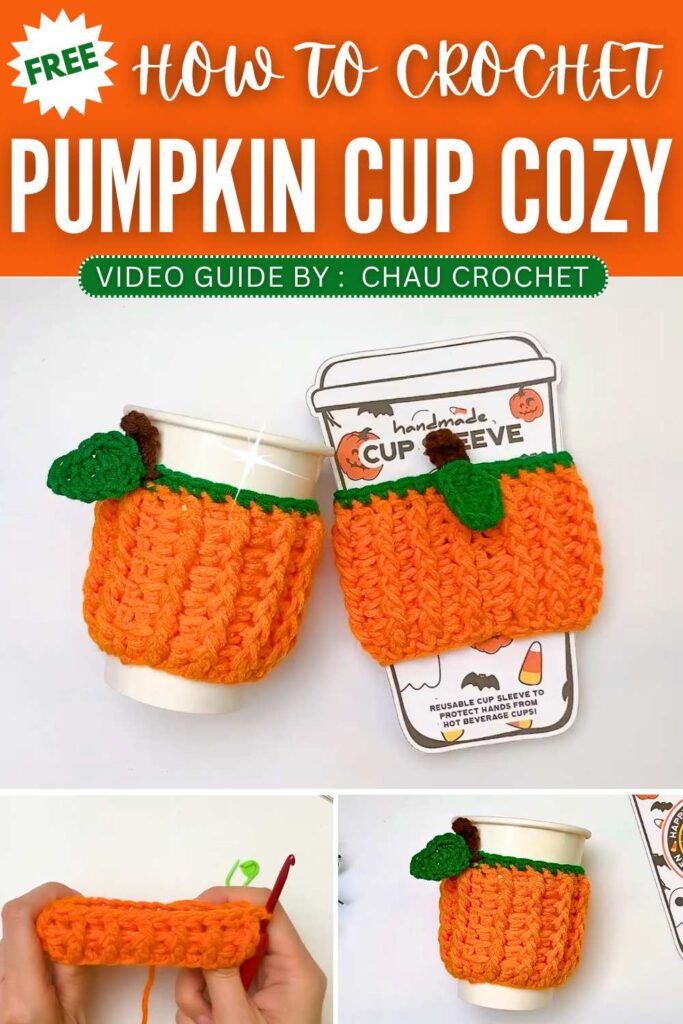
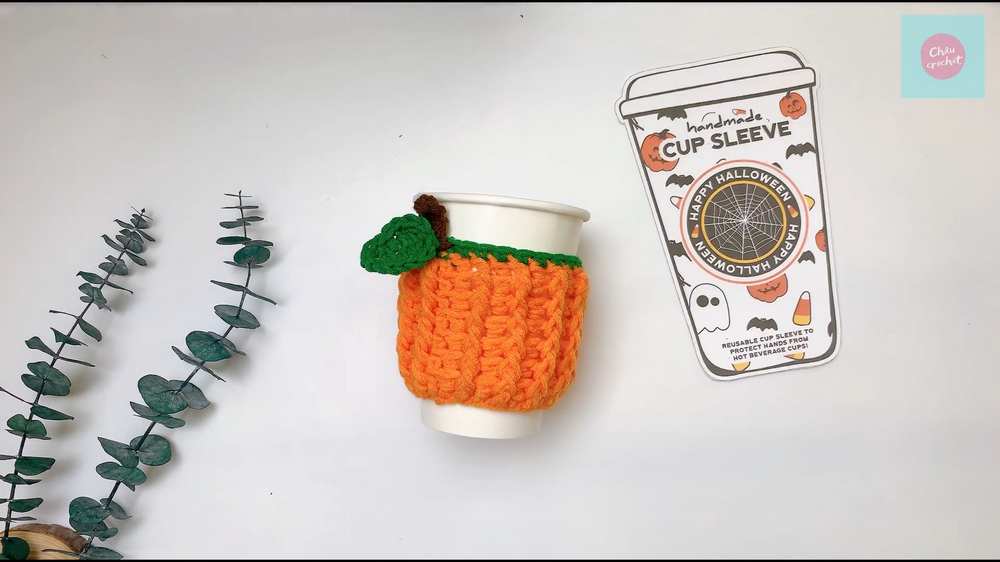
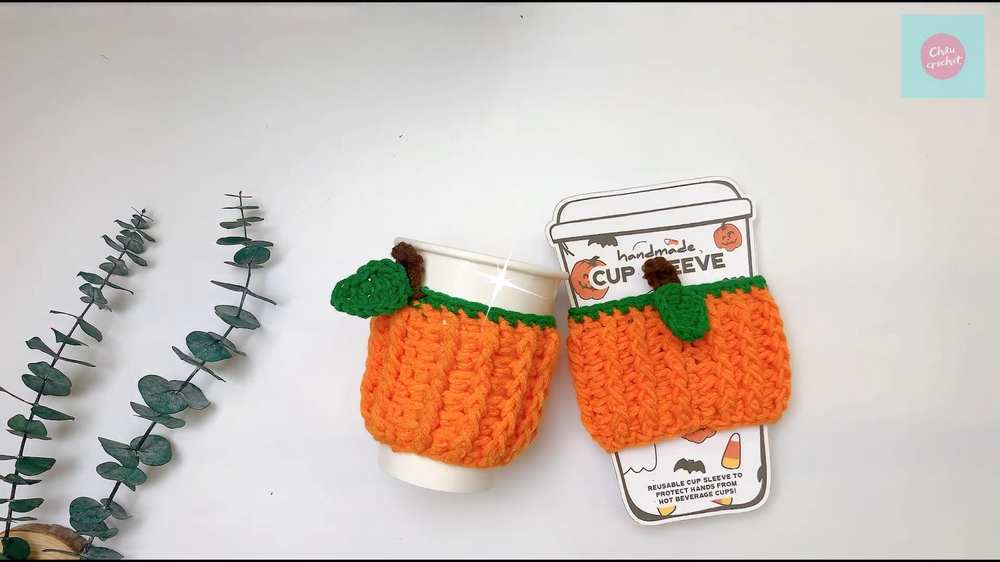
Learn how to crochet a beautifully ribbed pumpkin cup cozy with this featured step-by-step tutorial for fall. You can use this reusable cup sleeve during fall for your coffee cup, mugs and even juice glasses. With the vertical ribbing done using PDC, this crochet cozy will be much stretchy. We also have a green edging, crochet stem and a basic leaf. You can sell or gift this last-minute cozy around a printed Halloween cup SVG.
Crochet Ribbed Fall Pumpkin Cozy
Crocheting this pumpkin hand protector will be easier for even beginners within 30 minutes. You can also adjust the size of this ribbed cozy just by changing the number of foundation stitches. It is handmade, so people will pay you more than enough for each piece. Now, let me detail you further about this crochet project.
About the designer: The designer behind this crochet pumpkin cozy is @ChauCrochet – she is one of the most professional crochet bag & cup sleeve designer and I could not resist but to admire all her crochet bags in the library. Fall is around the corner, so I will try to feature here her many of the tutorials.
Note that, in respect for creator rights, there won’t be written pattern!
Crochet Ribbed Pumpkin Themed Cup Sleeve Tutorial
This project is a fun cup cover that looks like a small pumpkin. It is very perfect for Halloween time. You make the main base part with bright orange yarn. The top edge gets a green border. You also make one green leaf and one brown stem.
Then, you sew the leaf and stem to the top part. The pattern uses special stitches to make thick lines on the side. These lines make it look like a real pumpkin. It is a fast thing to make. You can put it on your glass. It is a very great gift item.
Abbreviations:
ch: chain
sl st: slip stitch
sc: single crochet
hdc: half double crochet
dc: double crochet
fpdc: front post double crochet
bpdc: back post double crochet
Skill Level:
Advanced Beginner
Materials Used:
Orange yarn
Green yarn
Brown yarn
4.0 millimeter hook
Stitch markers
Needle
Scissors
Advanced Stitch Guides
fpdc: Wrap the yarn on the hook, put the hook behind the stitch from the front, pull the yarn through, pull the yarn through two loops, pull the yarn through two loops.
bpdc: Wrap the yarn on the hook, put the hook in front of the stitch from the back, pull the yarn through, pull the yarn through two loops, pull the yarn through two loops.