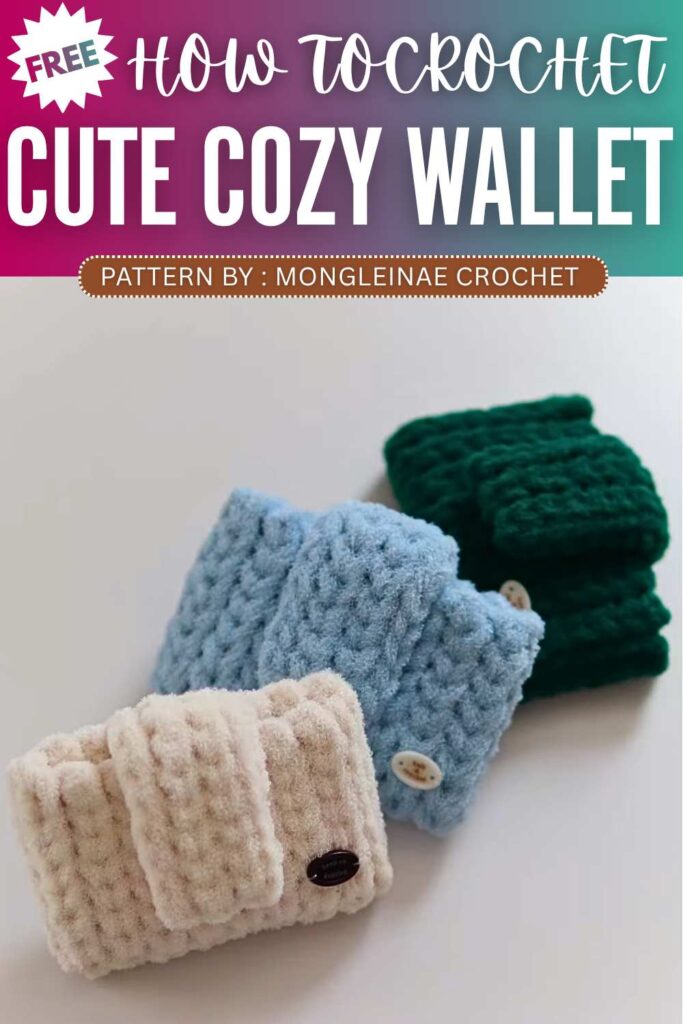
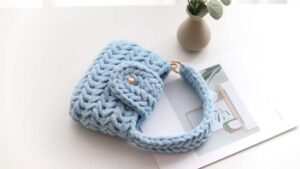
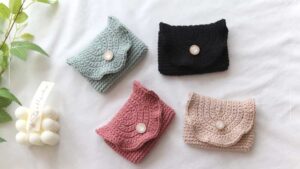
Crochet Cozy Wallet Pattern For Gifting Your Man
For you, man, crochet this simple and cozy wallet that is both stylish and useful. It is made using only chain and slip stitches, giving it a thick ribbed texture. The wallet is worked in one piece, starting from a basic chain and shaped into a foldable design. Its soft chunky look makes it perfect for carrying small items like cards, cash, or coins in an easy handmade style.
Crochet Cozy Wallet Pattern Step by step
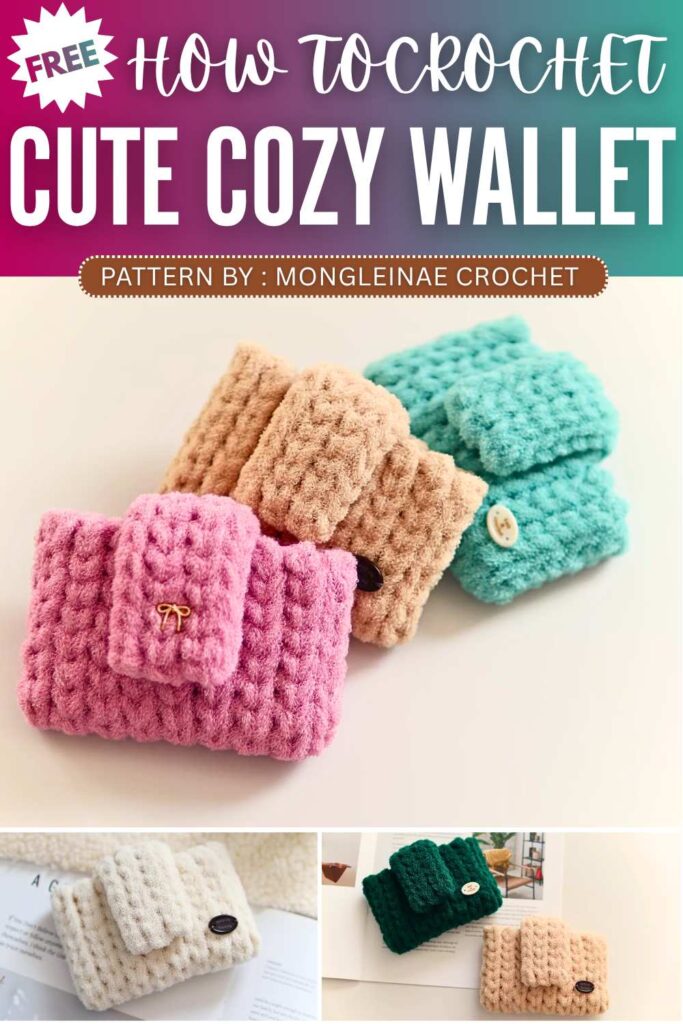
The designer of this pattern is @mongleinae. She makes themed crochet pouches and little decorations that are always elegant and gift-ready. In one word, she is among the most CREATIVE crochet designers whose work I have covered so far. Just take a look at her octopus pouch!
Be sure to subscribe to her channel for more of creative crochet patterns and to support her
Step by Step Pattern:
Materials
Yarn: Bodeul Yarn (chunky velvet/chenille) approx. 90g.
Hook: 10.0mm (US N/P).
Notions: 15mm Magnetic Snap Button, stitch markers, scissors, yarn needle.
Extras: Sewing needle and thread (matching or transparent) for hardware and labels.
Abbreviations (US Terms)
ch: chain
sl st: slip stitch
BLO: back loop only
st(s): stitch(es)
Pattern Instructions
1. Main Body (First Section)
Foundation: Leave a long tail for sewing. Ch 16 + 1 (turning chain). Total 17 chains.
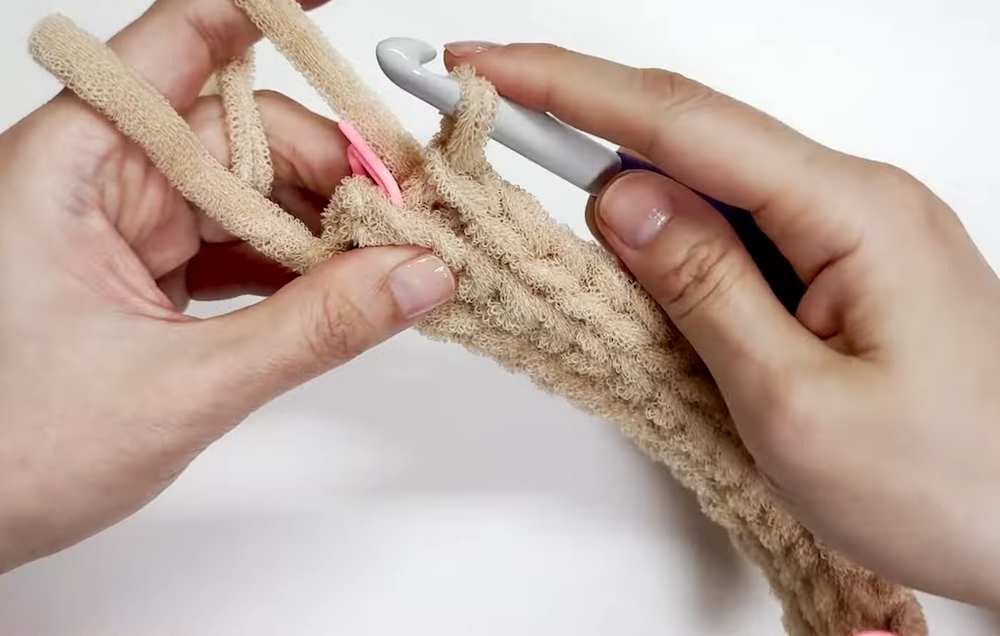
Row 1: Skip the first ch. Working into the back bumps (humps) of the chain, sl st in each ch across. (16 sts)
Row 2: Ch 1 (pull tightly), turn. Sl st in the BLO of every stitch across. (16 sts)
Rows 3–5: Repeat Row 2. You will have a total of 5 rows of 16 stitches.
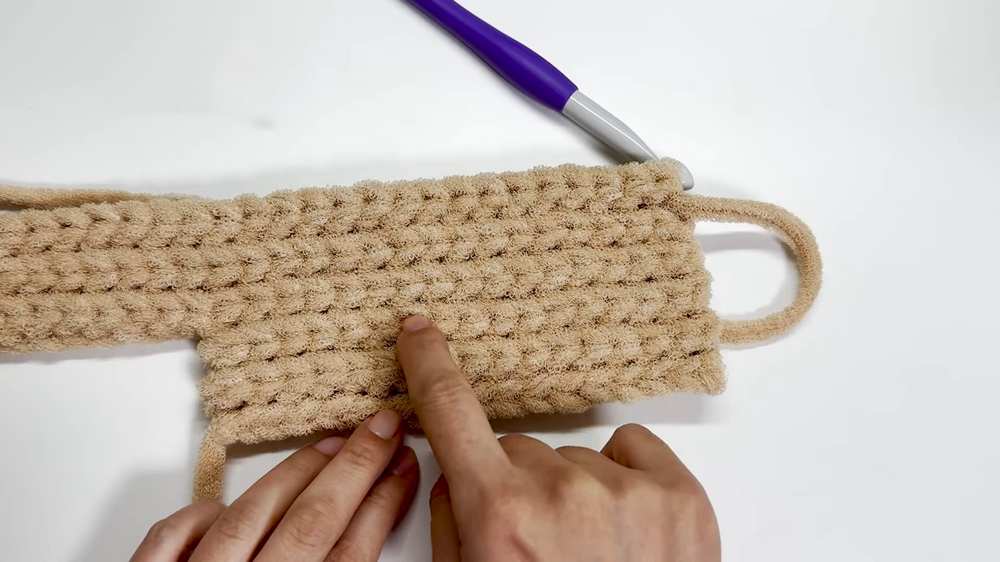
2. Flap Extension
Row 6: At the end of Row 5, do not turn yet. Ch 10 (to create flap length). Place a marker in the back bump of the 1st chain made.
Skip the first ch from the hook. Working into the back bumps of the remaining 9 chains, sl st in each.
Continue by sl st into the BLO of the 16 sts from the previous row. (Total 25 sts)
Row 7: Ch 1 (tightly), turn. Sl st in the BLO of all 25 sts.
Rows 8–10: Repeat Row 7. (You have now completed 10 total rows).
3. Main Body (Final Section)
Row 11: Ch 1, turn. Sl st in the BLO of the first 16 sts only. Leave the remaining 9 stitches of the flap unworked. (16 sts)
Rows 12–16: Repeat Row 2 on these 16 stitches. (Total 16 rows completed).
Finishing: Fasten off, leaving a long tail for sewing.
Assembly
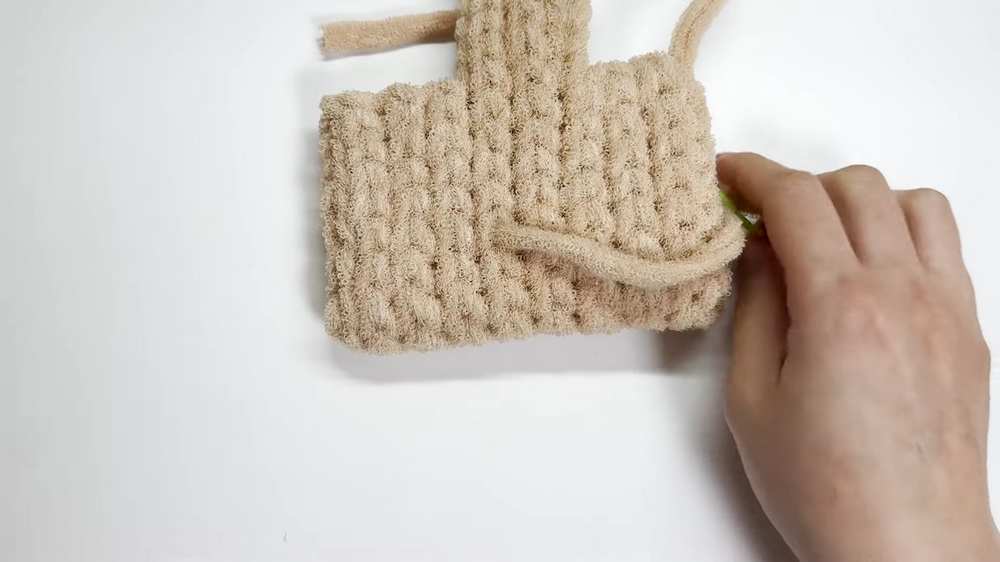
Folding: Fold the two 16-row side sections together so they overlap. The extended 9-stitch section will remain at the top as the flap.
Sewing Sides: Use a yarn needle and the long tails. Join the side edges by sewing through the inner loops of both sides (the loops that touch when the edges are held together). Use a whip stitch or mattress stitch.
Hardware:
Sew the magnetic snap to the center of the underside of the flap and the corresponding spot on the front of the wallet.
Attach any decorative labels or buttons to the front as desired.
Final Touch: Turn the wallet right side out. Gently pull and manipulate the corners of the flap to sharpen the rectangular shape.
Video Tutorial:
You may also like
How to Crochet Matching Coaster & Mug Cozy for Autumn
Chau Crochet: How to Crochet Ribbed Fall Pumpkin Cozy (Gift on Halloween)
Crochet Cozy Tote Bag Pattern For Beginners

Crochet Oli: Crochet Whale Wallet & Pouch for Summer
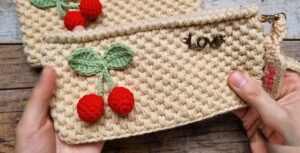
Crochet Cherry Wallet & Handbag Pattern
Crochet Card Wallet & Pouch Pattern Free
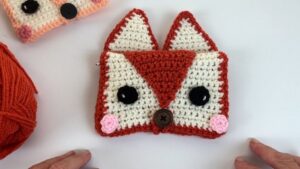
How To Crochet Fox Wallet for Autumn – Needle Case & Hook Holder
Crochet Card Wallet Pattern For Gifting Your Man