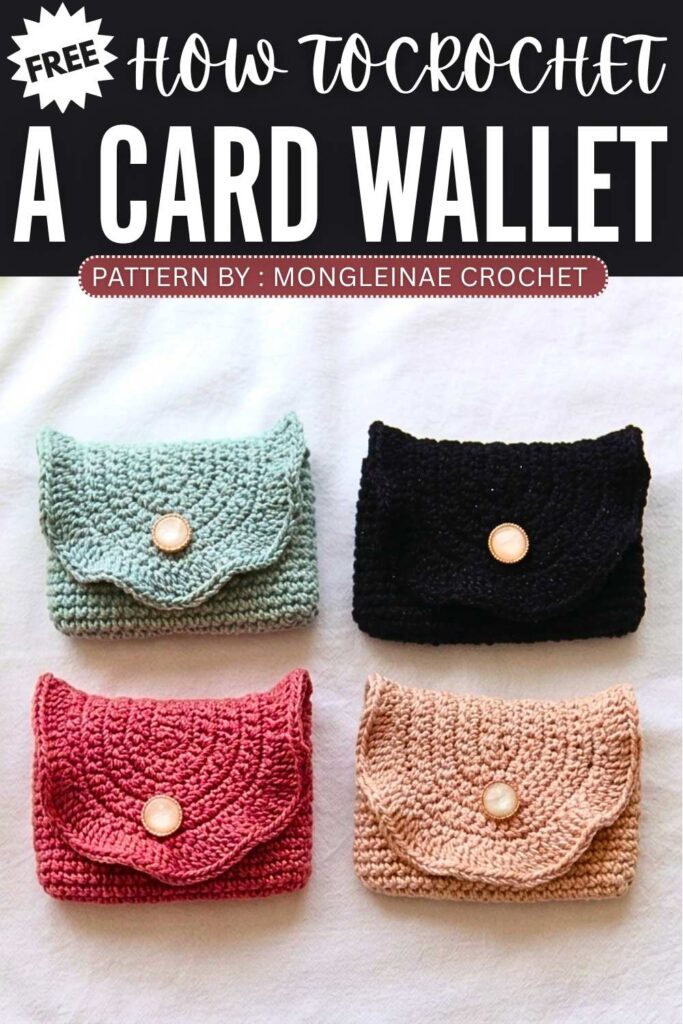
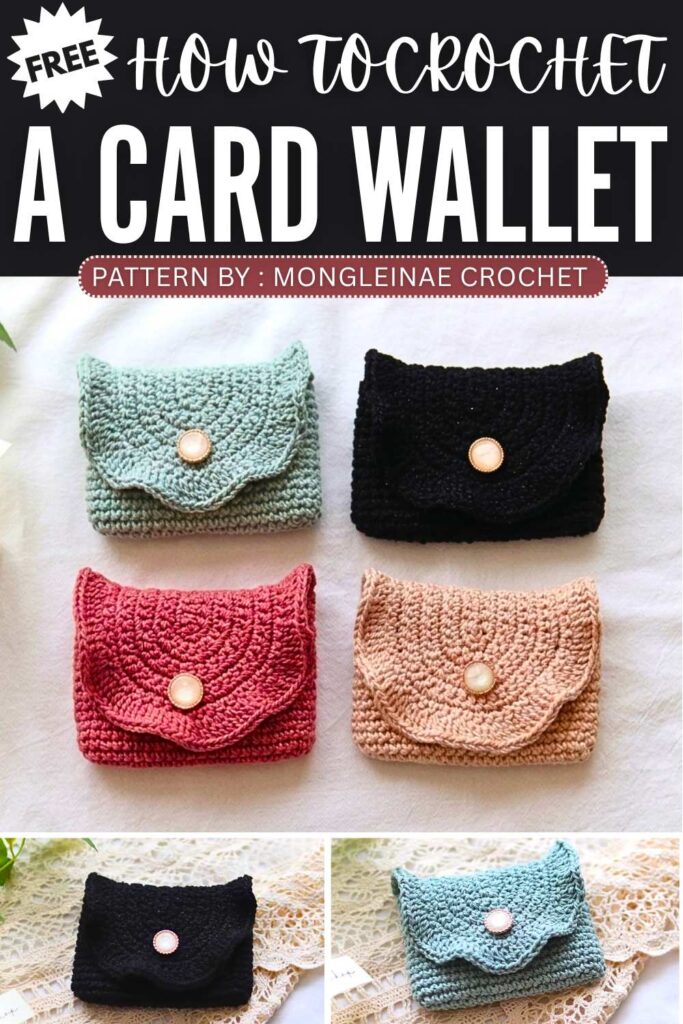
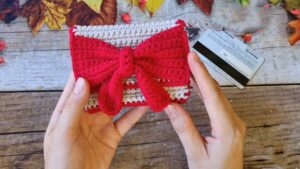
Crochet Card Wallet Pattern For Gifting Your Man
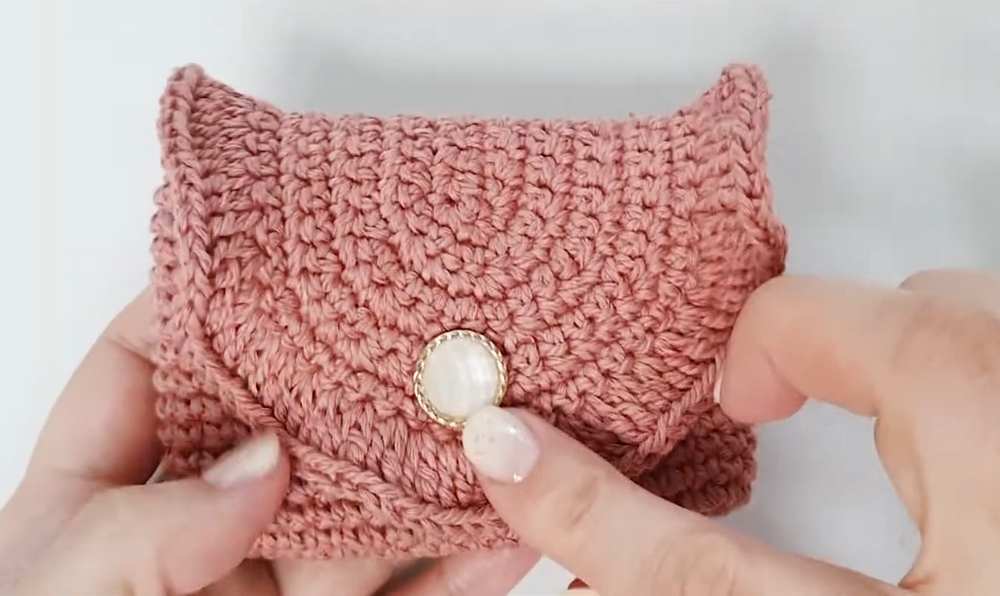
Crochet a dainty and useful crochet card wallet with a soft, rustic style. This linen ruffle wallet has a pretty frilled edge that gives it a gentle, feminine look. A decorative button adds charm, while a hidden magnetic clasp keeps it secure. Made with linen yarn, it feels strong but natural. Small in size but stylish in design, it works as a simple handmade accessory or a thoughtful gift.
Crochet Card Wallet Pattern
The designer of this pattern is @mongleinae. She makes themed crochet pouches and little decorations that are always elegant and gift-ready. In one word, she is among the most CREATIVE crochet designers whose work I have covered so far. Just take a look at her octopus pouch!
Be sure to subscribe to her channel for more of creative crochet patterns and to support her
Step by Step Pattern:
Materials List
Yarn: Linen yarn (approx. 1 ball).
Hook: 2.5mm (Size 4/0).
Other Tools: Tapestry needle, scissors, stitch markers, one decorative button, and one magnetic snap button.
Abbreviation List
ch: chain
st(s): stitch(es)
sc: single crochet
inc: increase (2 sc in one stitch)
sl st: slip stitch
dc: double crochet
BLOs: Back loops only (used specifically if indicated for certain textures)
Pattern Instructions
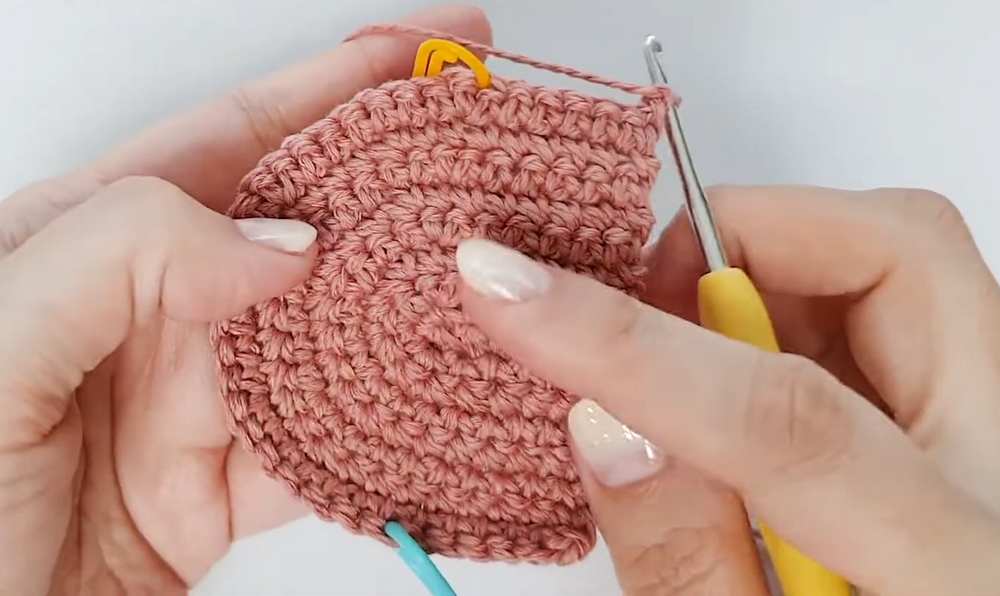
1. Wallet Body (Worked in the round)
R1: Ch 20. Starting in the 2nd ch from hook, work into the back humps (back bars): 1 inc, 17 sc, 3 sc in the last ch. Rotate to work on the opposite side: 18 sc. Sl st to join. (40 sts)
R2: Ch 1, 2 inc, 17 sc, 3 inc, 17 sc, 1 inc. Sl st to join. (46 sts)
R3–R15: Ch 1, 46 sc around (no increases). Sl st to join at the end of each round.
Finishing Body: Fasten off and weave in ends using a tapestry needle to create a seamless finish.
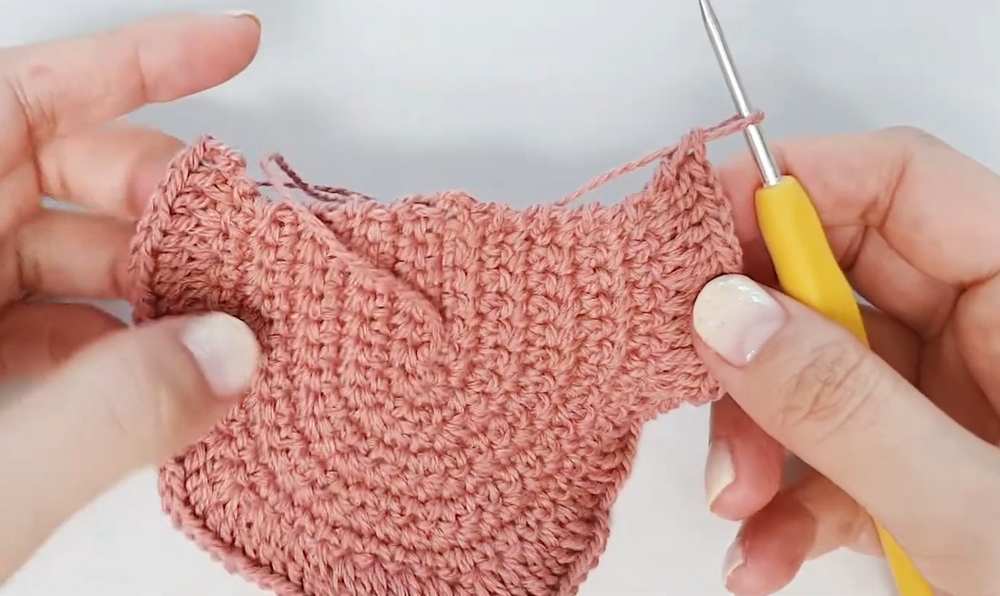
2. Front Flap (Worked in rows)
Row 1: Ch 8. Starting in 2nd ch from hook: 6 sc, 3 sc in the last ch. Rotate and work 6 sc along the other side. (Do NOT join; leave the long tail at the start for sewing). (15 sts)
Row 2: Ch 1, turn. 6 sc, 3 inc, 6 sc. (18 sts)
Row 3: Ch 1, turn. 6 sc, (1 sc, 1 inc) × 3, 6 sc. (21 sts)
Row 4: Ch 1, turn. 6 sc, (2 sc, 1 inc) × 3, 6 sc. (24 sts)
Row 5: Ch 1, turn. 6 sc, (1 sc, 1 inc, 2 sc) × 3, 6 sc. (27 sts)
Row 6: Ch 1, turn. 6 sc, (4 sc, 1 inc) × 3, 6 sc. (30 sts)
Row 7: Ch 1, turn. 6 sc, (1 sc, 2 sc, 1 inc, 3 sc) × 3, 6 sc. (33 sts)
Row 8: Ch 1, turn. 6 sc, (6 sc, 1 inc) × 3, 6 sc. (36 sts)
Row 9: Ch 1, turn. 6 sc, (3 sc, 1 inc, 4 sc) × 3, 6 sc. (39 sts)
3. Ruffle Edge (On the Flap)
Row 10: Ch 3 (counts as 1 dc). Turn. In the same first stitch, work 1 dc.
Work 2 dc in every stitch across the curved edge of the flap. This creates the “ruffle” effect.
Fasten off, leaving a very long tail for assembly.
4. Assembly & Finishing
Sewing the Flap: Position the flat edge of the flap against the back top edge of the wallet body. Ensure it is centered (covering approx. 24 sts of the body). Use a tapestry needle to whipstitch the flap to the body.
Button: Sew the decorative button onto the front of the wallet body, centered under where the flap falls.
Magnetic Snap: Sew one side of the magnetic snap to the inside center of the flap and the other side to the corresponding spot on the wallet body.
Final Touches: Weave in all remaining yarn tails securely inside the wallet.
The wide base of this design allows for multiple cards to be stored easily. Happy crocheting!
Video Tutorial:
You may also like
How to Crochet Granny Stitch Card Holder for Beginners
How to Crochet Mini Card Holder (Tutorial for Beginners)
Crochet 7 Christmas Gift Card Holders (Santa, Reindeer & More)
Crochet Card Wallet & Pouch Pattern Free

Crochet Oli: Crochet Whale Wallet & Pouch for Summer
Crochet Cozy Wallet Pattern For Gifting Your Man
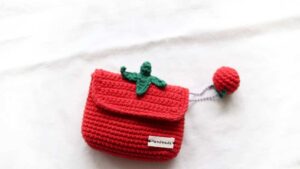
Crochet Cherry Wallet & Handbag Pattern
How to Crochet Mini Backpack Keychain & Wallet in Many Colors
Free Crochet Tomato Wallet & Pouch For Summer