
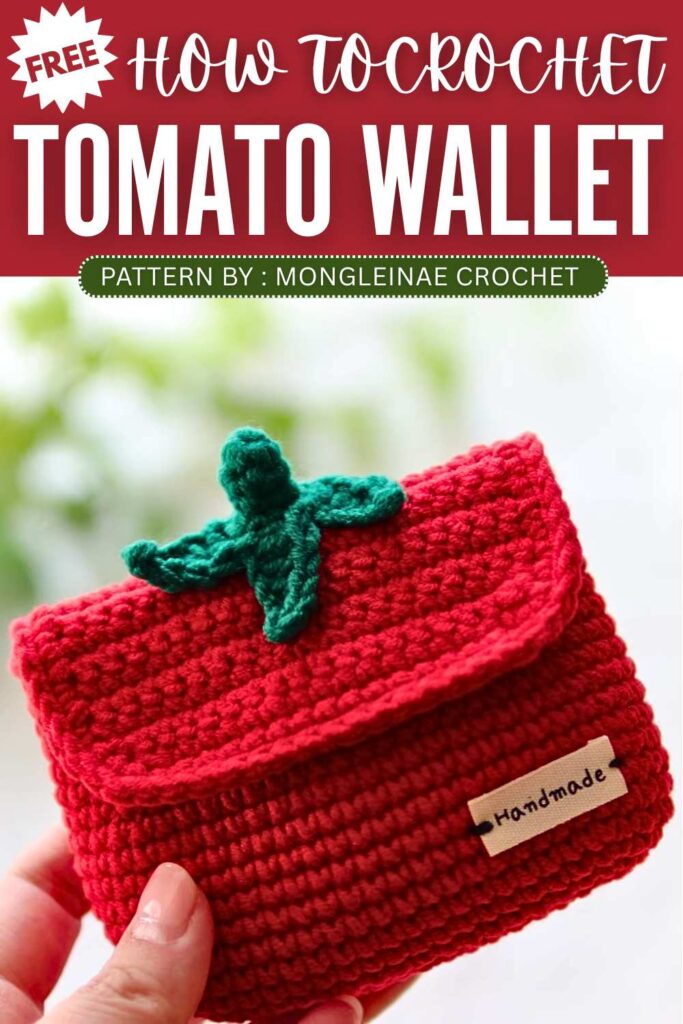
Free Crochet Tomato Wallet & Pouch For Summer
Bring fun fruit style to your crochet projects with this cute tomato card wallet and matching mini keychain. The wallet is made with a bright red body and green leaf top to look like a real tomato. A button closure keeps cards or coins safe inside, while the tiny stuffed tomato charm adds extra cuteness. Simple stitches and small details make this project both useful and fun for everyday use or handmade gifts.
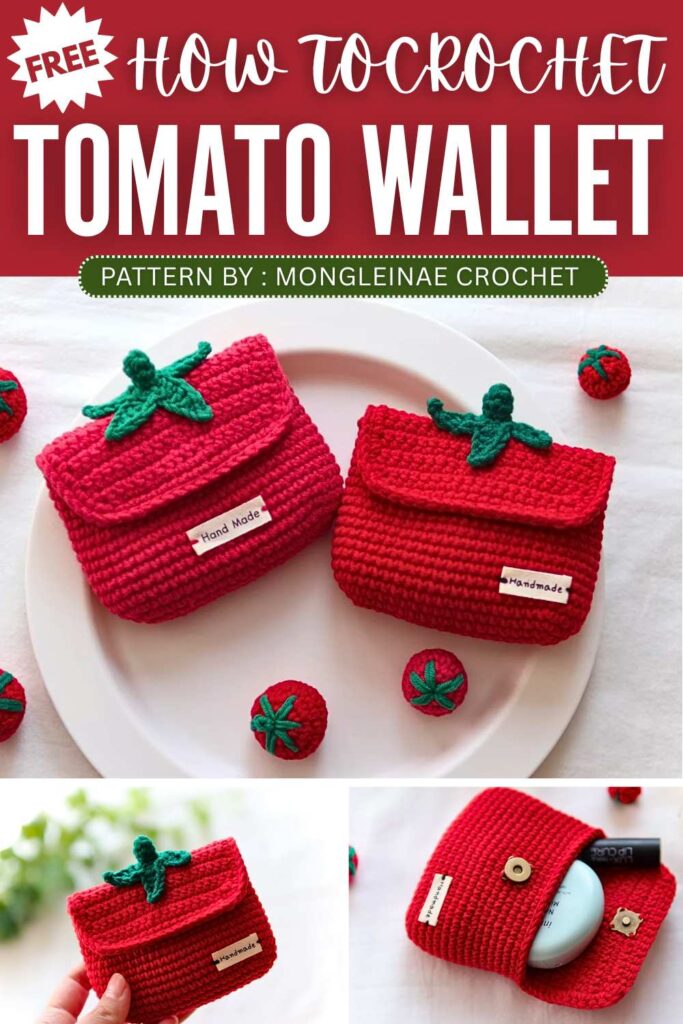
The designer of this pattern is @mongleinae. She makes themed crochet pouches and little decorations that are always elegant and gift-ready. In one word, she is among the most CREATIVE crochet designers whose work I have covered so far. Just take a look at her octopus pouch!
Be sure to subscribe to her channel for more of creative crochet patterns and to support her
Step by Step Pattern:
Materials Needed
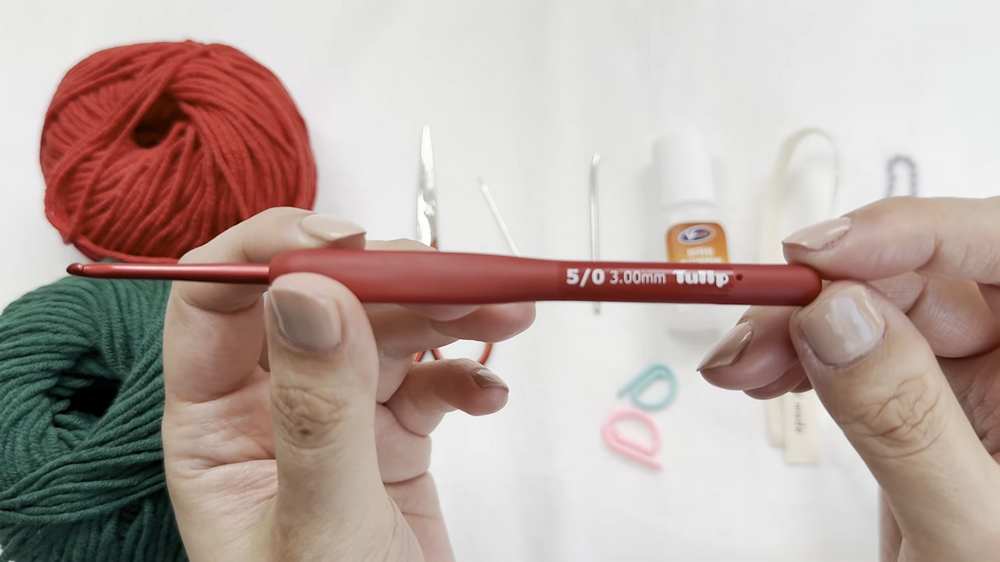
Yarn: Red and Green yarn (Cotton or Acrylic blend).
Hook: 3.0mm (Size 5) crochet hook.
Accessories: Snap button, stitch markers, tapestry needle, sewing needle, thread, scissors.
Optional: Glue or glue gun (for the leaf cap), ribbon label, keychain link, and fiberfill stuffing (for the keyring).
Abbreviation List
ch: Chain
sc: Single crochet
inc: Increase (2 sc in one stitch)
dec: Decrease (sc 2 together)
sl st: Slip stitch
hdc: Half double crochet
dc: Double crochet
st(s): Stitch(es)
MR: Magic Ring
Part 1: The Tomato Wallet (Red Yarn)
Base and Body
Foundation: Ch 18.
Round 1: Skip 1st ch, inc in 2nd ch. Sc in next 15 chs. 3 sc in the last ch (to turn). Working along the other side of the chain: Sc in next 16 chs. (36 sts total)
Round 2: [Inc] x 2, sc 15, [inc] x 3, sc 15, inc. (42 sts)
Round 3: [1 sc, inc] x 2, sc 15, [1 sc, inc] x 3, sc 16, inc. (48 sts)
Round 4: [2 sc, inc] x 2, sc 15, [2 sc, inc] x 3, sc 17, inc. (54 sts)
Rounds 5–11: Sc in each st around. (54 sts)
Round 12 (Decreasing): [7 sc, dec] x 6. (48 sts)
Rounds 13–17: Sc in each st around. (48 sts)
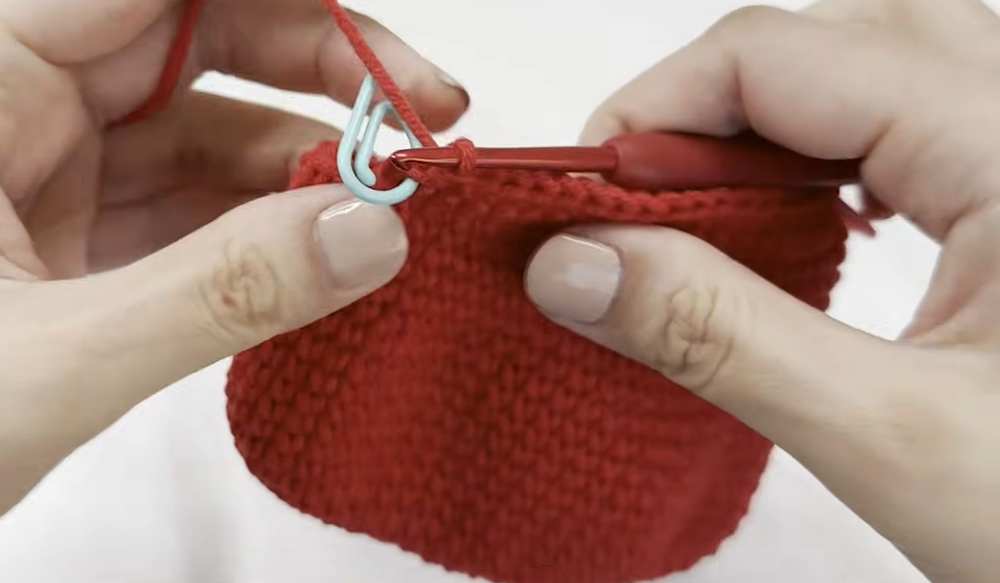
The Flap (Lid)
Flatten the bag and identify the center 20 stitches on one side to serve as the flap.
Rows 1–10: Ch 1, turn. Sc 20 across.
Row 11: Ch 1, turn. Dec, sc 16, dec. (18 sts)
Row 12: Ch 1, turn. Dec, sc 14, dec. (16 sts)
Edging: Work sc around the entire perimeter of the flap to round out the corners. Finish with a sl st round for a clean edge.
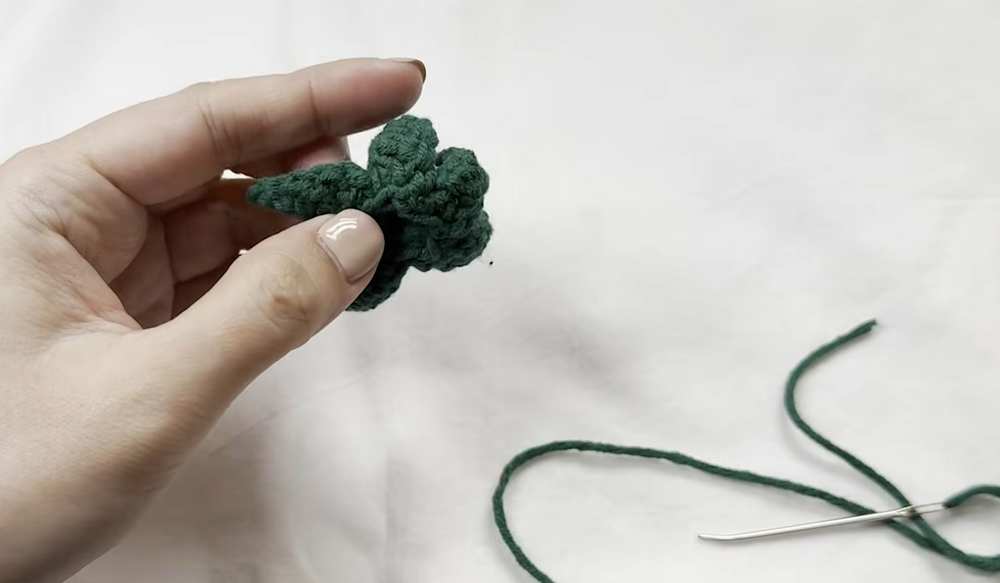
Part 2: The Leaf Cap (Green Yarn)
Round 1: MR, 5 sc.
Rounds 2–3: Sc in each st. (5 sts)
Round 4: [Inc] x 5. (10 sts)
Individual Leaves (Repeat 5 times):
Ch 6.
Skip 1st ch, sl st in 2nd, sc in 3rd, hdc in 4th, dc in 5th and 6th.
Skip 1 st on the Round 4 base, sl st into the next st.
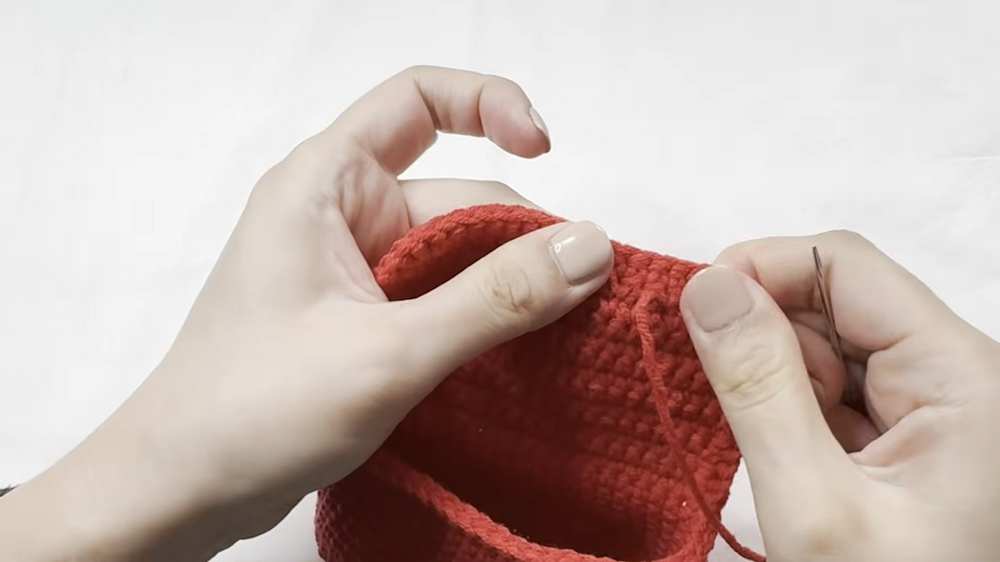
Assembly: Glue or sew the leaf cap onto the center of the wallet flap.
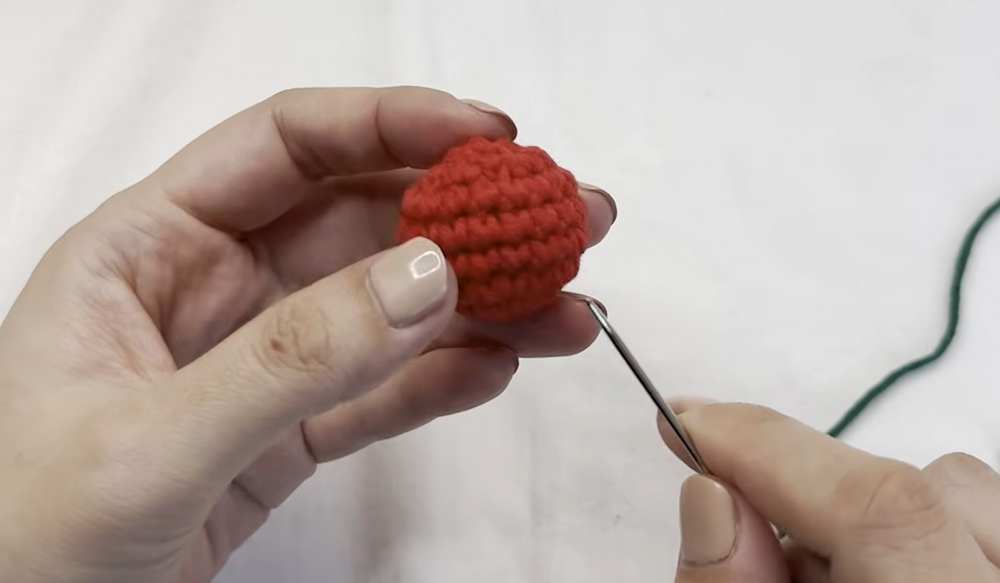
Part 3: The Tomato Keyring (Red & Green)
Tomato Ball
Round 1: MR, 6 sc.
Round 2: [Inc] x 6. (12 sts)
Round 3: [1 sc, inc] x 6. (18 sts)
Rounds 4–6: Sc in each st. (18 sts)
Round 7: [1 sc, dec] x 6. (12 sts)
Stuffing: Fill with fiberfill.
Round 8: [Dec] x 6. (6 sts)
Finish: Close the hole with a tapestry needle.
Keyring Details
Leaves: Using green yarn, embroider 5 long straight stitches from the top center radiating outward to look like a star.
Attachment: Attach the keychain link through the top center of the tomato ball and hook it to the corner of the wallet.
Part 4: Finishing
Steam Blocking: Use a steamer to shape the wallet so it sits flat and the flap closes neatly.
Snap Button: Sew one half of the snap button to the inside center of the flap and the other half to the bag body.
Label: Sew your ribbon label to the front center for a professional “handmade” look.
Video Tutorial:
You may also like

Crochet Tomato Pouch Bag Pattern For Summer

Crochet Cherry Wallet & Handbag Pattern

Crochet Cozy Wallet Pattern For Gifting Your Man

Crochet Card Wallet Pattern For Gifting Your Man

How to Crochet Mini Backpack Keychain & Wallet in Many Colors

How To Crochet Fox Wallet for Autumn – Needle Case & Hook Holder


