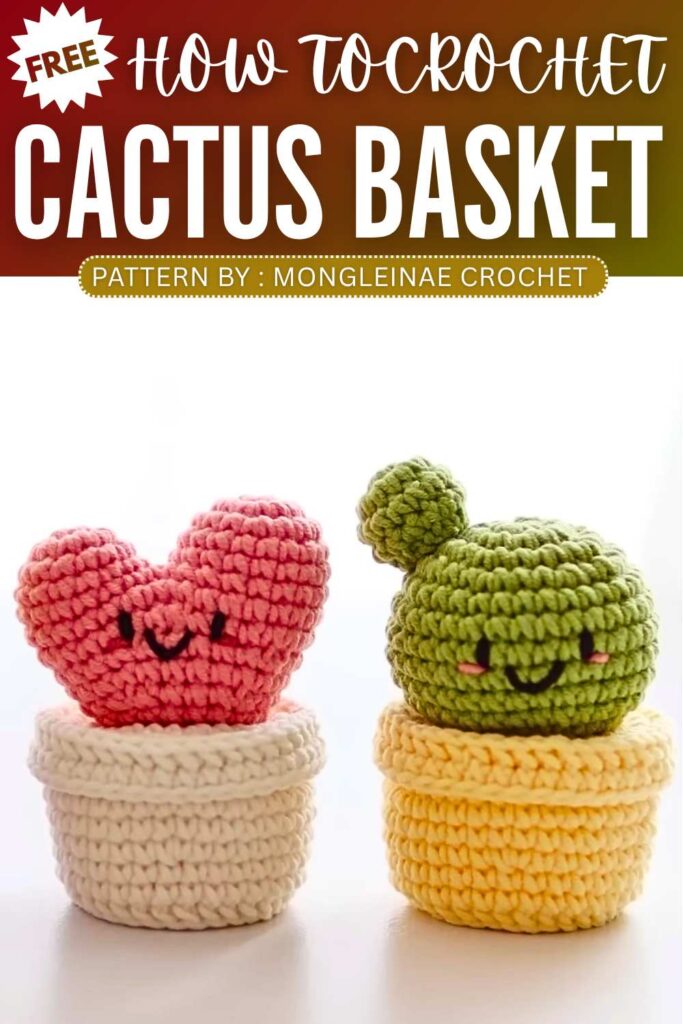
Crochet Mini Cactus Basket Pattern For Summer Decor
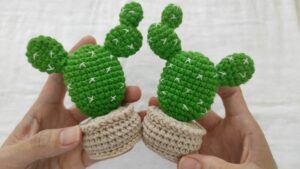
Add a little summer charm to your space with this cute crochet mini cactus basket. The project includes a tiny pot, lid, and different cactus styles like round, tall, and heart-shaped designs. Soft stuffing helps shape the cactus, while tiny flowers and embroidered faces make it look extra sweet. The finished basket is great for storing small items and works perfectly as a fun summer decoration or handmade gift.
Crochet Mini Cactus Basket Pattern
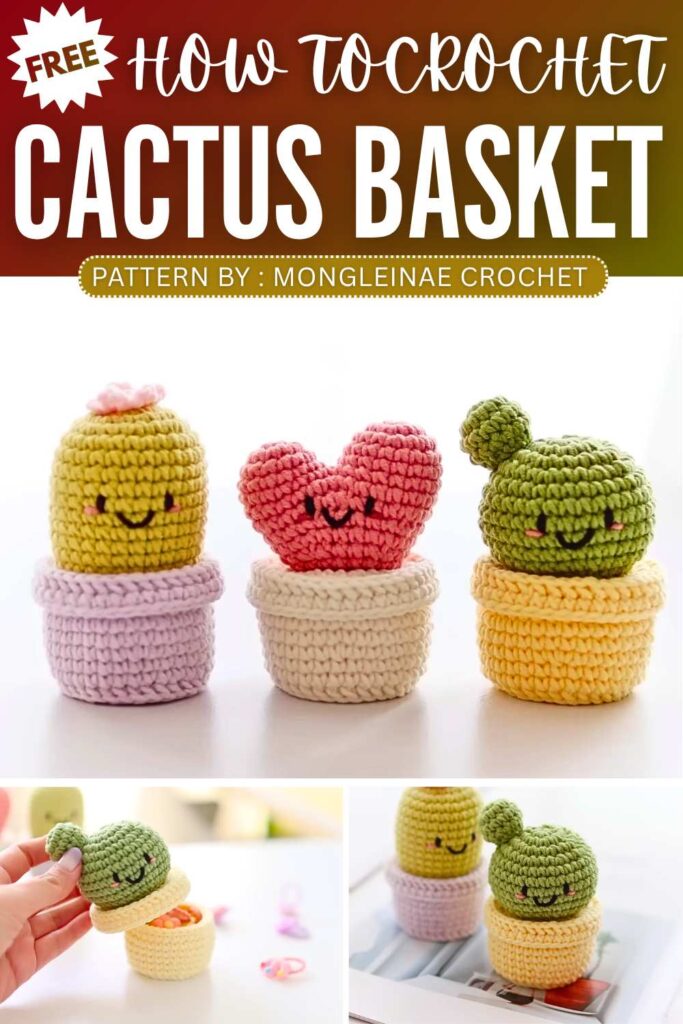
The designer of this pattern is @mongleinae. She makes themed crochet pouches and little decorations that are always elegant and gift-ready. In one word, she is among the most CREATIVE crochet designers whose work I have covered so far. Just take a look at her octopus pouch!
Be sure to subscribe to her channel for more of creative crochet patterns and to support her
Step by Step Pattern:
Materials List
Yarn: Pot color (e.g., beige/brown), Cactus color (green/light green), and small amounts of pink/black for facial details and flowers.
Crochet Hook: 3.0mm (Size 5/0).
Supplies: Fiberfill stuffing, tapestry needle, scissors, stitch markers, and tweezers (for stuffing).
Abbreviation List
MR: Magic Ring
ch: Chain
sc: Single Crochet
inc: Increase (2 sc in one stitch)
dec: Decrease (Invisible decrease)
sl st: Slip stitch
BLO: Back Loop Only
Bpsc: Back Post Single Crochet (Working from back to front around the post)
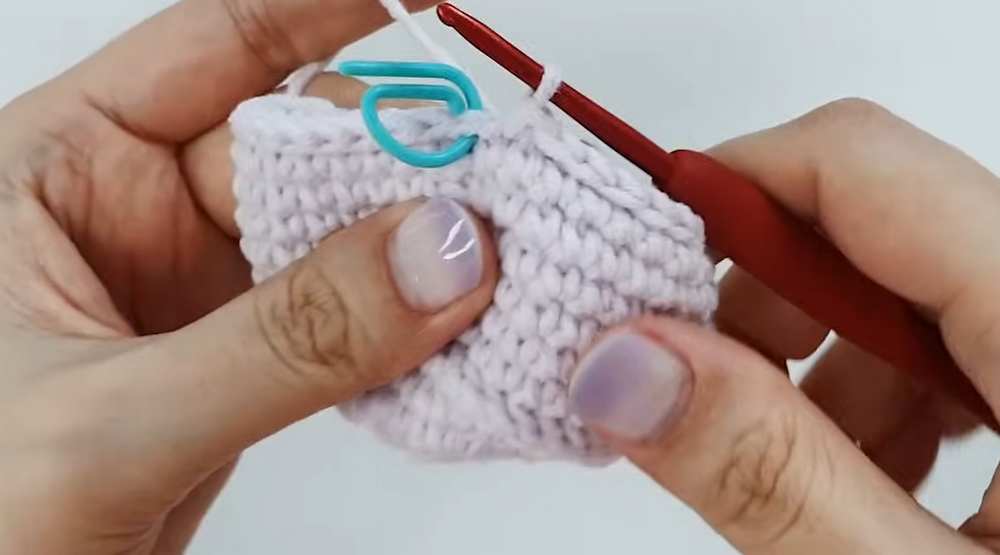
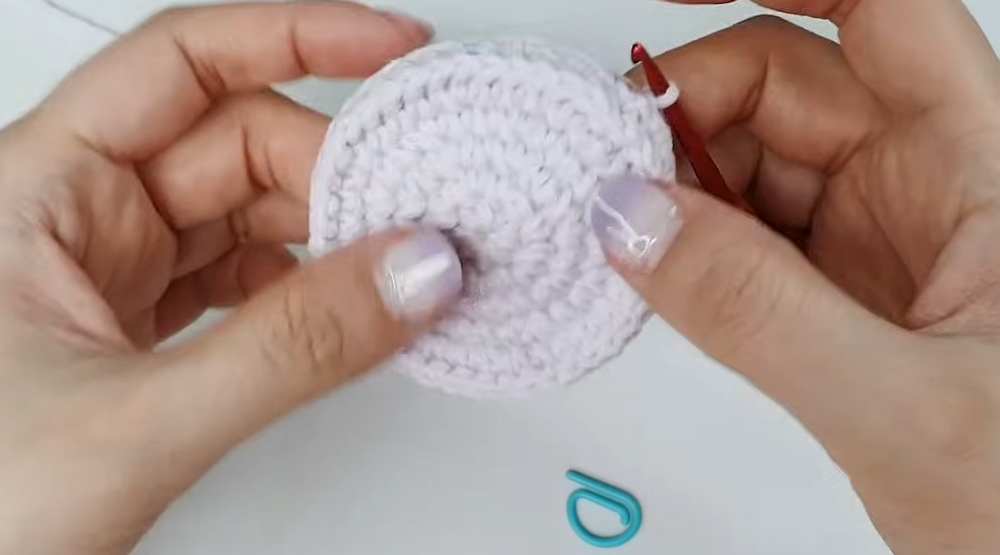
1. The Flower Pot (Basket)
R1: MR, 8 sc. (8)
R2: 8 inc. (16)
R3: (1 sc, inc) x 8. (24)
R4: (2 sc, inc) x 8. (32)
R5 (Wall Foundation): 32 Bpsc around. This creates the sharp edge for the base.
R6–R7: 32 sc around.
R8: (15 sc, inc) x 2. (34)
R9–R11: 34 sc around.
R12: 34 sl st around the rim. Fasten off and weave in ends.
2. The Pot Lid (Soil)
R1–R4: Follow the same pattern as the Flower Pot base (ends with 32 sts).
R5: (1 sc, inc, 2 sc) x 8. (40) Note: This staggered increase keeps the circle round.
R6: 40 Bpsc around.
R7: 40 sc around. Fasten off, leaving a long tail for assembly.
3. Cactus Designs (Choose One or All)
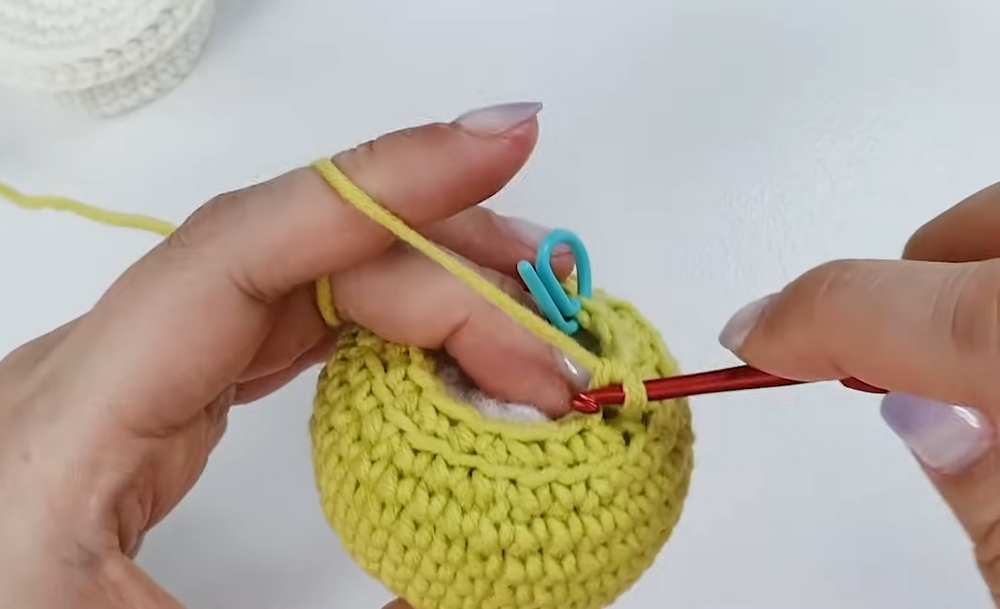
A. Round Cactus
R1: MR, 8 sc. (8)
R2: 8 inc. (16)
R3: (1 sc, inc) x 8. (24)
R4: (2 sc, inc) x 8. (32)
R5–R10: 32 sc around.
R11: (2 sc, dec) x 8. (24)
R12: BLO (1 sc, dec) x 8. (16)
R13: 8 dec. Stuff firmly before closing.
B. Tall Cactus
R1: MR, 7 sc. (7)
R2: 7 inc. (14)
R3: (1 sc, inc) x 7. (21)
R4: (2 sc, inc) x 7. (28)
R5–R14: 28 sc around.
R15: BLO (2 sc, dec) x 7. (21)
R16: (1 sc, dec) x 7. (14)
R17: 7 dec. Stuff firmly.
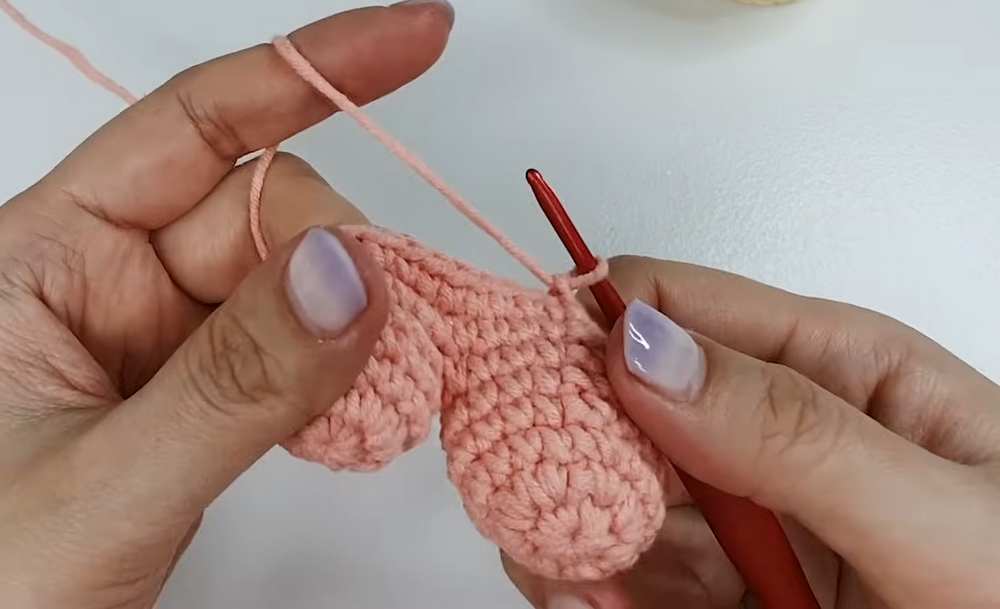
C. Heart Cactus (Asymmetrical)
Part 1 (Small Bump): R1: MR, 7 sc. R2: 7 inc (14). R3–R4: 14 sc. Fasten off.
Part 2 (Large Bump): R1: MR, 8 sc. R2: 8 inc (16). R3: (7 sc, inc) x 2 (18). R4–R5: 18 sc.
Joining: Join Part 1 to Part 2 with a sc.
R6: Sc around both parts (Approx. 30–33 sts depending on joining).
R7: Sc around.
R8: (9 sc, dec) x 3. (30)
R9: (4 sc, dec) x 5. (25)
R10: 25 sc around.
R11: (3 sc, dec) x 5. (20)
R12: 20 sc around.
R13: BLO 10 dec. Stuff firmly.
Assembly & Details
Face: Embroider the mouth on R7–R9 of the cactus (two stitches wide, curved). Add eyes vertically on either side of the mouth, one stitch away. Add pink “blush” stitches just below the eyes.
Flower (Optional): In a MR, (ch 5, sl st into ring) x 5. Pull tight and sew to the top of the cactus.
Final Join: Sew the cactus onto the Pot Lid using the BLO stitches from the bottom of the cactus. Place the lid inside the pot; it can remain removable so the pot functions as a small basket for trinkets.
Video Tutorial:
You may also like

How To Crochet Cactus Jewelry Holder (Decor & Organizer)

Free Crochet Cactus Amigurumi Plant Pot Pattern
How to Crochet A Mini Cactus Pot for Decor (Prickly Pearl Cactus)

Free Crochet Cactus Pattern (3-in-1 Pattern)

Free Crochet Cactus Plant Pot Pattern
Crochet 2-in-1 Smiling Mushroom Amigurumi & Basket for Fall

How to Crochet Pumpkin Jar Cover & Basket for Fall

How to Crochet Frankenstein Basket & Lantern for Trick-or-Treating

Free Crochet Carrot in Basket Pattern for Fall

How to Crochet Pumpkin Stitch Basket for Fall & Halloween