
Crochet Oli: Crochet Whale Wallet & Pouch for Summer
Learn how to crochet an oh-so cute 2-in-1 whale pouch and tote bag charm for summer with this FREE written pattern. This crochet blue whale wallet & charm is unique in that it has a small water sprout applique in the middle (which is just a basic 5-petal flower) and has a round body! Attach it to your summer beach bag or turn into a reversible whale water bottle holder!
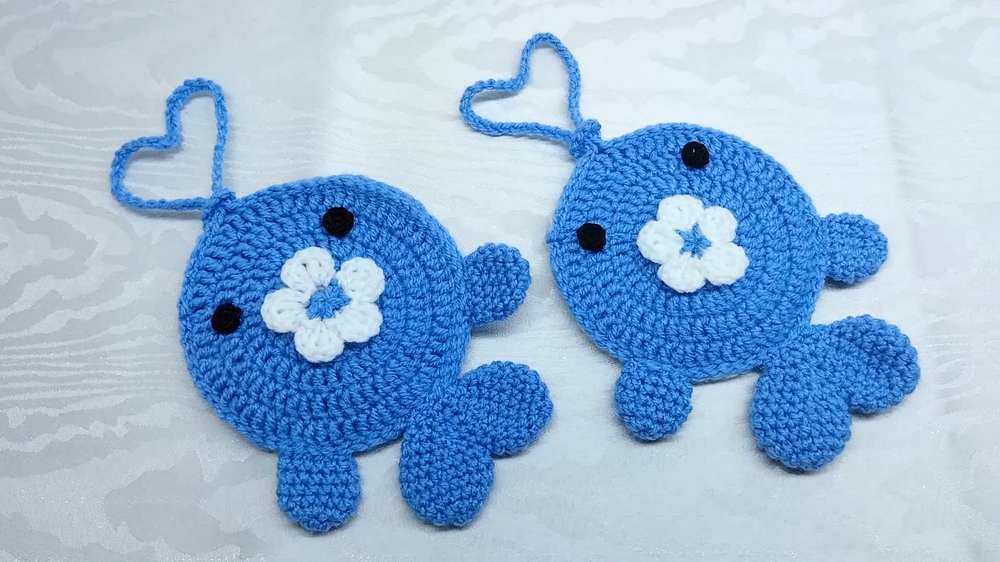
Crochet Whale Wallet, Pouch & Bag Charm

While you can also have a zipper closure, this crochet whale pouch will come with a “loop & string” closure. The opening is made as the mouth of the whale, so it looks so funny when you will put your cash or small stuff through this! You can put your AirPod, lip balm holder and coins inside this. Now, continue reading for the full crochet whale pouch pattern.
How to Crochet Whale Pouch & Bag Charm
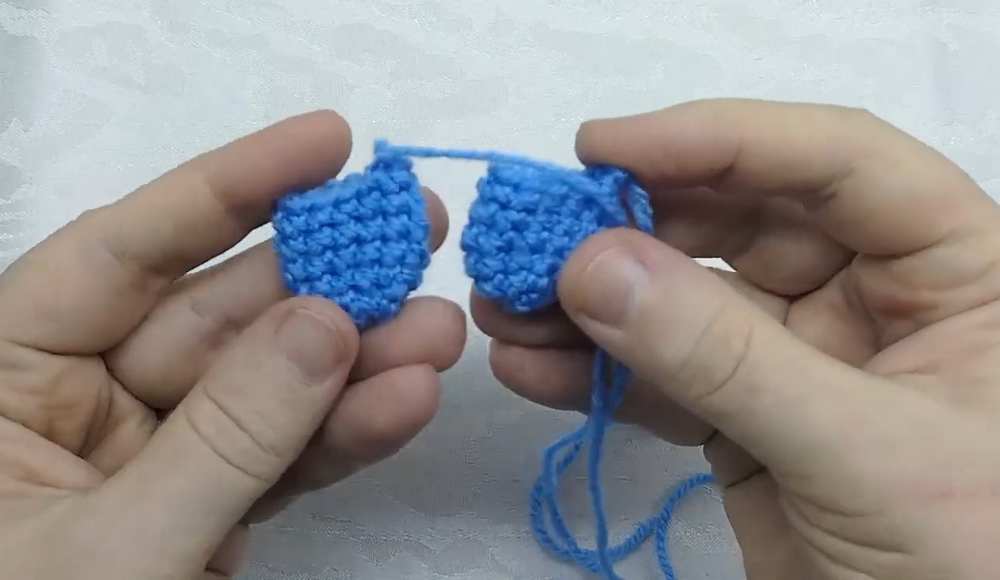
Make miniature whale-shaped wallet or coin pouch that is as functional as it is cute. The design is brilliantly simple: you crochet two flat circles and partially stitch them together. The unstitched section forms the wide “mouth” of the whale, which opens up into a pouch for holding coins, keys, or tiny treasures.
By adding a clever loop closure, a double-lobed tail, two side flippers, and a decorative water-spout flower on top, this quick amigurumi project transforms into a playful, handy accessory.
Materials
Yarn: Plush/velvet yarn (such as Himalaya Dolphin Baby) in your main whale color and a small amount of white for the water spout. A small amount of dark cotton yarn for the eyes.
Crochet Hook: 3.0 mm
Other Tools: Hot glue gun, yarn needle, and scissors.
Abbreviations
MR = Magic Ring (Magic Circle)
ch = chain
sc = single crochet
dc = double crochet
inc = increase (work 2 stitches into the same stitch)
dec = decrease (crochet 2 stitches together)
sl st = slip stitch
st(s) = stitch(es)
Pattern Instructions
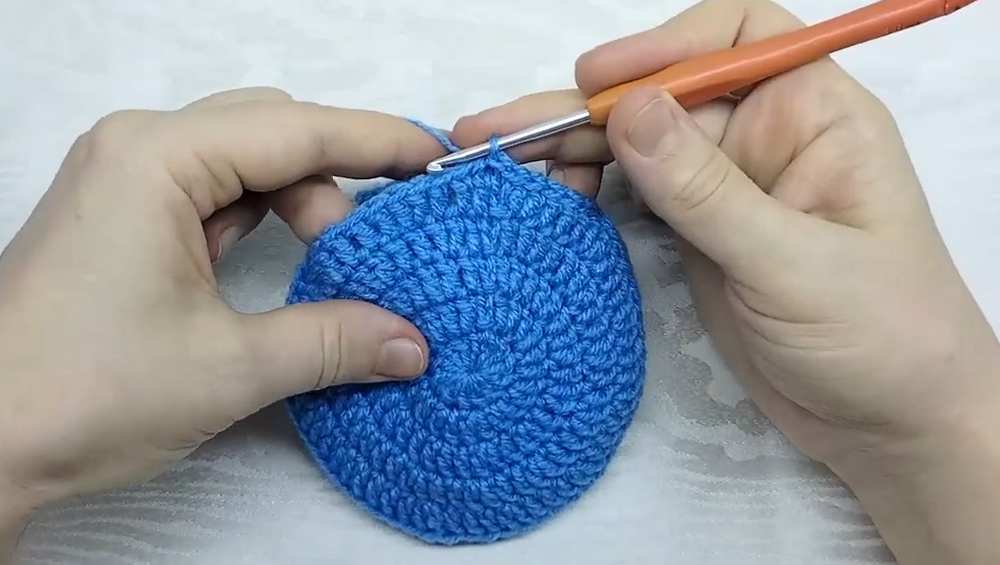
1. Main Body Discs (Make 2)
Note: These discs are worked in joined rounds using double crochets. The starting ch-2 does not count as a stitch.
Round 1: In a MR, ch 2, work 12 dc. Close the round with a sl st into the first dc. (12 sts)
Round 2: Ch 2, work 2 dc in every stitch around. Sl st to close. (24 sts)
Round 3: Ch 2, 1 dc, inc repeat around. Sl st to close. (36 sts)
Round 4: Ch 2, 1 dc, inc, 1 dc repeat 12 times around. Sl st to close. (48 sts)
Round 5: Ch 2, 3 dc, inc repeat 12 times around. Sl st to close. (60 sts)

Fasten off and weave in the ends for the first disc. Do not fasten off the second disc, as you will use the working yarn to join them.
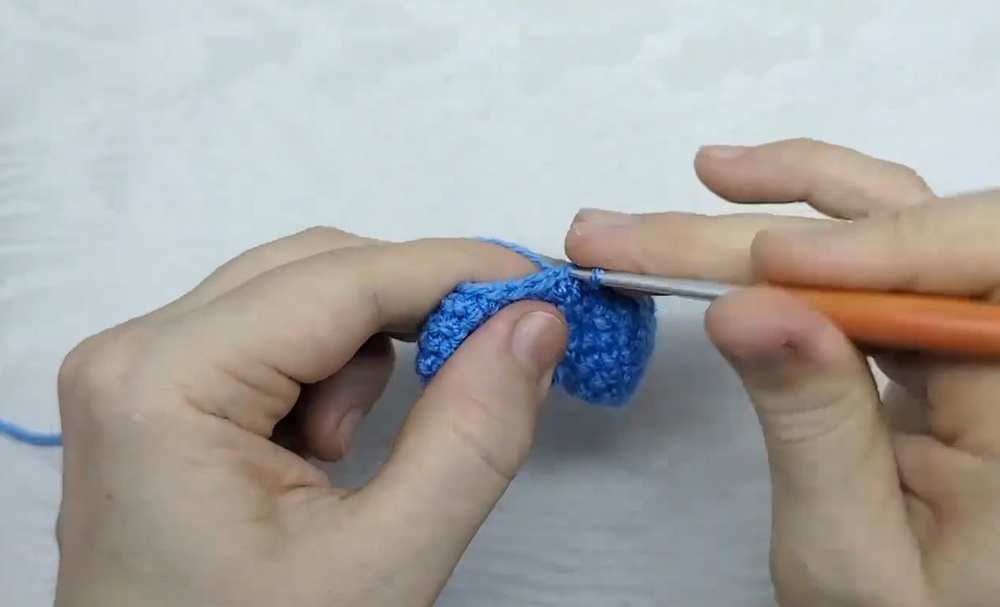
2. Joining and Creating the Mouth Closure
Put the two discs together with their wrong sides facing inward.
The Seam: Insert your hook through both layers and work 45 sl st around the edge to join the pieces. This leaves a 15-stitch opening for the mouth.
The Long Loop (Top Disc): Continuing on just the top disc layer, work 8 sl st across the opening. Chain 40, then work a sl st back into the exact same stitch to create a long loop. Work 7 sl st to finish across the top lip, and end with 1 sl st into the main side seam.
The Short Loop (Bottom Disc): Fasten on the yarn to the opposite side of the mouth on the bottom disc. Work 1 sl st into the side seam, then 8 sl st across the bottom lip. Chain 8, and sl st back into the same stitch to form a small loop. Sl st across the remaining 7 stitches to the end of the lip. Fasten off and weave in ends.
How it closes: To secure the pouch, simply thread the long 40-chain loop through the short 8-chain loop.
3. Tail Fin
Lobes (Make 2):
Round 1: 6 sc in MR. (6)
Round 2: Inc in each st around. (12)
Round 3: 1 sc, inc repeat 6 times. (18)
Round 4: Work 18 sc around. (18)
Round 5: 4 sc, dec repeat 3 times. (15)
Fasten off the first lobe. Leave the yarn attached to the second lobe.
Joining the Tail:
Round 6: Work 15 sc around the first lobe, then continue directly onto the second lobe and work 15 sc around it. (30 sts total)
Round 7: 3 sc, dec repeat 6 times. (24)
Round 8: 2 sc, dec repeat 6 times. (18)
Round 9: 1 sc, dec repeat 6 times. (12)
Round 10: Work 12 sc around. (12)
Do not stuff the tail. Fasten off, leaving a long yarn tail for sewing.
4. Side Flippers (Make 2)
Round 1: 6 sc in MR. (6)
Round 2: Inc in each st around. (12)
Rounds 3–6: Work 12 sc around. (12)
Do not stuff. Fasten off, leaving a yarn tail for sewing.
5. Water Spout Fountain
Base (Main Color): In a MR, work 1 sc, ch 1, 1 sc. Repeat this sequence until you have 5 little chain arches inside the ring. Pull the ring tight, sl st to close, and cut the yarn.
Spout Flowers (White Color): Attach white yarn to any of the 5 arches.
In the arch, work: ch 2, 1 dc, ch 1, 1 dc, ch 2, sl st (first petal completed).
Sl st into the next arch and repeat the petal pattern. Complete this for all 5 arches to create a 5-petal flower splash. Fasten off and secure all threads.
6. Eyes (Make 2)
Using dark cotton yarn, work 7 sc into a MR. Sl st to the first stitch to close the circle. Fasten off.
Assembly
Flatten the tail fin assembly and sew it to the back edge of the whale, directly opposite the mouth opening. Secure it with neat stitches on both the top and bottom.
Flatten the flippers and sew them to the sides of the body, counting roughly 5 stitches forward from where the tail is attached.
Use a hot glue gun to attach the eyes onto Round 4 of the main discs, positioning them right where the mouth seam starts to split open.
Hot glue the white water spout flower directly onto the top center of the whale’s head. Your whale pouch is complete and ready to use!
Video Tutorial to Learn Even Better
Save For Later:
