HandMade-Top: Crochet Smiling Mushroom Amigurumi with Maple Leaf for Fall
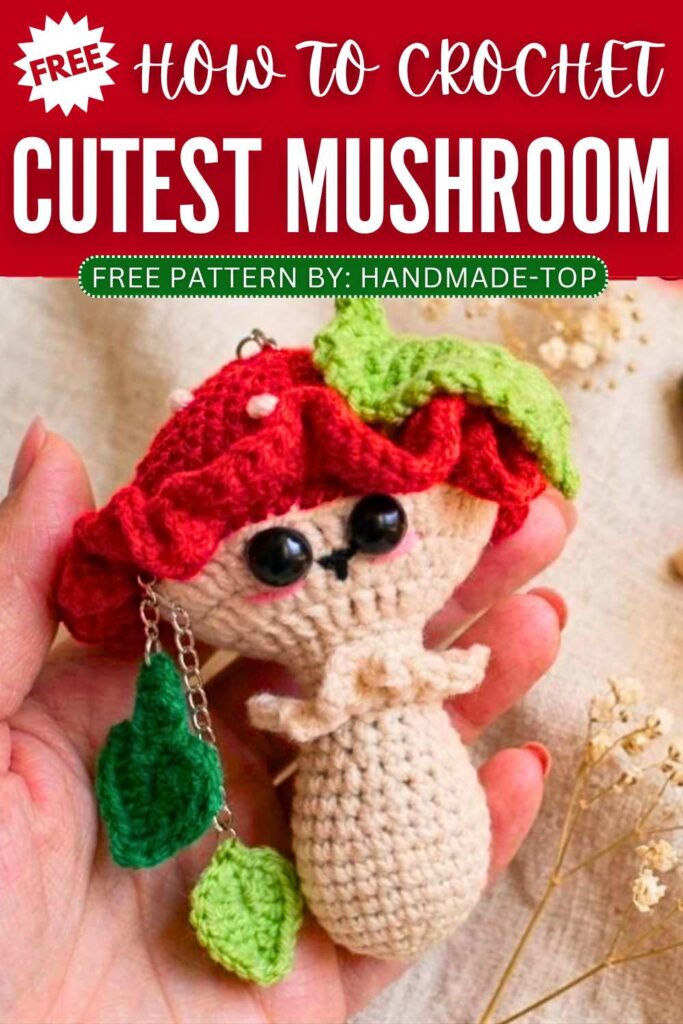
Today, let’s crochet this oh-so cute mushroom character amigurumi along with little maple leaf charms following this FREE written pattern. It looks as if a mushroom girl is wearing a wearing a ruffled toadstool bucket with with a leaf accessory. It also has cute big eyes, blush and the lovely white-spot embroidery. You can crochet this smiling mushroom as a bag charm for your fall tote bag.
Smiling Mushroom Amigurumi with Maple Leaf
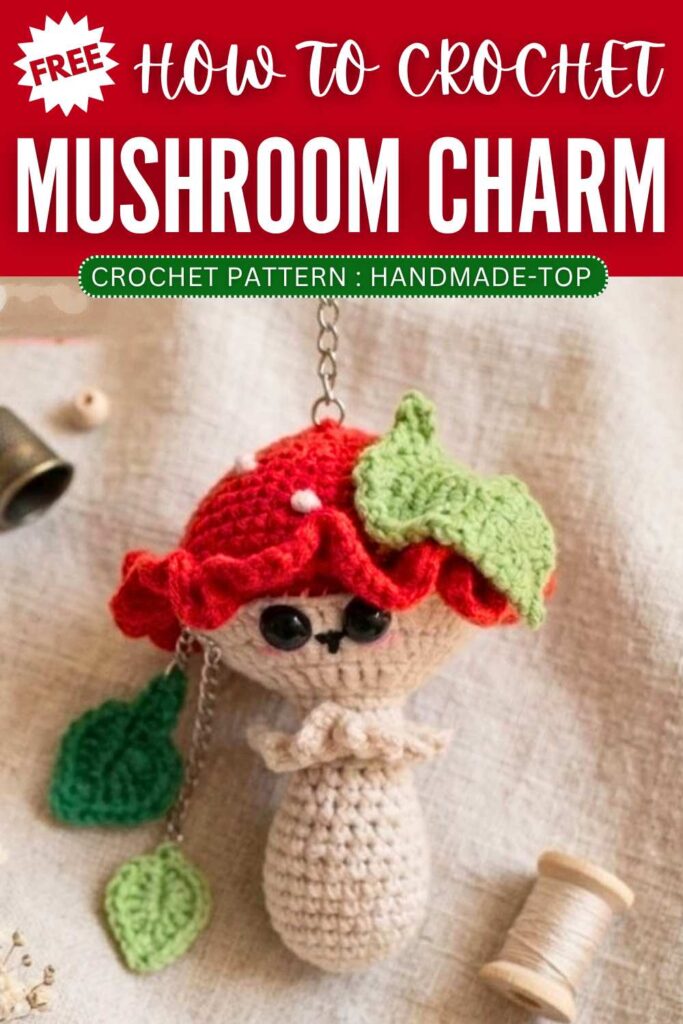
This crochet mushroom also has a ruffled no-sew skirt crocheted by working in the FLO of the stem of the amigurumi mushroom. You can also crochet this mushroom character as a present for the Halloween especially for cosplay. Now, continue reading for the full crochet mushroom keychain pattern.
The designer behind this crochet character mushroom keychain is @HandMade-top – she always crochets the kawaii amigurumi with special focus on the face. I like that idea to give character to different object when crocheted as amigurumi and combine many themes and that’s what she does.
Crochet Character Mushroom Amigurumi with Ruffled
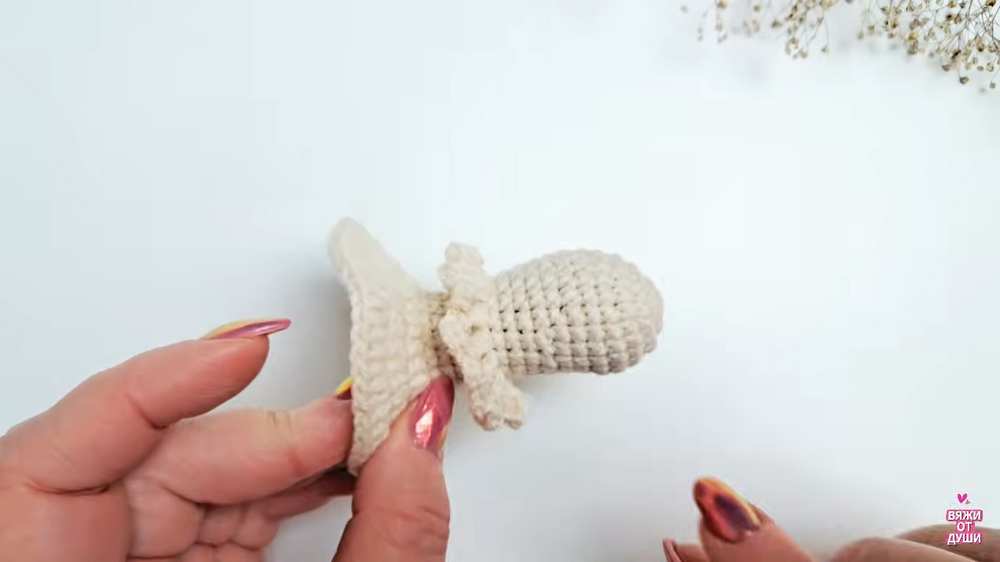
Learn how to crochet the stem of a charming amigurumi mushroom keychain. The stem is designed with a slight, natural curve for a more realistic and cute look, starting from a magic ring and working its way up.
You will learn to create a flared base and a frilly “skirt” (the annulus) around the stem by crocheting into the front loops of a specific round, before finishing it off with some stuffing to give it shape.
Materials
Yarn (white or light cream for the stem)
Crochet hook suitable for your yarn
Stitch marker (optional, but helpful for working in rounds)
Toy stuffing (Fiberfill)
Yarn needle and scissors
Abbreviations
MR: Magic Ring
sc: Single crochet
inc: Increase (2 sc in one stitch)
dec: Decrease (2 sc together)
dc: Double crochet
dc-inc: Double crochet increase (2 dc in one stitch)
sl st: Slip stitch
ch: Chain
BLO: Back loops only
FLO: Front loops only
Mushroom Stem Pattern
Round 1: 8 sc in a Magic Ring [8]
Round 2: 8 inc [16]
Round 3: (1 sc, inc) repeat 8 times [24]
Rounds 4-6: 24 sc [24] (3 rounds total)
Round 7 (Forming the slight curve): 8 sc, 4 dec, 8 sc [20]
Round 8: 20 sc [20]
Round 9: 4 sc, dec, 8 sc, dec, 4 sc [18]
Round 10: (7 sc, dec) repeat 2 times [16]
Rounds 11-12: 16 sc [16] (2 rounds total)
Round 13: Working in BLO, 16 sc [16] (The unworked front loops will be used later for the skirt)
Rounds 14-15: 16 sc [16] (2 rounds total)
Round 16: (7 sc, inc) repeat 2 times [18]
Round 17: (5 sc, inc) repeat 3 times [21]. End the round with a sl st instead of a regular sc to transition smoothly.
Round 18: ch 3 (counts as first dc), 1 dc, 1 dc-inc, (2 dc, dc-inc) repeat around until the end. Finish with a sl st to close the round [28]
Round 19: ch 3 (counts as first dc), dc-inc, (1 dc, dc-inc) repeat 13 times around. Finish with a sl st [42]
Round 20: ch 3 (counts as first dc), 1 dc, dc-inc, (2 dc, dc-inc) repeat 13 times around. Finish with a sl st and cut the yarn [56]
Mushroom Skirt (Annulus)
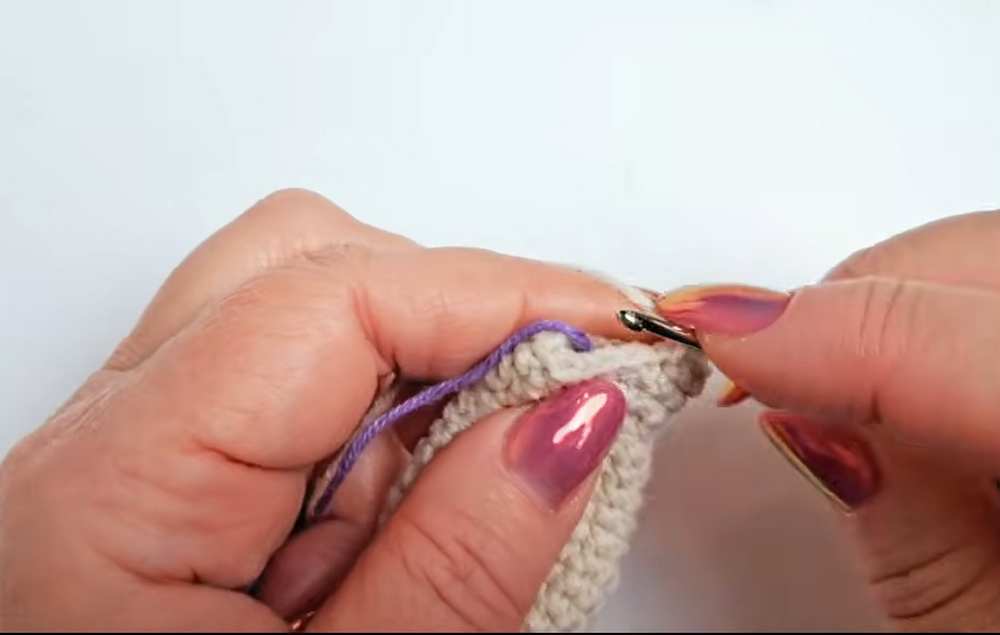
Step 1: Attach your yarn to the unworked FLO of Round 13.
Step 2: ch 3 (counts as the first dc), ch 3 more.
Step 3: 1 dc in the next front loop, ch 3.
Step 4: Repeat (1 dc in the next loop, ch 3) around the entire round.
Step 5: Finish with a sl st into the starting chain. Cut the yarn, weave in the ends, and hide them inside the stem.
Step 6: Stuff the stem firmly with fiberfill, shaping the curve as you go.
Part 2
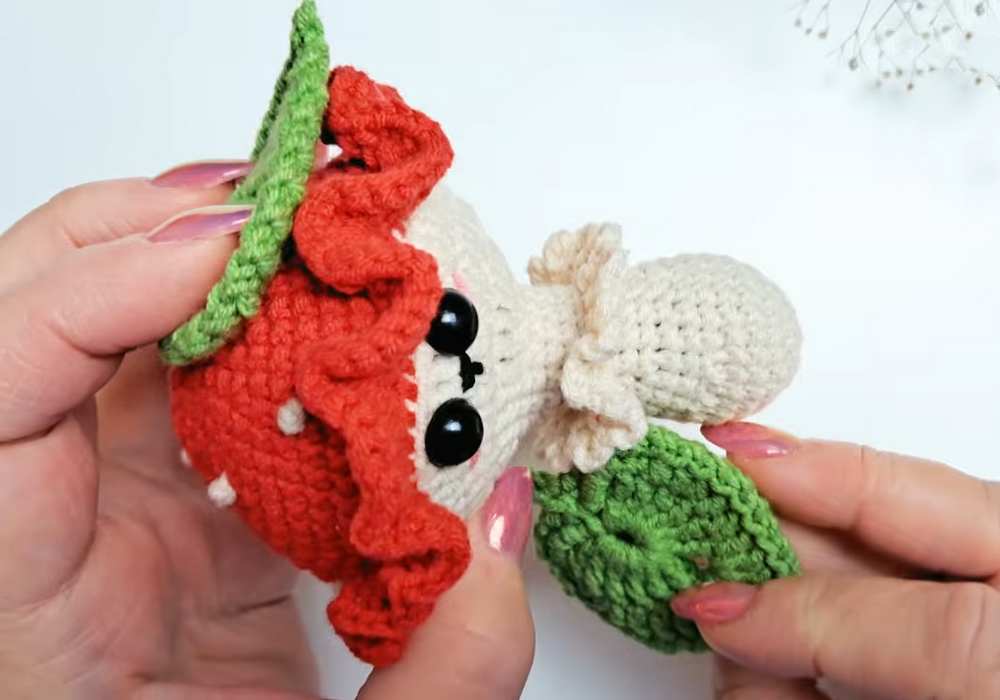
Now, let’s crochet the classic red cap (with a fun, frilly border), adding the iconic white spots using French knots, and assembling the mushroom by sewing the cap onto the stem you made in part 1.
Finally, you’ll learn how to add adorable kawaii details like safety eyes, an embroidered nose, cute blushy cheeks, and even optional decorative crochet leaves to finish off your keychain.
Materials:
Yarn in Red (for the cap), White (for the spots), Black/Brown (for the face), and Pink (for the cheeks)
Crochet hook suitable for your yarn
Toy stuffing (Fiberfill)
Tapestry/Yarn needle and scissors
Safety eyes (approx. 10 mm) or glue-on eyes
Keychain hardware
Abbreviations (US Terms):
MR: Magic Ring
sc: Single crochet
inc: Increase (2 sc in one stitch)
dec: Decrease (2 sc together)
dc: Double crochet
sl st: Slip stitch
ch: Chain
FLO: Front Loops Only
( ) * X: Repeat the instructions inside the parentheses X times
[ ]: Total number of stitches at the end of the round
Mushroom Cap:
Use Red yarn.
Round 1: 7 sc in a MR [7]
Round 2: 7 inc [14]
Round 3: (1 sc, inc) * 7 [21]
Round 4: 21 sc [21]
Round 5: (1 sc, inc, 1 sc) * 7 [28]
Round 6: 28 sc [28]
Round 7: (3 sc, inc) * 7 [35]
Round 8: (2 sc, inc, 2 sc) * 7 [42]
Round 9: (5 sc, inc) * 7 [49]
Round 10: 49 sc [49]
Round 11: (3 sc, inc, 3 sc) * 7 [56]
Rounds 12-13: 56 sc [56]
Round 14: Working in FLO, (7 sc, inc) * 7. Finish the last stitch with a sl st [63]
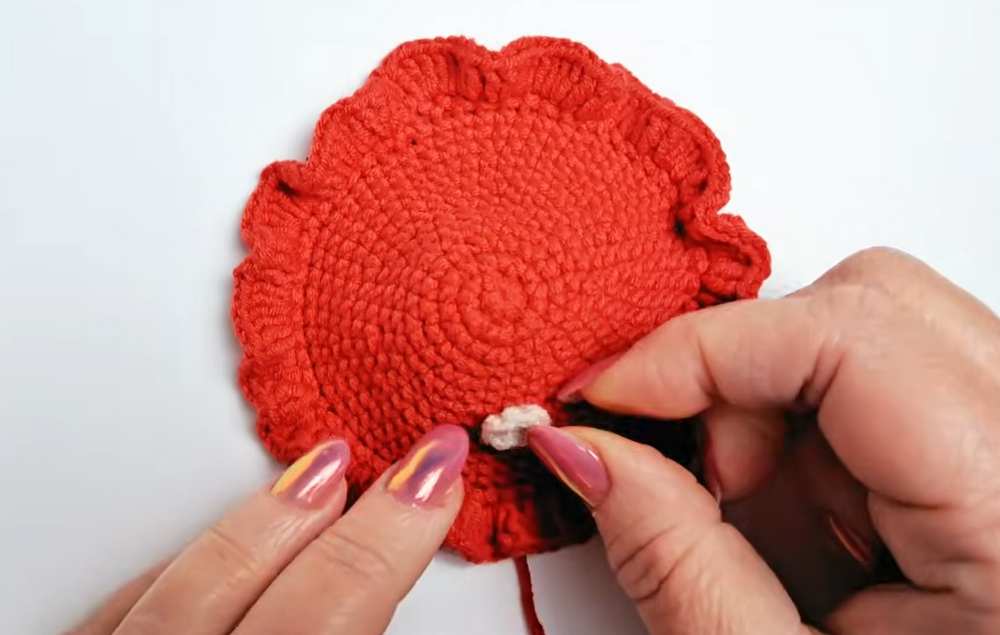
Round 15 (Frilly Border): ch 3 (counts as first dc). In the same stitch, work 1 dc. In the next stitch, work 3 dc. Continue alternating (2 dc in one stitch, 3 dc in the next stitch) all the way around. Finish with a sl st and leave a long tail for sewing.
Cap Decoration (White Spots):
Before sewing the cap to the stem, pull the red yarn tail to the inside (near the unworked back loops of Round 14) so it’s ready for sewing later.
Thread white yarn onto your tapestry needle.
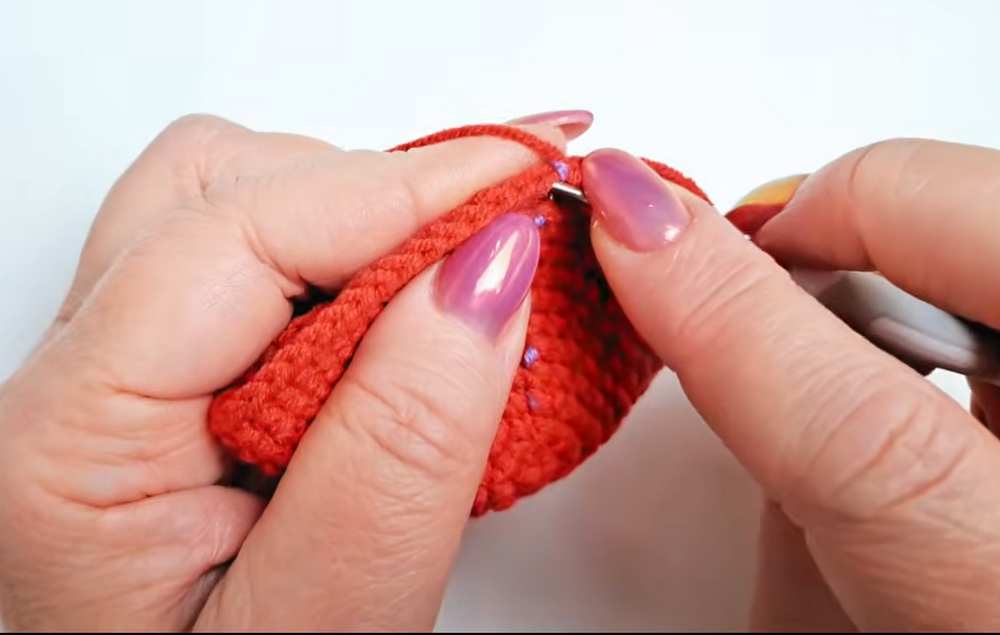
Embroider the mushroom spots using the “French knot” technique. To do this, wrap the yarn around the needle 3 times, insert the needle into an adjacent stitch, and pull through without pulling too tightly. Repeat randomly all over the cap. (Alternatively, you can crochet small white circles with 6 sc in a MR and sew them on, or glue on beads).
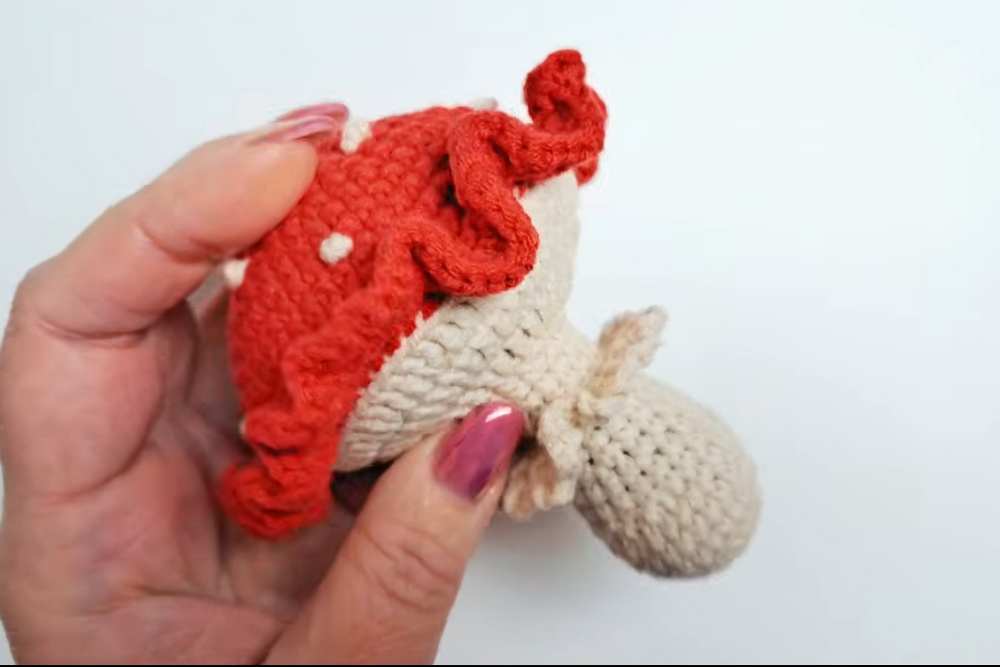
Assembly:
Align the back loops of Round 14 of the cap with the open top of the stem you made in Part 1.
Using the long red tail, sew the cap to the stem loop by loop.
Before completely closing the gap, stuff the cap generously with fiberfill to give it a nice, round shape. Finish sewing and hide the yarn end inside the mushroom.
Face Details (Kawaii Embellishments):
Eyes: Glue or insert your 10 mm eyes onto the stem, leaving a small gap between them.
Nose/Mouth: Using black or dark brown yarn, embroider a tiny “V” shape or straight line centrally below the eyes.
Cheeks: Using a strand of pink yarn, embroider a small horizontal line (about 3 stitches wide) right below the outer corner of each eye.
Finishing Touches:
Attach your keychain ring to the top center of the mushroom cap.
If desired, sew or attach small crocheted autumn leaves to the stem or directly onto the keychain chain to complete the look.
Video Tutorial to Learn Even Better
Save For Later: