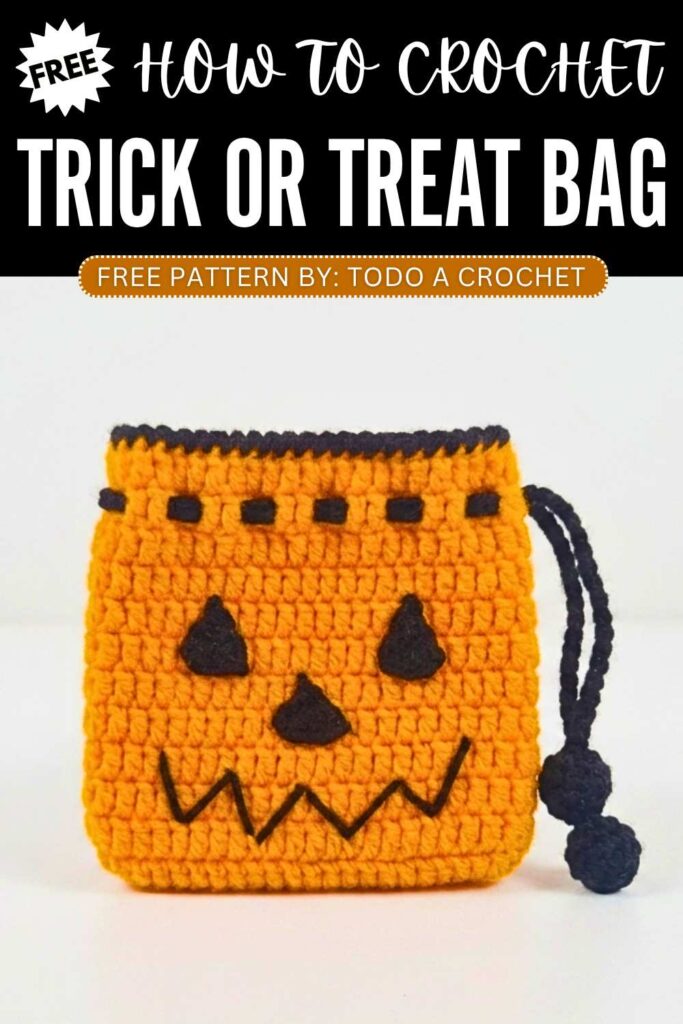
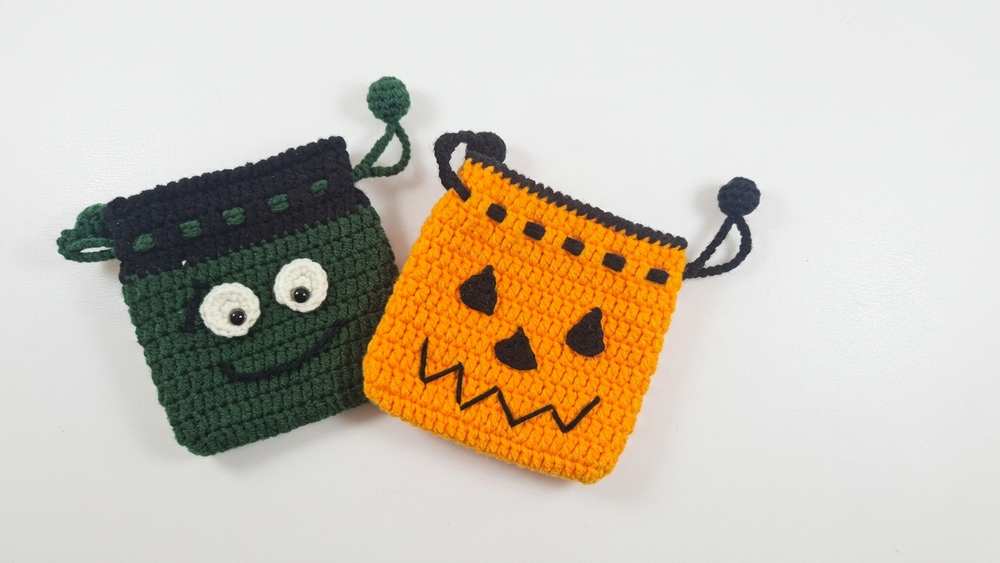
2-in-1 Crochet Halloween Drawstring Pouches for Kids
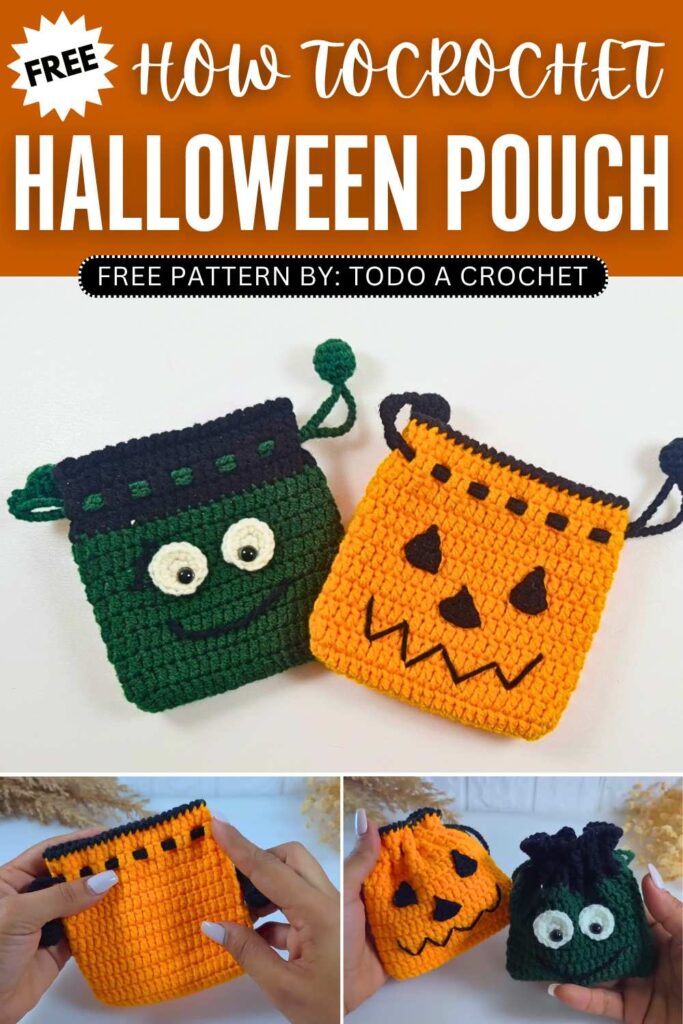
In this 2-in-1 pattern, you will learn how to crochet these 2 mini Halloween drawstring pouches using the traditional drawstring pouch base. Learn crocheting either the Jack-o-Lantern pumpkin drawstring pouch or Frankenstein drawstring pouch following this same pattern. You can use it as a trick-or-treating crochet bag or also the amigurumi gift pouch for kids.
Crochet Halloween Drawstring Pouches Pattern
The base pattern for these Halloween pouches, in particular, is easy to crochet for beginners. You will also need basic zig zag embroidery to crochet these drawstring pouches. The strings also have crochet sphere balls attached. With the double crochet, it also works up fast. So, continue reading for the full pattern.
About the designer: The designer behind these cute crochet Halloween drawstring pouches is @TodoaCrochet – she crochets UNIQUE amigurumi from the from animals to crochet characters! Be sure to support her!
How to Crochet Halloween Pouches for Kids
This is a fun and simple crochet project for making miniature Halloween-themed candy bags! It teaches you how to add spooky and cute details, like a stitched jack-o’-lantern face for an orange bag and slightly lopsided eyes for a zombie bag.
These little pouches are perfect for giving away small candies, hanging as Halloween decorations, or gifting as festive party favors. They work up fast, and you can easily customize the facial expressions with some simple embroidery or hot glue.
Materials Needed
Yarn: Cotton or acrylic yarn in Black (for the jack-o’-lantern details) and White/Cream (for the zombie eyes). Note: The base bags are pre-made for this tutorial using orange and green yarn.
Crochet Hooks: 2.0 mm (for the small pumpkin triangles) and 2.5 mm (for the zombie eyes).
Eyes: Two small black safety eyes or amigurumi beads (you can also embroider these if you prefer).
Tools: Tapestry needle (yarn needle) and scissors.
Extras: Hot glue gun (for attaching the pieces, though you can choose to sew them if preferred).
Abbreviations (US Terms)
MR = Magic Ring
ch = Chain
sc = Single crochet
inc = Increase (2 single crochets in the same stitch)
sl st = Slip stitch
st(s) = Stitch(es)
FO = Fasten off
Crochet Pattern
(Note: The video focuses on adding Halloween appliques to a pre-made mini pouch. If you do not have a mini bag base, you will need to crochet a small drawstring pouch first).
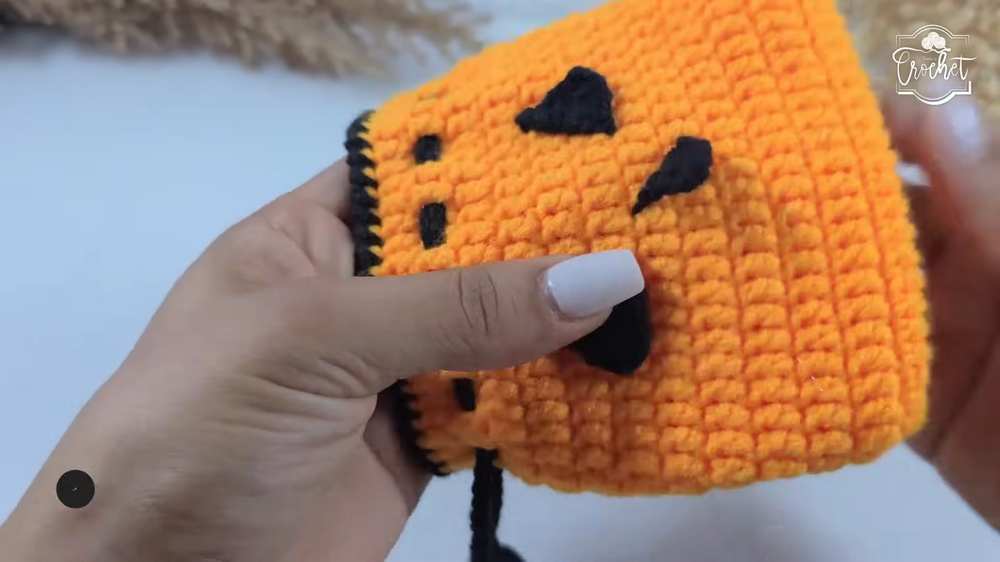
Part 1: Jack-o’-Lantern Face (Orange Bag)
Triangles for Eyes and Nose (Make 3 using Black yarn & 2.0mm hook):
Row 1: Make a MR. Ch 1, 1 sc into the ring. Pull the tail to close the ring slightly. (1 st)
Row 2: Ch 1, turn your work. 3 sc into the single crochet stitch from Row 1. (3 sts)
Row 3: Ch 1, turn your work. 1 inc in the first st, 1 sc in the next st, 1 inc in the last st. (5 sts) FO, leaving a long tail. Pull the magic ring tail very tight so the triangle forms a sharp top point. If you want larger triangles, simply add another row with an increase at each end.
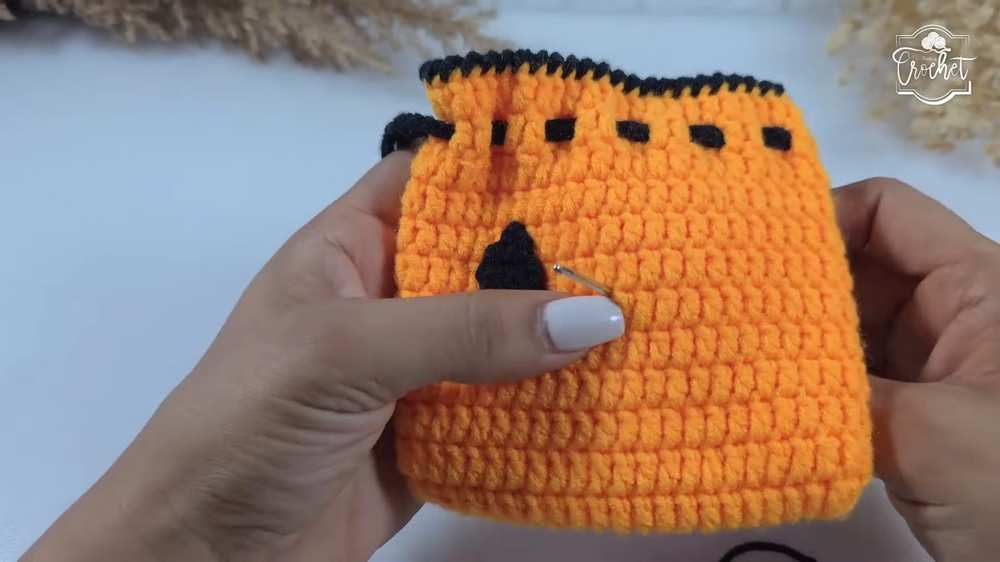
Jack-o’-Lantern Assembly:
Determine where you want the face on your orange bag.
Use the yarn tails of the triangles to position them on the bag (pulling the tails to the inside of the bag to hold them in place). Place two triangles for the eyes and one in the center for the nose.
Once you like the placement, apply hot glue to the back of each triangle and press them down to secure.
Thread your tapestry needle with black yarn and embroider a jagged, “stitched” mouth directly onto the bag underneath the nose. Make a large V-shape or zigzag pattern, stitching in and out of the bag’s stitches.
Hide and trim all ends inside the bag.
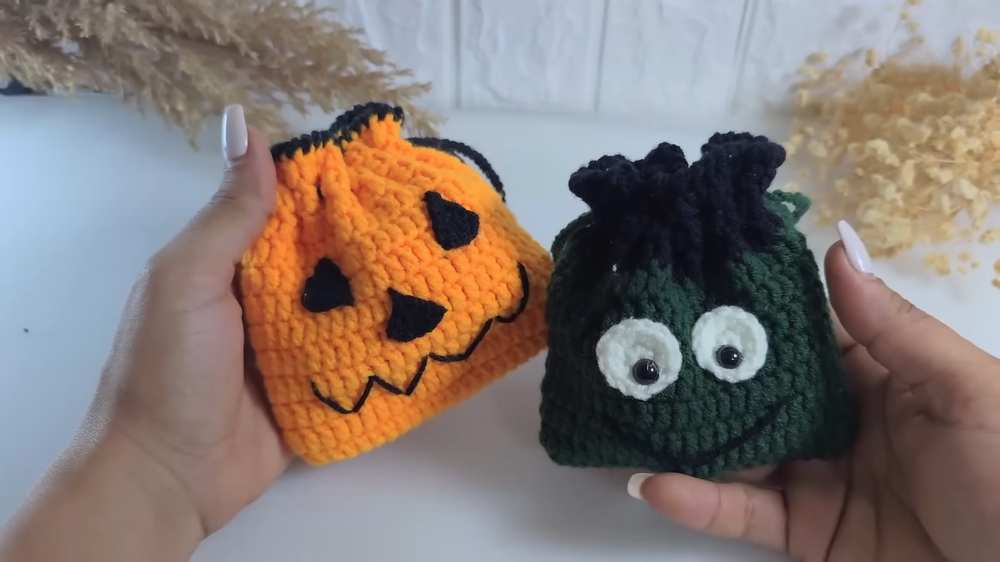
Part 2: Zombie Face (Green Bag)
Zombie Eye Whites (Make 2 using White/Cream yarn & 2.5mm hook):
Round 1: Make a MR. Ch 1, 6 sc into the ring. Pull tight to close the ring. Sl st to the first st to join. (6 sts)
Round 2: Ch 1, 6 inc around. (12 sts) FO, leaving a long tail. Use the invisible join method to finish: Thread the tail onto a needle, pass it under both loops of the second stitch of the round, then back down through the center of the last stitch made. Weave in the ends.
Zombie Assembly:
Figure out the placement for the eyes on the green bag.
Use hot glue to stick the white eye bases onto the bag. Place them slightly askew or uneven for a fun zombie look.
Take your small black amigurumi safety eyes (or cut off the back pegs if needed) and hot glue them onto the white circles. Alternatively, you can embroider a black dot or crochet a tiny black circle for the pupils.
Fill your cute Halloween bags with small candies!
Video Tutorial to Learn
Pin For Later: