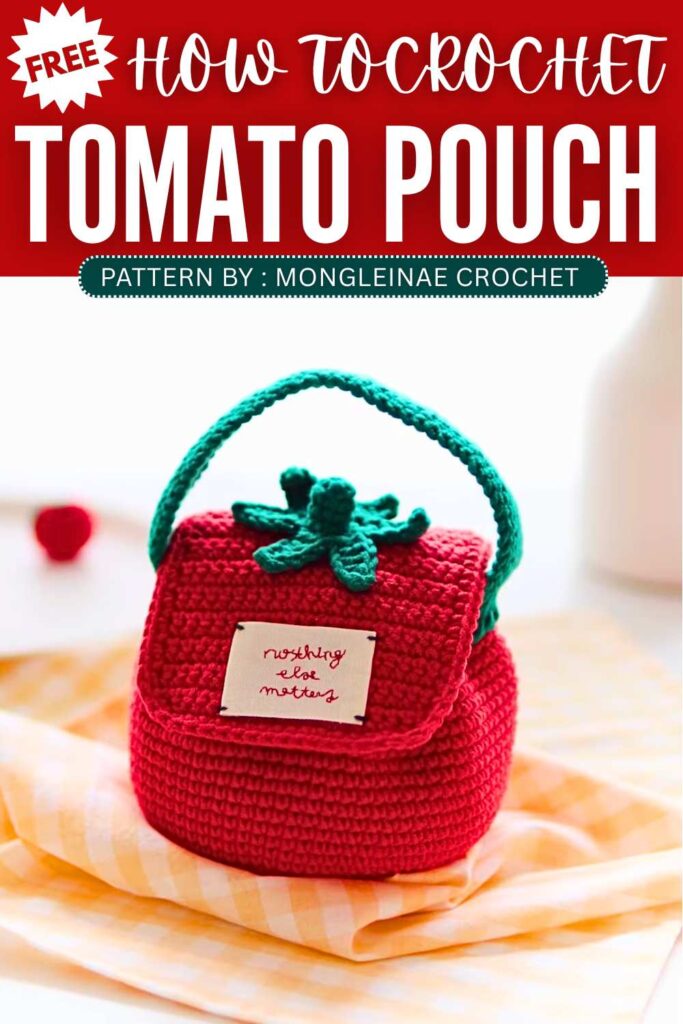
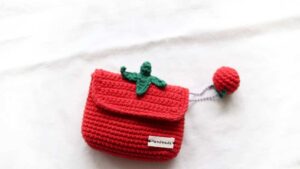
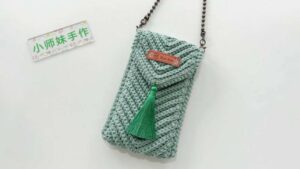
Crochet Tomato Pouch Bag Pattern For Summer
Turn simple crochet stitches into tomato-shaped pouch with this fun handmade project. The round red body looks like a real tomato, while green leaf details on top give it a fresh and playful style. A drawstring closure keeps small items safe inside, and the thick crochet handle makes the bag strong and easy to carry. The finished pouch is both useful and decorative, perfect for gifts or everyday storage.
Crochet Tomato Pouch Bag Pattern
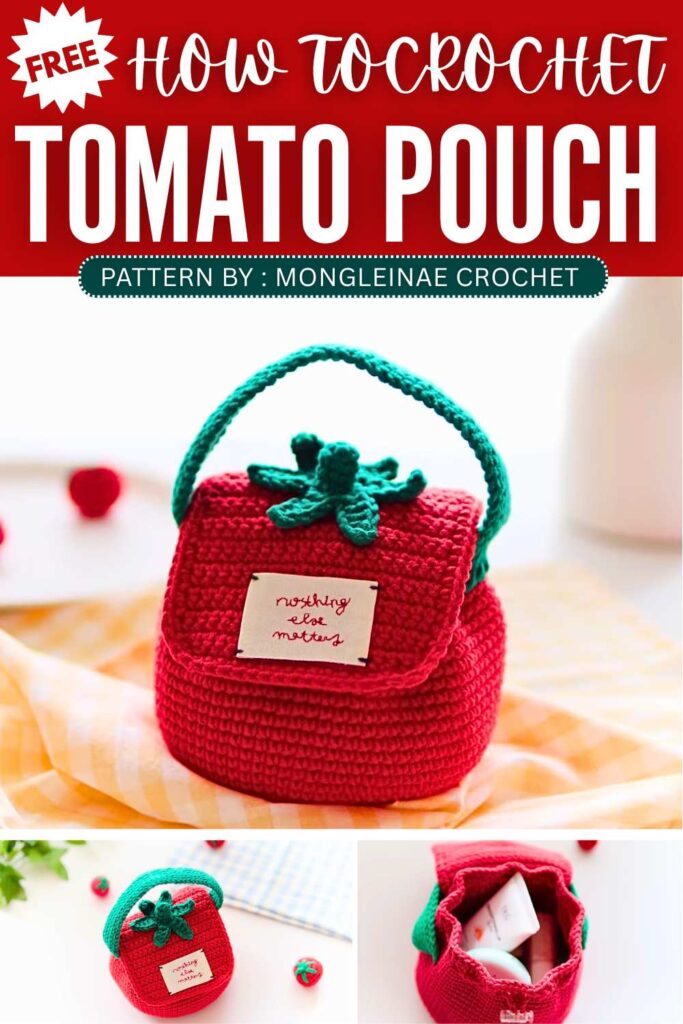
The designer of this pattern is @mongleinae. She makes themed crochet pouches and little decorations that are always elegant and gift-ready. In one word, she is among the most CREATIVE crochet designers whose work I have covered so far. Just take a look at her octopus pouch!
Be sure to subscribe to her channel for more of creative crochet patterns and to support her
Step by Step Pattern:
Material List
Yarn:
Main Color (Red): Approx. 57g (Prepare about 1.5 skeins)
Accent Color (Green): Small amount for the stem and leaves
Crochet Hook: Size 5/0 (3.0mm) — Note: Use a 6/0 (3.5mm) hook if you want to make the pouch slightly larger
Notions: Scissors, tapestry needle, stitch markers, fabric glue/glue gun (for attaching the stem)
Optional Hardware: 1 drawstring cord stopper, 1 sew-on label, 1 set of magnetic snap buttons
Abbreviation List
MR: Magic Ring
Ch: Chain
Sl st: Slip stitch
Sc: Single crochet
Inc: Increase (2 single crochet in the same stitch)
Dec: Invisible decrease (Single crochet 2 stitches together using front loops only)
Hdc: Half double crochet
Dc: Double crochet
Blo: Back loop only
Step-by-Step Pattern
1. Pouch Body (Red Yarn)
The finished base measures approximately 14cm wide, and the height is about 13cm excluding the handle.
Round 1: Start with a MR. Work 7 sc into the ring. Join with a sl st to the first sc, ch 1. (7 sts)
Round 2: Work 7 Inc (2 sc in each st around). Join with a sl st, ch 1. (14 sts)
Round 3: [1 sc, 1 Inc] x 7 times. Join with a sl st, ch 1. (21 sts)
Round 4: [2 sc, 1 Inc] x 7 times. Join with a sl st, ch 1. (28 sts)
Round 5: [3 sc, 1 Inc] x 7 times. Join with a sl st, ch 1. (35 sts)
Round 6 (Staggered Increases): 2 sc, 1 Inc, [4 sc, 1 Inc] x 6 times, then 2 sc in the remaining stitches. Join with a sl st, ch 1. (42 sts)
Round 7: [5 sc, 1 Inc] x 7 times. Join with a sl st, ch 1. (49 sts)
Round 8 (Staggered Increases): 3 sc, 1 Inc, [6 sc, 1 Inc] x 6 times, then 3 sc in the remaining stitches. Join with a sl st, ch 1. (56 sts)
Round 9: [7 sc, 1 Inc] x 7 times. Join with a sl st, ch 1. (63 sts)
Round 10 (Staggered Increases): 4 sc, 1 Inc, [8 sc, 1 Inc] x 6 times, then 4 sc in the remaining stitches. Join with a sl st, ch 1. (70 sts)
Round 11: [9 sc, 1 Inc] x 7 times. Join with a sl st, ch 1. (77 sts)
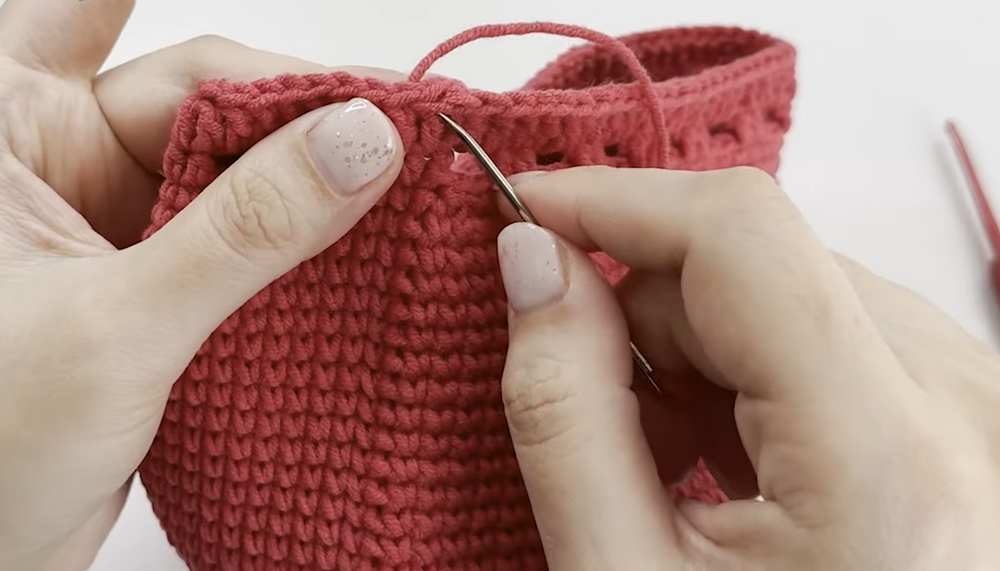
Rounds 12–29 (Plain Rounds): Work 1 sc in each stitch all the way around. Join with a sl st and ch 1 at the end of every round. (77 sts per round)
Round 30 (Decrease Round): 14 sc, 1 Dec, [13 sc, 1 Dec] x 3 times, 14 sc, 1 Dec. Join with a sl st. (72 sts)
Round 31 (Drawstring Mesh Round): Ch 2. Work 1 hdc in the first st (where you joined), 1 hdc in the next st. [Ch 2, skip 2 sts, 1 hdc in each of the next 2 sts]. Repeat from * to * around. Finish with ch 2, then join with a sl st to the first hdc.
Round 32 (Top Ruffle Round): Ch 3. Work 1 dc into the first st, 1 dc in the next hdc st. Work 2 dc directly into the Ch-2 space, then 1 dc in each of the next 2 hdc stitches. Repeat from * to * around. Join with a sl st to the first dc, fasten off, and weave in ends.
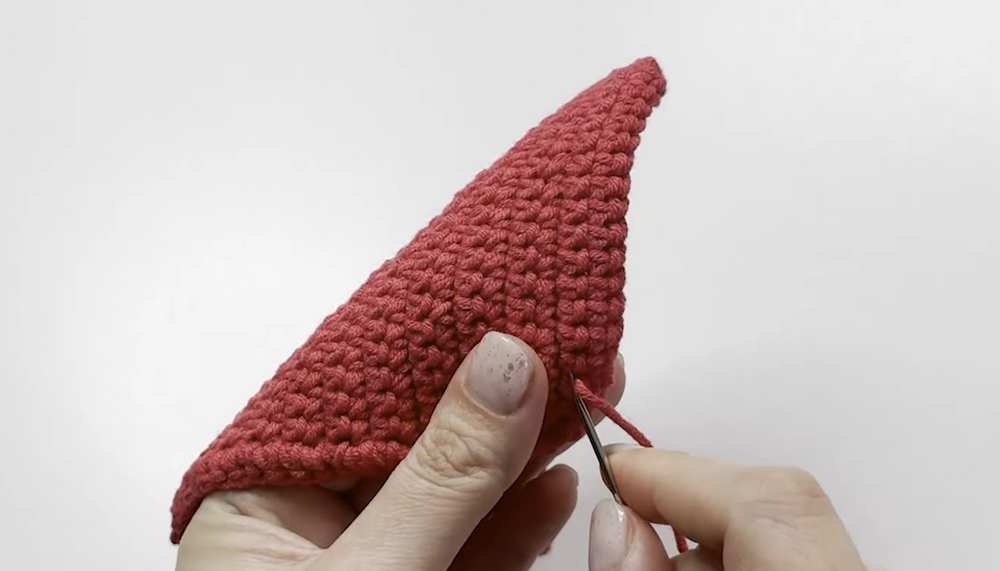
2. Pouch Lid / Flap (Red Yarn)
Row 1: Ch 21. Starting from the 2nd chain from hook, work 1 sc in each chain across. Ch 1, turn. (20 sts)
Row 2: Work 1 sc in each stitch across. Ch 1, turn. (20 sts)
Rows 3–22: Repeat Row 2 to create a flat, rectangular panel. (20 sts per row)
Row 23 (Decrease Row): Work 1 Dec over first 2 sts, 16 sc across, 1 Dec over final 2 sts. Ch 1, turn. (18 sts)
Row 24 (Decrease Row): Work 1 Dec over first 2 sts, 14 sc across, 1 Dec over final 2 sts. (16 sts)
Flap Edging: Do not turn. Continue down the sides to crochet a border. Work 1 sc into the end of every row. At corners, work 3 sc into the same stitch to turn. Work 1 sc across the bottom chain edge, 3 sc in the corner, and 1 sc per row up the other side. Fasten off with a long tail.
Tip: Steam-iron the piece flat to prevent curling.
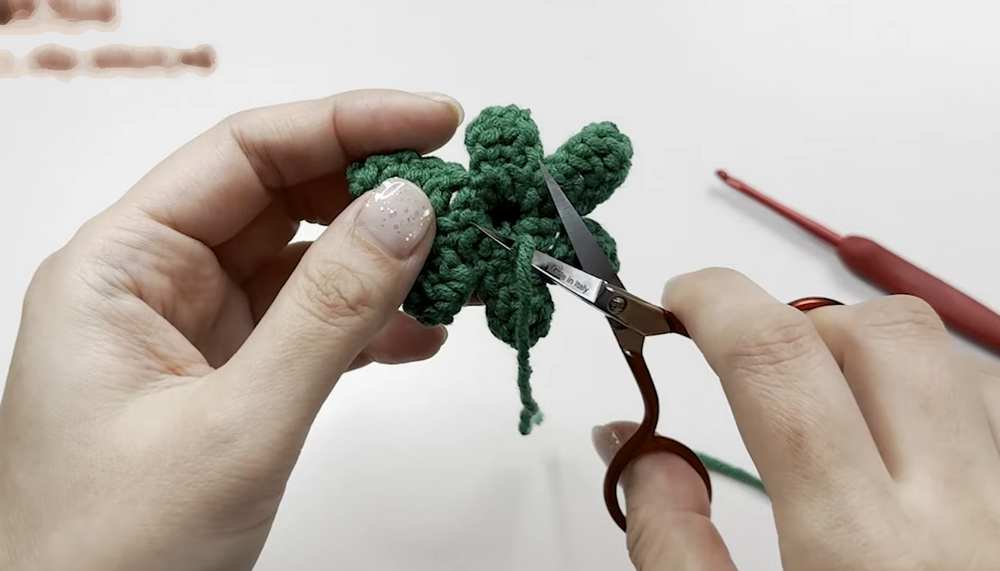
3. Tomato Stem & Leaves (Green Yarn)
Round 1: Start with a MR. Work 6 sc into the ring. Join with a sl st, ch 1. (6 sts)
Round 2 (Stem Base): Work 1 Blo sc in each of the 6 stitches. Join with a sl st, ch 1. (6 sts)
Round 3: Work 1 sc in each of the 6 stitches. Join with a sl st, ch 1. (6 sts)
Round 4: Work 6 Inc (2 sc in each st). Join with a sl st. (12 sts)
Round 5 (Leaf Extensions): [Ch 6. Skip 1st ch, 1 sc in 2nd ch, 1 hdc in next ch, 1 dc in each of the remaining 3 chains. Skip 1 stitch on base, sl st into next stitch]. Repeat 6 times total to create 6 leaves. Fasten off.
4. Handle / Strap (Green Yarn)
Leave a long tail, then Ch 6.
Row 1 (Forward Pass): Skip first ch. Insert hook into 2nd ch, yarn over and pull up a loop (leave on hook). Repeat for all chains (6 loops on hook).
Row 1 (Return Pass): Yarn over, pull through 1 loop. [Yarn over, pull through 2 loops] until 1 loop remains.
Row 2 onwards: Insert hook under the vertical bars, yarn over, and pull up a loop for each bar (6 loops total). Complete the return pass (pull through 1, then pull through 2s).
Repeat until the strap is 22cm long. Steam-iron to prevent curling.
Assembly & Finishing Instructions
Drawstring Cord: Chain a separate long string with red yarn. Thread it through the mesh spaces of Round 31. Add the cord stopper and tie knots at the ends.
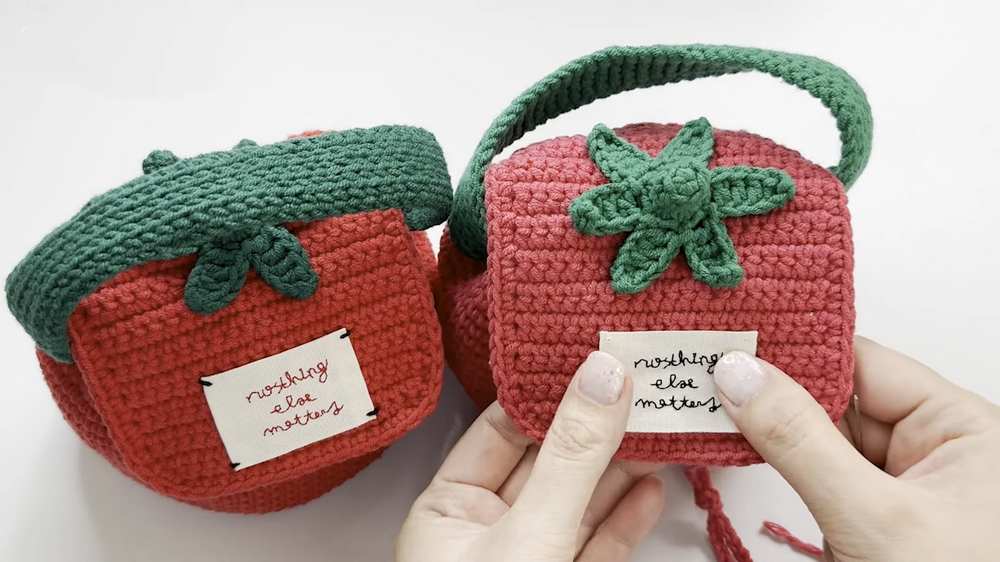
Attaching the Flap: Align the straight side of the lid against the back of the pouch body, roughly 3 rounds below the drawstring line. Sew across using a backstitch.
Attaching the Handle: Position strap ends on the left and right sides, 4 rounds below the top ruffle. Sew both ends securely.
Gluing the Stem: Center the green leaf piece onto the top center of the lid. Affix flat using glue or adhesive.
Final Details: Sew the accent label onto the lower front of the flap. Optionally, sew a magnetic snap button beneath the lid.
Video Tutorial:
You may also like
Free Crochet Tomato Wallet & Pouch For Summer
Free Crocheted Phone Pouch Pattern For Beginners

Crochet Bunny Phone Pouch Bag Pattern Free

Puksanow: How to Crochet ELEGANT 2-in-1 Watermelon Buttoned Pouch for Summer

Crochet Whale Pouch Bag Pattern For Summer

Crochet Fish Pouch Bag Pattern For Summer Outgoings