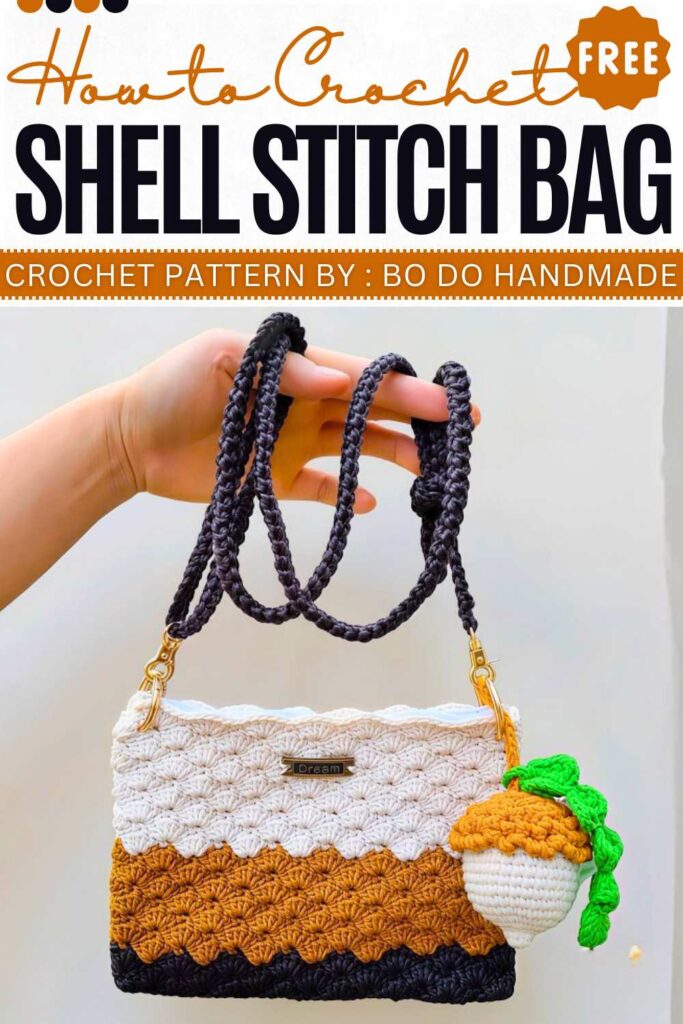
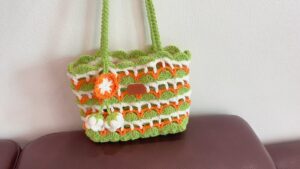
Crochet Shell Stitch Bag Pattern For Autumn
Perfect for fall days, this crochet shell stitch bag adds warmth and charm to your outfit. The design uses a shell stitch pattern that creates a soft, fan-like texture. It works as a crossbody or phone pouch with space for small daily items. You can close it with a zipper or snap button, and the adjustable strap makes it easy to carry. Small charms or beads can be added for a simple handmade touch.
Material List
Yarn: Solid-colored braided cord (Sợi dệt) – approximately 1 to 2 rolls depending on size.
Hook: Recommended 2.5mm to 3.0mm (adjust based on your yarn tension).
Accessories: 2 D-rings or circular rings, 1 lobster clasp (for the strap), zipper or magnetic snap, stitch markers, tapestry needle, scissors.
Optional: Decorative charms (e.g., chestnut or cherry keychain) and stickers/patches for embellishment.
Abbreviation List
ch: Chain
sc: Single crochet
dc: Double crochet
sl st: Slip stitch
st(s): Stitch(es)
Shell: 5 double crochets in the same stitch.
1. The Bag Base
Initial Chain: Create a slip knot and chain a multiple of 6. For a width of ~18cm, chain 42.
Foundation Round:
ch 1 (does not count as a stitch).
In the 42nd ch, work 3 sc. Mark the first sc with a stitch marker.
Work 1 sc in each ch until the last ch.
In the last ch, work 5 sc to turn the corner.
Continue along the opposite side of the chain, working 1 sc in each ch.
In the final ch (where you started), work 2 more sc (Total of 5 sc at this end to match the other side).
sl st into the marked first sc. Pull tight to hide the seam. [Total sts must be a multiple of 6].
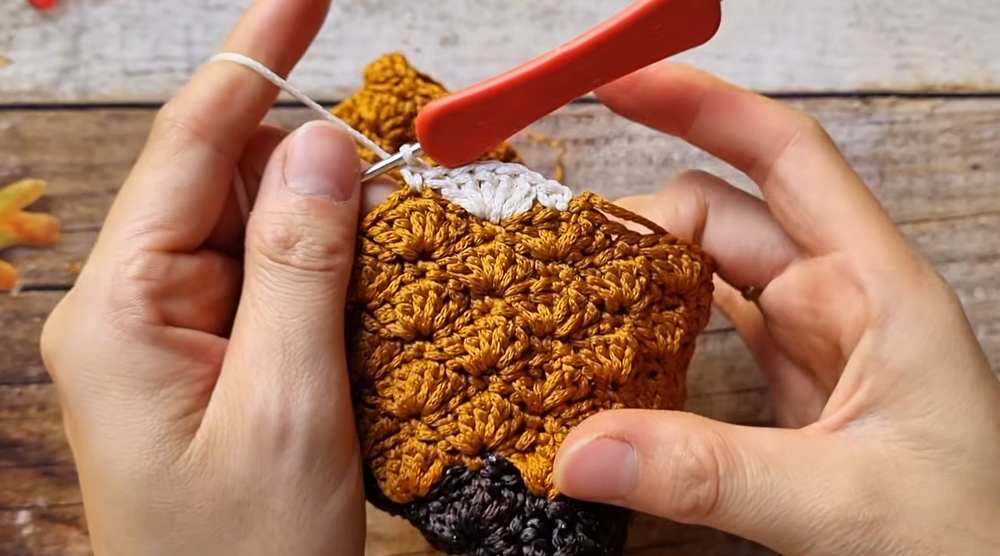
2. The Shell Body Pattern
The shell pattern alternates every row to create a staggered effect.
Row 1 (First Shell Row):
ch 1, 1 sc in the same st as sl st. Mark this sc.
Skip 2 sts, work a Shell (5 dc) in the next st.
Skip 2 sts, 1 sc in the next st.
Repeat Skip 2, Shell, Skip 2, sc all the way around.
End with skip 2, then sl st into the first sc. Pull tight.
Row 2 (Staggered Shell Row):
ch 3 (counts as 1 dc). Mark the 3rd chain.
Work 2 dc in the same st as sl st (this creates a half-shell).
Look at the shell from the row below: find the 3rd (middle) dc. Work 1 sc into that stitch.
In the sc from the row below, work a full Shell (5 dc).
Repeat 1 sc in the middle of the shell, 1 full shell in the sc around.
To finish the row: Work 2 dc in the very first st (joining the starting half-shell).
sl st into the marked 3rd chain.
Row 3 and Beyond:
Row 3: Repeat Row 1 (starting with a sc in the sl st space).
Row 4: Repeat Row 2 (starting with the half-shell/ch 3).
Continue alternating until you reach your desired height (approx. 16cm). You can change yarn colors by finishing a row and joining the new color in the middle of a shell.
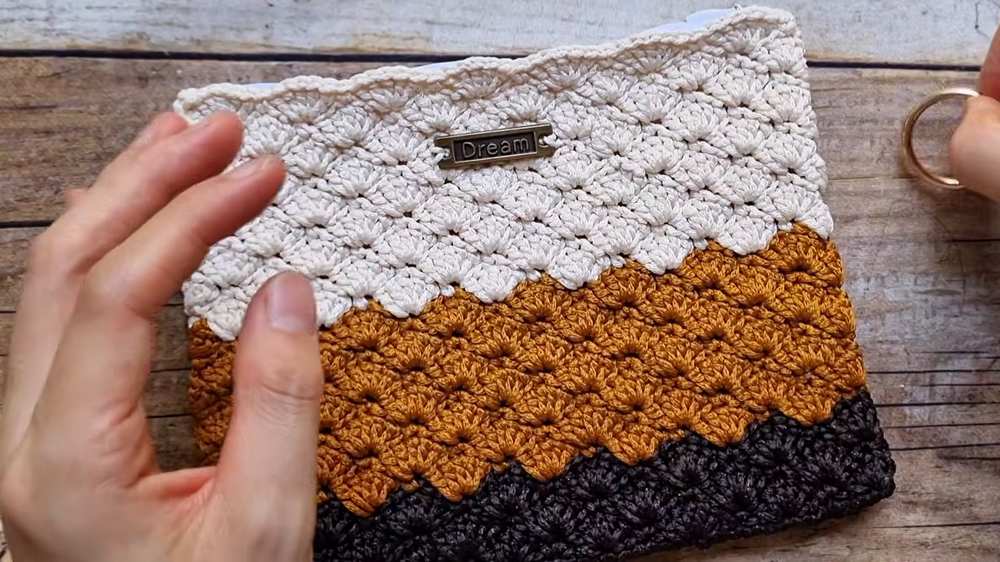
3. Finishing the Body
After the final row, sl st, pull the yarn through, and cut.
Use a tapestry needle to weave the tail inside the stitches to hide it.
Closure: Sew a zipper into the mouth of the bag or attach a magnetic snap button.
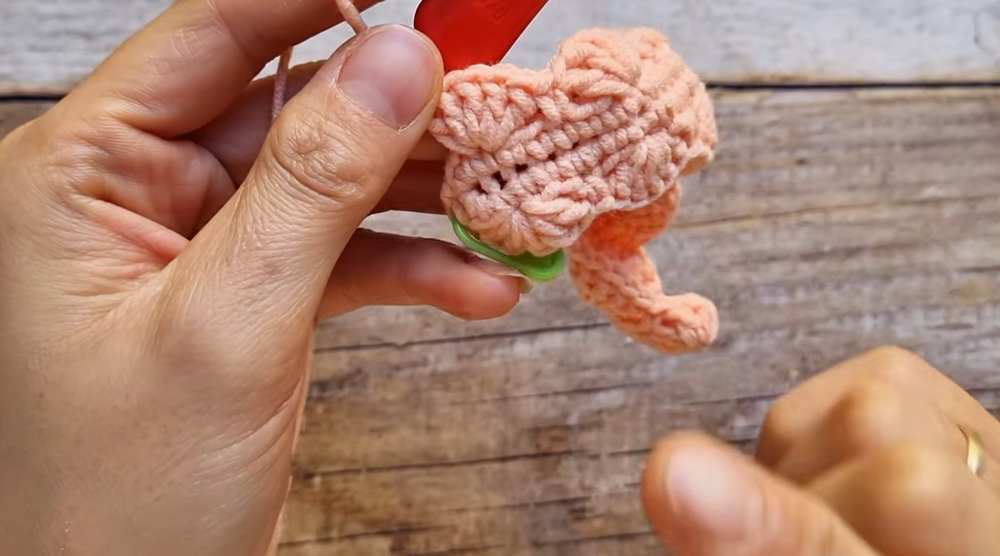
4. The Adjustable Strap
This uses a sturdy “cord” style crochet technique.
Start: Create a slip knot on your hook. Insert the hook through the lobster clasp (or ring), pull through the knot, and ch 1.
Work 2 sc into the clasp/ring space.
The Cord Technique:
Turn your hook slightly to see the side loop of the sc just made. Insert hook, pull through (2 loops on hook).
Turn the cord clockwise. You will see two parallel loops on the side.
Insert hook under both loops, pull through (3 loops on hook), then pull through the first two, then the last two.
Repeat: Insert under the two side loops, turn clockwise, pull through loops.
Continue until the strap is your desired length.
Assembly: One end of the strap is crocheted to the lobster clasp. For the other end, thread the strap through the D-ring on the bag and tie a sliding knot (as shown in the video) to make it adjustable.
5. Final Decoration
Attach your D-rings to the sides of the bag.
Clip your strap on.
Add a sticker or a crochet keychain (like a cherry or chestnut) to the side for a personalized touch.
Video Tutorial:
You may also like
How to Crochet Shell Stitch Autumn Bag – Aka Fan Stitch Tote Bag
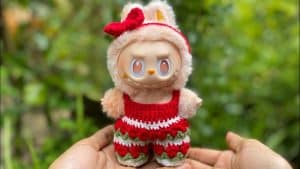
How to Crochet LaBuBu Tulip Stitch Overalls & Bow Headband

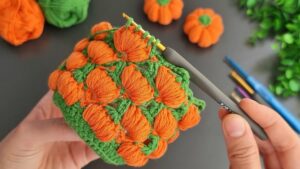
How to Crochet Pumpkin Stitch Bag (Tutorial for Absolute Beginners)
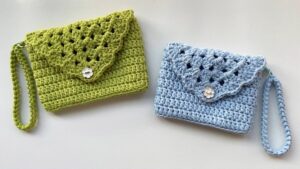
How to Crochet Granny Stitch Card Holder for Beginners
How to Crochet Pumpkin Stitch Basket for Fall & Halloween
How to Crochet Pumpkin Stitch Coaster for Fall Celebrations