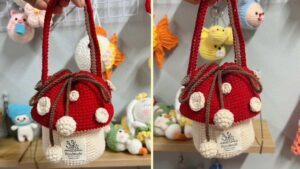
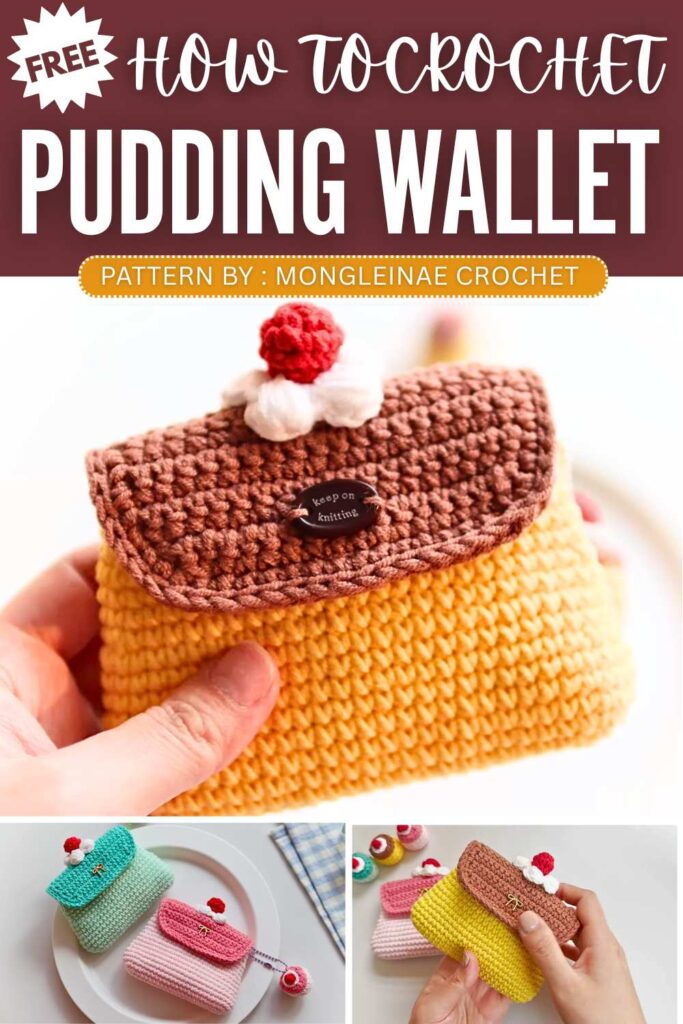
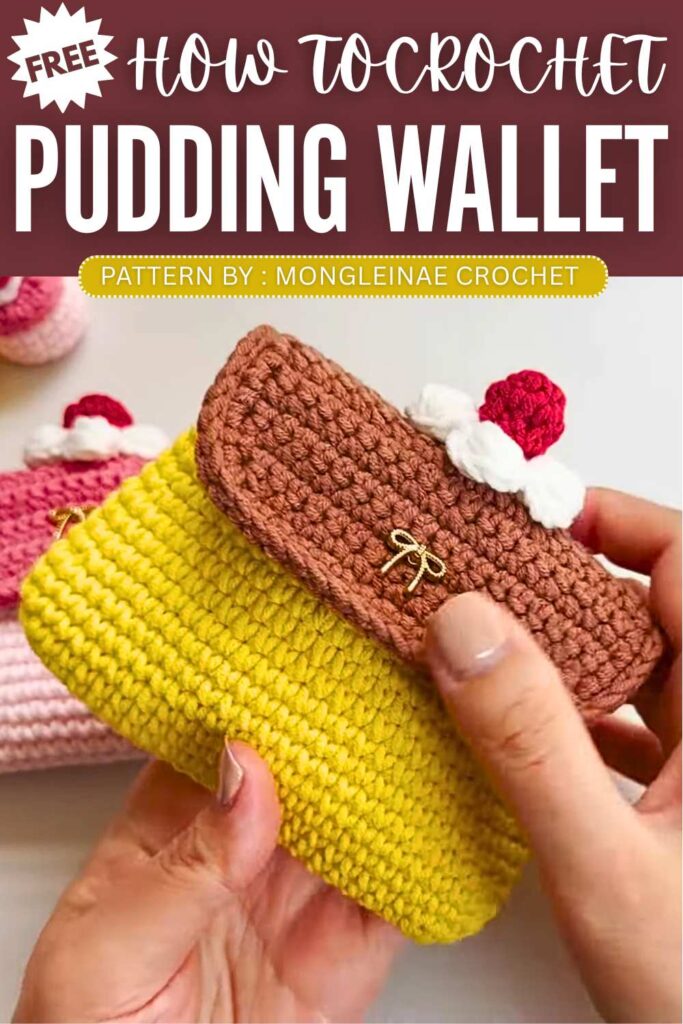
Crochet Simple Pudding Bag Pattern For Beginners
A sweet dessert-inspired crochet project turns a simple wallet into something cute and fun. This pudding-shaped wallet uses soft yarn colors to look like custard and caramel layers, with whipped cream and a cherry on top. It is shaped with basic increases and decreases, then finished with a flap and button closure for safety. A matching mini pudding keychain adds extra charm, making the set perfect for small items and gifts.
Preparation
Hook: 3.0mm (No. 5)
Yarn: Brown (pudding top/caramel), Beige/Yellow (pudding body), White (cream), Red (cherry).
Materials: Magnetic button, needle, scissors, glue gun (for cream), stuffing (for keyring), key chain/ball chain.
Part 1: The Main Wallet Body (Beige/Yellow)
The body is worked in the round without a slip stitch (spiral) unless noted.
Base & Side Walls
Foundation: Chain 23.
Row 1: Skip 1st chain, Inc (2 sc in one) in 2nd chain, 20 sc, 3 sc in the last chain. Turn to the bottom of the foundation chain: 21 sc. (46 sts total)
Row 2 (Inc): 2 Inc, 20 sc, 3 Inc, 20 sc, 1 Inc. (52 sts)
Row 3 (Inc): [1 sc, Inc] $\times$ 2, 20 sc, [1 sc, Inc] $\times$ 3, 20 sc, 1 sc, 1 Inc. (58 sts)
Rows 4–6: 58 sc (3 rounds of plain sc).
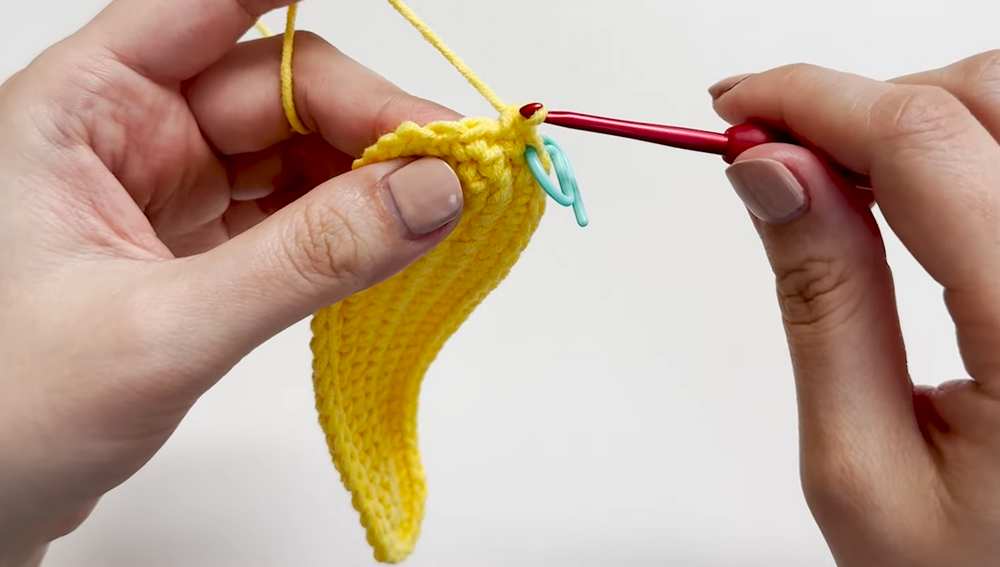
Row 7 (Dec): [Dec, 2 sc, Dec] at the sides, sc in between. (Decreasing the width slightly to shape the pudding).
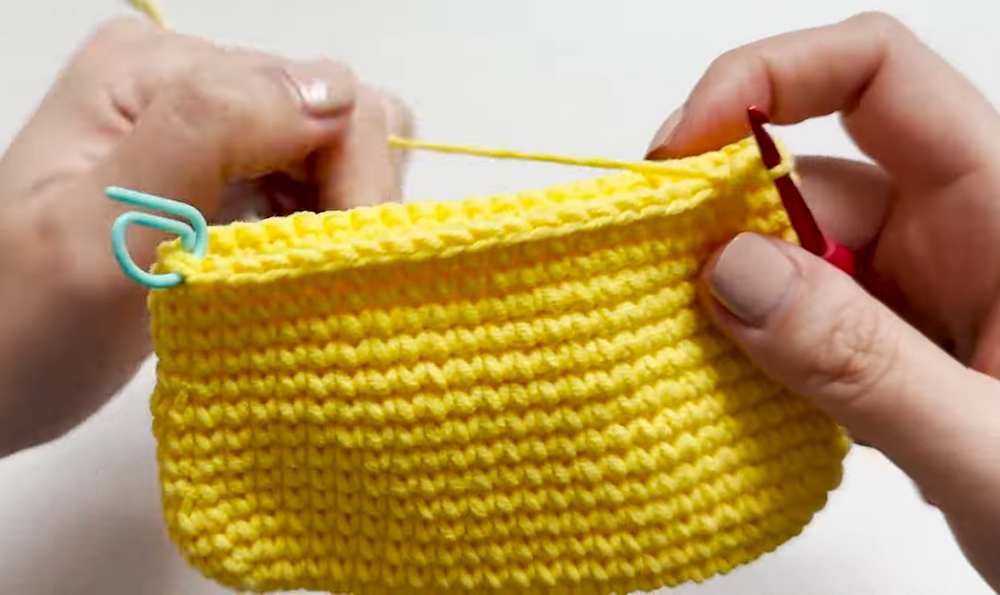
Rows 8–10: Plain sc (no changes).
Row 11 (Dec): Repeat decrease at sides (similar to Row 7).
Rows 12–14: Plain sc.
Row 15 (Dec): Final decrease at the sides.
Rows 16–17: Plain sc.
Finishing: Slip stitch (sl st) all the way around the top edge for a clean finish. Cut yarn and weave in ends.
Part 2: The Lid/Cover (Brown)
The lid is worked back and forth in rows.
Foundation: Chain 20. (Leave a long tail for sewing).
Rows 1–10: 19 sc in each row (Ch 1 and turn at the end of each row).
Row 11 (Dec): Dec, 15 sc, Dec. (17 sts)
Row 12 (Dec): Dec, 13 sc, Dec. (15 sts)
Edging: Work 1 round of sc all around the edges of the lid to smooth it out.
Finishing: Work 1 round of slip stitches around the edge. Steam the lid with an iron to flatten it.

Part 3: Cream & Cherry Decorations
Whipped Cream (White)
Magic Ring: Ch 2, 10 Half Double Crochet (hdc). Sl st to 1st hdc.
Petals: [Ch 2, 5-hdc puff stitch in same stitch, Ch 1, skip 1, sl st in next] $\times$ 5. (Makes a 5-petal flower shape).
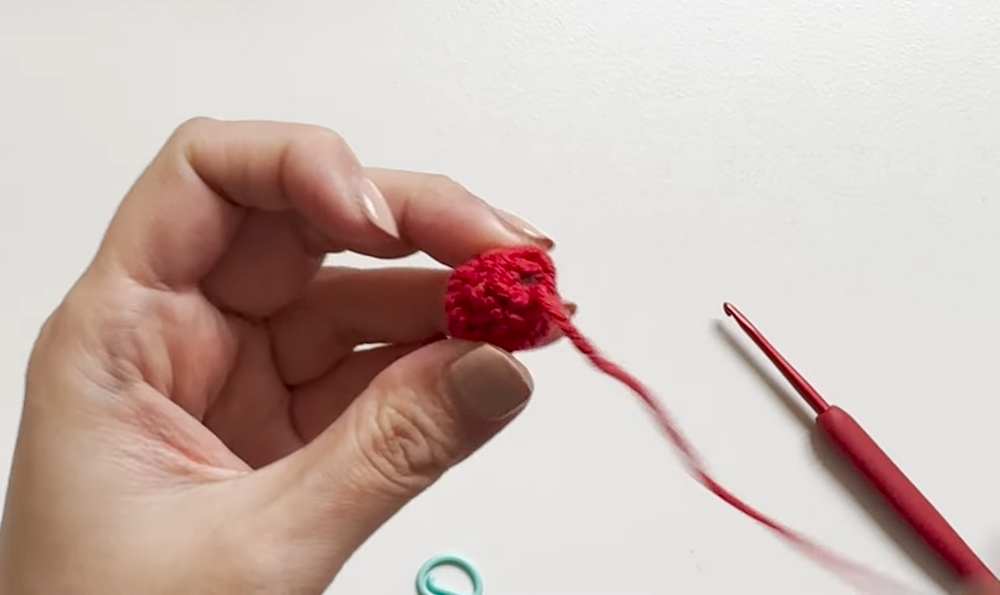
Cherry (Red)
MR: 5 sc.
Inc: 5 Inc (10 sc).
Row 3: 10 sc.
Dec: 5 Dec. (Stuff lightly before closing).
Part 4: Pudding Keyring (Mini Version)
Base (Brown): MR 6 sc $\rightarrow$ 6 Inc (12) $\rightarrow$ [1 sc, Inc] $\times$ 6 (18).
Walls: Work in Back Loop Only (BLO) for one round to create a sharp edge.
Sides: Work plain sc rounds.
Color Change: Change to Beige/Yellow halfway down.
Closing: [1 sc, Dec] $\times$ 6, then close. Add a mini white cream circle on top.
Assembly
Sew the Lid: Align the flat edge of the brown lid to the back of the beige body (about 2 rows down from the top). Sew across.
Buttons: Attach the magnetic button to the inside of the lid and the front of the wallet.
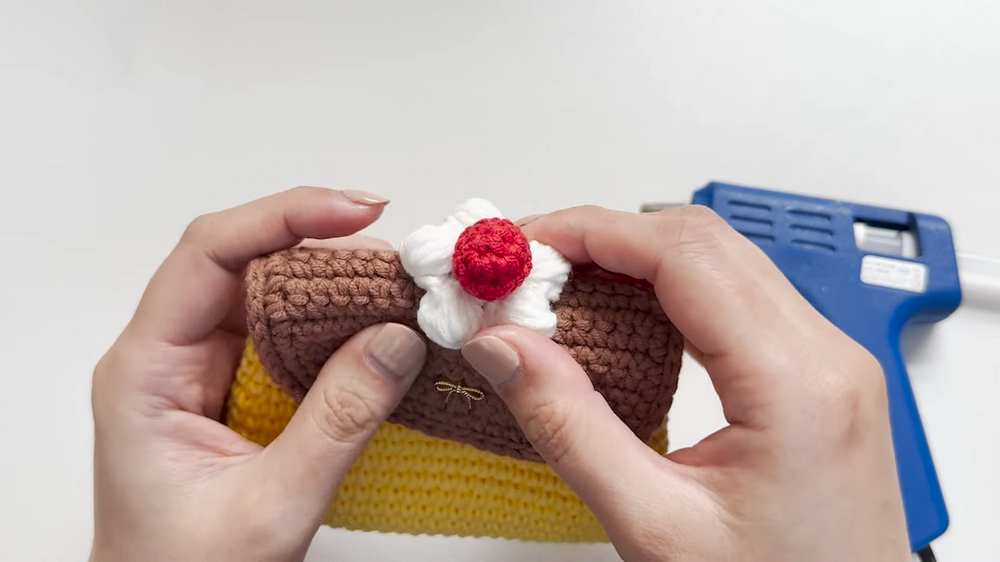
Decorate: Glue or sew the Whipped Cream and Cherry to the top of the brown lid.
Accents: Add a “Handmade” label or a small ribbon for a professional look.
Keyring: Attach the ball chain to the corner of the wallet and hang your mini pudding!
Video Tutorial:
You may also like
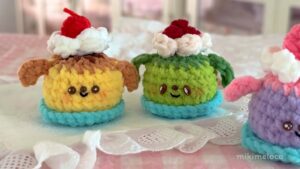
How to Crochet Dog Pudding Plushies for Gifting
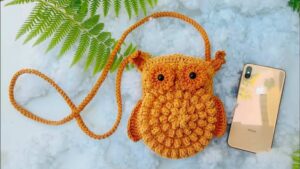
Moclentivi: How to Crochet Vintage Owl Phone Bag for Fall

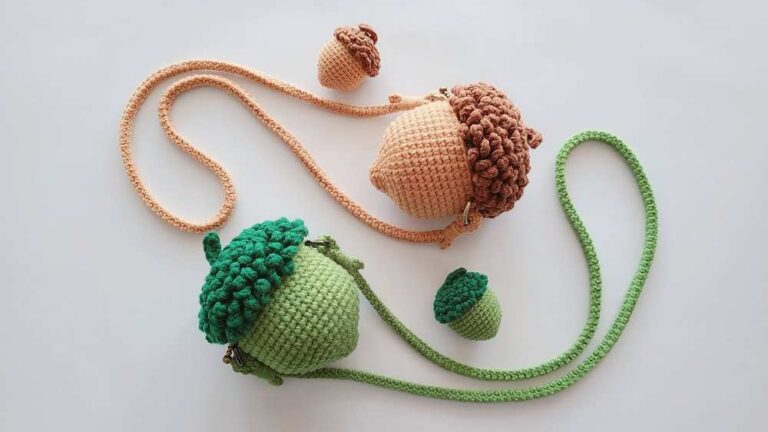
Xiaoshimei: How to Crochet Acorn Shoulder Bag for Fall
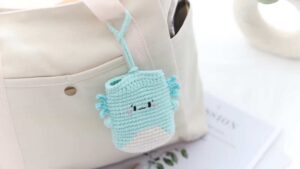
Crochet Axolotl Pouch Bag Pattern For Summer
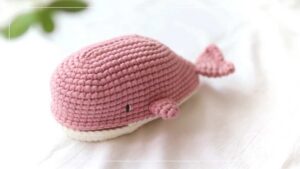
Crochet Whale Pouch Bag Pattern For Summer
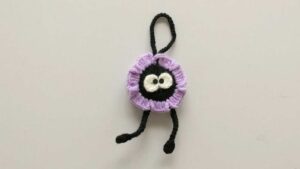
Ngocongo: Crochet UNIQUE Susuwatari Bag Charm for Halloween