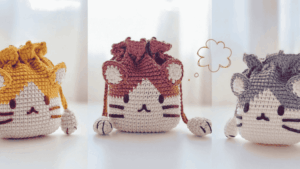
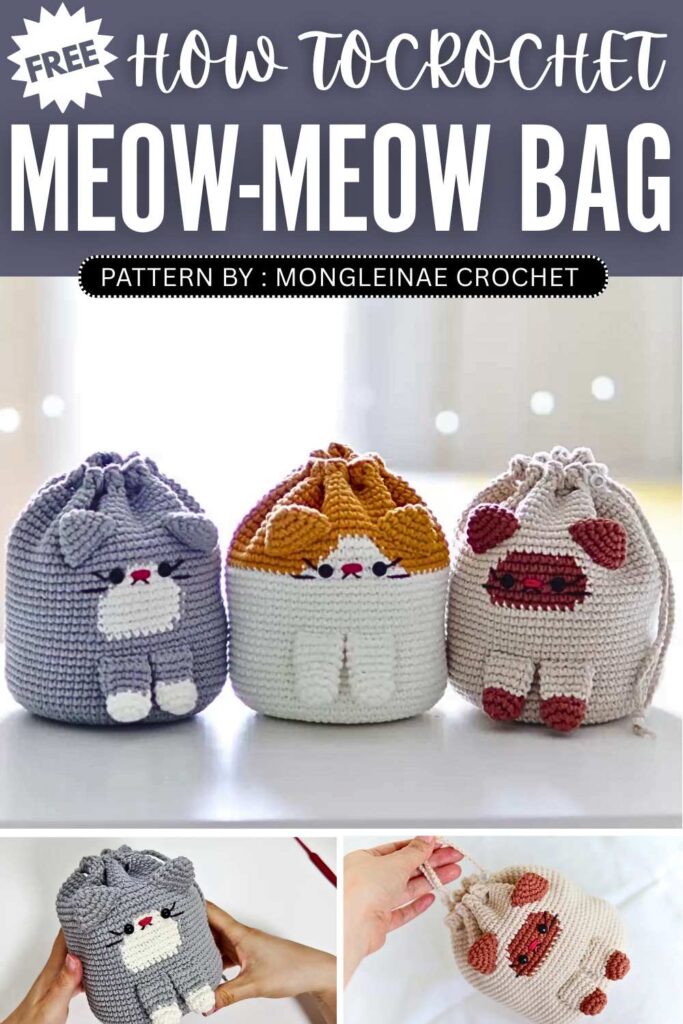
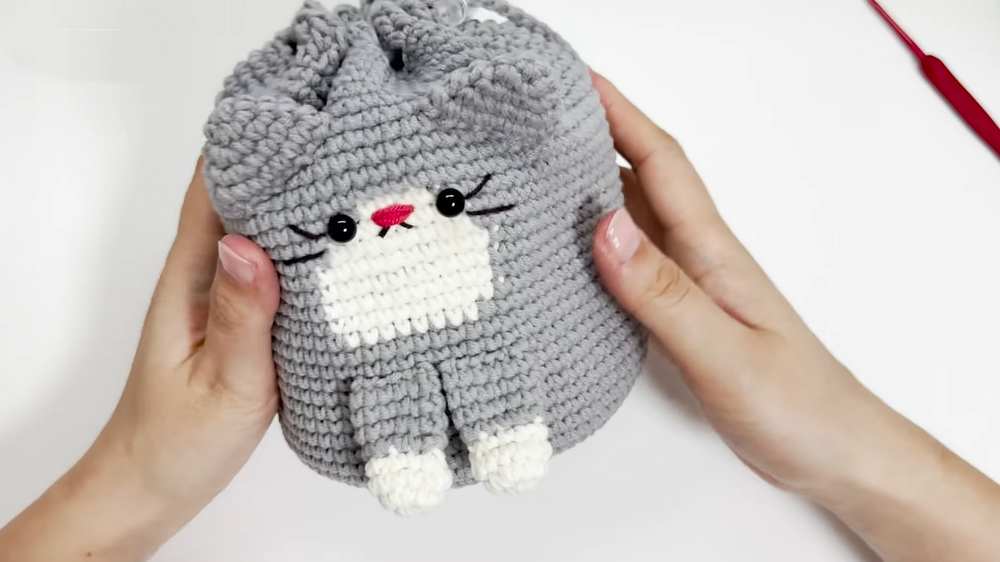
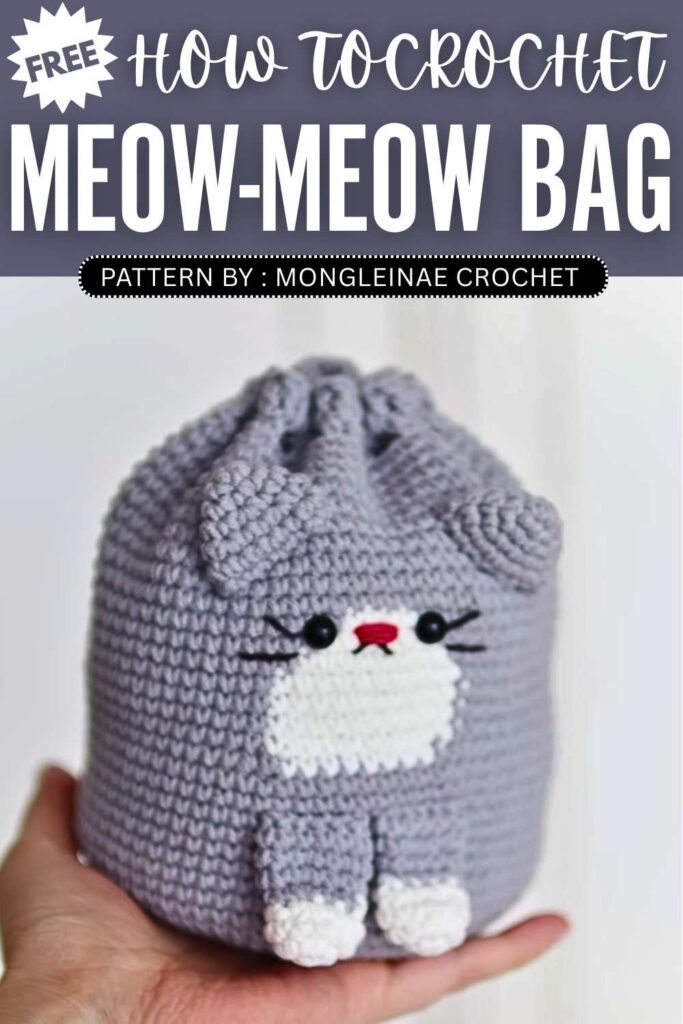
Crochet Meow Meow Drawstring Bag Pattern
Learn how to crochet a cute cat-themed “Meow Meow” big pouch that is both useful and fun to make. This drawstring bag comes in adorable cat styles and uses color changes to form the face details. You also learn how to attach 3D ears, arms, and a tail. The design is finished with embroidered facial features and a cord closure, making it a spacious and charming storage pouch for small items.
Crochet Abbreviations Used
MR: Magic Ring
CH: Chain
SC: Single Crochet
INC: Increase (2 SC in one stitch)
DEC: Decrease (Invisible decrease using front loops)
SL ST: Slip Stitch
DC: Double Crochet (used for the drawstring holes)
TR: Treble Crochet (used for the top trim)
BLO / FLO: Back Loop Only / Front Loop Only
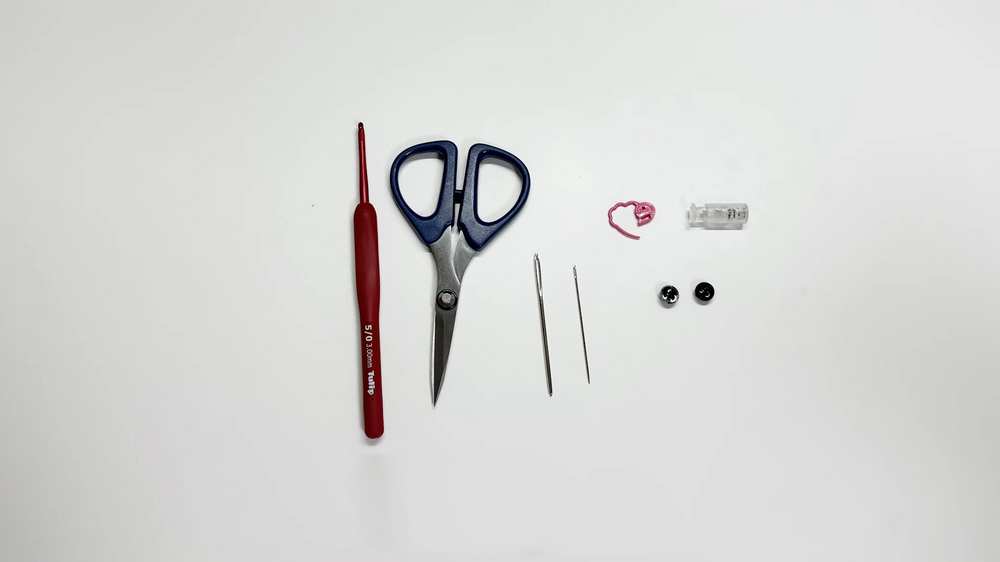
Materials Needed
Main Yarn: Cotton yarn (Grey for the body, Ivory/White for the face and paws).
Embroidery Yarn: Black/Pink for the nose, whiskers, and mouth.
Hook Size: 3.0mm (No. 5/0).
Eyes: Safety eyes or button eyes.
Hardware: Drawstring stopper (toggle).
Other: Tapestry needle, scissors, stitch markers, stuffing (optional, for limbs).
Step-by-Step Making Guide
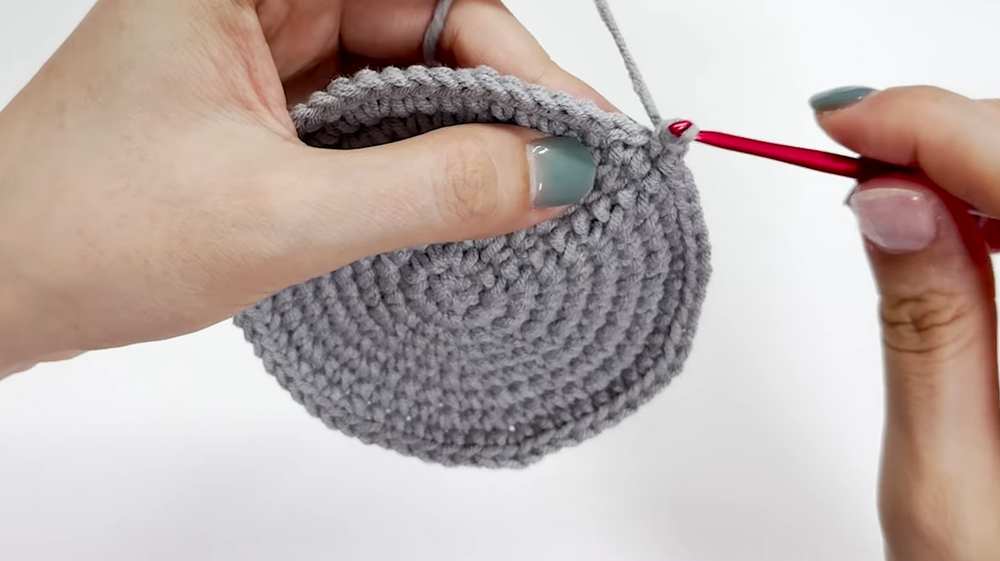
1. Base (Grey Yarn)
Rnd 1: MR, 7 SC. (7)
Rnd 2: 7 INC. (14)
Rnd 3: (1 SC, INC) x7. (21)
Rnd 4: (2 SC, INC) x7. (28)
Rnd 5: (3 SC, INC) x7. (35)
Rnd 6: (2 SC, INC, 2 SC) x7. (42) — Shifting increases to keep the circle round.
Rnd 7: (5 SC, INC) x7. (49)
Rnd 8: (3 SC, INC, 3 SC) x7. (56)
Rnd 9: (7 SC, INC) x7. (63)
Rnd 10: (4 SC, INC, 4 SC) x7. (70)
Rnd 11: (9 SC, INC) x7. (77)
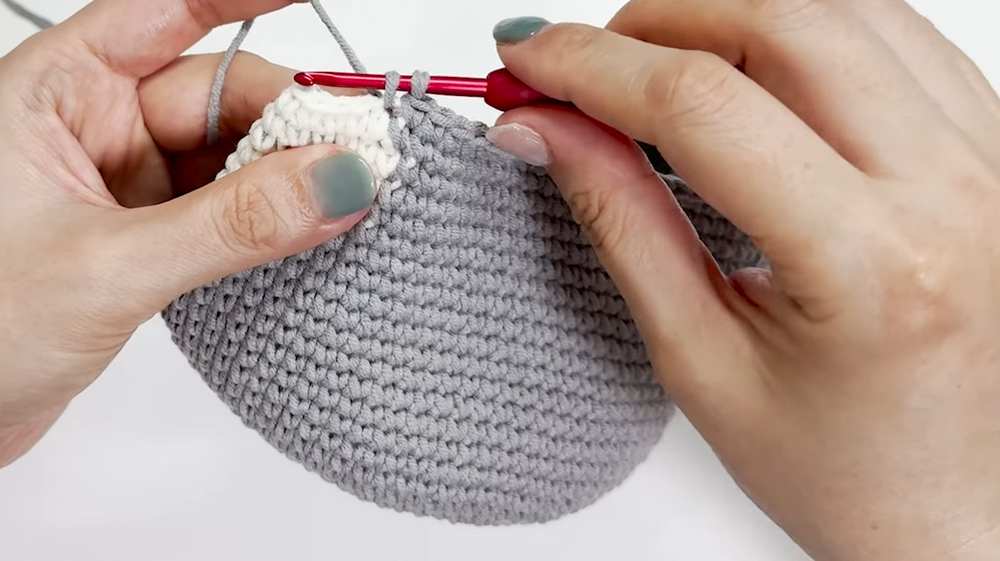
2. Main Body (Colorwork/Tapestry Section)
Rnd 12–22: SC in every stitch (77) using only Grey yarn.
Rnd 23: SC 34 (Grey), Switch to Ivory, SC 8 (Ivory), Switch back to Grey, SC 35 (Grey).
Rnd 24–27: SC 33 (Grey), Ivory SC 10, Grey SC 34.
Rnd 28: SC 34 (Grey), Ivory SC 8, Grey SC 35.
Rnd 29: SC 35 (Grey), Ivory SC 6, Grey SC 36.
Rnd 30: SC 36 (Grey), Ivory SC 4, Grey SC 37.
Rnd 31–39: SC in every stitch (77) with Grey only.
3. Drawstring Top
Rnd 40: (9 SC, DEC) x7. (70)
Rnd 41: SC 17, DEC, SC 32, DEC, SC to end. (68)
Rnd 42 (Eyelets): CH 2 (counts as DC), DC in next. CH 2, skip 2, DC 2 — repeat around.
Rnd 43 (Final Trim): CH 3, TR in every stitch (including the CH spaces).
Shaping the Ears (Make 2)
The ears are worked as small cones that transition from sharp points to a wider base.
The Point: Starting with only 4 SC in the Magic Ring creates a very pointy tip.
The Expansion: From Rounds 2 to 4, you are doubling and then adding stitches quickly to create a triangular flare.
The Curve: Round 5 adds just a couple of stitches to give the ear a slightly rounded base where it meets the head.
Assembly: Do not stuff the ears. Flatten them and sew them to the top corners of your bag. Positioning them slightly tilted outward usually looks the “cutest.”
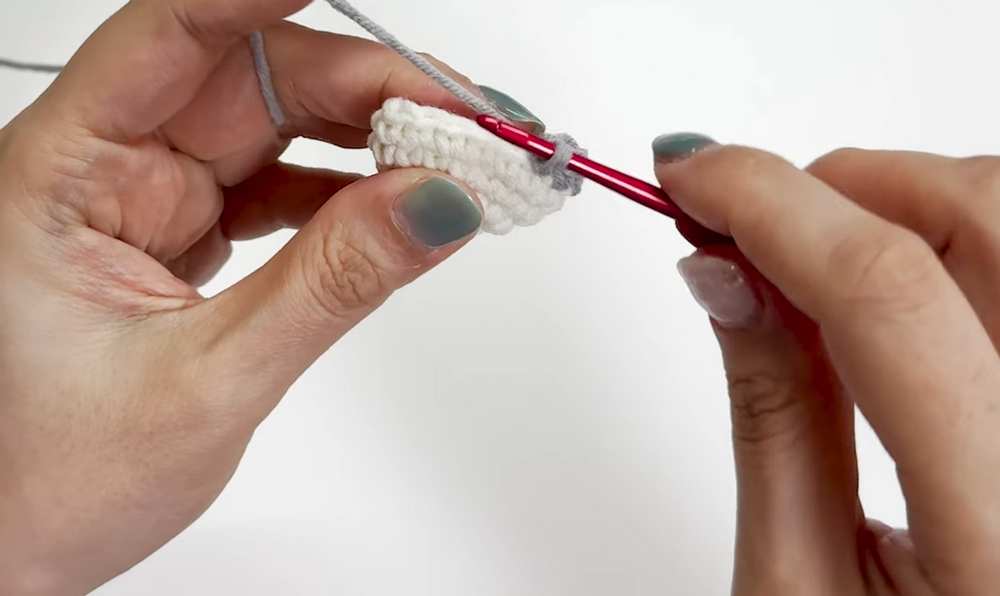
2. Crafting the Arms (Make 2)
These are small tubes that use a color change to simulate “paws.”
The Paws: Starting with Ivory yarn creates the look of white paws. You increase to 12 SC to give the paw a bit of roundness.
The Color Swap: Switching to Grey at Round 5 creates the “sleeve” or the rest of the cat’s arm.
Assembly: You can leave these unstuffed for a floppy look or add a tiny bit of fiberfill at the very tip. Sew them to the sides of the bag body, about halfway down.
3. Creating the Tail (Make 1)
The tail is a long, curved element that adds a lot of character to the back of the bag.
The Tip: You start with Grey, but the pattern suggests switching to Ivory for the tip. Pro tip: If you want a white-tipped tail, start with Ivory for Rounds 1–3, then switch to Grey for the remainder.
The Length: Crocheting up to Round 14 creates a sturdy, medium-length tail.
Assembly: Sew the tail to the lower back of the bag. If you want it to stand up or curl, you can insert a pipe cleaner (chenille stem) inside before sewing it shut.
4. Detailing the Face
This is the most important part for the “expression” of your cat.
Eyes: Place these 2 stitches away from the center. Using small black beads or safety eyes works well, but embroidery is safer if the bag is for a child.
The Nose: Use pink yarn to embroider a small “V” shape or a tiny horizontal bar right between the eyes.
Whiskers: Use a “split yarn thread” (take a strand of black yarn and pull it apart so you are only using one or two thin plies). This makes the whiskers look delicate and realistic rather than bulky.
5. Making the Drawstring
This is the functional cord that closes the bag.
The Chain: A long chain of 80–100 stitches is usually enough to wrap around the bag and leave plenty of room for a bow or a knot.
Sturdiness: If your yarn is thin, consider holding two strands together while chaining to make the cord stronger so it doesn’t snap when pulled.
6. Final Assembly & Toggle
The Eyelets: Thread the drawstring in and out of the gaps created in Round 42. Make sure both ends of the string come out of the center front.
The Stopper: Slide a plastic or wooden toggle/stopper over both ends of the chain.
The Knot: Tie a large, secure knot at the very end of each string. This ensures that even if the toggle is loose, the drawstring won’t accidentally slide back inside the bag.
Video Tutorial:
You may also like
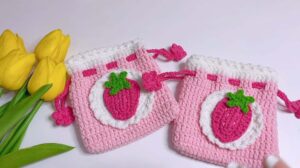
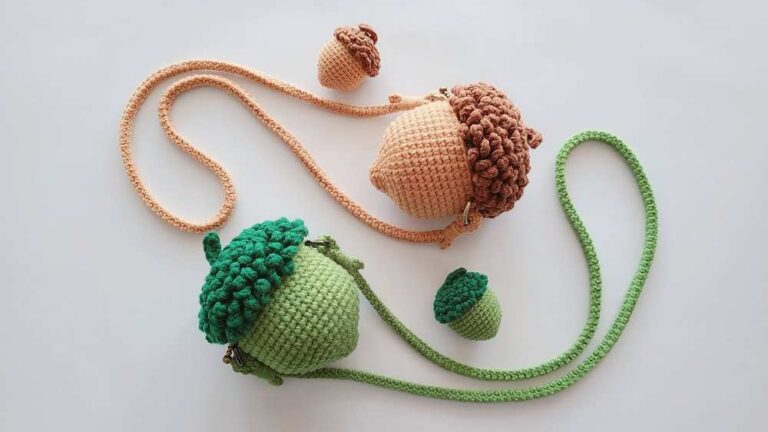
How to Crochet Strawberry Drawstring Bag for Gifting
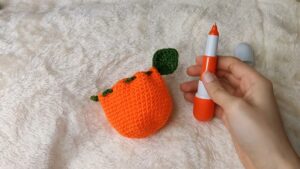
How to Crochet Orange Drawstring Pouch for Fall

How to Crochet Mini Checkered Drawstring Pouch with Cookies
How to Crochet 3D Santa Drawstring Pouch for Christmas
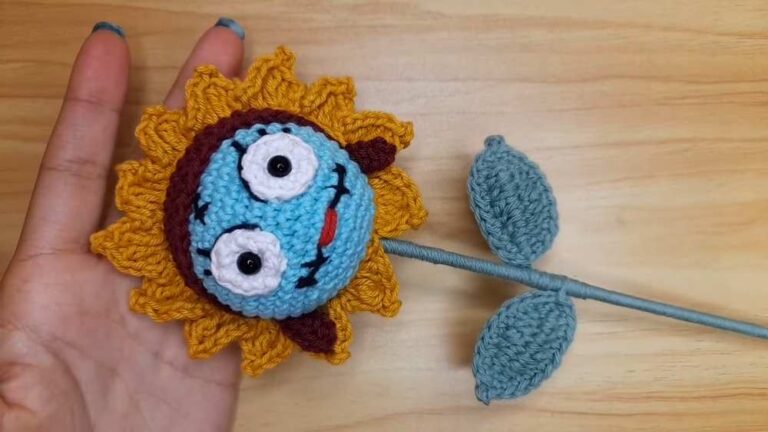
How to Crochet Sunflower Drawstring Pouch for Summer & Fall