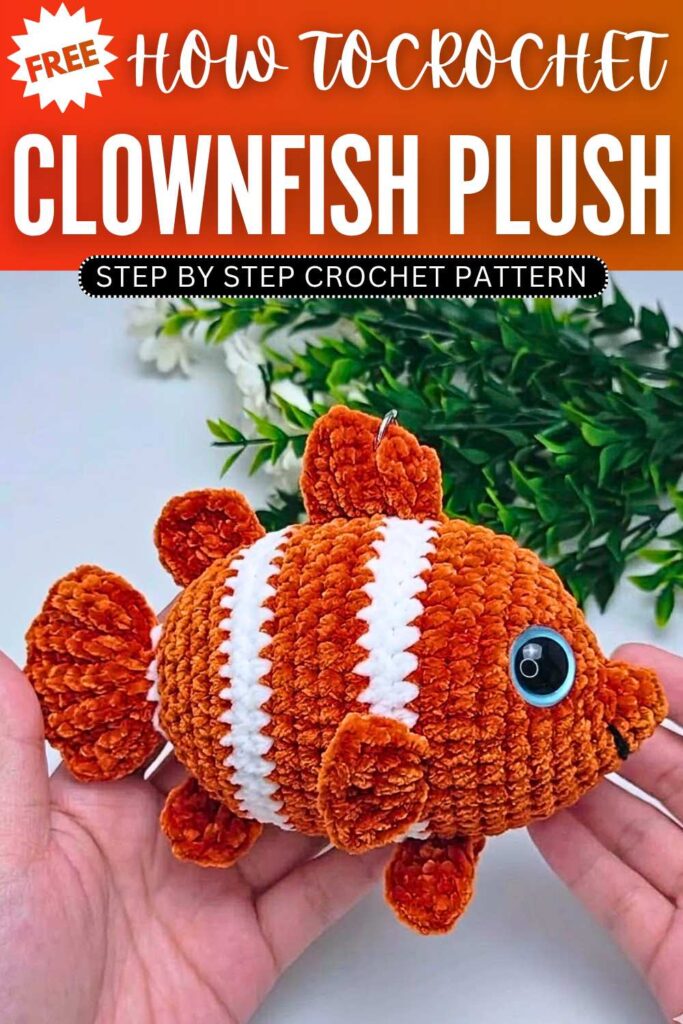
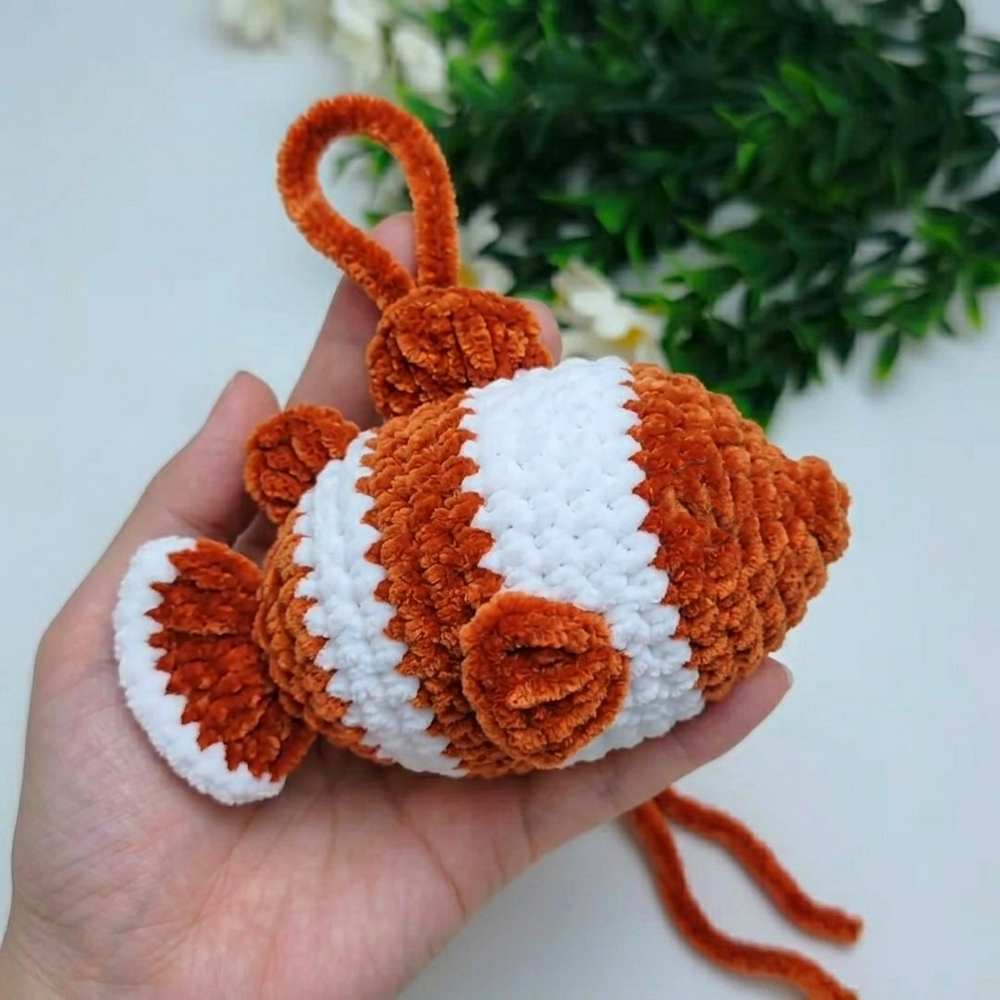
Crochet Clown Fish Plushie Pattern For Summer
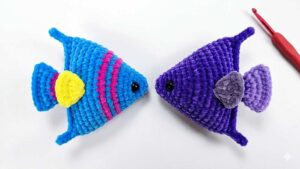
Learn how to crochet a cute clownfish keychain with this fun sea-themed project. Bright colors and simple stripes make the little fish look playful and cute. Parts like the fins, tail, and face are made separately and joined together in an easy way. Small details and color changes bring the clownfish to life, making it perfect as a keychain, bag charm, or small handmade gift.
Step By Step Pattern
Materials Needed
Yarn: Plush Yarn in Orange, White, and Black (or matching color variations)
Crochet Hook: 5mm
Eyes: 1 pair of 10 mm plastic safety eyes or flat-back eyes
Fiberfill: Stuffing material
Tools: Tapestry needle, scissors, stitch markers, craft glue (drying clear), and a lobster clasp/keychain loop.
Abbreviation List
MR: Magic Ring
ch: Chain
sc: Single Crochet
inc: Single Crochet Increase (2 sc into the same stitch)
dec: Single Crochet Decrease
BLO: Back Loop Only
FLO: Front Loop Only
sl st: Slip Stitch
st(s): Stitch(es)
[ ] × N: Repeat the sequence within the brackets N times
Part 1: Body
Note: Work in continuous rounds. Use a scrap piece of yarn or a stitch marker to note your starting point.
Round 1: Using Orange yarn, MR, ch 1, 5 sc into the ring. (5 sts)
Round 2: 2 sc, 1 inc, 2 sc. (6 sts) Turn piece right side out.
Round 3: 1 inc, 1 sc, 2 inc, 1 sc, 1 inc, 1 sc. (10 sts)
Round 4: 1 sc, 7 inc, 2 sc. (17 sts)
Round 5: 4 sc, [1 inc, 1 sc] × 5, 3 sc. (22 sts)
Round 6: 5 sc, [1 inc, 1 sc] × 6, 5 sc. (28 sts)
Round 7: 6 sc, [1 inc, 1 sc] × 8, 6 sc. (36 sts)
Rounds 8–11 (4 Rounds): 36 sc around.
On the final sc of Round 11, change color to White.
Rounds 12–13 (2 Rounds): Using White yarn, 36 sc around.
On the final sc of Round 13, change color to Orange.
Rounds 14–17 (4 Rounds): Using Orange yarn, 36 sc around.
On the final sc of Round 17, change color to White.
Rounds 18–19 (2 Rounds): Using White yarn, 36 sc around.
On the final sc of Round 19, change color to Orange.
Round 20: Using Orange yarn, 36 sc around. (36 sts)
Round 21: [4 sc, 1 dec] × 6. (30 sts) (Start stuffing firmly with fiberfill here and continue as you close)
Round 22: [3 sc, 1 dec] × 6. (24 sts)
Round 23: [2 sc, 1 dec] × 6. (18 sts)
Round 24: [1 sc, 1 dec] × 6. (12 sts)
Round 25: 2 sc, change to White yarn. Pinch the opening flat, and work sc evenly across both flattened layers to seal the edge closed. Fasten off and weave in ends.
Part 2: Tail Fin
Note: Worked directly onto the flattened white end of the body in rows, using Orange yarn and working into the FLO/BLO of the row to create a ribbed texture.
Row 1: Attach Orange yarn to the corner of the flattened body end. Ch 5. Starting in 2nd ch from hook, work 4 sc down the chain back bumps. Work a reverse slip stitch to anchor it back to the body.
Row 2: Skip 1 st on body, work into the BLO of the previous fin row: 3 sc, 1 inc.
Row 3: Turn, BLO: 5 sc. Reverse sl st to the next body st.
Row 4: Skip 1 st on body, BLO: 4 sc, 1 inc.
Row 5: Turn, BLO: 6 sc. Reverse sl st to the next body st.
Row 6: Skip 1 st on body, BLO: 6 sc.
Row 7: Turn, BLO: 6 sc. Reverse sl st to the next body st.
Row 8: Skip 1 st on body, BLO: 5 sc, 1 sc.
Row 9: Turn, BLO: 5 sc. Reverse sl st to the next body st.
Row 10: Skip 1 st on body, BLO: 4 sc.
Row 11: Turn, BLO: 4 sc. Reverse sl st to the body to lock.
Fasten off and hide the yarn ends inside the body.
Part 3: Pectoral Fins (Make 2)
Leave a long starting tail for sewing.
Row 1: Ch 5. Starting in 2nd ch from hook, work 4 sc down the back bumps.
Row 2: Turn, BLO: 3 sc, 1 inc.
Row 3: Turn, skip 1 st, BLO: 4 sc.
Row 4: Turn, BLO: 3 sc, 1 inc.
Row 5: Turn, skip 1 st, BLO: 4 sc.
Fasten off, leaving a long tail for assembly.
Part 4: Pelvic Fins (Make 2)
Leave a long starting tail for sewing.
Row 1: Ch 4. Starting in 2nd ch from hook, work 3 sc down the back bumps.
Row 2: Turn, BLO: 2 sc, 1 inc.
Row 3: Turn, skip 1 st, BLO: 3 sc.
Fasten off, leaving a long tail.
Part 5: Large Dorsal Fin, Small Dorsal Fin & Anal Fin
Large Dorsal Fin (Top Main)
Row 1: Ch 4. Starting in 2nd ch from hook, work 3 sc down the back bumps.
Row 2: Turn, BLO: 2 sc, 1 inc.
Row 3: Turn, BLO: 4 sc.
Row 4: Turn, BLO: 3 sc, 1 inc.
Row 5: Turn, BLO: 5 sc. Fasten off with a long tail.
Small Dorsal Fin & Anal Fin (Make 2)
Row 1: Ch 4. Starting in 2nd ch from hook, work 3 sc down the back bumps.
Row 2: Turn, BLO: 2 sc, 1 inc.
Row 3: Turn, BLO: 4 sc. Fasten off with a long tail.
Part 6: Assembly & Details
Fin Placement: Using your tapestry needle and the left-over long yarn tails, sew the fins onto the body securely:
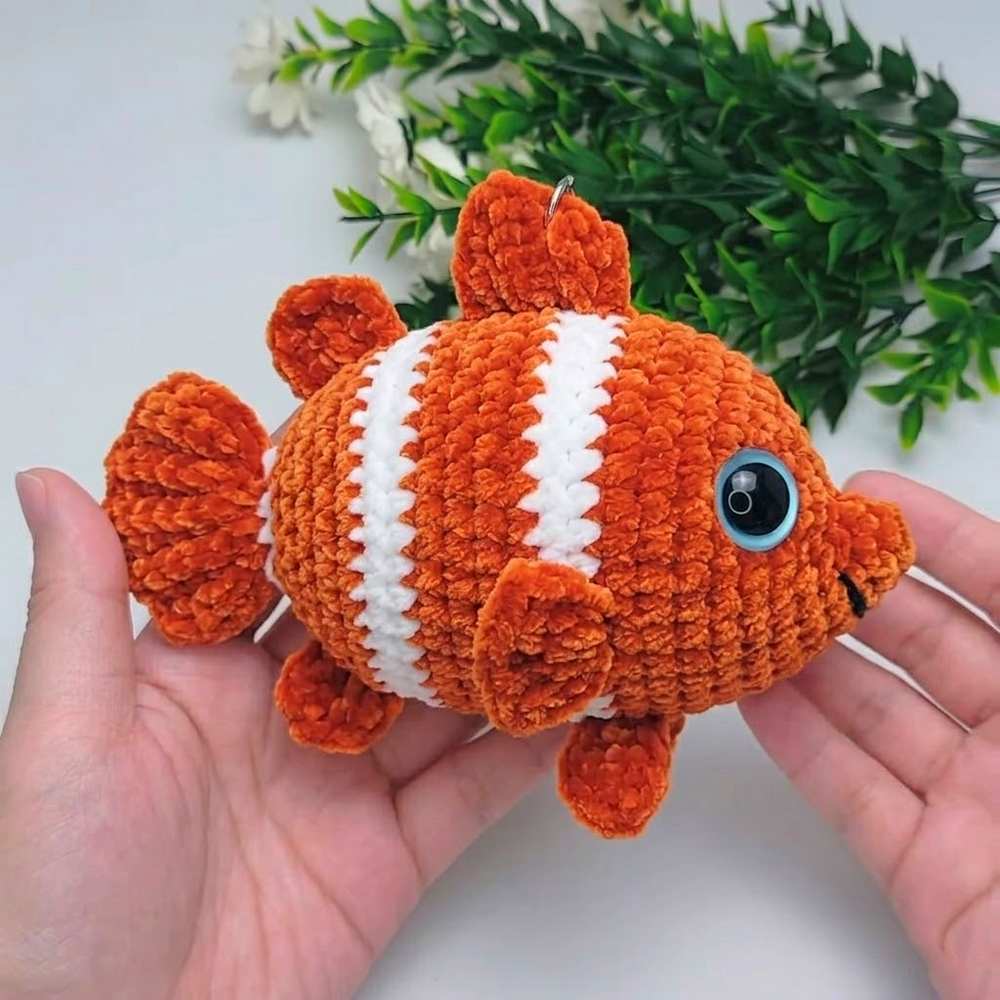
Large Dorsal Fin: Sew to the top midline of the back, spanning across the first orange segment.
Small Dorsal Fin: Sew directly behind the large dorsal fin over the second orange segment.
Anal Fin: Sew to the bottom belly midline near the tail.
Pectoral Fins: Sew to the left and right sides of the fish’s head/neck area.
Pelvic Fins: Sew to the lower underbelly below the pectoral fins.
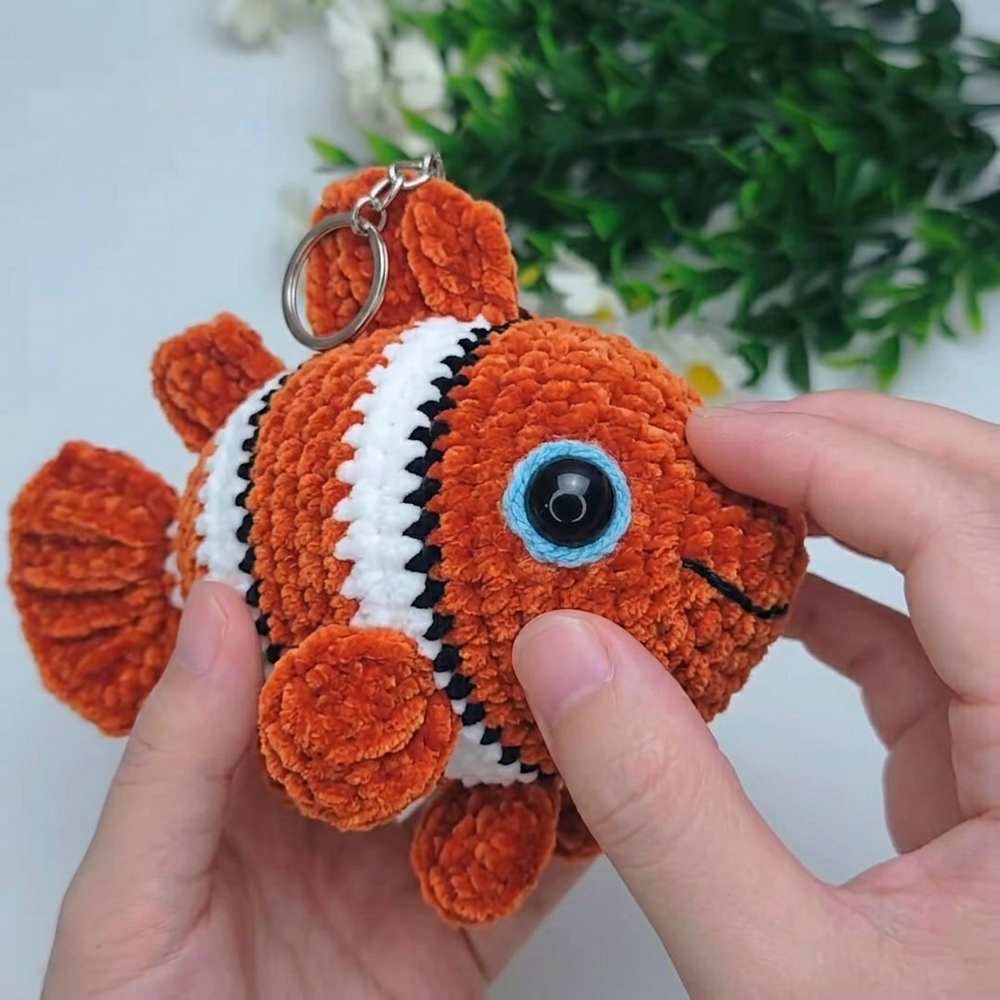
Eyes: Glue the 10 mm eyes symmetrically onto the front portion of the head (around Round 5–6) using clear-drying craft glue.
Finishing: Secure a jump ring and your lobster clasp/keychain accessory through the top center of the fish’s back near the dorsal fin. Your adorable clownfish is complete!
You may also like

Crochet Fish Pouch Bag Pattern For Summer Outgoings
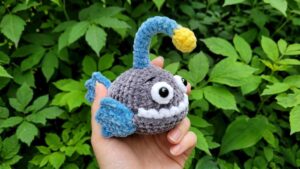
Crochet Lantern Fish Plushie Pattern For Summer
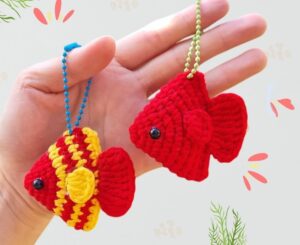
Free Crochet Mini Fish Keychain Pattern for New Year
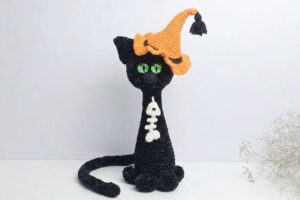
Free Crochet Halloween Witch Hat & Fish Bone Toy for Black Cat
Free Crochet Amigurumi Cat Holding Fish Pattern