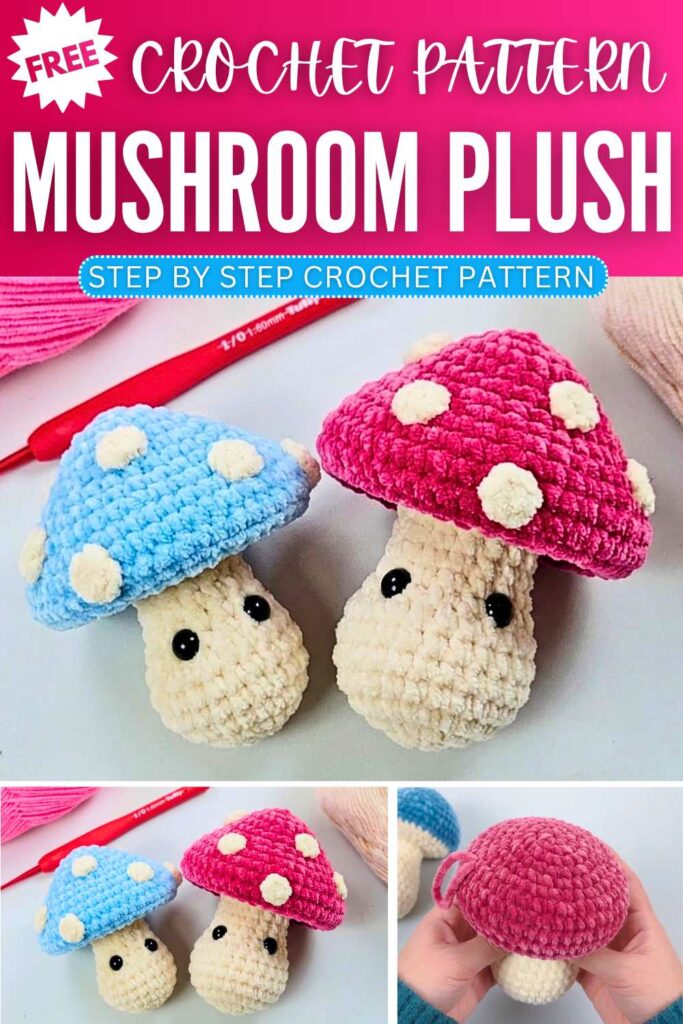
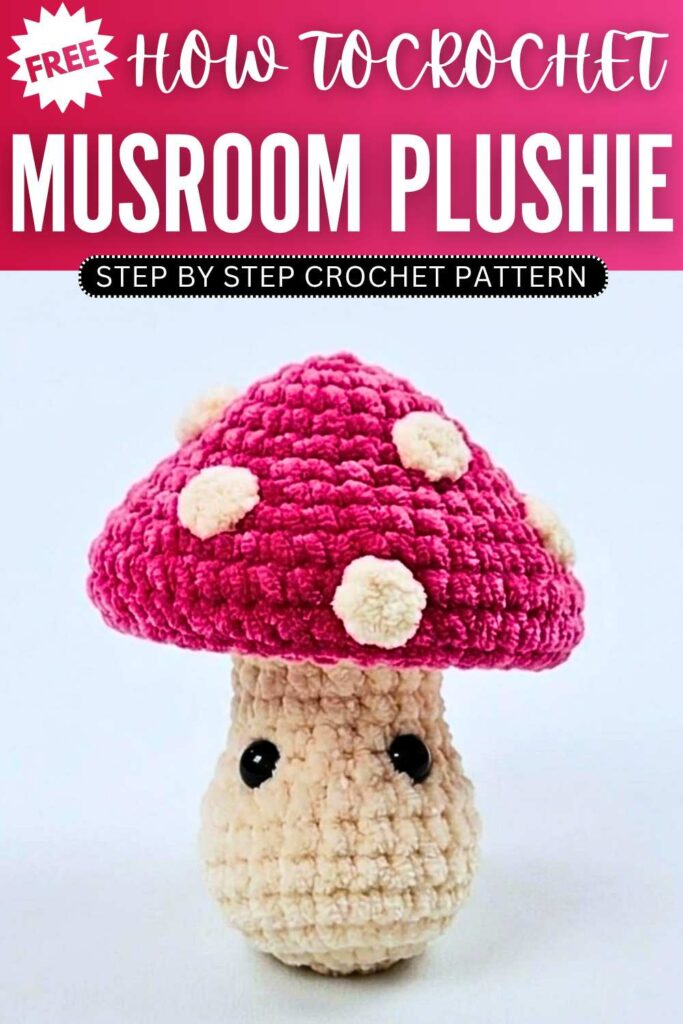
Crochet Mushroom Plush Toy Pattern For Beginners
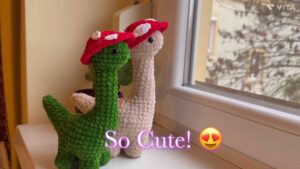
Crochet this adorable little mushroom charm to add a fun handmade touch to your bag or keys. The project is made in simple parts, including a round mushroom cap, a small stem, and tiny polka dots. Cute details like little eyes and soft shaping bring the mushroom to life with lots of personality. Small and lightweight, this crochet mushroom works perfectly as a plush charm, decoration, or sweet handmade gift.
Step by step Pattern
Materials List
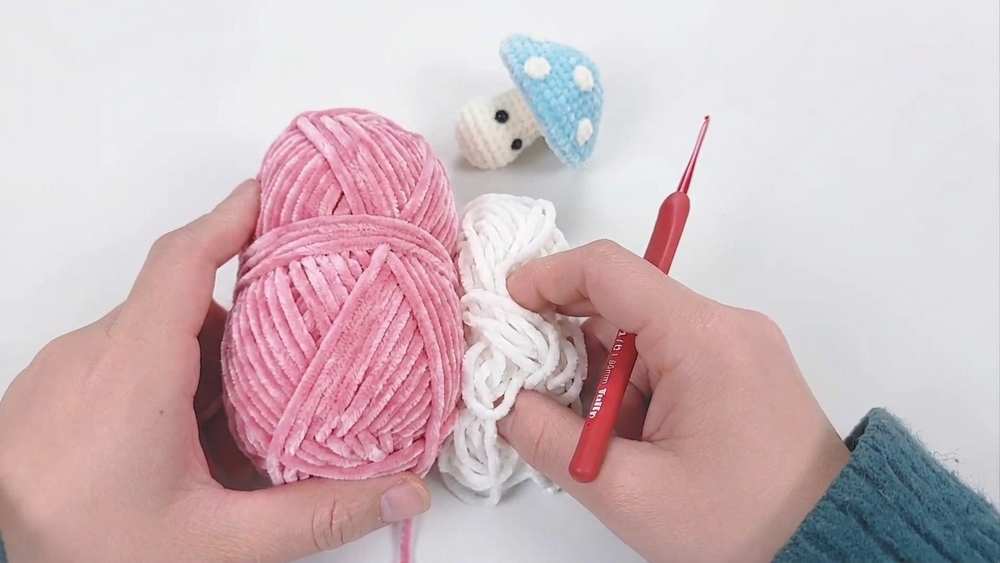
Yarn: Plush Yarn (Main color for the cap, white/cream for the stem and spots)
Crochet Hook: 4.5mm
Fiberfill Stuffing
Safety Eyes (optional, for adding a face)
Yarn Needle & Scissors
Abbreviations List
MR: Magic Ring (Magic Circle)
ch: Chain stitch
sc: Single crochet
inc: Increase (2 single crochets into the same stitch)
dec: Invisible decrease (insert hook through the front loop of the first stitch, then the front loop of the next stitch, pull yarn through and complete sc)
sl st: Slip stitch
st(s): Stitch(es)
[ ] x 7: Repeat the instructions inside the brackets 7 times around
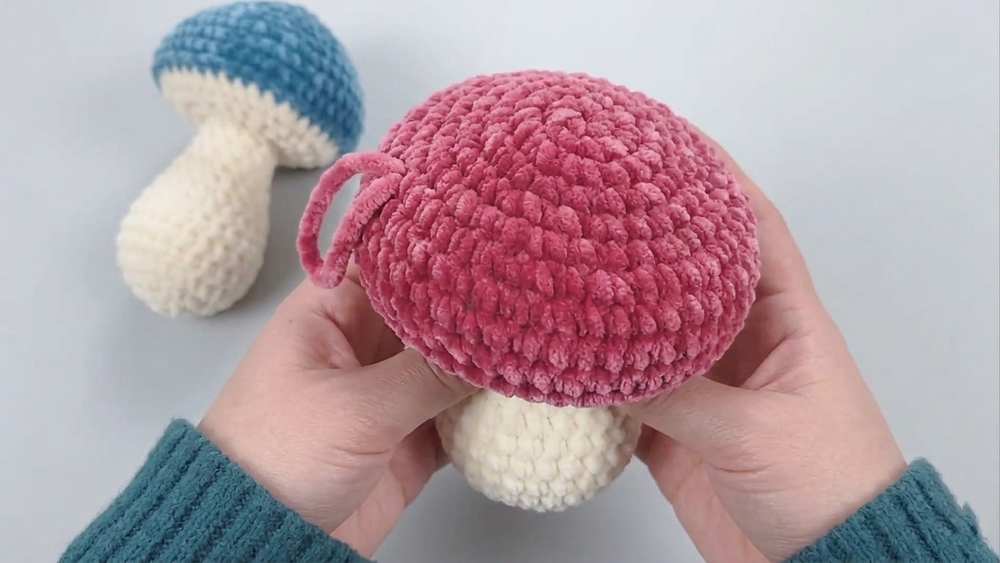
Part 1: Mushroom Cap
Note: Every round ends with a slip stitch (sl st) to the first stitch of the round to join, and begins with a chain 1 (ch 1) as a rising chain.
Round 1: MR, ch 1, work 7 sc into the ring. Sl st to join. (7 sts)
Round 2: ch 1, [inc] x 7. Sl st to join. (14 sts)
Round 3: ch 1, [1 sc, inc] x 7. Sl st to join. (21 sts)
Round 4: ch 1, work 21 sc even around (no increases). Sl st to join. (21 sts)
Round 5: ch 1, [1 sc, inc, 1 sc] x 7. Sl st to join. (28 sts)
Round 6: ch 1, work 28 sc even around. Sl st to join. (28 sts)
Round 7: ch 1, [3 sc, inc] x 7. Sl st to join. (35 sts)
Round 8: ch 1, [2 sc, inc, 2 sc] x 7. Sl st to join. (42 sts)
Round 9: ch 1, [5 sc, inc] x 7. Sl st to join. (49 sts)
Rounds 10–11: ch 1, work 49 sc even around. Sl st to join. (49 sts)
Round 12: ch 1, [5 sc, dec] x 7. Sl st to join. (42 sts)
Fasten off, pulling the loop slightly tight. Leave a short tail to hide later.
Part 2: Mushroom Stem
Round 1: MR, ch 1, work 7 sc into the ring. Sl st to join. (7 sts)
Round 2: ch 1, [inc] x 7. Sl st to join. (14 sts)
Round 3: ch 1, [1 sc, inc] x 7. Sl st to join. (21 sts)
Rounds 4–7: ch 1, work 21 sc even around. Sl st to join. (21 sts)
Round 8: ch 1, [1 sc, dec] x 7. Sl st to join. (14 sts)
Rounds 9–14: ch 1, work 14 sc even around. Sl st to join. (14 sts)
Round 15: ch 1, [1 sc, inc] x 7. Sl st to join. (21 sts)
Round 16: ch 1, [1 sc, inc, 1 sc] x 7. Sl st to join. (28 sts)
Round 17: ch 1, [3 sc, inc] x 7. Sl st to join. (35 sts)
Round 18: ch 1, [2 sc, inc, 2 sc] x 7. Sl st to join. (42 sts)
Fasten off, leaving a very long tail for sewing the stem to the cap later. Stuff the stem firmly with fiberfill stuffing.
Part 3: Spots – Make 9
Round 1: MR, ch 1, work 4 sc into the ring. Pull tight, sl st to the first stitch to join. (4 sts)
Fasten off, leaving a long yarn tail on each spot to sew them securely onto the main cap body.
Part 4: Assembly & Assembly Layout
Attach the Spots: Position the 9 white spots evenly across the main surface of the mushroom cap and use your yarn needle to sew them down using the long tails.
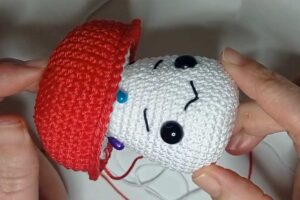
Add the Face (Optional): If you wish to give your mushroom an adorable look, insert safety eyes and stitch a tiny mouth onto the middle stalk area of the stem.
Sew Cap to Stem: Align the 42 stitches of Round 12 of the Cap with the 42 stitches of Round 18 of the Stem. Using your yarn needle and the extra-long stem tail, whipstitch the two pieces together completely. Securely knot and weave in all loose ends!
You may also like

How to Crochet Mini Santa Mushroom Keychain for Christmas
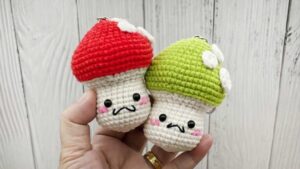
Smileb: How to Crochet No-Sew Kawaii Mushroom Amigurumi Keychain
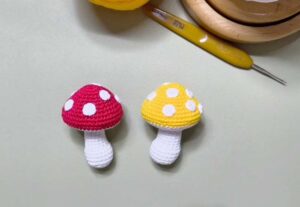
Free Crochet Toadstool Handmade Mushroom Amigurumi Pattern
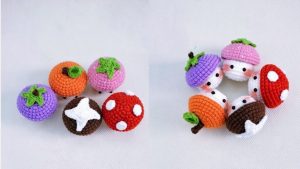
Crochet 5 Fruity Mushroom Keychains (Strawberry, Orange & More)
Sogio: Crochet Smiling Mushroom Amigurumi Toy Pattern