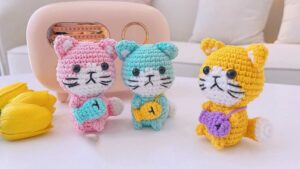
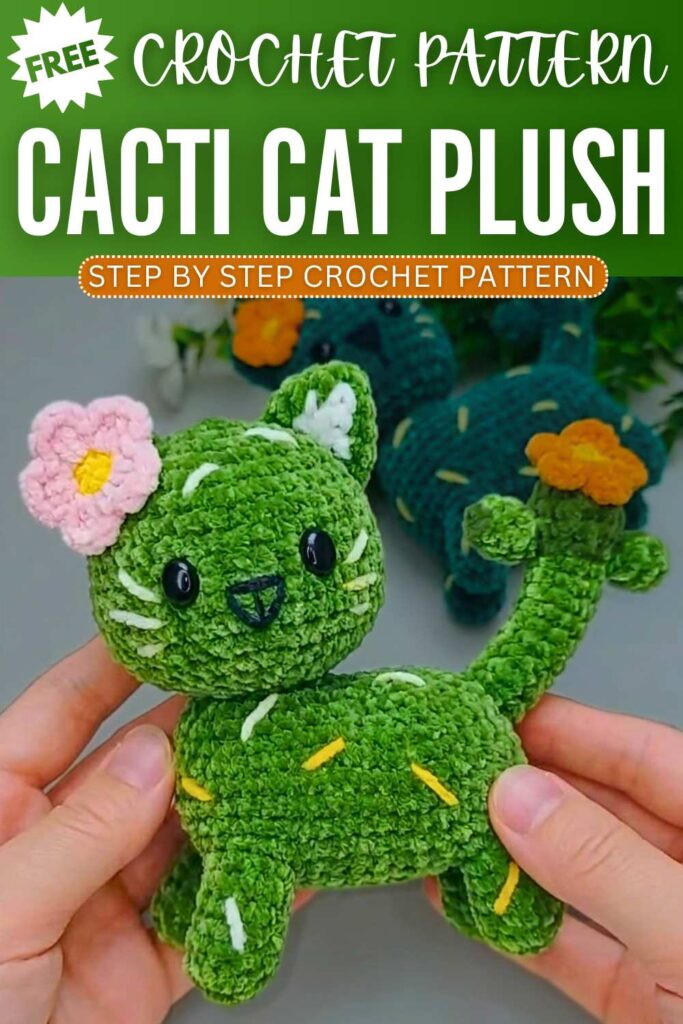
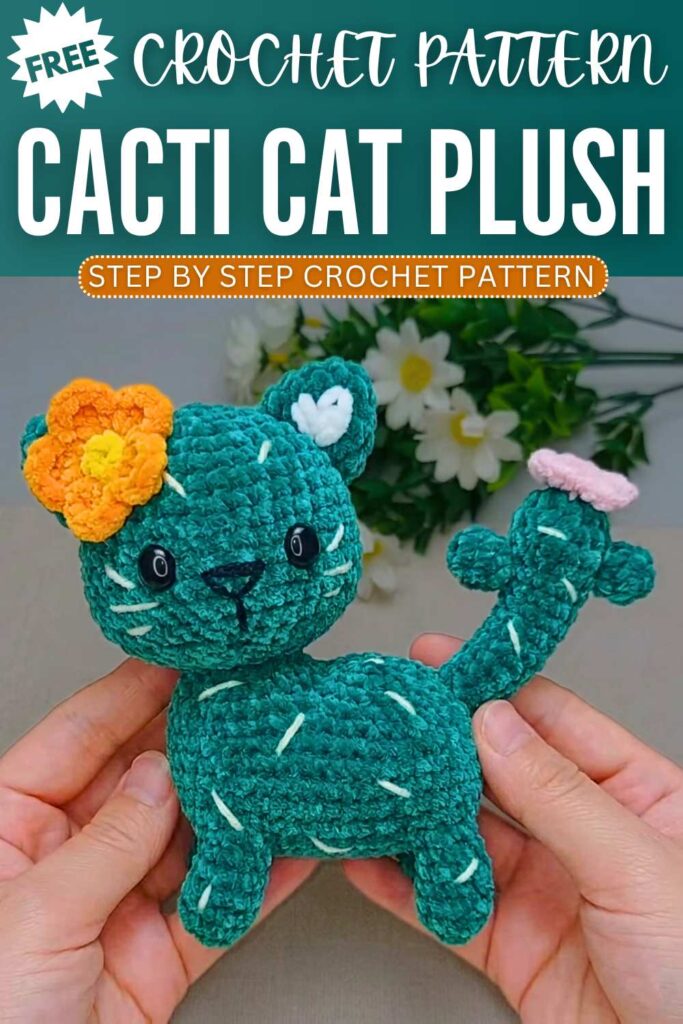
Crochet Cacti Cat Plushie With Rotatable Head
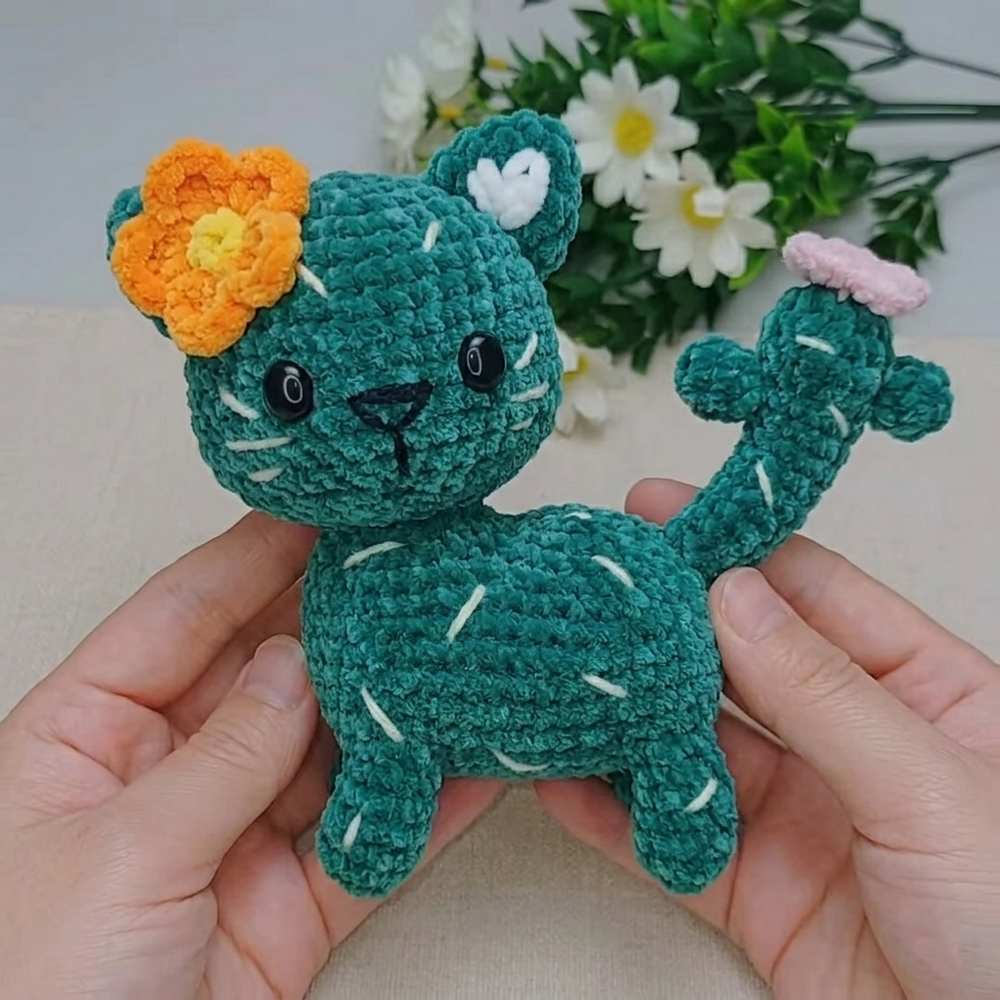
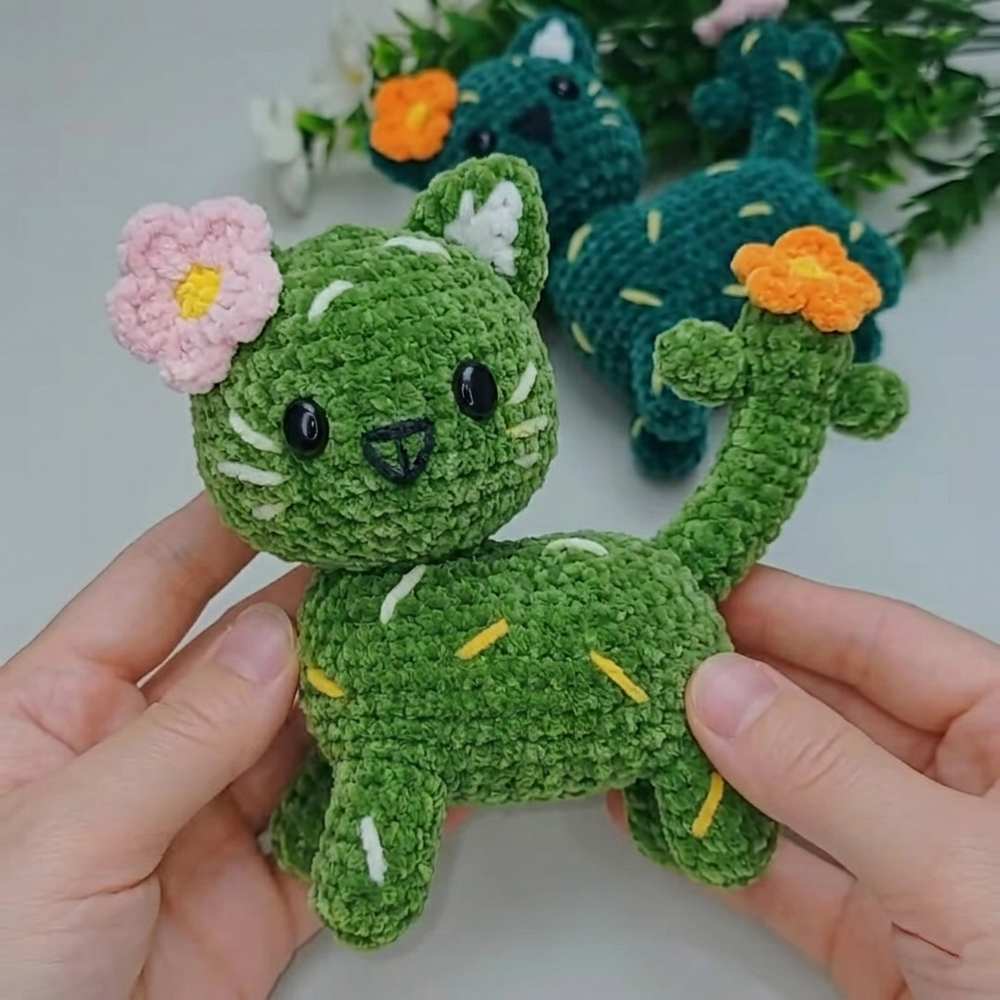
Crochet this playful cactus cat doll with a fun head that can turn in different directions. The design mixes a cute cat with cactus details to create a unique amigurumi toy. Separate pieces like the head, ears, tail, legs, and tiny cactus arms are joined together to form the doll. Small flowers and stitched details add extra charm, while the moving head gives the plushie a fun and lively personality.
Step by Step Pattern
Materials List
Yarn: Plush yarn (Green for cactus body parts, White/Cream for the cat belly, Pink/Yellow for accessories)
Crochet Hook: 4.5mm
Fiberfill Stuffing
Craft Wire: 12 cm long (folded in half for the tail)
Safety Eyes & Embroidery Thread (for the cat’s face details)
Yarn Needle & Scissors
Abbreviations List
MR: Magic Ring (Magic Circle)
ch: Chain stitch
sc: Single crochet
hdc: Half double crochet
inc: Increase (2 sc into the same stitch)
hdc-inc: Half double crochet increase (2 hdc into the same stitch)
dec: Invisible decrease
sl st: Slip stitch
st(s): Stitch(es)
Part 1: Legs (Make 2)
Make the first leg and fasten off. Make the second leg but do not cut the yarn, as you will join them together.
Round 1: MR, ch 1, work 6 sc into the ring. Sl st to join. (6 sts)
Round 2: ch 1, [inc] x 2, [hdc-inc] x 2, 2 sc. Sl st to join. (12 sts)
Round 3: ch 1, 3 sc, [dec] x 3, 3 sc. Sl st to join. (9 sts)
Rounds 4–5: ch 1, work 9 sc even around. Sl st to join. (9 sts)
Joining the Legs (Round 6)
Round 6: On the second leg (yarn still attached), ch 1, work 3 sc. Then ch 3. Grab the first leg and insert hook into its 7th stitch from the join. Work 9 sc around the first leg, work 1 sc into the side loop, work 8 sc across the remaining chain spaces and second leg. Sl st to join. (21 sts)
Round 7: ch 1, work 24 sc evenly across all stitches and chains. Sl st to join. (24 sts) Fasten off the first completed leg-set pair. You will make two identical pairs of these joined legs total (one pair will be fastened off; the other pair keeps yarn attached).
Part 2: Belly & Body
First, create a flat panel row-by-row for the belly patch using white/cream yarn.
Row 1: ch 1, work 9 sc across. Turn. (9 sts)
Rows 2–7: Repeat Row 1 for 6 rows total. Turn after each row. (9 sts)
Row 8: Bring your fastened-off leg section over. Align the belly panel edges to stitch 13 on the leg pieces. ch 1, work 9 sc through both layers to join the belly patch to the legs. (9 sts)
Round 9: ch 1, work 15 sc along the leg curve, work 8 sc along the side edge of the belly patch, repeat [15 sc on leg, 8 sc on belly] on the opposite side. Sl st to join. (46 sts)
Rounds 10–12: ch 1, work 46 sc even around. Sl st to join. (46 sts)
Round 13: ch 1, work 1 sc, then 38 sc across. Sl st to join. (45 sts)
Round 14: ch 1, [7 sc, dec] x 5. Sl st to join. (40 sts)
Round 15: ch 1, [3 sc, dec] x 4, work 4 sc, skip 16 stitches (this creates the socket gap for the special neck insertion later), work 4 sc. Sl st to join. (20 sts)
Round 16: ch 1, [2 sc, dec] x 6. Sl st to join. (18 sts)
Round 17: ch 1, [1 sc, dec] x 6. Sl st to join. (12 sts) Fasten off, leaving a long tail. Stuff the body firmly, then sew the remaining bottom opening closed using your yarn needle.
Part 3: Mechanism Neck Joint
This separate piece fits snugly into the body cavity gap to allow the head movement mechanism.
Round 1: Join green yarn directly into the body’s skipped 16-stitch socket. ch 1, work 18 sc around the opening edge, then work an additional 4 sc over the top edge. Sl st to join. (22 sts)
Round 2: ch 1, [1 sc, dec] x 7, work 1 sc. Sl st to join. (15 sts)
Round 3: ch 1, [3 sc, dec] x 3. Sl st to join. (12 sts)
Rounds 4–7: ch 1, work 12 sc even around. Sl st to join. (12 sts) Fasten off, leaving a long tail. Stuff tightly and sew the tip closed.
Part 4: Head
Round 1: MR, ch 1, work 8 sc into the ring. Sl st to join. (8 sts)
Round 2: ch 1, [inc] x 8. Sl st to join. (16 sts)
Round 3: ch 1, [1 sc, inc] x 8. Sl st to join. (24 sts)
Round 4: ch 1, [2 sc, inc] x 8. Sl st to join. (32 sts)
Round 5: ch 1, work 32 sc even around. Sl st to join. (32 sts)
Round 6: ch 1, [7 sc, inc] x 4. Sl st to join. (36 sts)
Rounds 7–11: ch 1, work 36 sc even around. Sl st to join. (36 sts)
Round 12: ch 1, 8 sc, [inc] x 4, 12 sc, [inc] x 4, 8 sc. Sl st to join. (44 sts)
Round 13: ch 1, work 44 sc even around. Sl st to join. (44 sts)
Round 14: ch 1, 8 sc, [dec] x 4, 12 sc, [dec] x 4, 8 sc. Sl st to join. (36 sts)
Round 15: ch 1, [2 sc, dec] x 9. Sl st to join. (27 sts)
Round 16: ch 1, [1 sc, dec] x 9. Sl st to join. (18 sts)
Round 17: ch 1, [4 sc, dec] x 3. Sl st to join. (15 sts)
Stuff the head firmly around the outer walls, leaving the center core clear.
Rounds 18–22: ch 1, work 15 sc even around. Sl st to join. (15 sts)
Round 23: ch 1, [dec] x 7, work 1 sc. Sl st to join. (8 sts) Fasten off and leave a long tail. Push the neck tube section (Rounds 18–22) back inside the cavity of the head to form an inverted internal pocket.
Part 5: Ears (Make 2)
Round 1: MR, ch 1, work 6 sc into the ring. Sl st to join. (6 sts)
Round 2: ch 1, [1 sc, inc] x 3. Sl st to join. (9 sts)
Round 3: ch 1, [2 sc, inc] x 3. Sl st to join. (12 sts)
Round 4: ch 1, [3 sc, inc] x 3. Sl st to join. (15 sts) Fasten off, leaving a long tail for sewing onto the head panel.
Part 6: Tail
Round 1: MR, ch 1, work 6 sc into the ring. Sl st to join. (6 sts)
Round 2: ch 1, [inc] x 6. Sl st to join. (12 sts)
Rounds 3–4: ch 1, work 12 sc even around. Sl st to join. (12 sts)
Round 5: ch 1, [1 sc, dec] x 4. Sl st to join. (8 sts)
Rounds 6–14: ch 1, work 8 sc even around for 9 rounds total. Sl st to join. (8 sts) Fasten off, leaving a long tail. Fold your 12 cm wire in half, insert it into the tail piece for support, and light stuff.
Part 7: Cactus Arms (Make 2)
Round 1: MR, ch 1, work 5 sc into the ring. Sl st to join. (5 sts)
Rounds 2–3: ch 1, work 5 sc even around. Sl st to join. (5 sts) *Fasten off with a sewing tail; stuff lightly.
Part 8: Decorative Flowers (Large & Small)
Large Flower (Pink/Yellow)
Round 1: MR, ch 1, work 5 sc into the ring. Change color on the 5th stitch. Sl st to join. (5 sts)
Round 2 (Petals): [ch 2, 2 hdc into the same stitch, ch 2, sl st into the next stitch] x 5. Fasten off, leaving a long sewing tail.
Small Flower (Pink/Yellow)
Round 1: MR, ch 1, work 5 sc into the ring. Change color on the 5th stitch. Sl st to join. (5 sts)
Round 2 (Petals): [ch 2, 1 hdc into the same stitch, ch 2, sl st into the next stitch] x 5. Fasten off, leaving a long sewing tail.
Part 9: Assembly & Final Layout
The Rotating Mechanism: Take the completed Head and locate the inverted inside pocket. Pop the elongated neck tube from Part 3 straight up into this pocket cavity. It should sit comfortably inside, letting the head twist freely!
Face Details: Position safety eyes on the head, then embroider small whiskers and a triangular mouth on the face.
Sewing the Features: Sew the ears to the top of the head, the cactus side-arms onto the sides of the body, and the wired tail to the back.
Finishing Touches: Attach the decorative accent flowers next to the cat’s ear or on the cactus arms to complete the playful look.
You may also like
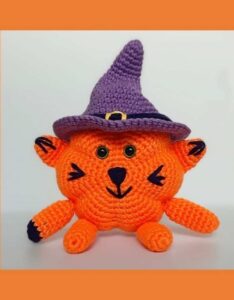
ToysIryna – Crochet Pumpkin Cat in a Witch Hat Amigurumi
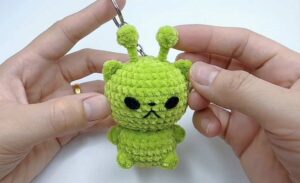
Crochet Cat Alien Plush Toy Amigurumi Pattern

Handmade-top: Free Crochet Cat Holding Heart Applique for Halloween

13 Free Crochet Mini Cat Plushies for Kids
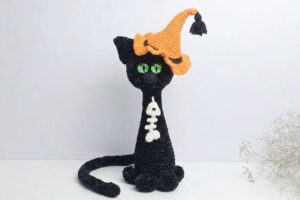
Free Crochet Halloween Witch Hat & Fish Bone Toy for Black Cat