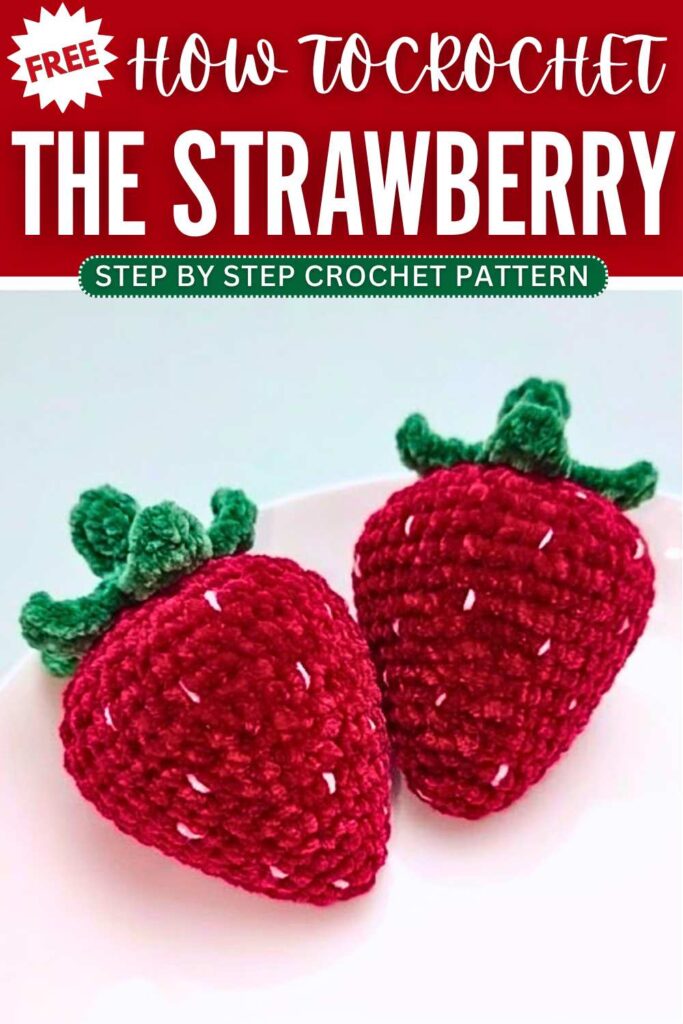
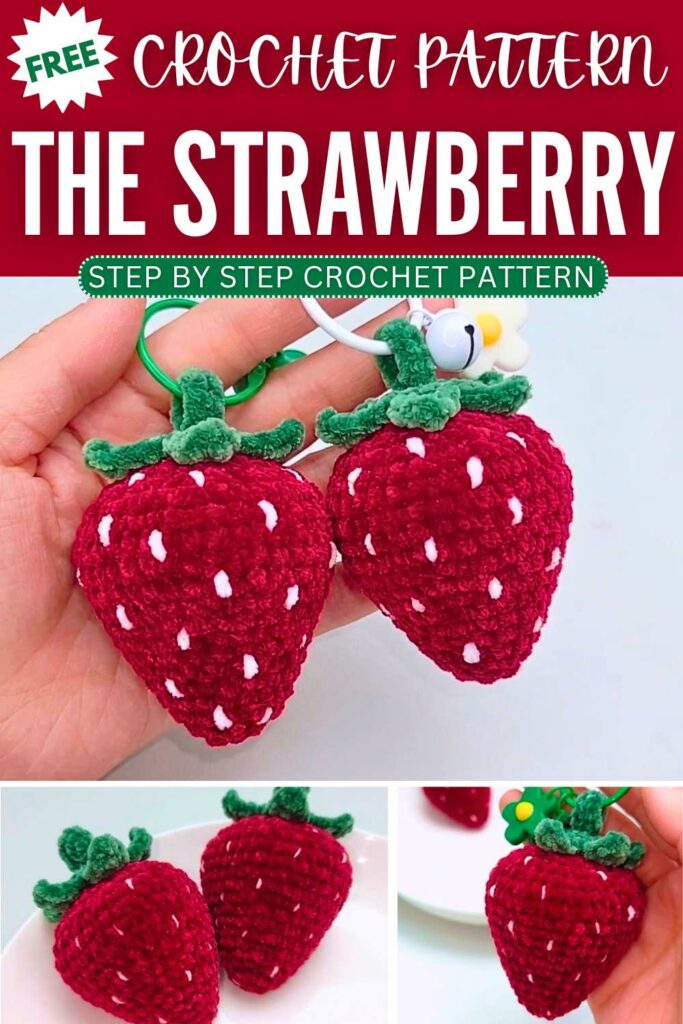
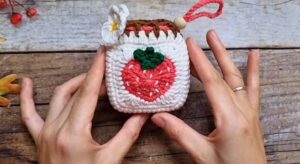
Crochet Strawberry Plushie Pattern For Summer
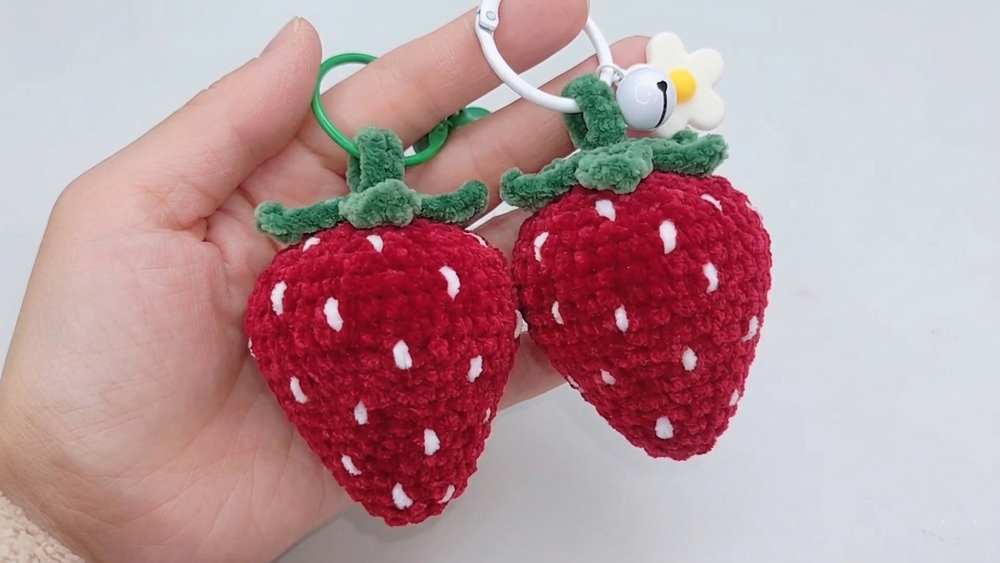
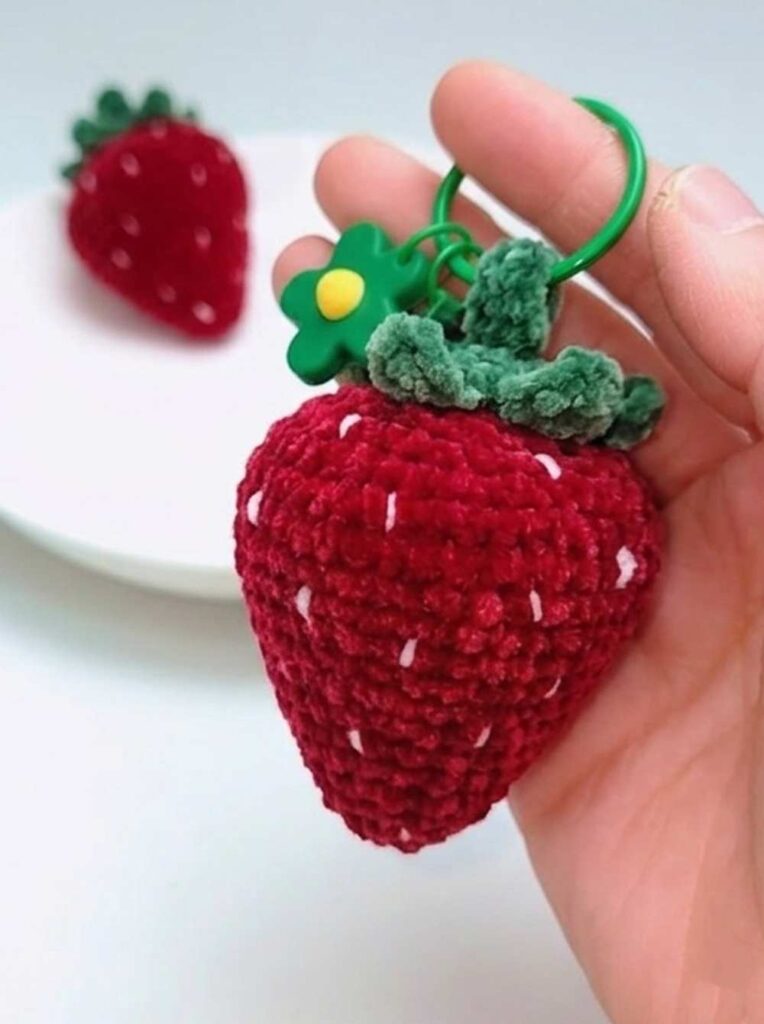
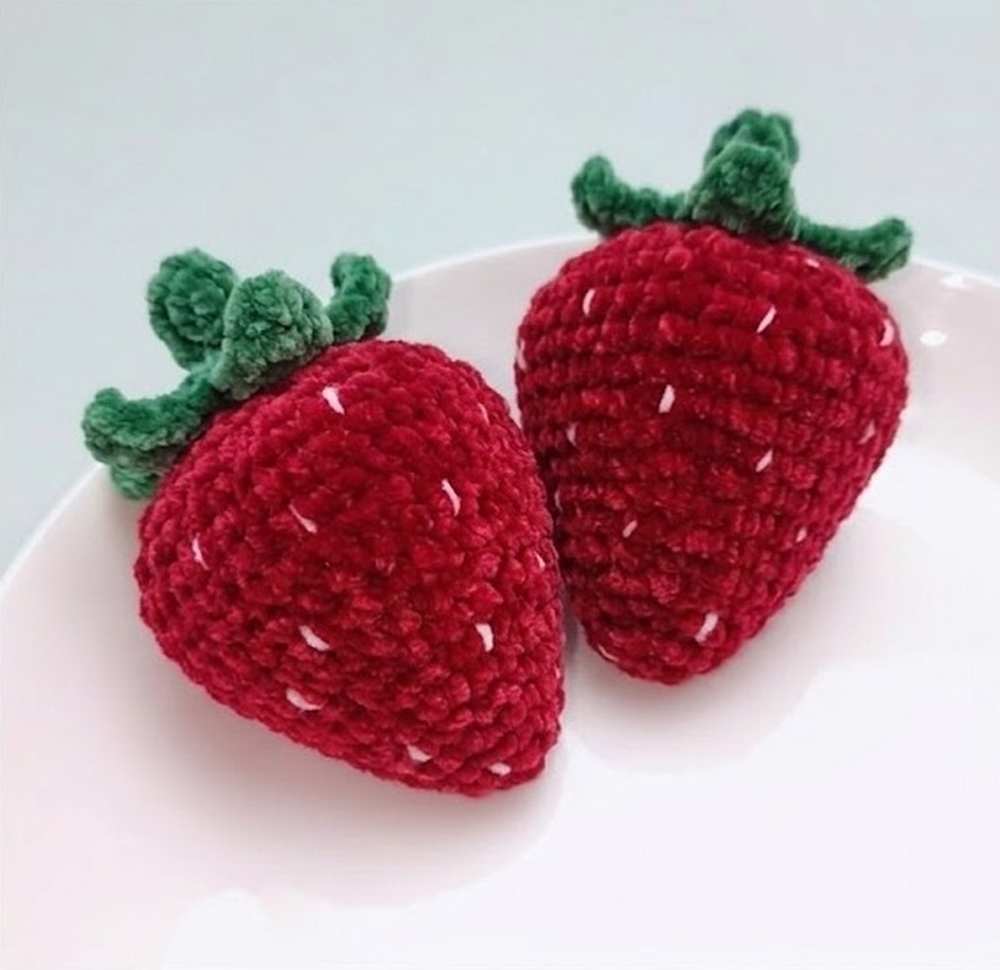
Bring sweet summer vibes to your crochet with this cute strawberry keychain project. The design starts with a bright red strawberry shape, followed by a green leafy top and a small hanging loop. Each piece is made separately and stitched together in a simple way. Tiny seed details are added at the end to complete the fresh fruit look, making it perfect as a keychain, bag charm, or small handmade summer gift.
Crochet Strawberry Plush Keychain Pattern
Step by step Pattern
Materials List
Yarn: Plush yarn (Red for the strawberry body, Green for the leaves, White/Cream for the seeds)
Crochet Hook: 4.5mm
Fibers/Stuffing: Fiberfill stuffing
Accessories: Keyring/Keychain clasp
Tools: Yarn needle, scissors
Abbreviations List
MR: Magic Ring
ch: Chain
sl st: Slip stitch
sc: Single crochet
inc: Single crochet increase (2 sc in the same stitch)
dec: Single crochet decrease (sc 2 stitches together)
hdc: Half double crochet
dc: Double crochet
sk: Skip a stitch
st(s): Stitch(es)
[ ] x 6: Repeat the instructions inside the brackets 6 times
Part 1: Strawberry Body (Main Theme)
Note: Every round ends by joining with a slip stitch (sl st) to the first stitch of that round, and begins with 1 ch (does not count as a stitch).
Round 1: Start with a MR. Make 6 sc into the ring. Pull tight, sl st to the first sc to join. (6 sts)
Round 2: 6 inc around. Sl st to join. (12 sts)
Round 3: 12 sc around (1 sc in each stitch). Sl st to join. (12 sts)
Round 4: [1 sc, 1 inc] x 6. Sl st to join. (18 sts)
(Flip the piece inside out at this stage so the right side is facing outwards).
Round 5: 18 sc around. Sl st to join. (18 sts)
Round 6: [1 sc, 1 inc, 1 sc] x 6. Sl st to join. (24 sts)
Round 7: 24 sc around. Sl st to join. (24 sts)
Round 8: [3 sc, 1 inc] x 6. Sl st to join. (30 sts)
Round 9: 30 sc around. Sl st to join. (30 sts)
Round 10: [2 sc, 1 inc, 2 sc] x 6. Sl st to join. (36 sts)
Round 11: 36 sc around. Sl st to join. (36 sts)
Round 12: [5 sc, 1 inc] x 6. Sl st to join. (42 sts)
Rounds 13–14: 42 sc around for both rounds. Sl st to join at the end of each round. (42 sts)
Round 15: [5 sc, 1 dec] x 6. Sl st to join. (36 sts)
Round 16: [2 sc, 1 dec, 2 sc] x 6. Sl st to join. (30 sts)
Round 17: [3 sc, 1 dec] x 6. Sl st to join. (24 sts)
Round 18: [1 sc, 1 dec, 1 sc] x 6. Sl st to join. (18 sts)
Round 19: [1 sc, 1 dec] x 6. Sl st to join. (12 sts)
Fasten off, leaving a yarn tail. Stuff the strawberry firmly with fiberfill, weave the yarn tail through the remaining stitches to close the top opening completely, and hide the yarn tail inside.
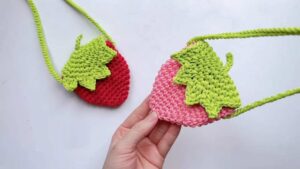
Part 2: Calyx (Green Leaves)
Round 1: Start with a MR using green yarn. Make 5 sc into the ring. Pull tight, sl st to join. (5 sts)
Round 2: 5 inc around. Sl st to join. (10 sts)
Round 3 (Leaf Petals): You will make 5 leaves in total around this circle:
Leaf Pattern: Ch 5. Turn and work into the back bumps (back ridges) of the chain starting from the 2nd chain from hook: 1 sl st, 1 sc, 1 hdc, 1 dc.
To attach: Skip 1 stitch on Round 2, and make 1 sl st into the 3rd stitch.
Repeat this pattern 4 more times until you have 5 leaves. Fasten off and leave a long tail for sewing.
Part 3: Hanging Cord/Loop
Using green yarn, leave a small starting tail and make a slip knot.
Ch 9.
Turn and work into the back ridges starting from the 2nd ch from hook: 8 sc.
Fasten off and leave a tail for assembly.
Part 4: Assembly & Final Details
Attach Cord to Leaves: Thread the hanging cord through the center hole of the green calyx and secure the ends tightly together beneath it.
Attach Calyx to Strawberry: Place the calyx on top of the finished red strawberry body. Use the green yarn tail and a yarn needle to stitch down the leaves securely to the main body.
Embroider the Seeds: Thread a yarn needle with white or cream yarn. Pass the needle through the strawberry to create little vertical stitch accents across the red body to mimic strawberry seeds. Tie off and hide the white thread inside the body.
Add the Hardware: Attach your keychain/keyring clasp to the top of the green hanging loop.
Your large strawberry keychain is complete! Feel free to ask if you run into any tricky spots while working on it.
You may also like
Chiipp: How to Crochet Strawberry Crossbody Pouch with A Flap Tutorial
Crochet 5 Fruity Mushroom Keychains (Strawberry, Orange & More)
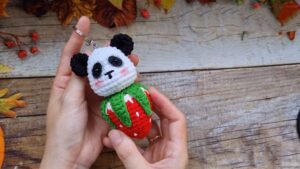
Free Crochet Strawberry Bear Keychain Pattern for Spring
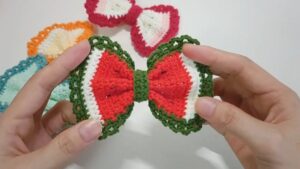
How to Crochet Fruity Bows (Watermelon, Orange & Strawberry Bow)
Crochet Mini Strawberry Pouch Bag Pattern Free