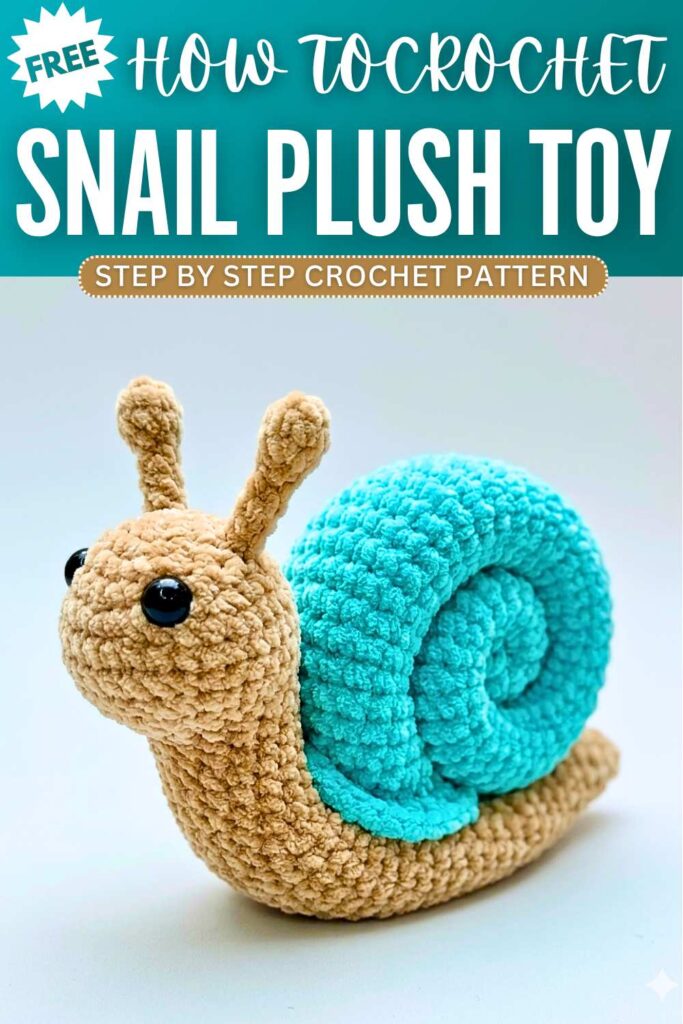
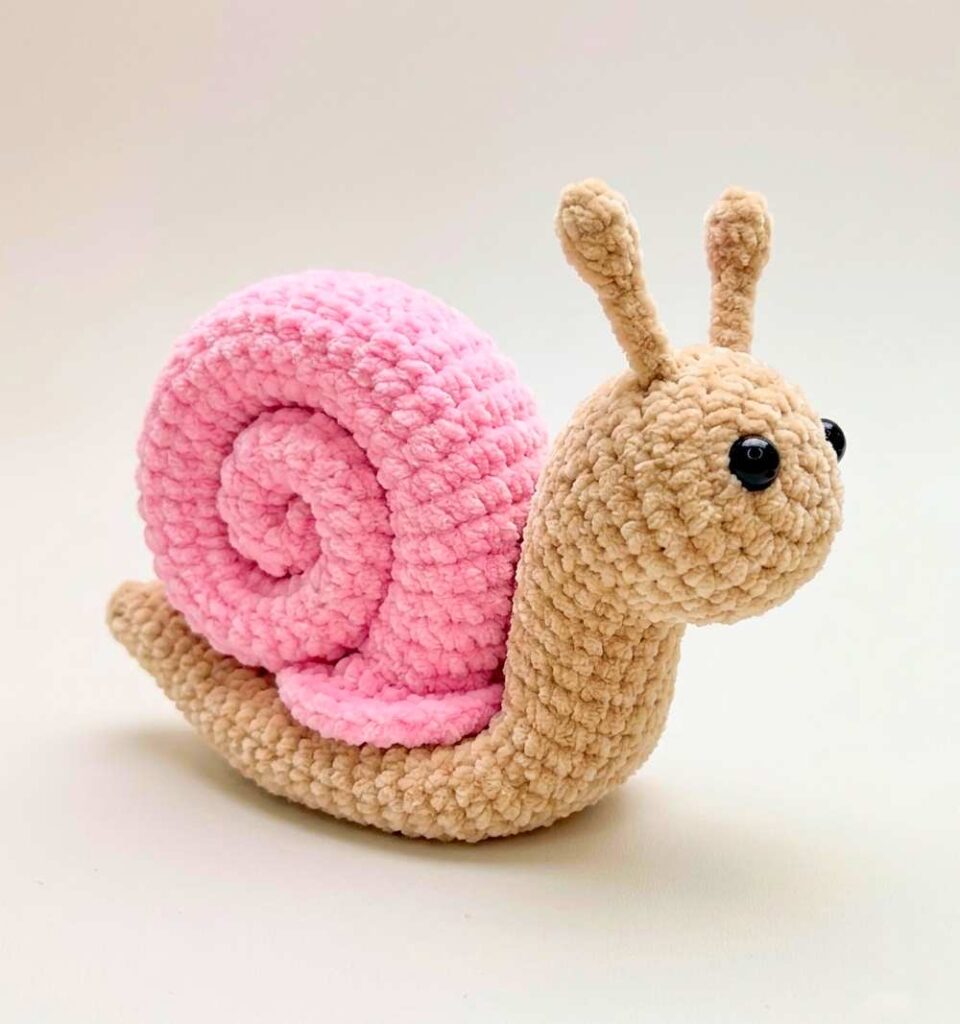
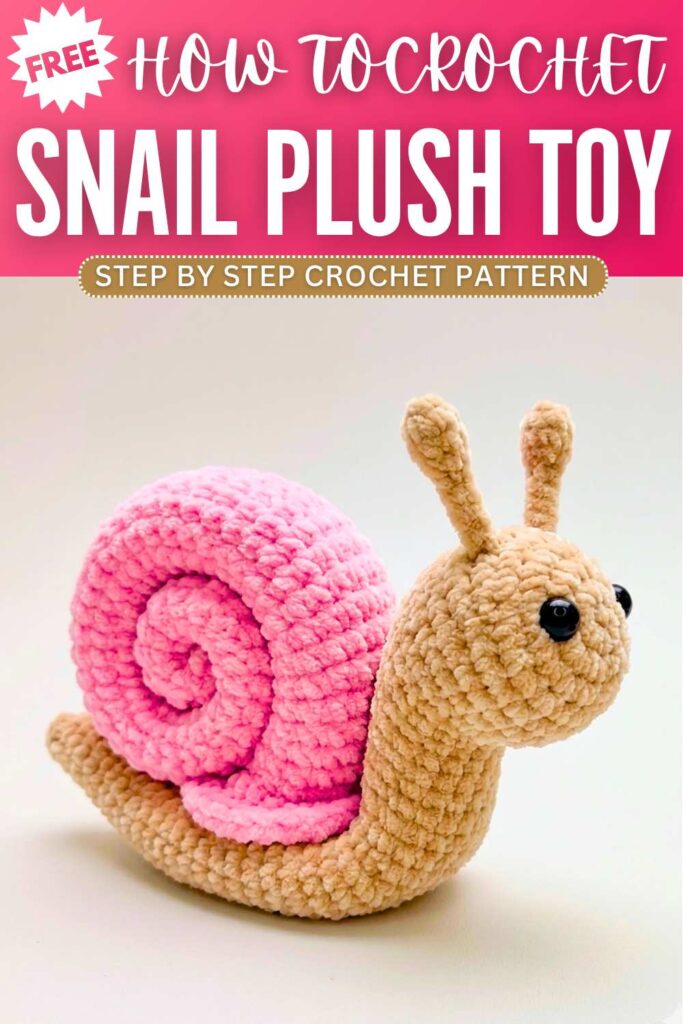
Crochet Snail Plush Toy With Bendable Body
Slow down and enjoy summer crochet time with this cute plushie snail project. The design is made in separate parts, including a long body, curly shell, and tiny antennae. Flexible wire inside helps the snail bend and hold different poses, giving it a fun and lively look. Simple stitched details bring the snail to life, making it a charming handmade toy, decoration, or sweet little gift.
Crochet Snail Plush Toy Pattern
Step By Step Pattern
Materials Needed
Yarn: Plush yarn (main body color and shell color)
Crochet Hook: 4.5mm
Structuring Wire / Shaping Strips: One piece 16 cm long (for the body), two pieces 5 cm long (for the tentacles)
Fiberfill: Stuffing material
Tools: Pliers (for bending the wire), tapestry needle, and craft glue (hot glue or fabric glue)
Abbreviation List
MR: Magic Ring
ch: Chain
sc: Single Crochet
inc: Single Crochet Increase (2 single crochets into the same stitch)
dec: Single Crochet Decrease (invisible decrease preferred)
hdc-puff: 2-Half-Double-Crochet Puff Stitch (Yarn over, insert hook into stitch, pull up a loop. Yarn over, insert hook into the same stitch, pull up a loop. 5 loops on hook. Yarn over and pull through all 5 loops.)
sl st: Slip Stitch
st(s): Stitch(es)
[ ] × N: Repeat the pattern inside the brackets N times
Part 1: Head and Body
Note: Work in continuous or joined rounds as indicated by slip stitching at the end of each round. Stuff the head firmly, but add only a small/light amount of stuffing from the neck down to the body so it remains flexible.
Round 1: MR, ch 1, 6 sc into the ring. Sl st to the first sc to join. (6 sts)
Round 2: Ch 1, 6 inc, sl st to join. (12 sts)
Round 3: Ch 1, [1 sc, 1 inc] × 6, sl st to join. (18 sts)
Round 4: Ch 1, [2 sc, 1 inc] × 6, sl st to join. (24 sts)
Rounds 5–9: Ch 1, 24 sc around, sl st to join. (24 sts)
Round 10: Ch 1, [2 sc, 1 dec] × 6, sl st to join. (18 sts)
Rounds 11–18: Ch 1, 18 sc around, sl st to join. (18 sts)
Wire & Stuffing Placement: Take your 16 cm wire. Use pliers to fold one end into a small, smooth loop so it doesn’t poke through the stitches. Insert this looped end completely up into the head. Firmly stuff the head with fiberfill around the wire.
Round 19: Ch 1, [2 sc, 1 inc] × 6, sl st to join. (24 sts)
Rounds 20–21: Ch 1, 24 sc around, sl st to join. (24 sts)
Round 22: Ch 1, [7 sc, 1 inc] × 3, sl st to join. (27 sts)
Rounds 23–27: Ch 1, 27 sc around, sl st to join. (27 sts)
Round 28: Ch 1, [7 sc, 1 dec] × 3, sl st to join. (24 sts)
Rounds 29–32: Ch 1, 24 sc around, sl st to join. (24 sts)
Round 33: Ch 1, [2 sc, 1 dec] × 6, sl st to join. (18 sts)
Rounds 34–36: Ch 1, 18 sc around, sl st to join. (18 sts)
Round 37: Ch 1, [1 sc, 1 dec] × 6, sl st to join. (12 sts)
Rounds 38–40: Ch 1, 12 sc around, sl st to join. (12 sts)
Round 41: Ch 1, 6 dec, sl st to join. (6 sts)
Finishing the Body Wire: Before closing, check the remaining tail of the wire. Use pliers to trim and fold the bottom tip inward so it is entirely safely tucked inside the tail end of the body. Lightly finish stuffing the remaining body cavity.
Round 42: Ch 1, 6 sc around, sl st to join. (6 sts)
Fasten off, pull the yarn tail through, weave it through the last 6 stitches to close the hole, hide the thread inside the body, and cut. Gently bend the wired piece into an “S” shape or a curved upright snail posture.
Part 2: Snail Shell
Note: You will need to stuff the shell progressively with small amounts of fiberfill every few rounds as you work. Do not wait until the end.
Round 1: MR, ch 1, 6 sc into the ring. Sl st to join. (6 sts)
Rounds 2–8: Ch 1, 6 sc around, sl st to join. (6 sts)
Round 9: Ch 1, [1 sc, 1 inc] × 3, sl st to join. (9 sts)
Rounds 10–17: Ch 1, 9 sc around, sl st to join. (9 sts)
Round 18: Ch 1, [2 sc, 1 inc] × 3, sl st to join. (12 sts)
Rounds 19–26: Ch 1, 12 sc around, sl st to join. (12 sts)
Round 27: Ch 1, 1 inc, 11 sc, sl st to join. (13 sts)
Rounds 28–35: Ch 1, 13 sc around, sl st to join. (13 sts)
Round 36: Ch 1, 1 inc, 12 sc, sl st to join. (14 sts)
Rounds 37–45: Ch 1, 14 sc around, sl st to join. (14 sts)
Round 46: Ch 1, 1 inc, 13 sc, sl st to join. (15 sts)
Rounds 47–51: Ch 1, 15 sc around, sl st to join. (15 sts)
Round 52: Ch 1, 3 sc into the very first stitch (a 3-sc increase), then 14 sc around, sl st to join. (17 sts)
Round 53: Ch 1, 1 sc, 3 sc into the next stitch, 15 sc around, sl st to join. (19 sts)
Round 54: Ch 1, 2 sc, 3 sc into the next stitch, 16 sc around, sl st to join. (21 sts)
Round 55: Ch 1, 3 sc, 3 sc into the next stitch, 17 sc around, sl st to join. (23 sts)
Round 56: Ch 1, 4 sc, 3 sc into the next stitch, 18 sc around, sl st to join. (25 sts)
Round 57 (Decorative Rim): Ch 2. In the first stitch, work an hdc-puff. Work 1 hdc-puff into every stitch around the entire opening. (25 puff stitches total). Sl st to the first puff to join.
Fasten off, leaving a very long yarn tail for sewing the shell into its spiral shape and attaching it to the body.
Part 3: Tentacles (Make 2)
Instead of crocheting, the tentacles are wrapped directly around the 5 cm shaping strips.
Take a 5 cm piece of wire. Position your yarn tip near the midpoint of the wire.
Begin tightly wrapping the yarn around the wire upward toward one end.
When you reach the top edge, use your pliers to fold the wire tip completely in half down over the wrapped yarn. Press it tightly with the pliers to trap and secure the yarn.
Continue wrapping a few extra layers of yarn around this folded bulbous tip to create a small, rounded tentacle head.
Wrap the yarn tightly and evenly all the way down to the base of the wire.
Secure the yarn end tightly at the base using a small dot of craft glue, then trim the excess yarn.
Part 4: Assembly & Final Details
Roll the Shell: Take the long crocheted shell tube. Roll it tightly into a flat spiral disc, starting from the small closed tip (Round 1) moving out toward the wide puff-stitch opening. Use your tapestry needle and the long yarn tail to sew through the layers dynamically as you roll so the shell holds its flat, coiled shape permanently.
Attach the Shell: Sew or securely glue the flat side of the coiled shell onto the middle of the curved snail body.
Attach the Tentacles: Use a needle tool or your hook to pierce two small holes into the top of the snail’s head. Add a tiny drop of glue to the wire bases of your completed tentacles and insert them deep into the head holes. Hold for a moment until secure.
Facial Features: Thread a small piece of black embroidery floss to stitch two simple closed eyes (or add tiny safety eyes/beads) onto the front of the head to finish your snail!
You may also like
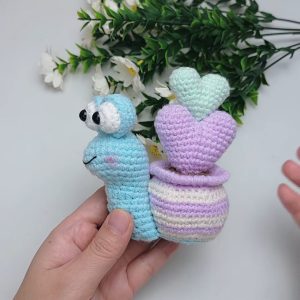
How Crochet Heart Snail Amigurumi with for Gifting
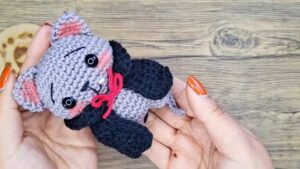
TejidosVal: Crochet Cat In A Vampire Cape Amigurumi Toy for Halloween

Crochet Happy Orange Amigurumi Toy Pattern
Kroshka: Crochet No-Sew Snake in a Bow Plushie Toy for Gifting
Crochet Cat Alien Plush Toy Amigurumi Pattern
Crochet Cow Amigurumi Toy Pattern For Beginners