Crochet Shark Plushie Pattern For Summer
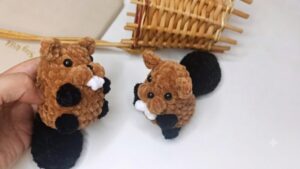
Bring ocean cuteness to your crochet with this adorable baby shark plushie project. Made with soft yarn and simple shapes, the tiny shark is created step by step with separate parts like the body, fins, and face details. Cute expressions give the plushie a playful look and lots of personality. Small and soft, this handmade shark makes a fun toy, decoration, or sweet little gift.
Crochet Shark Plushie Pattern
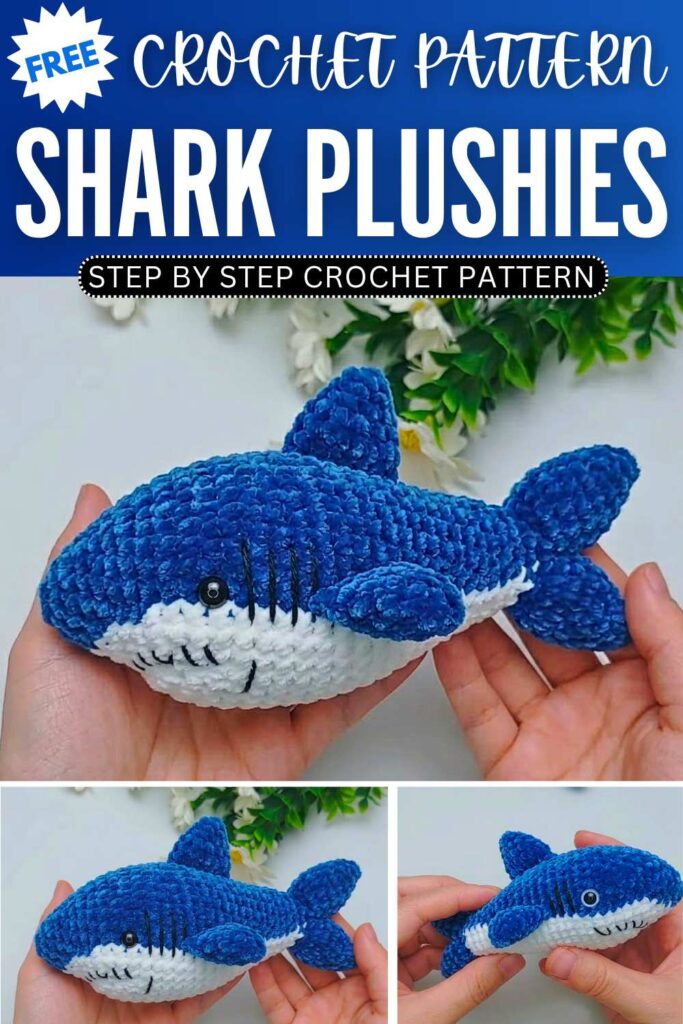
Step By Step Pattern
Materials List
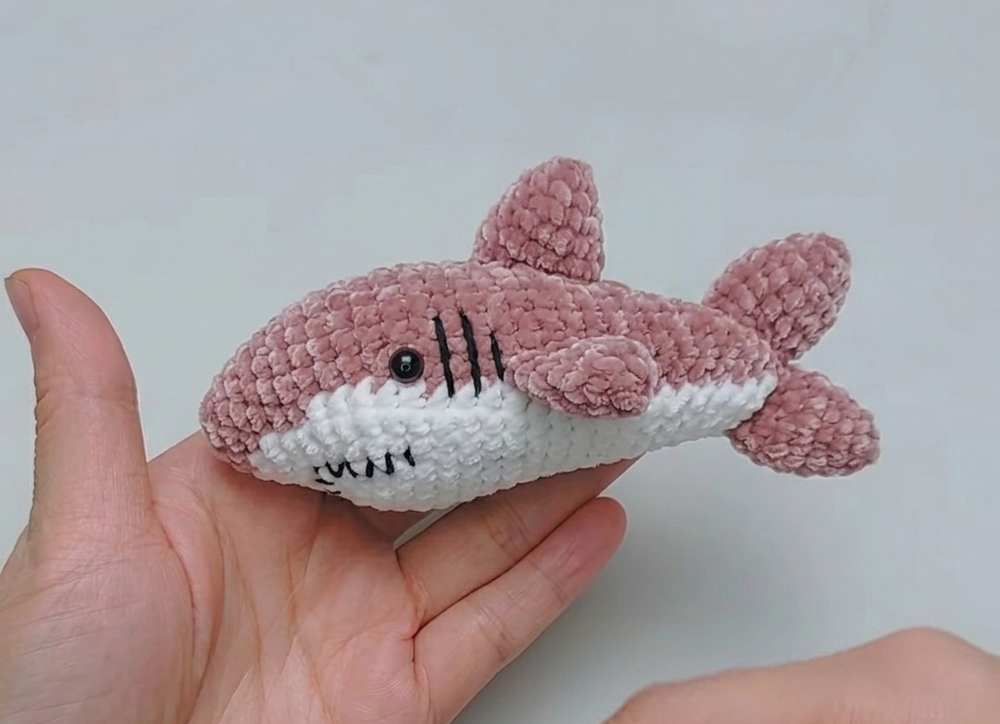
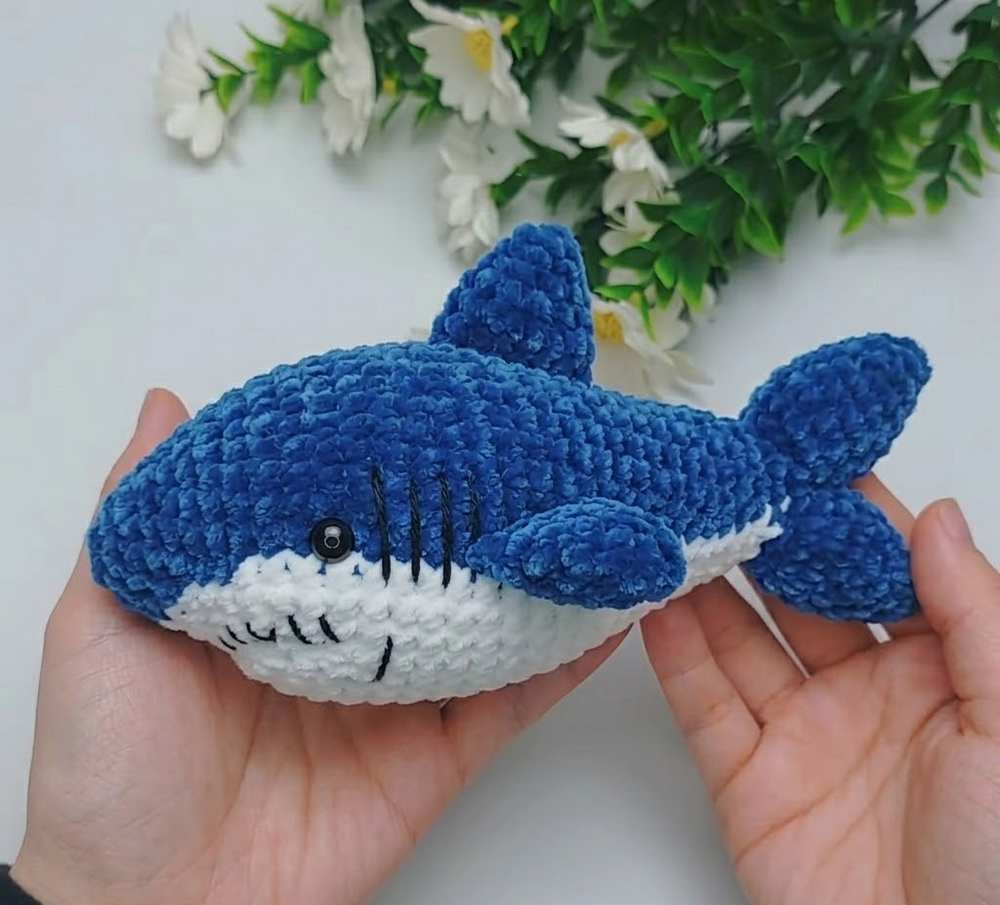
Yarn: Plush yarn (Main Body color, e.g., Pink or Blue; Belly color: White)
Crochet Hook: 5mm
Safety Eyes: Two 6 mm plastic safety eyes
Fibers/Stuffing: Fiberfill stuffing
Thread: Small amount of black yarn/embroidery thread for the mouth details
Tools: Stitch markers, pins for positioning, yarn needle, scissors, and craft glue
Abbreviations List
MR: Magic Ring
ch: Chain
sl st: Slip stitch
sc: Single crochet
hdc: Half double crochet
inc: Increase (2 single crochets in the same stitch)
dec: Decrease (crochet 2 stitches together)
st(s): Stitch(es)
[Main Yarn Color]: Crochet using your main body color (e.g., Pink)
[White]: Crochet using the white belly color
[ ] x N: Repeat the instructions inside the brackets N times
Yarn Color-Switching Note
To transition smoothly between colors when shaping the shark’s belly, always complete the final step of the preceding stitch with the new color. Insert your hook, draw up a loop, then drop the current color, grab the new color from behind, and pull it through both loops on your hook.
Part 1: Main Body (Head to Tail)
Every round ends by joining with a sl st to the first stitch of that round and begins with 1 ch (does not count as a stitch).
Round 1: Using [Main Color], start with a MR. Make 6 sc into the ring. Pull tight, sl st to join. (6 sts)
Round 2: [1 sc, 1 inc] x 3. Sl st to join. (9 sts)
Round 3: [2 sc, 1 inc] x 3. Sl st to join. (12 sts)
Round 4:
[Main Color]: 2 sc (switch to white on the 2nd sc).
[White]: 1 sc, 1 inc (switch back to main color on the last stitch of the increase).
[Main Color]: 3 sc, 1 inc, 3 sc, 1 inc. Sl st to join. (15 sts)
Round 5:
[Main Color]: 1 sc (switch to white).
[White]: 3 sc, 1 inc, 1 sc (switch to main color).
[Main Color]: 3 sc, 1 inc, 4 sc, 1 inc. Sl st to join. (18 sts)
Round 6:
[Main Color]: 1 sc (switch to white).
[White]: 4 sc, 1 inc, 1 sc (switch to main color).
[Main Color]: 4 sc, 1 inc, 5 sc, 1 inc. Sl st to join. (21 sts)
Round 7:
[White]: 6 sc, 1 inc, 1 sc (switch to main color).
[Main Color]: 5 sc, 1 inc, 6 sc, 1 inc. Sl st to join. (24 sts)
Round 8:
[White]: 7 sc, 1 inc, 2 sc (switch to main color).
[Main Color]: 5 sc, 1 inc, 7 sc, 1 inc. Sl st to join. (27 sts)
Round 9:
[White]: 11 sc (switch to main color).
[Main Color]: 16 sc. Sl st to join. (27 sts)
Round 10:
[White]: 8 sc, 1 inc, 2 sc (switch to main color).
[Main Color]: 6 sc, 1 inc, 8 sc, 1 inc. Sl st to join. (30 sts)
Round 11:
[White]: 12 sc (switch to main color).
[Main Color]: 18 sc. Sl st to join. (30 sts)
Round 12:
[White]: 2 sc, 1 inc, 9 sc (switch to main color).
[Main Color]: 1 inc, 9 sc, 1 inc, 7 sc. Sl st to join. (33 sts)
Rounds 13–14:
[White]: 13 sc (switch to main color).
[Main Color]: 20 sc. Sl st to join. (33 sts)
Round 15:
[White]: 6 sc, 1 dec, 5 sc (switch to main color).
[Main Color]: 7 sc, 1 dec, 9 sc, 1 dec. Sl st to join. (30 sts)
Round 16:
[White]: 12 sc (switch to main color).
[Main Color]: 18 sc. Sl st to join. (30 sts)
Round 17:
[White]: 5 sc, 1 dec, 5 sc (switch to main color).
[Main Color]: 6 sc, 1 dec, 4 sc, 1 dec, 4 sc. Sl st to join. (27 sts)
Round 18:
[White]: 11 sc (switch to main color).
[Main Color]: 16 sc. Sl st to join. (27 sts)
(Pro-tip: Start stuffing the body firmly with fiberfill here and continue stuffing as you crochet downwards).
Round 19:
[White]: 4 sc, 1 dec, 5 sc (switch to main color).
[Main Color]: 5 sc, 1 dec, 4 sc, 1 dec, 3 sc. Sl st to join. (24 sts)
Round 20:
[White]: 10 sc (switch to main color).
[Main Color]: 14 sc. Sl st to join. (24 sts)
Round 21:
[White]: 4 sc, 1 dec, 4 sc (switch to main color).
[Main Color]: 4 sc, 1 dec, 3 sc, 1 dec, 3 sc. Sl st to join. (21 sts)
Round 22:
[White]: 9 sc (switch to main color).
[Main Color]: 12 sc. Sl st to join. (21 sts)
Round 23:
[White]: 3 sc, 1 dec, 4 sc (switch to main color).
[Main Color]: 3 sc, 1 dec, 3 sc, 1 dec, 2 sc. Sl st to join. (18 sts)
Round 24:
[White]: 8 sc (switch to main color).
[Main Color]: 10 sc. Sl st to join. (18 sts)
Round 25:
[White]: 3 sc, 1 dec, 3 sc (switch to main color).
[Main Color]: 2 sc, 1 dec, 2 sc, 1 dec, 2 sc. Sl st to join. (15 sts)
Round 26:
[White]: 7 sc (switch to main color).
[Main Color]: 8 sc. Sl st to join. (15 sts)
Round 27:
[White]: 3 sc, 1 dec, 2 sc (switch to main color).
[Main Color]: 1 sc, 1 dec, 2 sc, 1 dec, 1 sc. Sl st to join. (12 sts)
Round 28:
[White]: 2 sc, 1 dec, 2 sc (switch to main color).
[Main Color]: 1 sc, 2 sc, 1 dec. Sl st to join. (9 sts)
Cut your white yarn and weave in the end. Leave a long tail of the [Main Color] yarn, use a yarn needle to weave through the remaining 9 stitches, pull tightly to close the tip of the body, and tie off.

Part 2: Tail Fins (Make 2 Pieces)
Using [Main Color].
Round 1: Start with a MR. Make 4 sc into the ring. Sl st to join. (4 sts)
Round 2: [1 sc, 1 inc] x 2. Sl st to join. (6 sts)
Round 3: [1 sc, 1 inc] x 3. Sl st to join. (9 sts)
Round 4: [1 sc, 1 inc] x 2, 5 sc. Sl st to join. (11 sts)
Round 5: 11 sc around. Sl st to join. (11 sts)
Round 6: 6 sc, 1 dec, 3 sc. Sl st to join. (10 sts)
Round 7: 5 sc. Sl st to join. Leave a long tail for sewing and fasten off.
Part 3: Pectoral Side Fins (Make 2 Pieces)
Using [Main Color].
Round 1: Start with a MR. Make 4 sc into the ring. Sl st to join. (4 sts)
Round 2: [1 sc, 1 inc] x 2. Sl st to join. (6 sts)
Round 3: [1 sc, 1 inc] x 3. Sl st to join. (9 sts)
Round 4: 8 sc, 1 inc. Sl st to join. (10 sts)
Rounds 5–6: 10 sc around for both rounds. Fasten off, leaving a long tail for sewing.
Part 4: Dorsal Back Fin (Make 1 Piece)
Using [Main Color].
Round 1: Start with a MR. Make 4 sc into the ring. Sl st to join. (4 sts)
Round 2: [1 sc, 1 inc] x 2. Sl st to join. (6 sts)
Round 3: [1 sc, 1 inc] x 3. Sl st to join. (9 sts)
Round 4: [2 sc, 1 inc] x 3. Sl st to join. (12 sts)
Round 5: 12 sc around. Sl st to join. (12 sts)
Round 6: 4 sc, 4 hdc, 4 sc. Sl st to join. Fasten off, leaving a long tail for sewing.
Part 5: Assembly & Details
Tail Fins: Flatten your two tail pieces. Stitch them side by side directly onto the closed pointed end (Round 28) of the main body.
Dorsal Fin: Sew the back fin along the center spine of the shark’s back, centering it nicely opposite the white belly area.
Pectoral Fins: Position your side fins right where the white belly transitions into the main body color on either side. Pin them to check symmetry before sewing.
Eyes & Expression: Attach the 6 mm safety eyes on either side of the head using craft glue. Finally, take a strand of thin black yarn or embroidery thread to stitch a simple, curved mouth line onto the front of the face between the eyes to give your chibi shark its smile.
You may also like
How to Crochet Orange & Grey Large Bat Plushie for Halloween
Love-Knitting: Crochet Googly-Eyed No-Sew Spider Plushie Toy for Halloween
Free Crochet Green Mini Alien Plushie for Halloween
Sotvorimka: Free Crochet Foldable Wings Bat Plushie in Purple