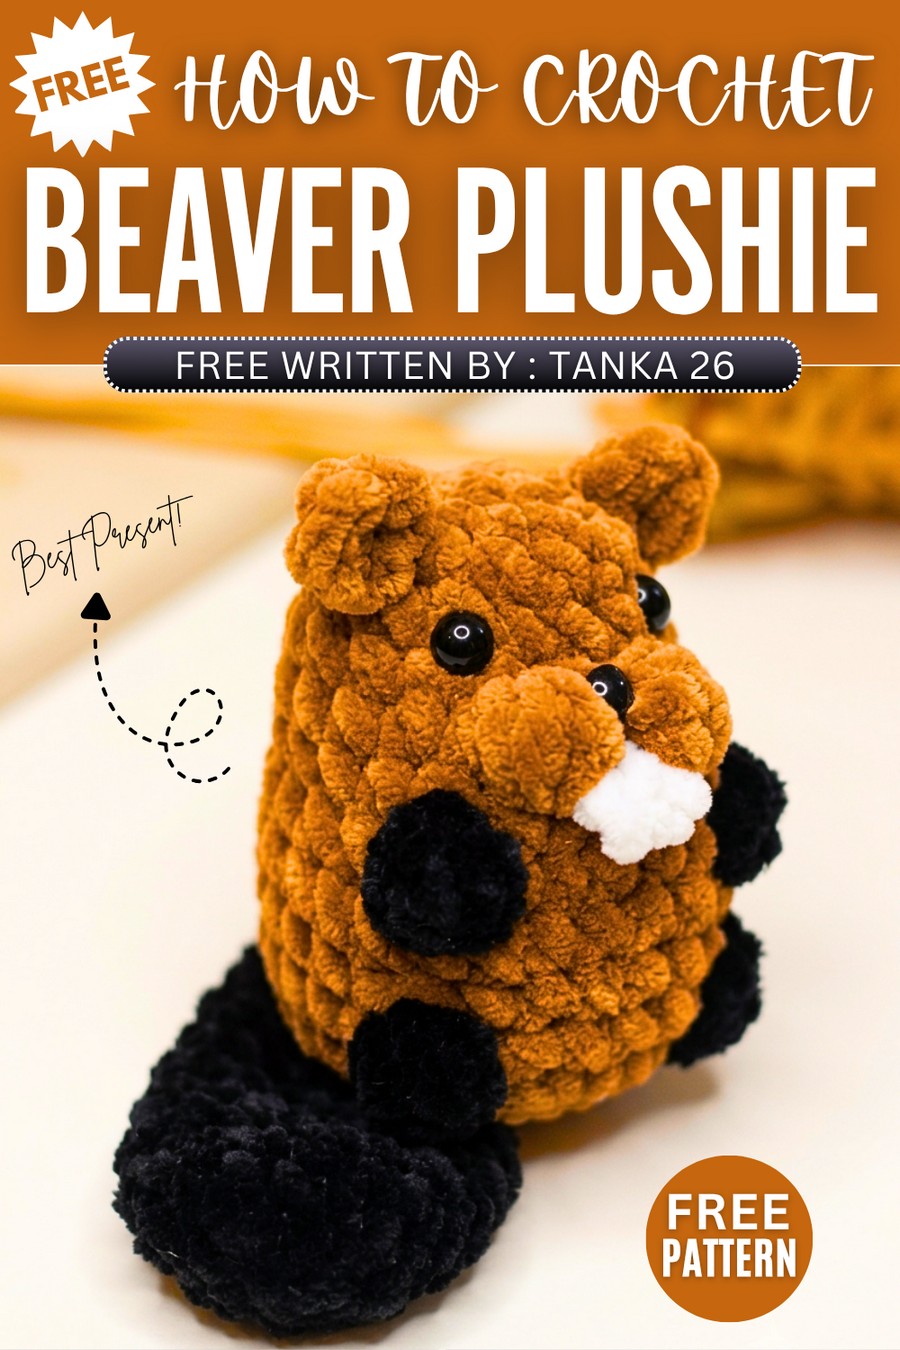
Tanka: Free Crochet Low-Sew Beaver Plushie Pattern for Fall
Learn how to crochet a CUTE little baby beaver plushie for fall following this FREE pattern. It is a low-sew plush beaver that can sit on your desk and lift your mood throughout the fall. It has a long stuffed tail and the same crochet teeth, too. You can crochet this beaver plush within 45 minutes. It is almost no-sew and requires the usual “desk buddy” animal base.
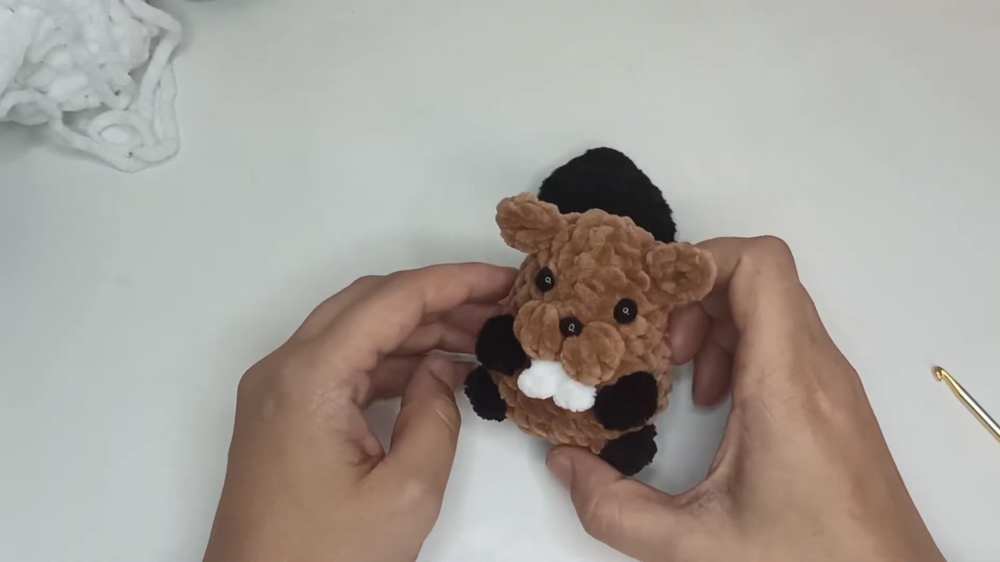
Crochet Low-Sew Beaver Plushie Pattern for Fall

You can also crochet this beaver amigurumi for Thanksgiving and surprise the little ones with its cuteness. Try to use the super bulky yarn to crochet it. You can also the velvet yarn if you are looking for more shiny crochet beaver plush. So, continue reading for the full crochet beaver plush pattern.
About the designer: The designer behind this crochet beaver plushie is @tanka26 – she usually takes plushie orders but have designed the tutorials for crocheting some REALLY cute crochet plushies.
How to Crochet Quick Beaver Plushie
This project is a quick and adorable pattern for making a tiny, plush amigurumi beaver toy. The best part about this design is that it is almost entirely seamless and “one-piece”- the tail, legs, arms, and chubby cheeks are all crocheted directly into the main body as you go.
The only separate pieces are the tiny ears and white teeth, which are attached using quick knots inside the project, completely eliminating the need for tedious needle-sewing. It is a perfect weekend project for beginners working with soft blanket yarn.
Materials Needed
Plush yarn (such as Himalaya Dolphin Baby, Velvet, or similar super bulky chenille yarn) in Brown, Black, and a tiny scrap of White.
Crochet hook suitable for plush yarn (typically 3.5 mm to 4.5 mm).
Safety eyes or glue-on half-beads (7 mm or 8 mm).
Safety nose or glue-on triangle nose (smallest size, roughly 6×8 mm or 7×9 mm).
Fiberfill stuffing.
Stitch marker or a contrasting piece of yarn to mark rows.
Scissors and a lighter (to carefully melt and secure the plush yarn raw ends).
Abbreviations (US Terms)
ch: chain
sc: single crochet
inc: increase (2 single crochets worked into the same stitch)
dec: decrease (single crochet 2 stitches together)
triple-dec: triple decrease (single crochet 3 stitches together)
sl st: slip stitch
4-dc bobble: bobble stitch made of 4 unfinished double crochets in the same stitch, all closed together with the main color to form a neat little paw or cheek.
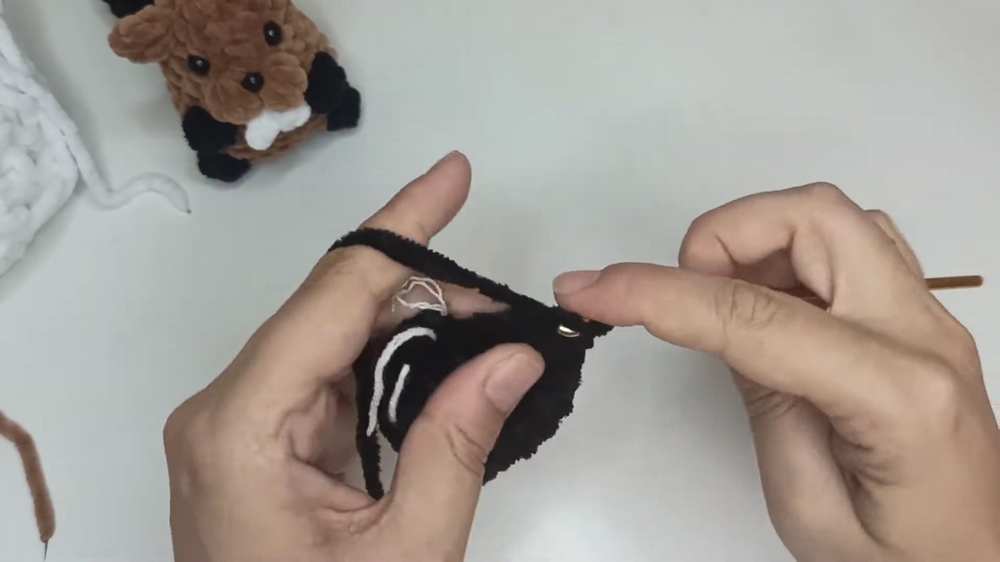
The Tail (Using Black Yarn)
Round 1: Ch 2, work 4 sc into the second chain from your hook (4 stitches).
Round 2: Repeat (1 sc, inc) 2 times around (6 stitches).
Round 3: Work 6 inc around (12 stitches).
Round 4: Repeat (1 sc, inc) 6 times around (18 stitches).
Rounds 5–7: Work 18 sc evenly around for three full rows (18 stitches).
Round 8: Repeat (4 sc, dec) 3 times around (15 stitches).
Round 9: Repeat (3 sc, dec) 3 times around (12 stitches).
Round 10: Repeat (2 sc, dec) 3 times around (9 stitches).
Round 11: Work 9 sc evenly around (9 stitches).
To Finish: Do not stuff the tail. Flatten the opening and crochet directly through both layers using 4 sc to seal it shut. Fasten off and cut the yarn.
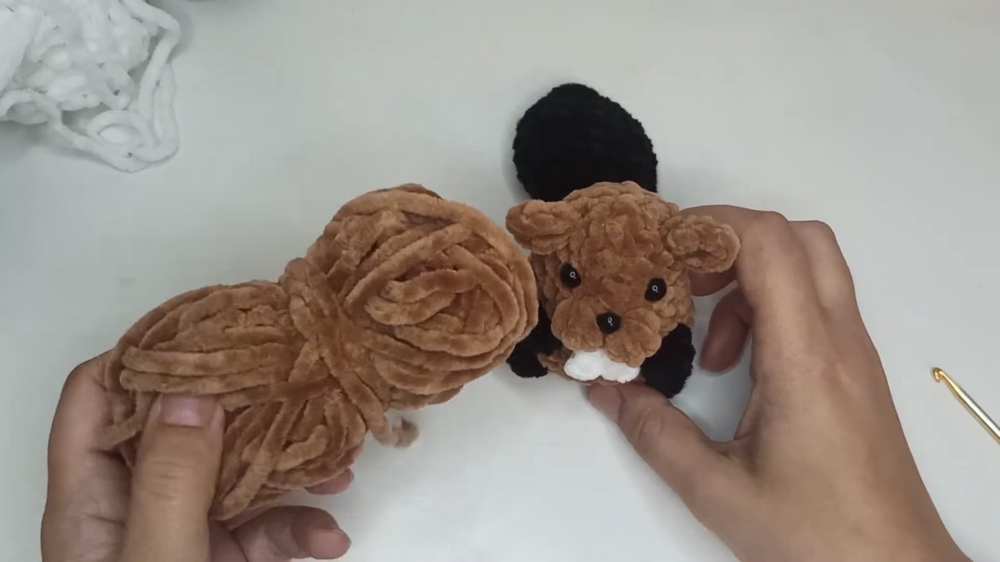
The Body & Head (Using Brown Yarn)
Round 1: Ch 2, work 6 sc into the first chain (6 stitches).
Round 2: Work 6 inc around (12 stitches).
Round 3: Repeat (1 sc, inc) 6 times around (18 stitches).
Round 4: Repeat (2 sc, inc) 6 times around (24 stitches).
Round 5 (Joining the Tail & Bottom Legs): Place the flat edge of the tail against the body. Crochet 4 sc through both the tail layers and the body to attach it. Crochet 6 sc. Bring in the black yarn and make a 4-dc bobble stitch for the first foot, pulling the brown yarn through at the very end to close the stitch. Crochet 6 sc. Make another black 4-dc bobble stitch for the second foot, closing with brown. Crochet 6 sc to finish the round (24 stitches).
Rounds 6–7: Work 24 sc evenly around for two rows (24 stitches).
Round 8 (The Arms): Crochet 4 sc, dec, 3 sc, dec. Use black yarn to make a 4-dc bobble stitch for the first arm, closing it with brown. Crochet 5 sc. Make another black 4-dc bobble stitch for the second arm, closing it with brown. Work a dec, then finish the round with 4 sc (21 stitches).
Round 9: Repeat (5 sc, dec) 3 times around. Cut the black yarn and tie a secure knot inside the body to hide the thread (18 stitches).
Round 10 (The Cheeks): Crochet 10 sc. Using your main brown yarn, make a 4-dc bobble stitch for the first cheek. Crochet 1 sc. Make another brown 4-dc bobble stitch for the second cheek. Crochet 5 sc to finish the round (18 stitches).

The Teeth (Using White Yarn – Made Separately)
Ch 2, sl st into the first chain to make the first tooth. Ch 2, sl st back into that same initial chain to make the second tooth. Fasten off, leaving a short tail on both ends.
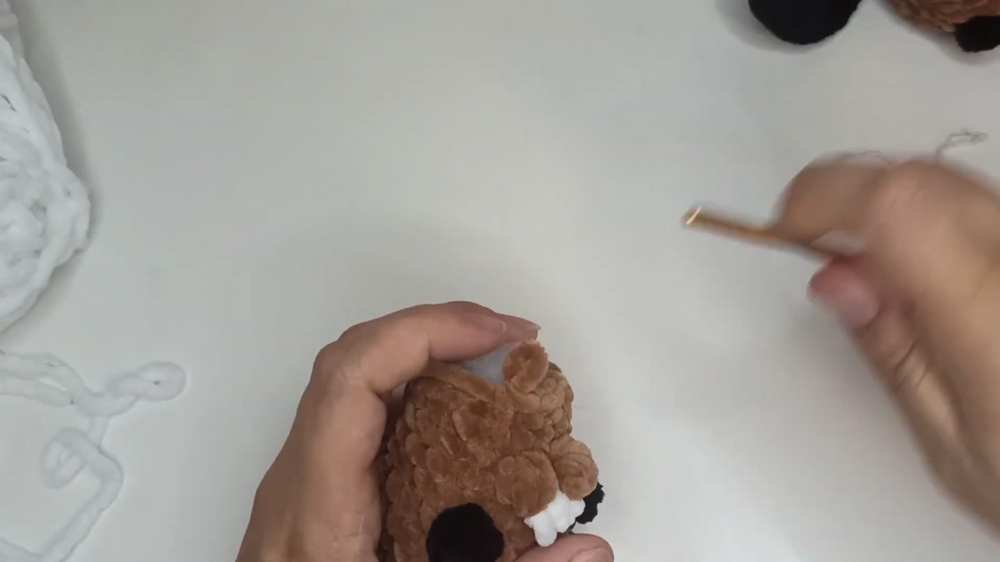
Insert your crochet hook from the inside of the head out to the front, right between the two puffy cheeks. Pull the white yarn tails into the head and tie them in a secure knot inside to secure the teeth.
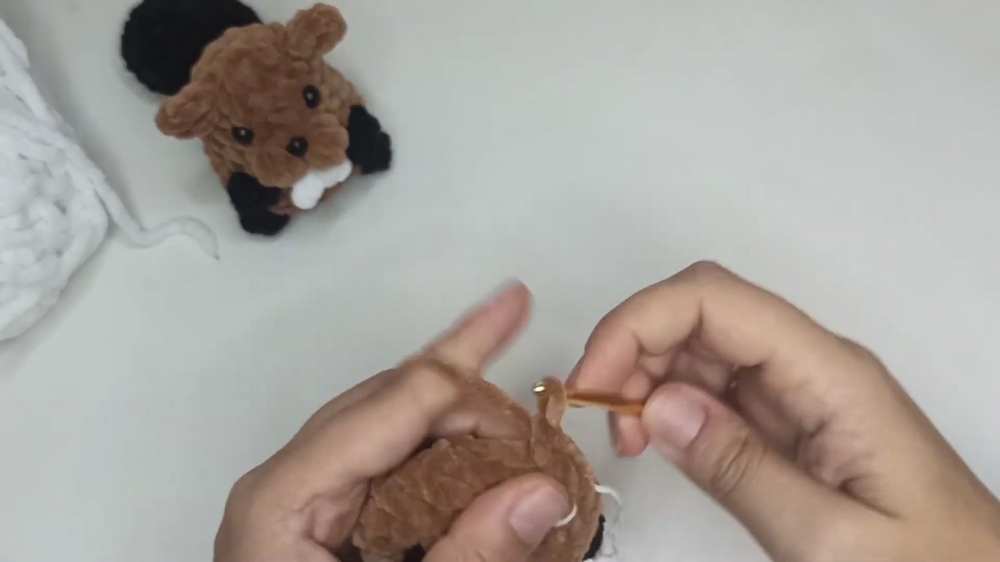
Finishing the Head (Using Brown Yarn)
Round 11: Crochet 10 sc. Work 1 triple-dec across the face stitches (picking up the loop of the first cheek, the middle single crochet, and the second cheek all together) to pull the face shape in nicely. Crochet 5 sc (16 stitches).
Round 12: Work 16 sc evenly around (16 stitches).
Round 13: Repeat (2 sc, dec) 4 times around (12 stitches).
Stuffing & Face Details: Stop here to pack the body and head firmly with fiberfill. If you are using safety backing for your eyes and nose, insert them now just above the cheeks and secure them.
Round 14: Work 6 dec around (6 stitches). Sl st to finish, leave a short tail, and weave it through the front loops of the remaining stitches to pull the top completely closed. Hide the yarn tail inside.
The Ears (Using Brown Yarn – Make 2)
Ch 2, work 6 sc into the first chain to make a tiny magic ring circle. Sl st to the first stitch to close the round. Fasten off, leaving a yarn tail of about 5 cm.
Position the ears on the sides of the head. Use your crochet hook to pull the two yarn tails through adjacent stitches into the head. Tie a double knot right at the back base of the ear, another at the front to secure it flat, and pull the remaining thread safely inside the body.
Video Tutorial to Learn Even Better
Save for Later!