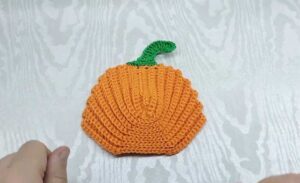
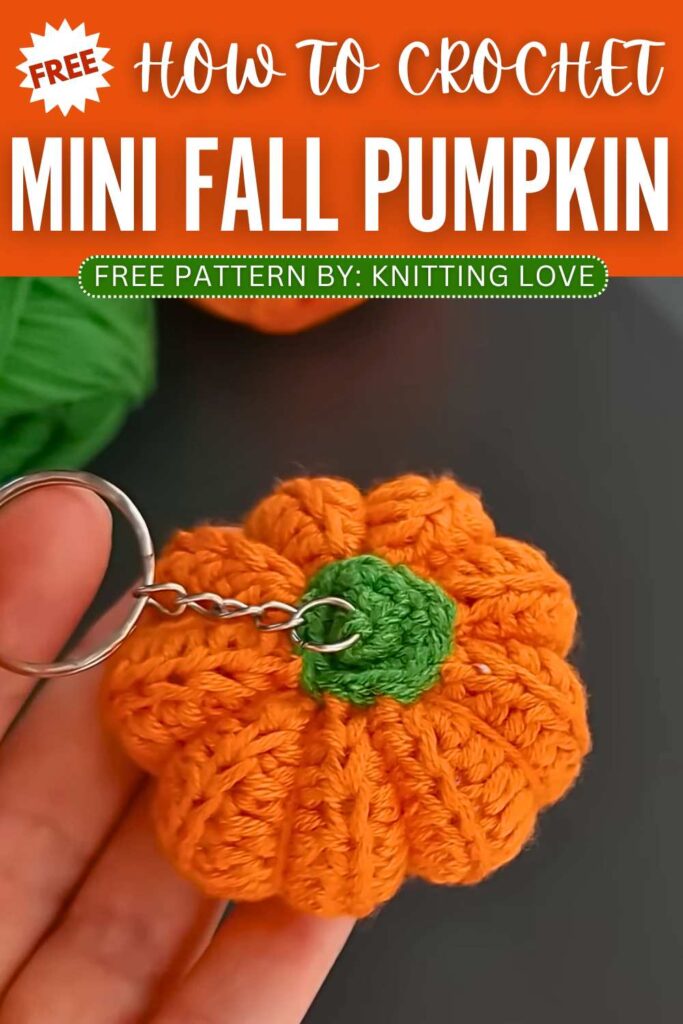
How to Crochet A Basic Ribbed Fall Pumpkin (Pattern for Fall)
Learn how to crochet an easy solid pumpkin for beginners out of a crochet ribbed rectangle following this pattern. While I have shared tons of tutorials for crocheting many LOVELY variations of a crochet fall pumpkin, I missed this one. And it is finally here and you can crochet this pumpkin amigurumi in bulk for selling at craft fairs, too.
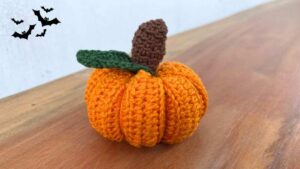
Crochet A Basic Ribbed Fall Pumpkin
A small version just requires 18 rows of hdc which makes it that easier. The only extra thing needed is that you should be good at sewing with the needle. There is also a green stem pattern. You can also crochet vines with this pumpkin and I will definitely put that pattern as an option in the end. So, continue reading!
Featured designer: While this crochet pumpkin amigurumi is a classical pattern which is righted to nobody, I have featured the The @Knittinglov in this guide as she has contributed a tons of fall amigurumi and decor patterns. Her crochet ideas include tons of crochet fall patterns from baskets to amigurumi. We will provide many of her pumpkin tutorials, here.
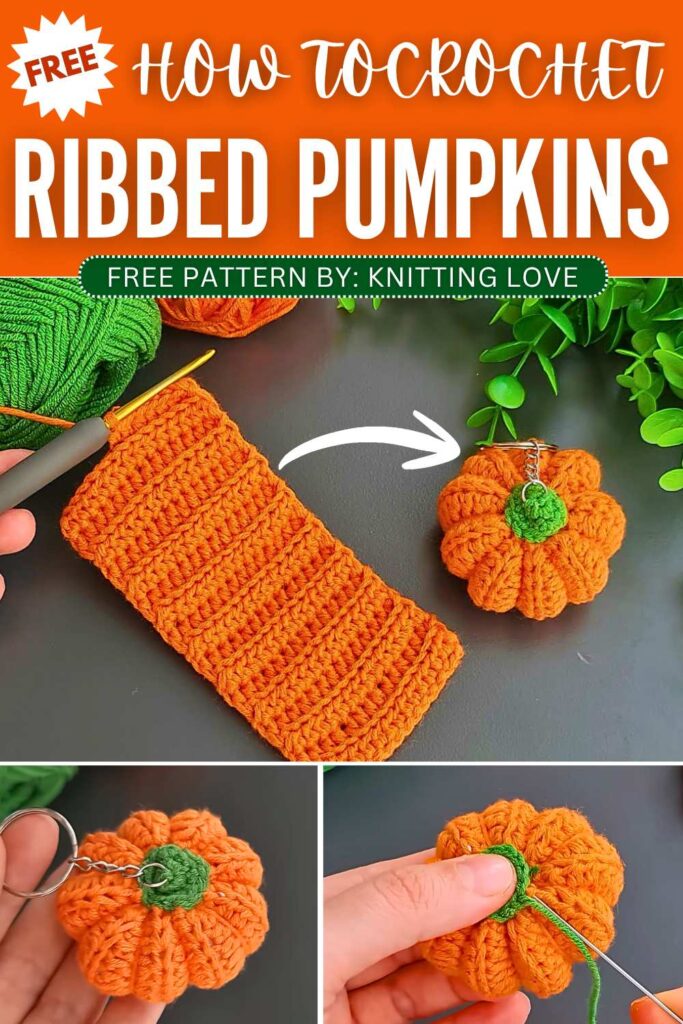
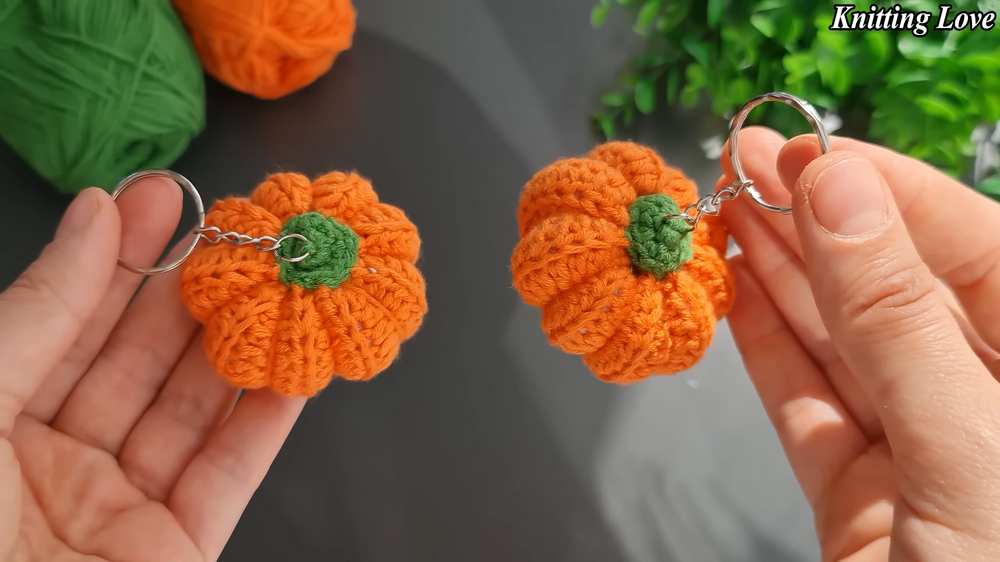
Crochet Easy Pumpkin Amigurumi Keychain Tutorial
Skill Level: Beginner Level – 2.
Why: You have to sew the pumpkin and should be able to identify the BLO of the stitch. As for the stitches, you need half double crochet and the chain stitch plus, slip stitch.
Supplies Needed
- Cotton yarn 4ply or 5ply in orange and green
- 2.20 mm
- Sewing Needle
- Keyring

Quick Guides for Stitches
Here are the quick guides for the stitches, using your abbreviations:
Ch (Chain): Make a slip knot on your hook. Yarn over and pull the yarn through the loop on your hook.
Dc (Double Crochet): Yarn over. Insert your hook into the stitch. Yarn over and pull up a loop (three loops on hook). Yarn over and pull through the first two loops. Yarn over again and pull through the remaining two loops.
- BLO – Work in the Back Loop Only of the Stitch
- Slst (Slip a stitch): Insert your hook into the stitch. Yarn over and pull the yarn through the stitch and through the loop on your hook at the same time.
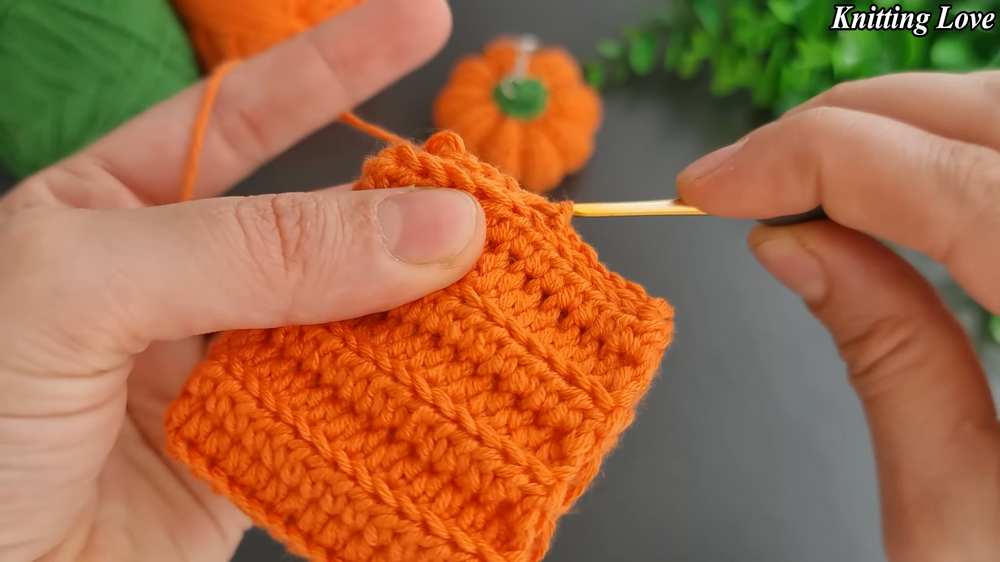
Crochet Ribbed Pumpkin Pattern
Since we have to crochet a classical ribbed pattern, here is how you will do it:
- Attach slip knot and make 15 chains.
- Half Double Crochet in each stitch starting from the 4th chain from the hook
- Turn your work.
- R1: Ch 3. Half Double Crochet in each stitch around. Turn.
- R2: Ch 3. BLO Half Double Crochet in each stitch around. Turn.
- Change the color to COLOR B.
- R3: Ch 3. BLO Half Double Crochet in each stitch around. Turn.
- R4: Ch 3. BLO Half Double Crochet in each stitch around. Turn.

- Change the color to COLOR A.
- R5: Ch 3. BLO Half Double Crochet in each stitch around. Turn.
- R6: Ch 3. BLO Half Double Crochet in each stitch around. Turn.
- Change the color to COLOR B.
- R7: Ch 3. BLO Half Double Crochet in each stitch around. Turn.
- R8: Ch 3. BLO Half Double Crochet in each stitch around. Turn.
- R9 – 18: Repeat R7 & R8.
- Secure the fabric.
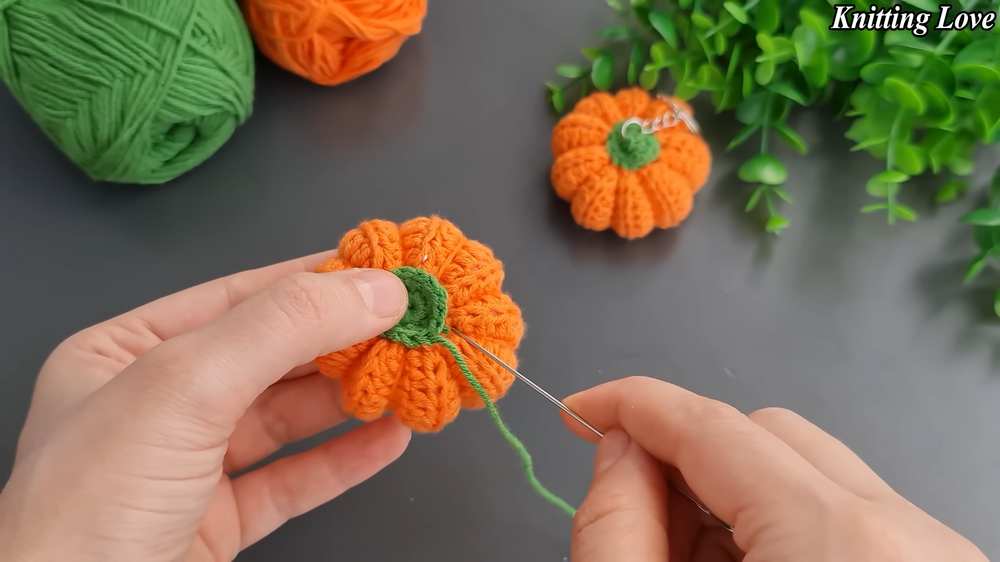
Stem Pattern:
- R1: 8 sc in the magic ring!
- R2: (1 sc, inc in the next stitch) * 4
Chain 1 to secure and cut the yarn. Sew or glue this piece of the crochet pumpkin. By making knots in the middle, you will crochet the remaining part of the crochet stem.
Vine Pattern
- Make 12 chain stitches.
- Make 2sc in each of the chain!
Fold the fabric in half and join the sides to make a cylinder by slip stitching through both one of the loops of each stitch together from right to left. Now, learn crocheting the assembly, I recommend watching the tutorial below:
Learn the Assembly with the Following!
Pin For Later:
You may also like

Chau Crochet: How to Crochet Ribbed Fall Pumpkin Cozy (Gift on Halloween)
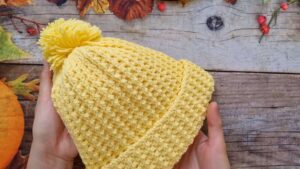
Free Crochet Ribbed Beanie Pattern for Winter

Free Crochet Miniature Ribbed Fall Pumpkin from A Rectangle
How to Crochet UNIQUE Ribbed Pumpkin Pattern For Fall & Halloween

How to Crochet Ribbed Mini Pumpkin Earrings for Autumn