Crochet Daisy Water Bottle Holder Pattern For Summer
This water bottle holder is a fun and useful crochet project with a pretty daisy design and small forget-me-not flowers. It is a great way to carry your water bottle while adding a handmade touch to your everyday style. Cute, practical, and easy to use, it also makes a lovely gift for friends and family.

Step by Step Pattern
Materials Needed
Yarn: Cotton yarn (approx. 2mm thickness, 125g recommended) in various colors for the flowers and main body (e.g., Yellow, White, Green, and accent colors for small flowers).
Crochet Hook: 2.5mm size.
Tapestry/Yarn Needle: For weaving in ends and attaching the centers of the small flowers.
Hot Glue Gun: For attaching the decorative flowers to the holder.
Abbreviations
ch: Chain stitch
st: Stitch
sl st: Slip stitch
sc: Single crochet
hdc: Half double crochet
dc: Double crochet
tr: Treble crochet
cluster: A group of stitches worked together (described in pattern)
Pattern Instructions
Part 1: The Daisy Flowers (Create 12)
Each daisy consists of a yellow center and white petals.
Center (Yellow):
Magic ring.
Ch 1, work 6 sc into the ring. Tighten to close.
Join with a sl st to the first sc.
Ch 1, 2 sc in each st around (12 sts total). Join with a sl st. Fasten off yellow.
Petals (White):
Join white yarn into any stitch.
Ch 6, wrap yarn over hook 4 times, insert hook into the same stitch, draw up a loop, and pull through 2 loops 5 times (this creates a tall, stitch-like base).
Work 1 dc into the middle of the stem you just created, keeping the height consistent.
Ch 6, sl st into the same starting stitch.
Repeat this for every stitch around to create 12 petals total.
Join to the starting petal, fasten off, and weave in all ends.

Part 2: The Main Body (Net Structure)
Join green yarn between two petals.
Sc in the space. Ch 10, sc in the space between the next two petals, ch 10 repeat around.
For the last repeat, ch 5 and make a double treble (or tall stitch) into the starting single crochet to create a V-shape connection for the next row.
Continue building the net: Ch 10, sc in the center of the previous chain-10 loop. Repeat this for 8 to 10 rows, depending on your bottle size.
For the final row of the main body, work 3 sc into each chain-10 loop, separated by a ch 1. Join to finish the edge.

Part 3: The Handle
Join your chosen handle color yarn at any point on the top rim.
Ch 3. Work a 3-dc cluster (unfinished stitches pulled together) into the 2nd chain, ch 3.
Continue making clusters and ch 3 intervals until the handle reaches the desired length (about 18-20 clusters).
Attach to the opposite side of the bag with 2 sc to ensure it is secure. Fasten off and weave in ends.

Part 4: Miniature Forget-Me-Not Flowers (Make 12-15)
Magic ring.
Ch 3, 2 dc into the ring, ch 3, sl st into the ring (this forms one petal).
Repeat 5 times for 5 petals.
Tighten the magic ring.
Center Detail: Cut a small piece of yellow yarn. Insert needle through the center of the flower from back to front. Wrap the yellow yarn around the needle tip 3 times, insert the needle back through the same hole to create a small knot/center. Pull tight to the front.
Assembly
Using a hot glue gun, arrange and attach the miniature Forget-Me-Not flowers onto the body of the holder and the handle.
Distribute them evenly for a balanced look
Video Pattern:
You may also like
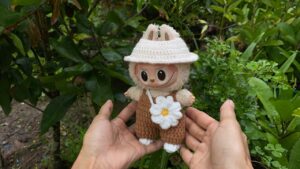
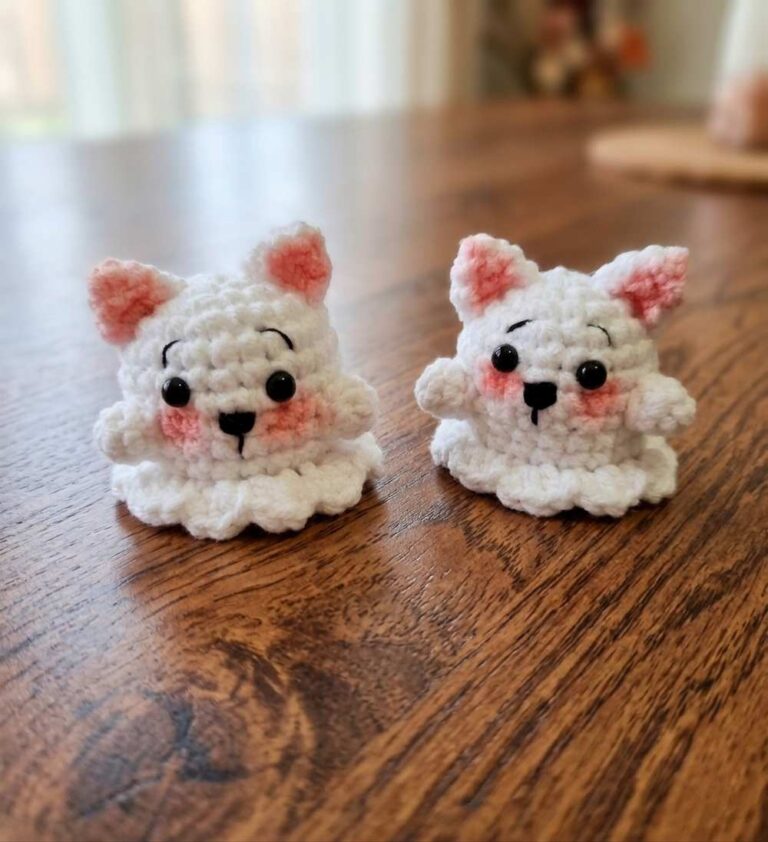
How to Crochet Labubu Accessories (Overalls + Daisy Pouch)
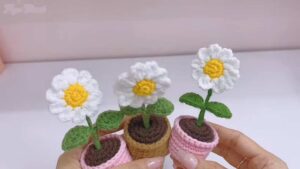
Free Crochet Daisy Flower Pot Pattern
Crochet Labubu Flower Headband And 2 Dresses (Daisy & Tulip Version)
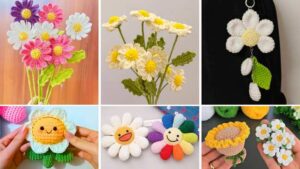
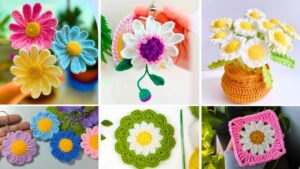
12 Free Crochet Daisy Patterns for Spring
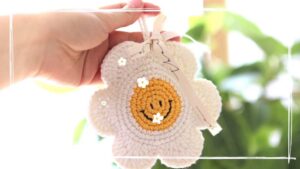
Crochet Smile Daisy Pouch & Applique Pattern