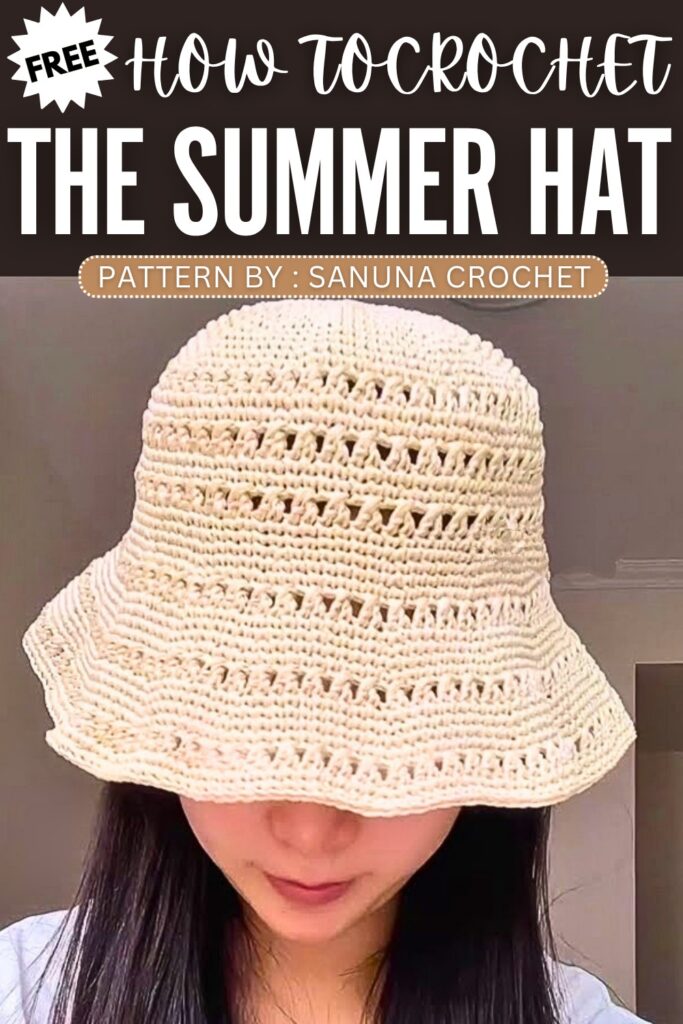
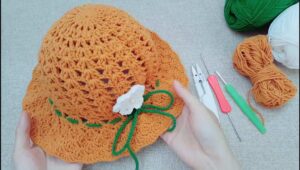
Crochet Foldable Sun Hat Pattern For Summer
Perfect for sunny days, this foldable sun hat is a versatile summer essential that you can easily roll up and pack in your bag without worrying about creases. Its practical design allows for effortless storage and maintenance, making it a reliable, travel-friendly accessory that keeps you shielded from the sun while maintaining a stylish, handcrafted look.
Crochet Foldable Sun Hat Pattern
Step by Step Pattern
Materials Needed
Yarn: Raffia cotton grass yarn (used double-stranded).
Crochet Hook: 3.0mm.
Extras: Tapestry needle for finishing.
Abbreviations
ch: Chain stitch
st: Stitch
sl st: Slip stitch
sc: Single crochet
inc: Increase (2 sc in the same st)
dc: Double crochet (US terms)
Cross dc: A variation of crossed stitches

Pattern Instructions
Part 1: The Crown
Round 1: Magic ring. Work 8 sc into the ring. Join with a sl st. Ch 1.
Round 2: Work 8 inc (2 sc in each st around). Join with sl st. Ch 1 (16 sts).
Round 3: 1 sc, 1 inc repeat 8 times. Join with sl st. Ch 1 (24 sts).
Round 4: 1 sc, 1 inc, 1 sc repeat 8 times. Join with sl st. Ch 1 (32 sts).
Round 5: 3 sc, 1 inc repeat 8 times. Join with sl st. Ch 1 (40 sts).
Round 6: 2 sc, 1 inc, 2 sc repeat 8 times. Join with sl st. Ch 1 (48 sts).
Subsequent Rounds: Continue increasing in this manner following the established rhythm until the crown reaches your desired diameter.

Part 2: Body & Pattern Rows
Round 16 (Cross dc row): Ch 2. Skip first stitch, work 1 dc in second stitch, then work 1 dc in the first stitch (this creates a cross). Continue repeating this crossing pattern around the row. Join with sl st.
Rounds 17-18: Work 96 sc in each round.
Rounds 19-21: Repeat the pattern from rounds 16-18.
Round 22: Work one round of cross dc.
Round 23: Work one round of sc.
Subsequent Patterning: Continue following the pattern: work 4 rows of sc, followed by 1 row of cross dc. Repeat until the hat reaches the desired length/brim size.
Finishing
Once you reach the desired length, join with a sl st and fasten off.
Use a tapestry needle to weave in any remaining yarn ends by picking up the back loops of the interior stitches to hide the join.
Video Pattern:
Materials Needed
Yarn: Raffia cotton grass yarn (used double-stranded).
Crochet Hook: 3.0mm.
Extras: Tapestry needle for finishing.
Abbreviations (UK Terms)
ch: Chain stitch
st: Stitch
sl st: Slip stitch
dc: Double crochet
inc: Increase (2 dc in the same st)
tr: Treble crochet
Cross tr: A variation of crossed stitches (worked as treble crochets)

Pattern Instructions
Part 1: The Crown
Round 1: Magic ring. Work 8 dc into the ring. Join with a sl st. Ch 1.
Round 2: Work 8 inc (2 dc in each st around). Join with sl st. Ch 1 (16 sts).
Round 3: 1 dc, 1 inc repeat 8 times. Join with sl st. Ch 1 (24 sts).
Round 4: 1 dc, 1 inc, 1 dc repeat 8 times. Join with sl st. Ch 1 (32 sts).
Round 5: 3 dc, 1 inc repeat 8 times. Join with sl st. Ch 1 (40 sts).
Round 6: 2 dc, 1 inc, 2 dc repeat 8 times. Join with sl st. Ch 1 (48 sts).
Subsequent Rounds: Continue increasing in this manner following the established rhythm until the crown reaches your desired diameter.
Part 2: Body & Pattern Rows
Round 16 (Cross tr row): Ch 3 (counts as first tr). Skip first stitch, work 1 tr in second stitch, then work 1 tr in the first stitch (this creates a cross). Continue repeating this crossing pattern around the row. Join with sl st.
Rounds 17-18: Work 96 dc in each round.
Rounds 19-21: Repeat the pattern from rounds 16-18.
Round 22: Work one round of cross tr.
Round 23: Work one round of dc.
Subsequent Patterning: Continue following the pattern: work 4 rows of dc, followed by 1 row of cross tr. Repeat until the hat reaches the desired length/brim size.

Finishing
Once you reach the desired length, join with a sl st and fasten off.
Use a tapestry needle to weave in any remaining yarn ends by picking up the back loops of the interior stitches to hide the join.
You may also like
Sotvorimka: Free Crochet Foldable Wings Bat Plushie in Purple
Free Crochet Ruffle Brim Sun Hat Pattern For Summer
Free Crochet Beach Summer Sun Hat Pattern
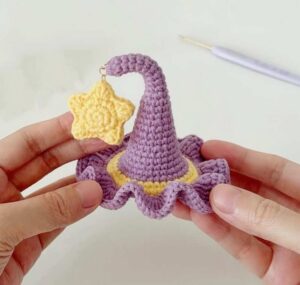
Xiaoshimei: Crochet Elf Wizard Hat with Star Charm Tutorial for Halloween

5 Free Crochet Elegant Summer Hat Patterns
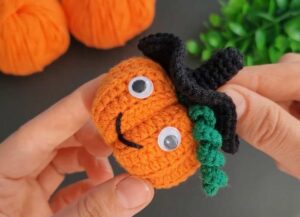
Knittinglov: Crochet Pumpkin With Hat for Halloween
Pinky Promise: Crochet Monster In Hat Plushie Pattern for Fall
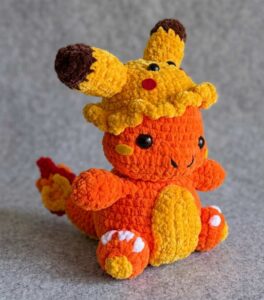
ToysIryna – Crochet Pumpkin Cat in a Witch Hat Amigurumi